warning RENAULT TWINGO 2009 2.G Engine And Peripherals Workshop Manual
[x] Cancel search | Manufacturer: RENAULT, Model Year: 2009, Model line: TWINGO, Model: RENAULT TWINGO 2009 2.GPages: 652
Page 607 of 652
19B-25
EXHAUST
Expansion chamber: Removal - Refitting
K4M
19B
REMOVING THE EXHAUST PIPE FRONT
EXPANSION CHAMBER
I - REMOVAL PREPARATION OPERATION
aPosition the vehicle on a two-post lift (see Vehicle:
Towing and lifting) (02A, Lifting equipment).
aRemove:
-the engine undertray bolts,
-the engine undertray.II - OPERATION FOR REMOVAL OF PART
CONCERNED
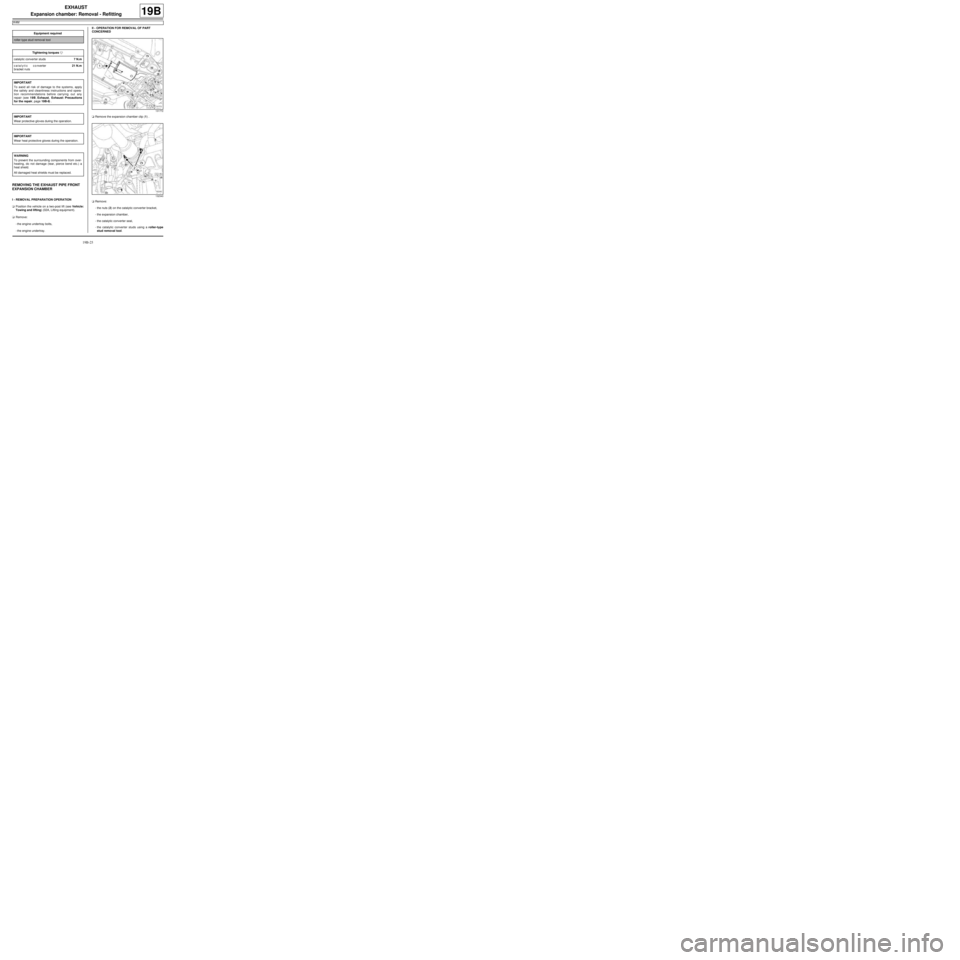
aRemove the expansion chamber clip (1) .
aRemove:
-the nuts (2) on the catalytic converter bracket,
-the expansion chamber,
-the catalytic converter seal,
-the catalytic converter studs using a roller-type
stud removal tool. Equipment required
roller-type stud removal tool
Tightening torquesm
catalytic converter studs7 N.m
catalytic converter
bracket nuts21 N.m
IMPORTANT
To avoid all risk of damage to the systems, apply
the safety and cleanliness instructions and opera-
tion recommendations before carrying out any
repair (see 19B, Exhaust, Exhaust: Precautions
for the repair, page 19B-8) .
IMPORTANT
Wear protective gloves during the operation.
IMPORTANT
Wear heat protective gloves during the operation.
WARNING
To prevent the surrounding components from over-
heating, do not damage (tear, pierce bend etc.) a
heat shield.
All damaged heat shields must be replaced.
131772
132340
Page 609 of 652
19B-27
EXHAUST
Expansion chamber: Removal - Refitting
K4M
19B
aFit a new sleeve between the expansion chamber
and the silencer (see 19B, Exhaust, Exhaust: Pre-
cautions for the repair, page 19B-8) .
aTighten the sleeve while supporting the exhaust pipe
to ensure they are aligned.
aCheck:
-that all the exhaust pipe heat shields are in place
and properly attached.
-that there is no contact with the underbody,
-that there are no leaks.WARNING
Position the « nut and bolt securing the sleeve »
assembly so that the assembly cannot come into
contact with the underbody.
Page 614 of 652
19B-32
EXHAUST
Silencer: Removal - Refitting
K4M
19B
REMOVAL
I - REMOVAL PREPARATION OPERATION
aPosition the vehicle on a two-post lift (see Vehicle:
Towing and lifting) (02A, Lifting equipment).
II - OPERATION FOR REMOVAL OF PART
CONCERNED
aCut the exhaust pipe (see 19B, Exhaust, Exhaust:
Precautions for the repair, page 19B-8) in the des-
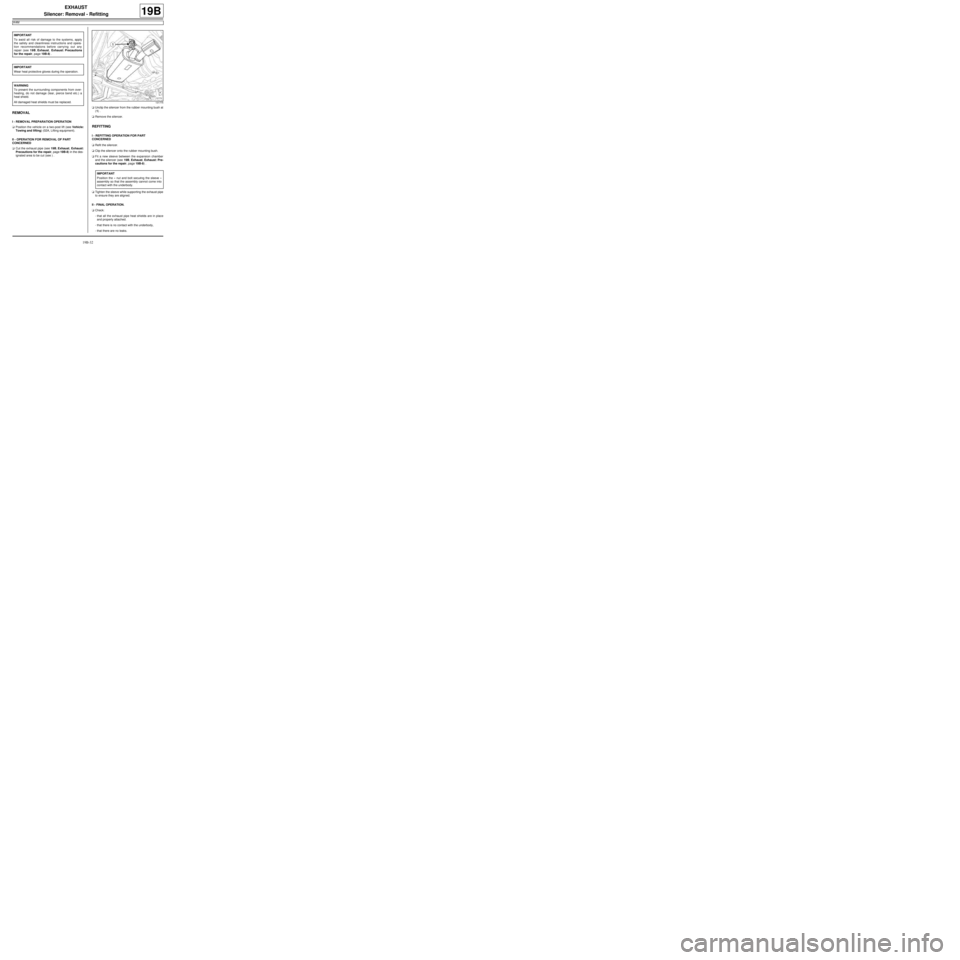
ignated area to be cut (see ) .aUnclip the silencer from the rubber mounting bush at
(1) .
aRemove the silencer.
REFITTING
I - REFITTING OPERATION FOR PART
CONCERNED
aRefit the silencer.
aClip the silencer onto the rubber mounting bush.
aFit a new sleeve between the expansion chamber
and the silencer (see 19B, Exhaust, Exhaust: Pre-
cautions for the repair, page 19B-8) .
aTighten the sleeve while supporting the exhaust pipe
to ensure they are aligned.
II - FINAL OPERATION.
aCheck:
-that all the exhaust pipe heat shields are in place
and properly attached.
-that there is no contact with the underbody,
-that there are no leaks. IMPORTANT
To avoid all risk of damage to the systems, apply
the safety and cleanliness instructions and opera-
tion recommendations before carrying out any
repair (see 19B, Exhaust, Exhaust: Precautions
for the repair, page 19B-8) .
IMPORTANT
Wear heat protective gloves during the operation.
WARNING
To prevent the surrounding components from over-
heating, do not damage (tear, pierce bend etc.) a
heat shield.
All damaged heat shields must be replaced.
131775
IMPORTANT
Position the « nut and bolt securing the sleeve »
assembly so that the assembly cannot come into
contact with the underbody.
Page 615 of 652
19C-1
TANK
Fuel tank: Draining
K9K
19C
I - DRAINING PREPARATION OPERATION
aDisconnect the battery (see ) (MR 441, 80A, Bat-
tery).
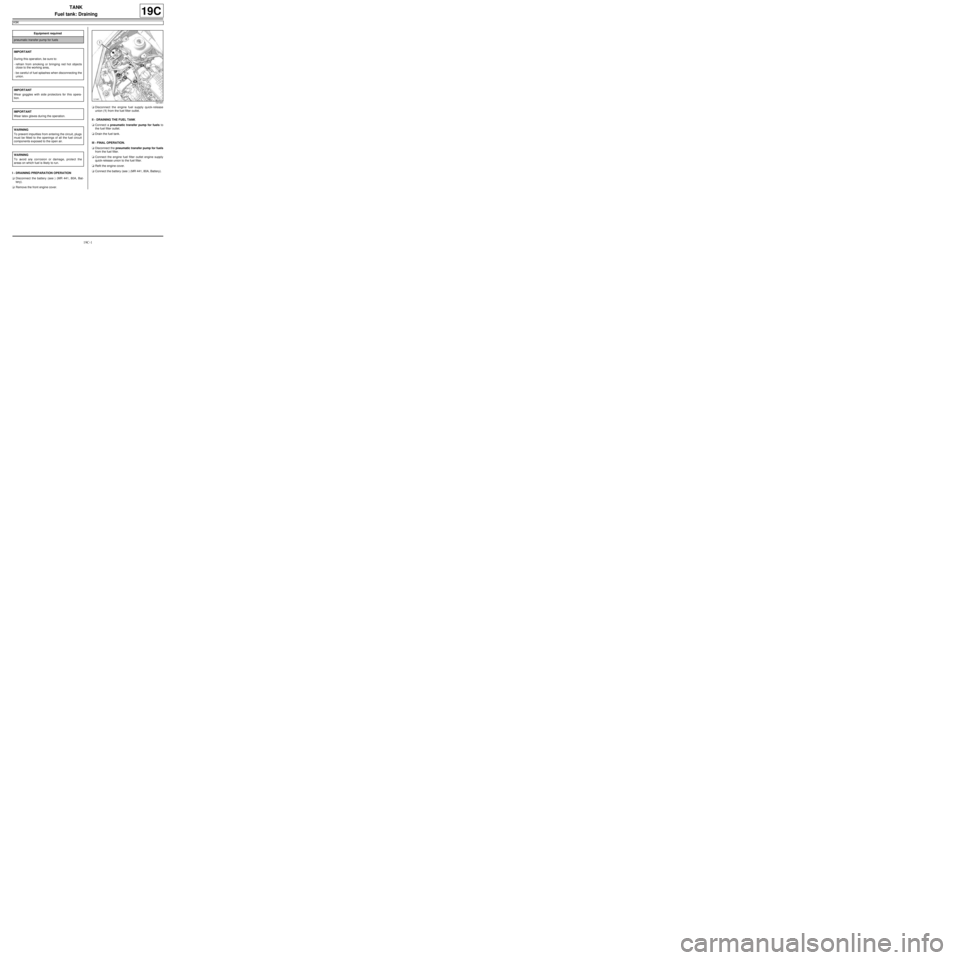
aRemove the front engine cover.aDisconnect the engine fuel supply quick-release
union (1) from the fuel filter outlet.
II - DRAINING THE FUEL TANK
aConnect a pneumatic transfer pump for fuels to
the fuel filter outlet.
aDrain the fuel tank.
III - FINAL OPERATION.
aDisconnect the pneumatic transfer pump for fuels
from the fuel filter.
aConnect the engine fuel filter outlet engine supply
quick-release union to the fuel filter.
aRefit the engine cover.
aConnect the battery (see ) (MR 441, 80A, Battery). Equipment required
pneumatic transfer pump for fuels
IMPORTANT
During this oper ation, be sure to:
-refrain from smoking or bringing red hot objects
close to the working area,
-be careful of fuel splashes when disconnecting the
union.
IMPORTANT
Wear goggles with side protectors for this opera-
tion.
IMPORTANT
Wear latex gloves during the operation.
WARNING
To prevent impurities from entering the circuit, plugs
must be fitted to the openings of all the fuel circuit
components exposed to the open air.
WARNING
To avoid any corrosion or damage, protect the
areas on which fuel is likely to run.
121441
Page 616 of 652
19C-2
TANK
Fuel tank: Draining
D4F or D7F or K4M
19C
I - DRAINING PREPARATION OPERATION
aDisconnect the battery (see ) (80A, Battery).
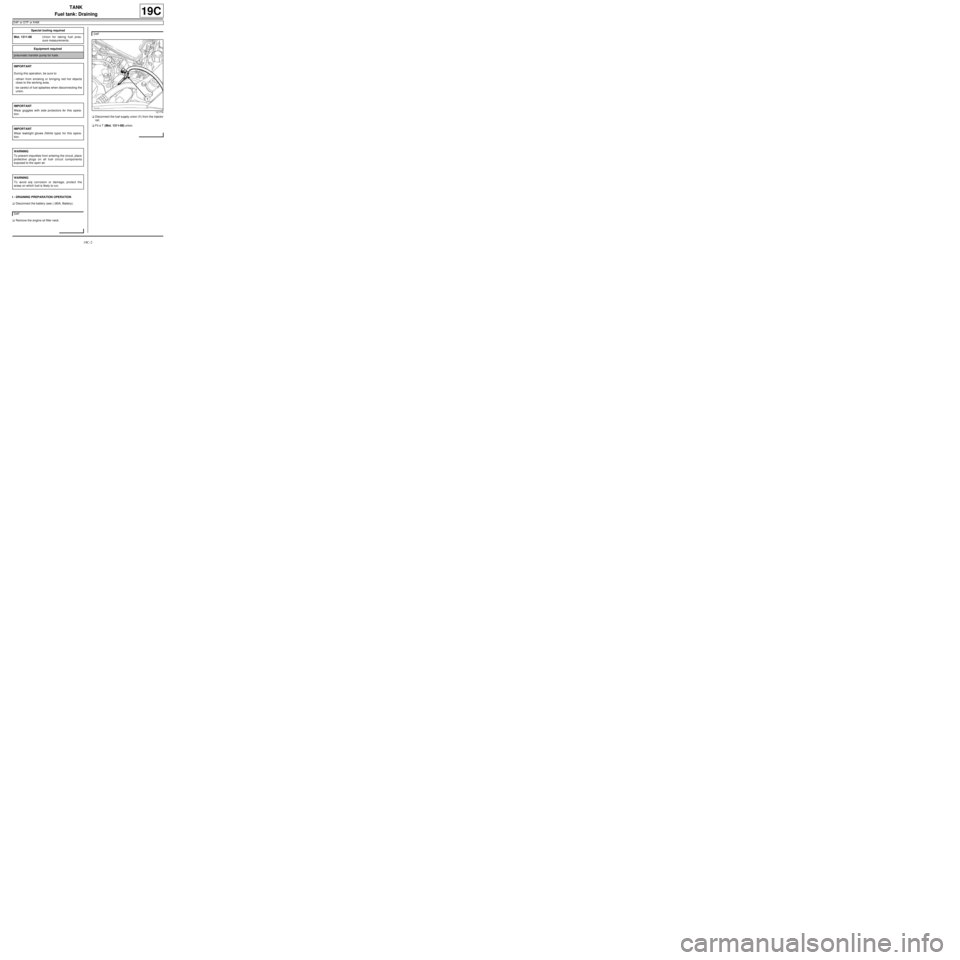
aRemove the engine oil filler neck.aDisconnect the fuel supply union (1) from the injector
rail.
aFit a T (Mot. 1311-08) union. Special tooling required
Mot. 1311-08Union for taking fuel pres-
sure measurements .
Equipment required
pneumatic transfer pump for fuels
IMPORTANT
During this oper ation, be sure to:
-refrain from smoking or bringing red hot objects
close to the working area,
-be careful of fuel splashes when disconnecting the
union.
IMPORTANT
Wear goggles with side protectors for this opera-
tion.
IMPORTANT
Wear leaktight gloves (Nitrile type) for this opera-
tion.
WARNING
To prevent impurities from entering the circuit, place
protective plugs on all fuel circuit components
exposed to the open air.
WARNING
To avoid any corrosion or damage, protect the
areas on which fuel is likely to run.
D4F
D4F
121778
Page 618 of 652
19C-4
TANK
Fuel tank: Removal - Refitting
D4F or D7F or K4M or K9K
19C
REMOVAL
I - REMOVAL PREPARATION OPERATION
aPosition the vehicle on a two-post lift (see Vehicle:
Towing and lifting) (02A, Lifting equipment).
aDisconnect the battery (see Battery: Removal - Re-
fitting) (80A, Battery).
aDrain the fuel tank (see 19C, Tank, Fuel tank:
Draining, page 19C-1) .
aLift up:
-the rear bench seat,
-the carpet.
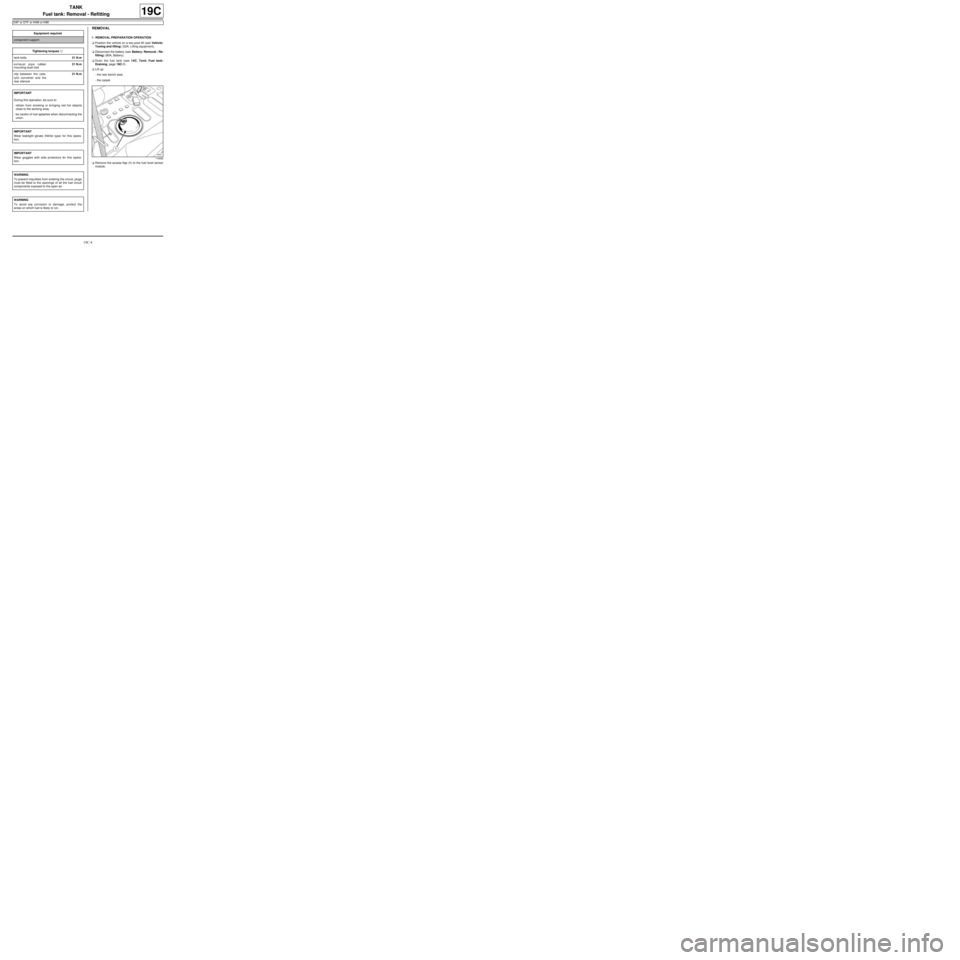
aRemove the access flap (1) to the fuel level sensor
module. Equipment requiredcomponent support
Tightening torquesm
tank bolts21 N.m
exhaust pipe rubber
mounting bush bolt21 N.m
clip between the cata-
lytic converter and the
rear silencer21 N.m
IMPORTANT
During this oper ation, be sure to:
-refrain from smoking or bringing red hot objects
close to the working area,
-be careful of fuel splashes when disconnecting the
union.
IMPORTANT
Wear leaktight gloves (Nitrile type) for this opera-
tion.
IMPORTANT
Wear goggles with side protectors for this opera-
tion.
WARNING
To prevent impurities from entering the circuit, plugs
must be fitted to the openings of all the fuel circuit
components exposed to the open air.
WARNING
To avoid any corrosion or damage, protect the
areas on which fuel is likely to run.
119692
Page 619 of 652
19C-5
TANK
Fuel tank: Removal - Refitting
D4F or D7F or K4M or K9K
19C
aDisconnect:
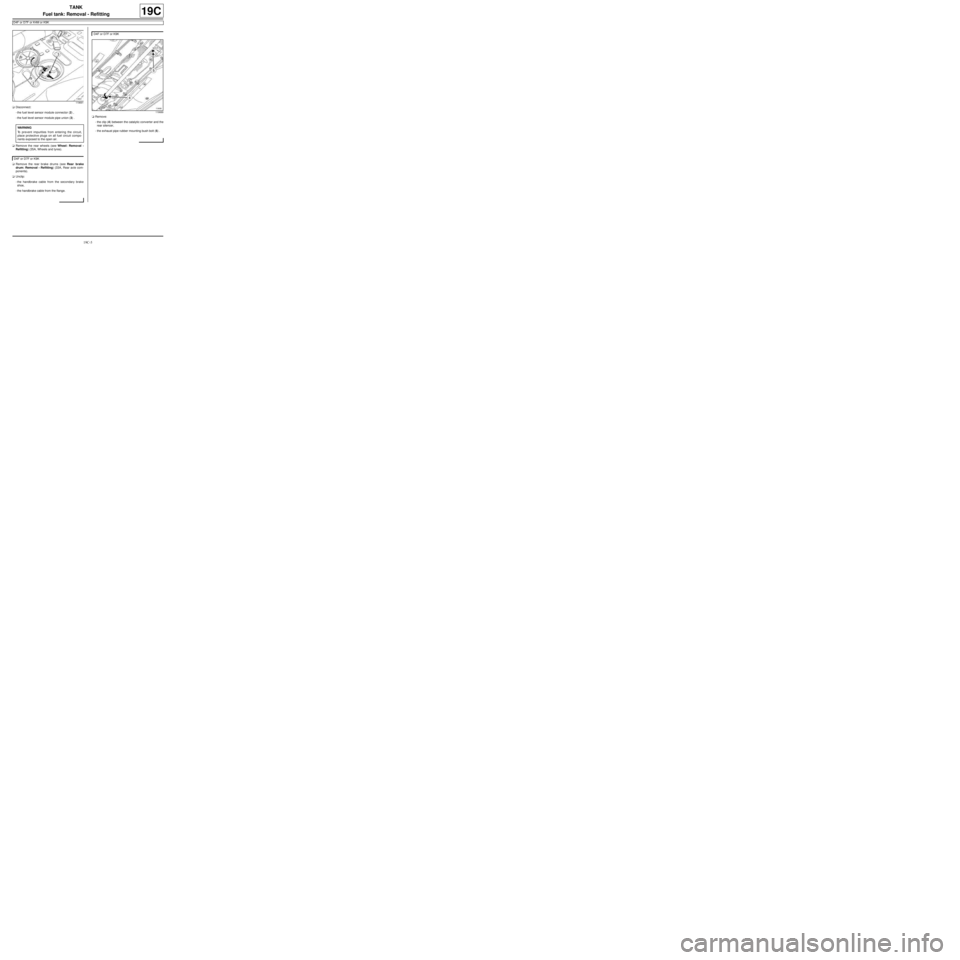
-the fuel level sensor module connector (2) ,
-the fuel level sensor module pipe union (3) .
aRemove the rear wheels (see Wheel: Removal -
Refitting) (35A, Wheels and tyres).
aRemove the rear brake drums (see Rear brake
drum: Removal - Refitting) (33A, Rear axle com-
ponents).
aUnclip:
-the handbrake cable from the secondary brake
shoe,
-the handbrake cable from the flange.aRemove:
-the clip (4) between the catalytic converter and the
rear silencer,
-the exhaust pipe rubber mounting bush bolt (5) .
119691
WARNING
To prevent impurities from entering the circuit,
place protective plugs on all fuel circuit compo-
nents exposed to the open air.
D4F or D7F or K9K
D4F or D7F or K9K
119689
Page 622 of 652
19C-8
TANK
Fuel tank: Removal - Refitting
D4F or D7F or K4M or K9K
19C
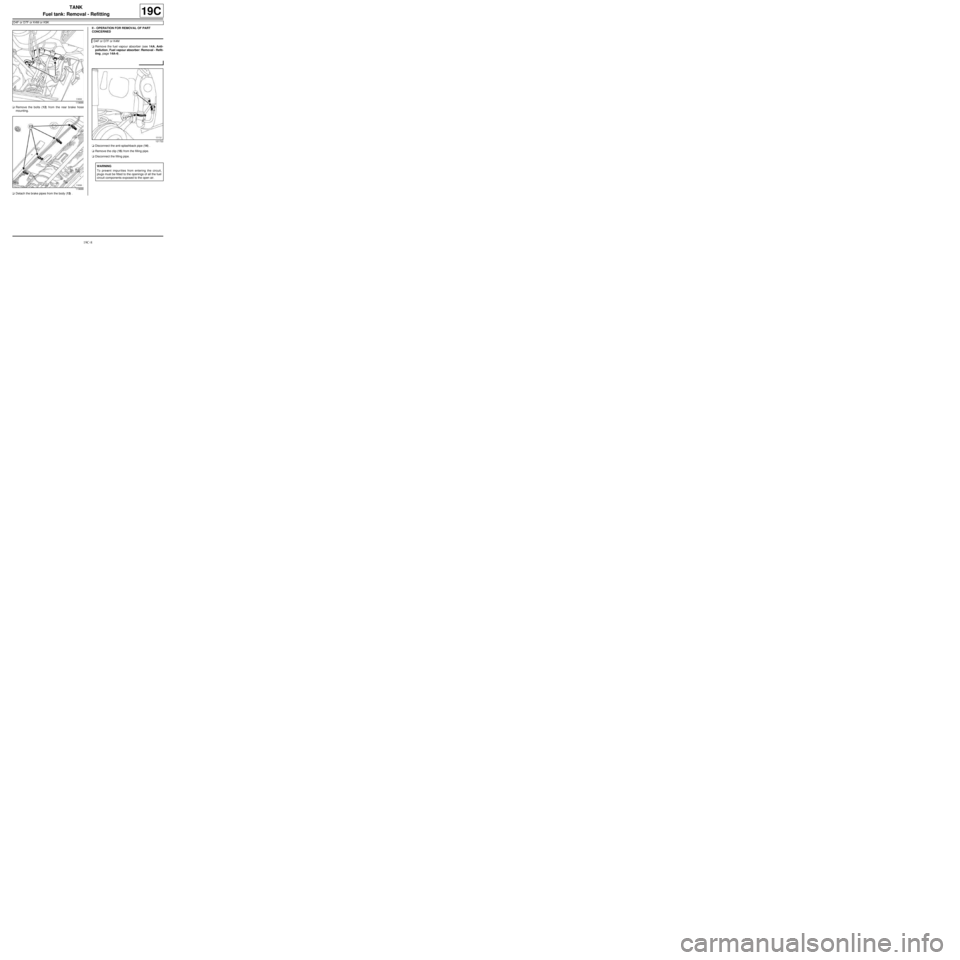
aRemove the bolts (12) from the rear brake hose
mounting.
aDetach the brake pipes from the body (13) .II - OPERATION FOR REMOVAL OF PART
CONCERNED
aRemove the fuel vapour absorber (see 14A, Anti-
pollution, Fuel vapour absorber: Removal - Refit-
ting, page 14A-4) .
aDisconnect the anti-splashback pipe (14) .
aRemove the clip (15) from the filling pipe.
aDisconnect the filling pipe.
119686
119688
D4F or D7F or K4M
121722
WARNING
To prevent impur ities from entering the circuit,
plugs must be fitted to the openings of all the fuel
circuit components exposed to the open air.
Page 625 of 652
19C-11
TANK
Filler neck: Removal - Refitting
D4F or D7F or K4M or K9K
19C
REMOVAL
I - REMOVAL PREPARATION OPERATION
aPosition the vehicle on a two-post lift (see Vehicle:
Towing and lifting) (02A, Lifting equipment).
aDisconnect the battery (see Battery: Removal - Re-
fitting) (80A, Battery).
aDrain the fuel tank (see 19C, Tank, Fuel tank:
Draining, page 19C-1) .
aRemove the rear right-hand wheel (see Wheel: Re-
moval - Refitting) (35A, Wheels and tyres).II - OPERATION FOR REMOVAL OF PART
CONCERNED
aDisconnect the anti-splashback pipe (1) .
aRemove:
-the clip (2) from the filling pipe,
-the filler neck earth bolt (3) .
aRemove:
-the fuel filler cap from the tank,
-the bolts (4) from the filler neck on the fuel filler
flap, Tightening torquesm
filler neck ear th bolt21 N.m
IMPORTANT
During this oper ation, be sure to:
-refrain from smoking or bringing red hot objects
close to the working area,
-be careful of fuel splashes when disconnecting the
union.
IMPORTANT
Wear goggles with side protectors for this opera-
tion.
IMPORTANT
Wear leaktight gloves (Nitrile type) for this opera-
tion.
WARNING
To prevent impurities from entering the circuit, place
protective plugs on all fuel circuit components
exposed to the open air.
WARNING
To avoid any corrosion or damage, protect the
areas on which fuel is likely to run.
121722
121721
Page 627 of 652
19C-13
TANK
Fuel level sensor module: Removal - Refitting
D4F or D7F or K4M or K9K
19C
REMOVAL
I - REMOVAL PREPARATION OPERATION
aDisconnect the battery (see Battery: Removal - Re-
fitting) (80A, Battery).
aDrain the tank (see 19C, Tank, Fuel tank: Draining,
page 19C-1) .
aLift up:
-the rear bench seat base (see Rear bench seat
base: Removal - Refitting) (76A, Rear seat
frames and runners),
-the carpet under the rear bench seat base.aRemove the inspection flap blanking cover (1) . Special tooling required
Mot. 1397Universal spanner for remov-
ing fuel gauge nuts .
IMPORTANT
During this oper ation, be sure to:
-refrain from smoking or bringing red hot objects
close to the working area,
-be careful of fuel splashes when disconnecting the
union.
IMPORTANT
Wear goggles with side protectors for this opera-
tion.
IMPORTANT
Wear leaktight gloves (Nitrile type) for this opera-
tion.
WARNING
To prevent impurities from entering the circuit, place
protective plugs on all fuel circuit components
exposed to the open air.
WARNING
To avoid any corrosion or damage, protect the
areas on which fuel is likely to run.
104545