warning RENAULT TWINGO 2009 2.G Engine And Peripherals Workshop Manual
[x] Cancel search | Manufacturer: RENAULT, Model Year: 2009, Model line: TWINGO, Model: RENAULT TWINGO 2009 2.GPages: 652
Page 441 of 652
16A-2
STARTING - CHARGING
Alternator: Removal - Refitting
D4F or D7F, and STANDARD HEATING
16A
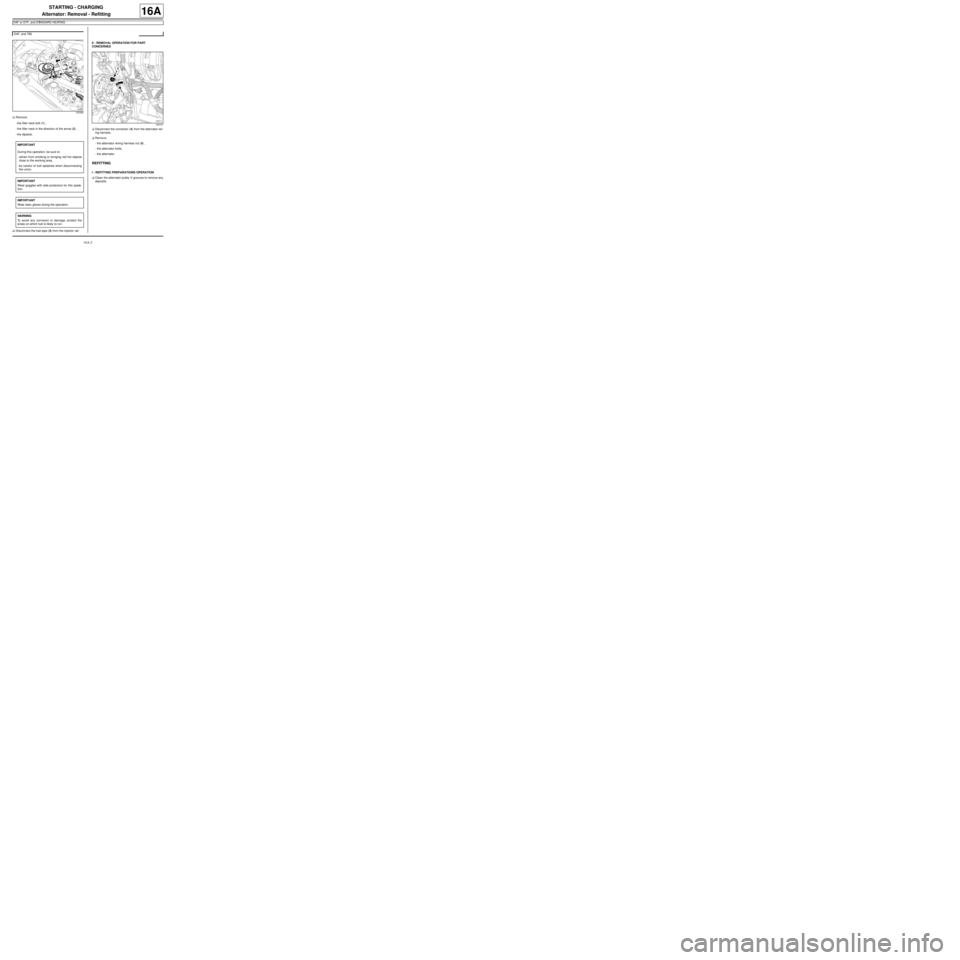
aRemove:
-the filler neck bolt (1) ,
-the filler neck in the direction of the arrow (2) ,
-the dipstick.
aDisconnect the fuel pipe (3) from the injector rail.II - REMOVAL OPERATION FOR PART
CONCERNED
aDisconnect the connector (4) from the alternator wir-
ing harness.
aRemove:
-the alternator wiring harness nut (5) ,
-the alternator bolts,
-the alternator.
REFITTING
I - REFITTING PREPARATIONS OPERATION
aClean the alternator pulley V-grooves to remove any
deposits. D4F, and 780
122392
IMPORTANT
During this operation, be sure to:
-refrain from smoking or bringing red hot objects
close to the working area,
-be careful of fuel splashes when disconnecting
the union.
IMPORTANT
Wear goggles with side protectors for this opera-
tion.
IMPORTANT
Wear latex gloves during the operation.
WARNING
To avoid any corrosion or damage, protect the
areas on which fuel is likely to run.
109727
Page 446 of 652
16A-7
STARTING - CHARGING
Alternator: Removal - Refitting
K4M
16A
REMOVAL
I - REMOVAL PREPARATION OPERATION
aPosition the vehicle on a two-post lift (see Vehicle:
Towing and lifting) (02A, Lifting equipment).
aDisconnect the battery (see Battery: Removal - Re-
fitting) (80A, Battery).
aRemove:
-the engine undertray,
-the front right-hand wheel (see Wheel: Removal -
Refitting) (35A, Wheels and tyres),
-the front right-hand wheel arch liner (see Front
wheel arch liner: Removal - Refitting) (55A, Ex-
terior protection),
-the front bumper (see Front bumper: Removal -
Refitting) (55A, Exterior protection),
-the headlights (see Halogen headlight: Removal
- Refitting) (80B, Headlights),
-the bonnet catch (see Bonnet lock: Removal -
Refitting) (52A, Non-side opening element mecha-
nisms),
-the front upper cross member (see Front upper
cross member: Removal - Refitting) (42A, Upper
front structure),
-the accessories belt (see 11A, Top and front of
engine, Accessories belt: Removal - Refitting,
page 11A-3) .II - REMOVAL OPERATION
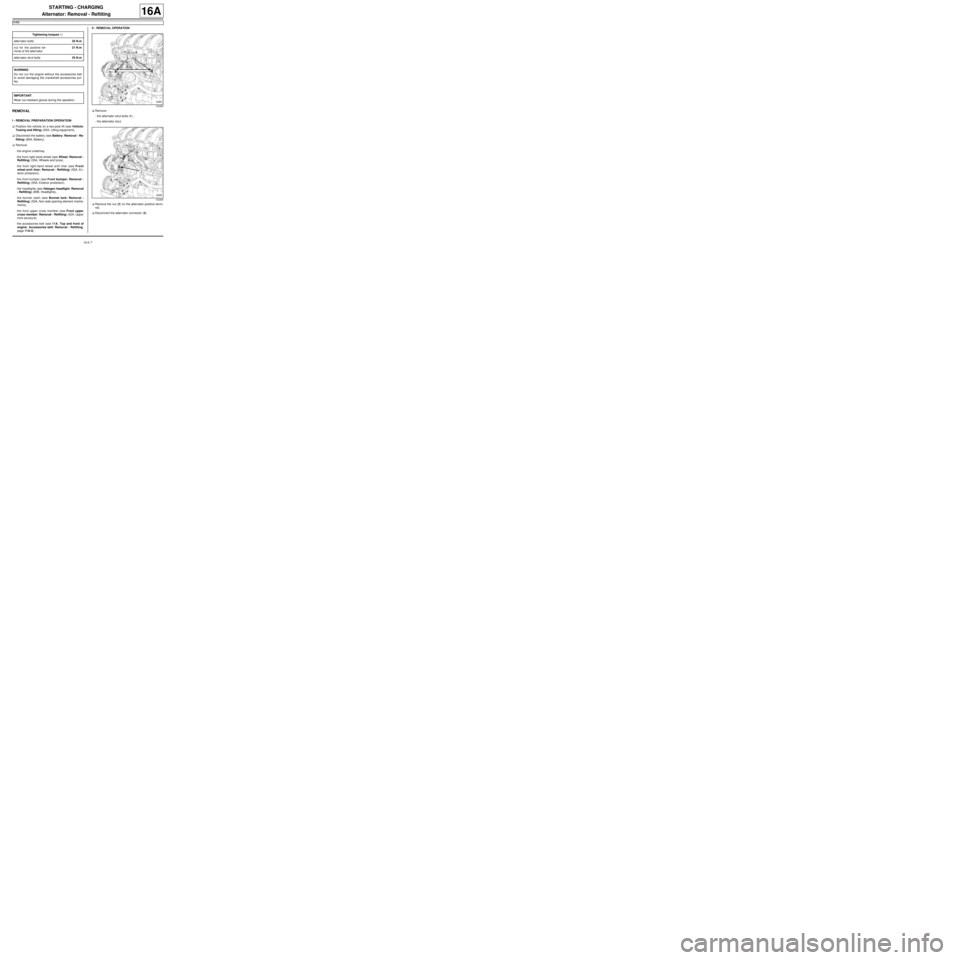
aRemove:
-the alternator strut bolts (1) ,
-the alternator strut.
aRemove the nut (2) on the alternator positive termi-
nal.
aDisconnect the alternator connector (3) . Tightening torquesm
alter nator bolts25 N.m
nut for the positive ter-
minal of the alternator21 N.m
alter nator strut bolts25 N.m
WARNING
Do not r un the engine without the accessories belt
to avoid damaging the crankshaft accessories pul-
ley.
IMPORTANT
Wear cut-resistant gloves during the operation.
132363
132365
Page 457 of 652
17A-1
IGNITION
Coils: Removal - Refitting
D7F
17A
PARTS AND CONSUMABLES FOR THE
REPAIR WORK
aConsumable (see Vehicle: Parts and consuma-
bles for the repair) :
-Fluostar 2L.
REMOVAL
I - REMOVAL PREPARATION OPERATION
aDisconnect the battery ( (see Battery: Removal -
Refitting) ).
II - OPERATION FOR REMOVAL OF PART
CONCERNED
a
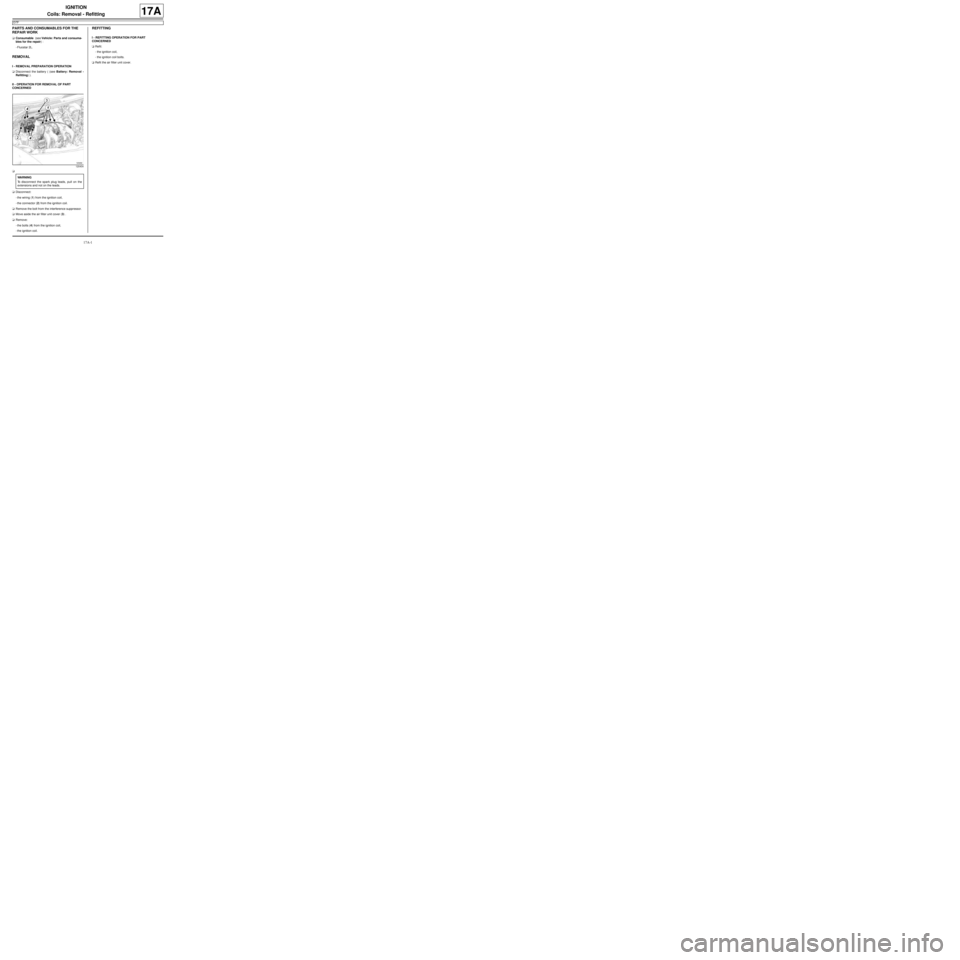
aDisconnect:
-the wiring (1) from the ignition coil,
-the connector (2) from the ignition coil.
aRemove the bolt from the interference suppressor.
aMove aside the air filter unit cover (3) .
aRemove:
-the bolts (4) from the ignition coil,
-the ignition coil.
REFITTING
I - REFITTING OPERATION FOR PART
CONCERNED
aRefit:
-the ignition coil,
-the ignition coil bolts.
aRefit the air filter unit cover.
120404
WARNING
To disconnect the spark plug leads, pull on the
extensions and not on the leads.
Page 459 of 652
17A-3
IGNITION
Coils: Removal - Refitting
D4F, and 772
17A
PARTS AND CONSUMABLES FOR THE
REPAIR WORK
aConsumable (see Vehicle: Parts and consuma-
bles for the repair) :
-Fluostar 2L.
REMOVAL
I - REMOVAL PREPARATION OPERATION
aDisconnect the battery (see Battery: Removal - Re-
fitting) .
aRemove the air filter unit (see 12A, Fuel mixture,
Air filter unit: Removal - Refitting, page 12A-13) .
II - OPERATION FOR REMOVAL OF PART
CONCERNED
a
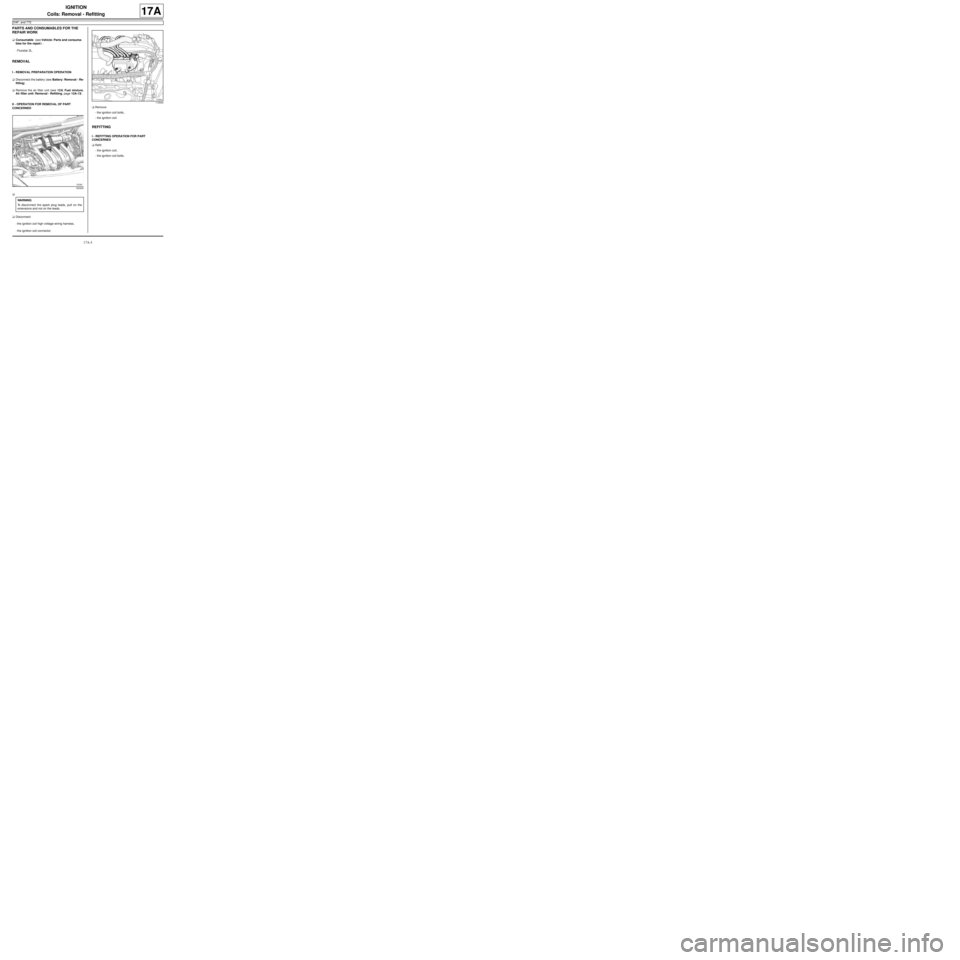
aDisconnect:
-the ignition coil high voltage wiring harness,
-the ignition coil connector.aRemove:
-the ignition coil bolts ,
-the ignition coil.
REFITTING
I - REFITTING OPERATION FOR PART
CONCERNED
aRefit:
-the ignition coil,
-the ignition coil bolts.
120300
WARNING
To disconnect the spark plug leads, pull on the
extensions and not on the leads.
113044
Page 468 of 652
17A-12
IGNITION
Plugs: Removal - Refitting
D7F
17A
Spark plug electrode gap
REMOVAL
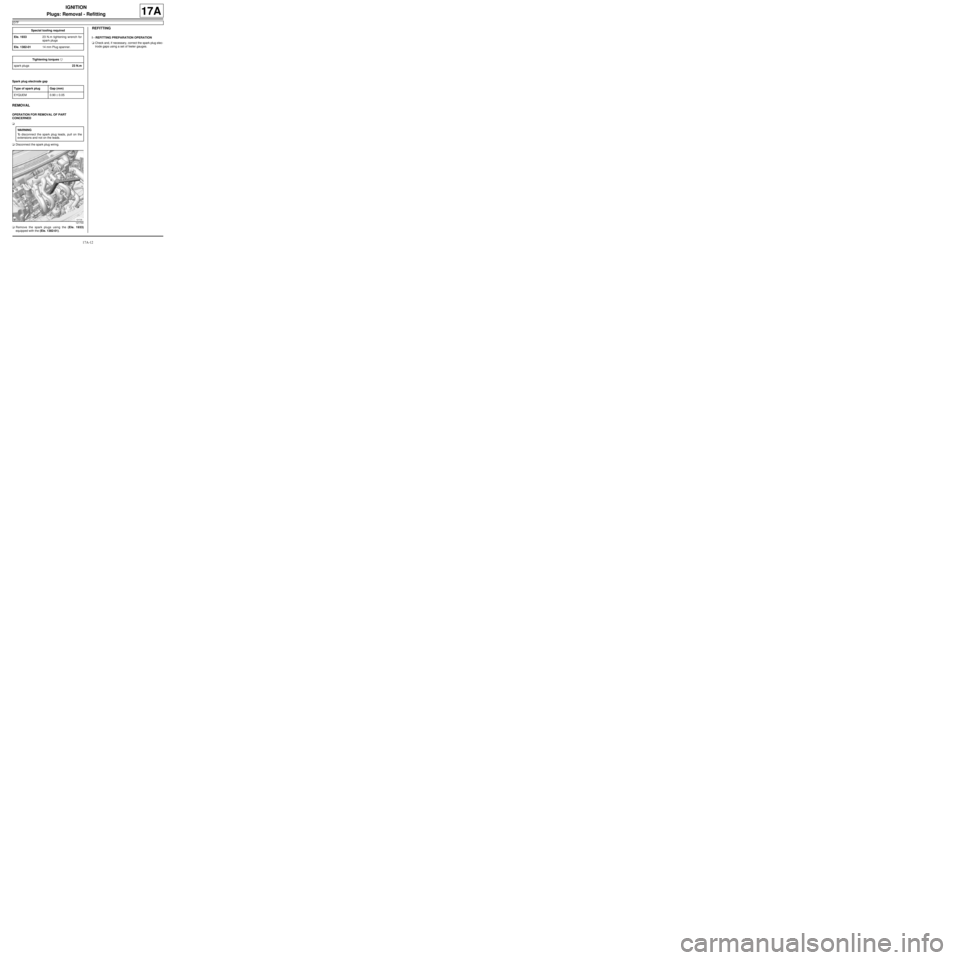
OPERATION FOR REMOVAL OF PART
CONCERNED
a
aDisconnect the spark plug wiring.
aRemove the spark plugs using the (Ele. 1933)
equipped with the (Ele. 1382-01).
REFITTING
I - REFITTING PREPARATION OPERATION
aCheck and, if necessary, correct the spark plug elec-
trode gaps using a set of feeler gauges. Special tooling required
Ele. 193323 N.m tightening wrench for
spar k plugs
Ele. 1382-0114 mm Plug spanner.
Tightening torquesm
spar k plugs23 N.m
Type of spark plug Gap (mm)
EYQUEM 0.90 ± 0.05
WARNING
To disconnect the spark plug leads, pull on the
extensions and not on the leads.
121730
Page 470 of 652
17A-14
IGNITION
Plugs: Removal - Refitting
D4F, and 780 – D4F, and 782
17A
Spark plug electrode gap
REMOVAL
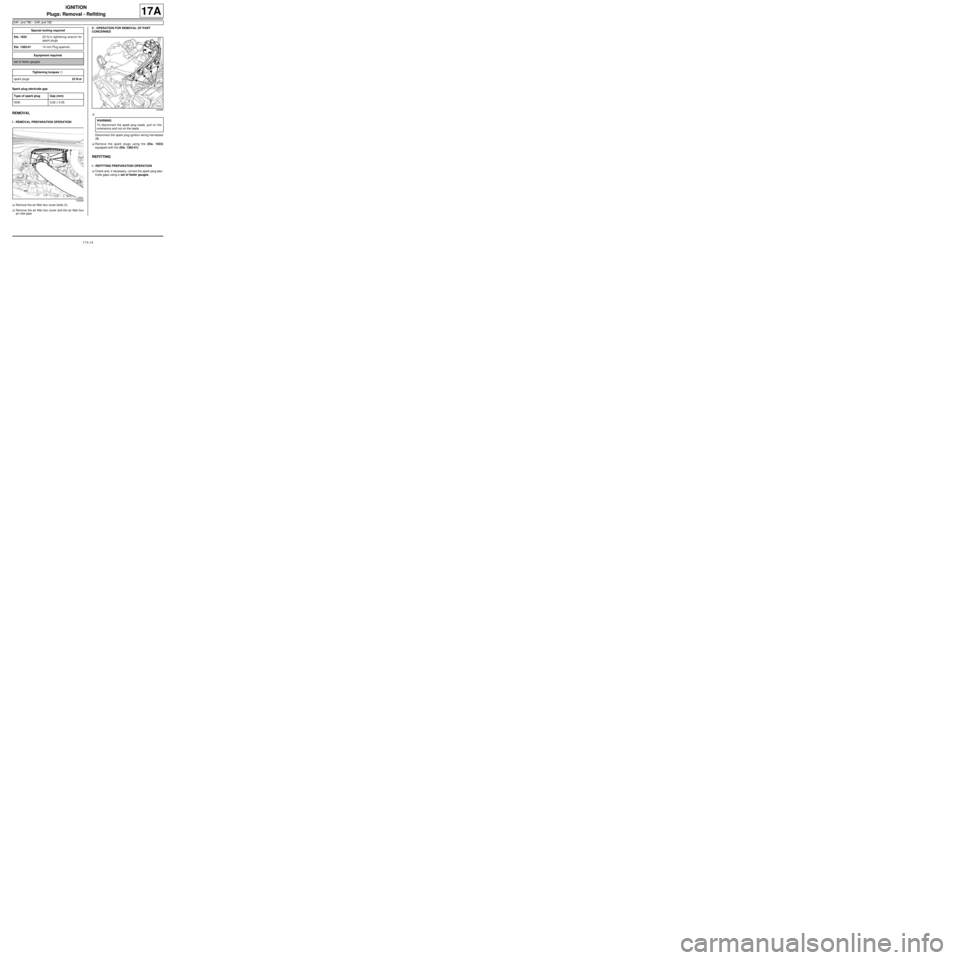
I - REMOVAL PREPARATION OPERATION
aRemove the air filter box cover bolts (1) .
aRemove the air filter box cover and the air filter box
air inlet pipe.II - OPERATION FOR REMOVAL OF PART
CONCERNED
a
Disconnect the spark plug ignition wiring harnesses
(5) .
aRemove the spark plugs using the (Ele. 1933)
equipped with the (Ele. 1382-01).
REFITTING
I - REFITTING PREPARATION OPERATION
aCheck and, if necessary, correct the spark plug elec-
trode gaps using a set of feeler gauges. Special tooling required
Ele. 193323 N.m tightening wrench for
spar k plugs
Ele. 1382-0114 mm Plug spanner.
Equipment required
set of feeler gauges
Tightening torquesm
spar k plugs23 N.m
Type of spark plug Gap (mm)
NGK 0.65 ± 0.05
122836
120958
WARNING
To disconnect the spark plug leads, pull on the
extensions and not on the leads.
Page 473 of 652
17A-17
IGNITION
Plugs: Removal - Refitting
D4F, and 772
17A
Spark plug electrode gap
REMOVAL
I - REMOVAL PREPARATION OPERATION
aRemove the air filter unit (see 12A, Fuel mixture,
Air filter unit: Removal - Refitting, page 12A-13) .a
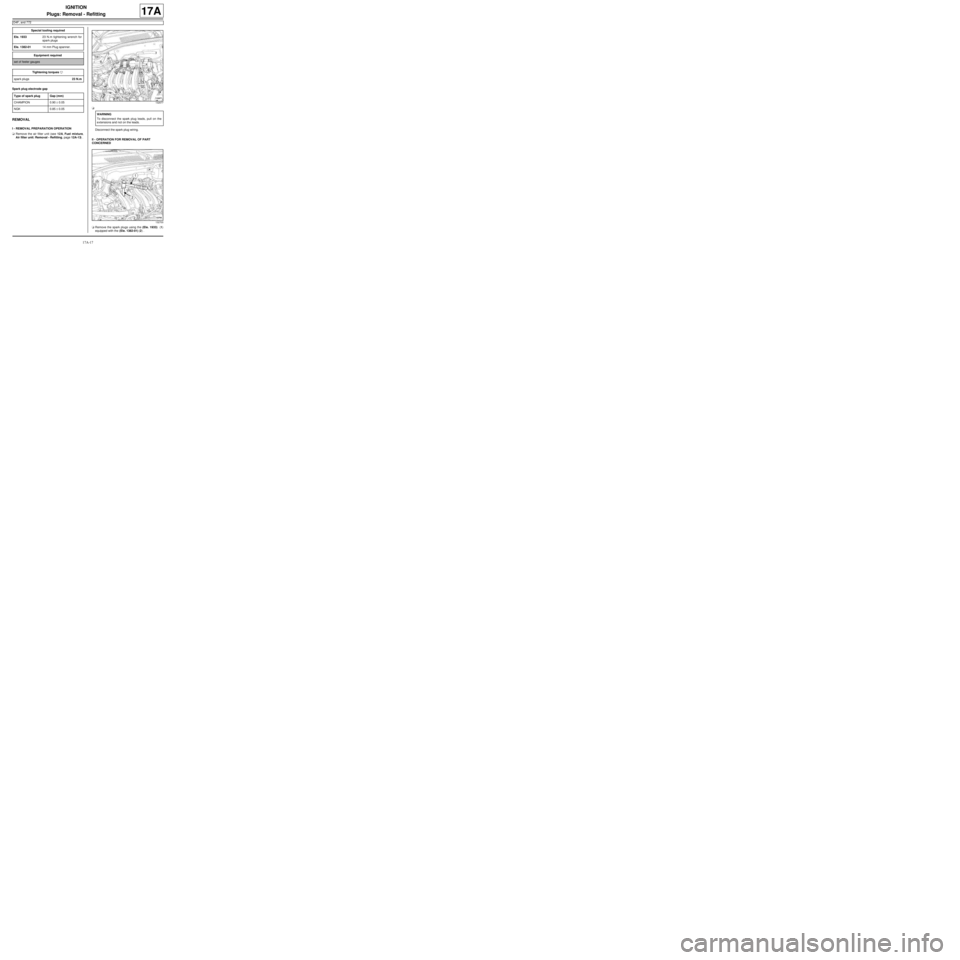
Disconnect the spark plug wiring.
II - OPERATION FOR REMOVAL OF PART
CONCERNED
aRemove the spark plugs using the (Ele. 1933) (1)
equipped with the (Ele. 1382-01) (2) . Special tooling required
Ele. 193323 N.m tightening wrench for
spar k plugs
Ele. 1382-0114 mm Plug spanner.
Equipment required
set of feeler gauges
Tightening torquesm
spar k plugs23 N.m
Type of spark plug Gap (mm)
CHAMPION 0.90 ± 0.05
NGK 0.85 ± 0.05
132677
WARNING
To disconnect the spark plug leads, pull on the
extensions and not on the leads.
132700
Page 488 of 652
17B-13
PETROL INJECTION
Oxygen sensors: Removal - Refitting
D4F, and 772 – D7F
17B
REMOVAL
I - REMOVAL PREPARATION OPERATION
aPosition the vehicle on a two-post lift (see Vehicle:
Towing and lifting) (02A, Lifting equipment).II - REMOVING THE UPSTREAM OXYGEN SENSOR
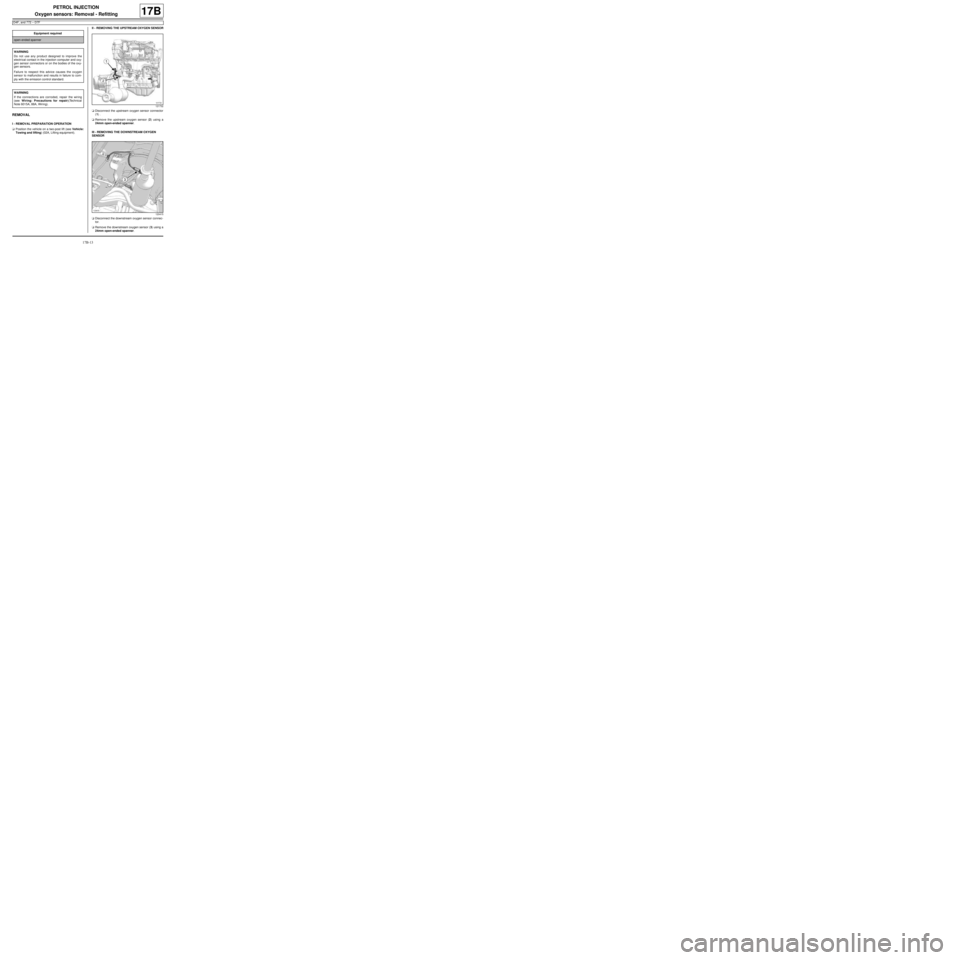
aDisconnect the upstream oxygen sensor connector
(1) .
aRemove the upstream oxygen sensor (2) using a
24mm open-ended spanner.
III - REMOVING THE DOWNSTREAM OXYGEN
SENSOR
aDisconnect the downstream oxygen sensor connec-
tor.
aRemove the downstream oxygen sensor (3) using a
24mm open-ended spanner. Equipment required
open-ended spanner
WARNING
Do not use any product designed to improve the
electr ical contact in the injection computer and oxy-
gen sensor connectors or on the bodies of the oxy-
gen sensors.
Failure to respect this advice causes the oxygen
sensor to malfunction and results in failure to com-
ply with the emission control standard.
WARNING
If the connections are corroded, repair the wiring
(see Wiring: Precautions for repair)(Technical
Note 6015A, 88A, Wiring).
121732
120415
Page 490 of 652
17B-15
PETROL INJECTION
Oxygen sensors: Removal - Refitting
D4F, and 780 or 782
17B
REMOVAL
I - REMOVAL PREPARATION OPERATION
aPosition the vehicle on a two-post lift (see Vehicle:
Towing and lifting) (02A, Lifting equipment).
II - OPERATION FOR REMOVAL OF PART
CONCERNED
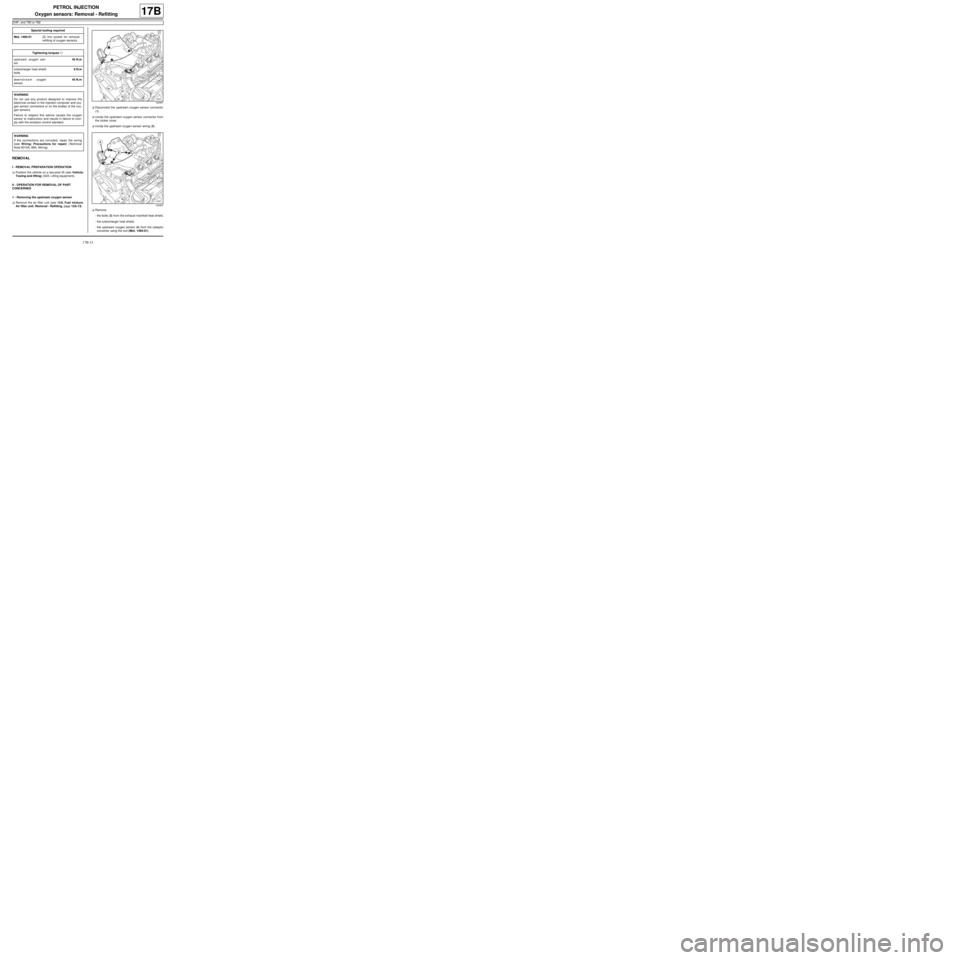
1 - Removing the upstream oxygen sensor
aRemove the air filter unit (see 12A, Fuel mixture,
Air filter unit: Removal - Refitting, page 12A-13) .aDisconnect the upstream oxygen sensor connector
(1) .
aUnclip the upstream oxygen sensor connector from
the rocker cover.
aUnclip the upstream oxygen sensor wiring (2) .
aRemove:
-the bolts (3) from the exhaust manifold heat shield,
-the turbocharger heat shield,
-the upstream oxygen sensor (4) from the catalytic
converter using the tool (Mot. 1495-01). Special tooling required
Mot. 1495-0122 mm socket for removal -
refitting of oxygen sensors.
Tightening torquesm
upstream oxygen sen-
sor45 N.m
turbocharger heat shield
bolts8 N.m
downstream oxygen
sensor45 N.m
WARNING
Do not use any product designed to improve the
electr ical contact in the injection computer and oxy-
gen sensor connectors or on the bodies of the oxy-
gen sensors.
Failure to respect this advice causes the oxygen
sensor to malfunction and results in failure to com-
ply with the emission control standard.
WARNING
If the connections are corroded, repair the wiring
(see Wiring: Precautions for repair) (Technical
Note 6015A, 88A, Wiring).
120957
120957
Page 492 of 652
17B-17
PETROL INJECTION
Oxygen sensors: Removal - Refitting
K4M
17B
REMOVING THE UPSTREAM OXYGEN
SENSOR
I - REMOVAL PREPARATION OPERATION
aPosition the vehicle on a two-post lift (see Vehicle:
Towing and lifting) (02A, Lifting equipment).
aRemove:
-the front right-hand wheel (see Wheel: Removal -
Refitting) (35A, Wheels and tyres),-the front right-hand wheel arch liner (see Front
wheel arch liner: Removal - Refitting) (55A, Ex-
terior protection),
-the engine undertray.
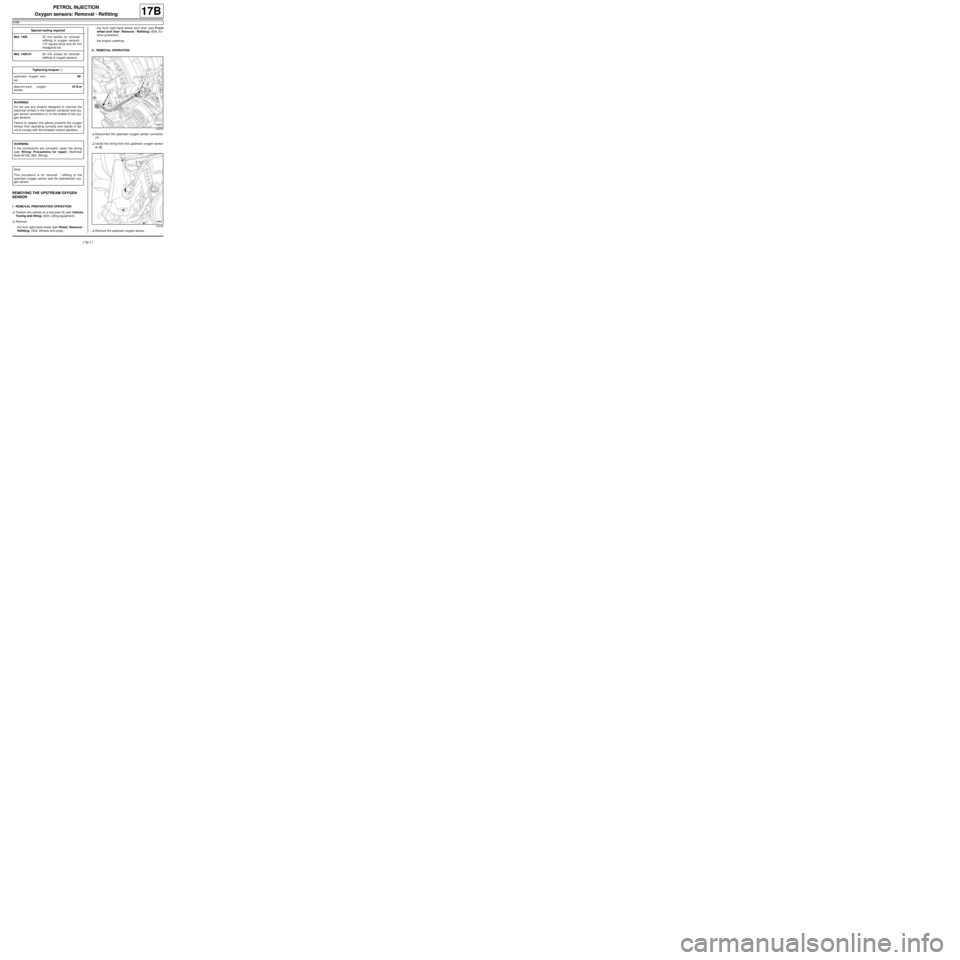
II - REMOVAL OPERATION
aDisconnect the upstream oxygen sensor connector
(1) .
aUnclip the wiring from the upstream oxygen sensor
at (2) .
aRemove the upstream oxygen sensor . Special tooling required
Mot. 149522 mm socket for removal -
refitting of oxygen sensors -
1/2" square dr ive and 24 mm
hexagonal ext.
Mot. 1495-0122 mm socket for removal -
refitting of oxygen sensors.
Tightening torquesm
upstream oxygen sen-
sor90˚
downstream oxygen
sensor45 N.m
WARNING
Do not use any product designed to improve the
electr ical contact in the injection computer and oxy-
gen sensor connectors or on the bodies of the oxy-
gen sensors.
Failure to respect this advice prevents the oxygen
sensor from operating correctly and results in fail-
ure to comply with the emission control standard.
WARNING
If the connections are corroded, repair the wiring
(see Wiring: Precautions for repair) (Technical
Note 6015A, 88A, Wiring).
Note:
This procedure is for removal - refitting of the
upstream oxygen sensor and the downstream oxy-
gen sensor.
132373
132539