warning RENAULT TWINGO 2009 2.G Engine And Peripherals Workshop Manual
[x] Cancel search | Manufacturer: RENAULT, Model Year: 2009, Model line: TWINGO, Model: RENAULT TWINGO 2009 2.GPages: 652
Page 495 of 652
17B-20
PETROL INJECTION
Petrol injection computer: Removal - Refitting
D4F or D7F
17B
REMOVAL
I - REMOVAL PREPARATION OPERATION
aDisconnect the battery (see ) (MR 411, 80A, Bat-
tery).II - OPERATION FOR REMOVAL OF PART
CONCERNED
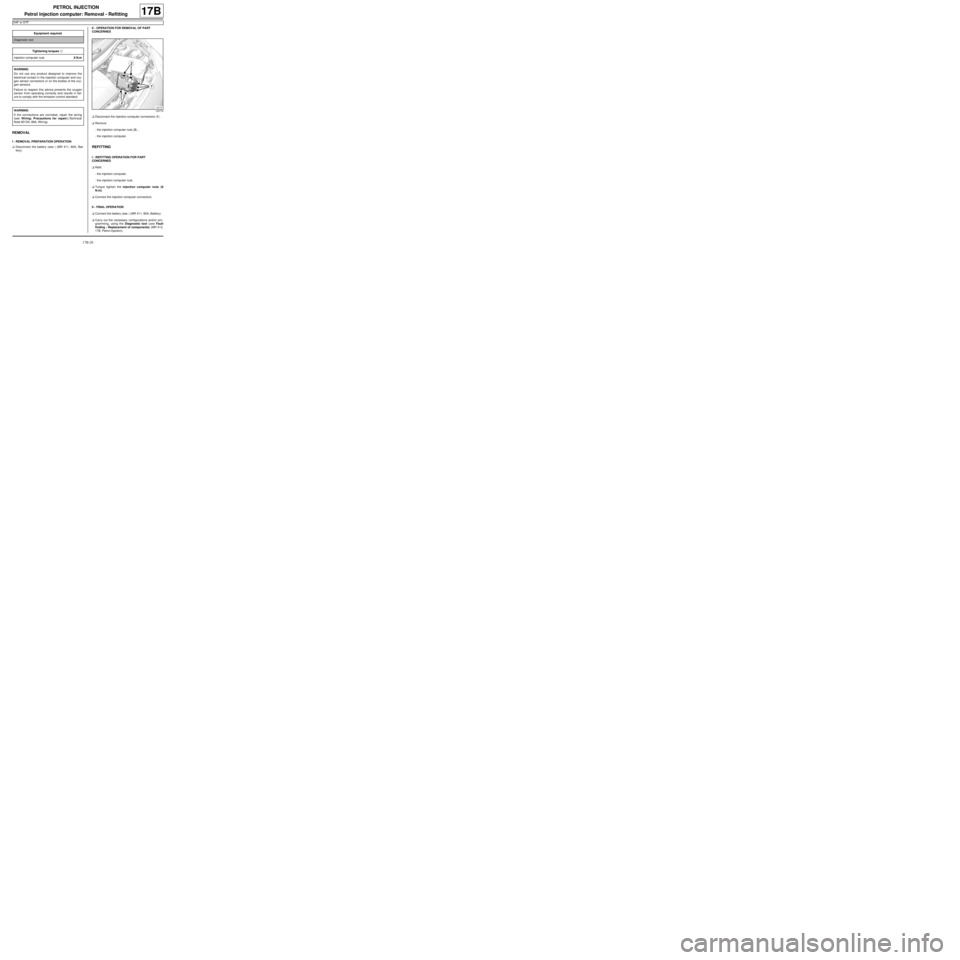
aDisconnect the injection computer connectors (1) .
aRemove:
-the injection computer nuts (2) ,
-the injection computer.
REFITTING
I - REFITTING OPERATION FOR PART
CONCERNED
aRefit:
-the injection computer,
-the injection computer nuts.
aTorque tighten the injection computer nuts (8
N.m).
aConnect the injection computer connectors.
II - FINAL OPERATION
aConnect the battery (see ) (MR 411, 80A, Battery).
aCarry out the necessary configurations and/or pro-
gramming, using the Diagnostic tool (see Fault
finding - Replacement of components) (MR 413,
17B, Petrol injection). Equipment required
Diagnostic tool
Tightening torquesm
injection computer nuts8 N.m
WARNING
Do not use any product designed to improve the
electr ical contact in the injection computer and oxy-
gen sensor connectors or on the bodies of the oxy-
gen sensors.
Failure to respect this advice prevents the oxygen
sensor from operating correctly and results in fail-
ure to comply with the emission control standard.
WARNING
If the connections are corroded, repair the wiring
(see Wiring: Precautions for repair) (Technical
Note 6015A, 88A, Wiring).
120779
Page 496 of 652
17B-21
PETROL INJECTION
Petrol injection computer: Removal - Refitting
K4M
17B
REMOVAL
I - REMOVAL PREPARATION OPERATION
aRemove the battery (see Battery: Removal - Refit-
ting) (80A, Battery).aRemove:
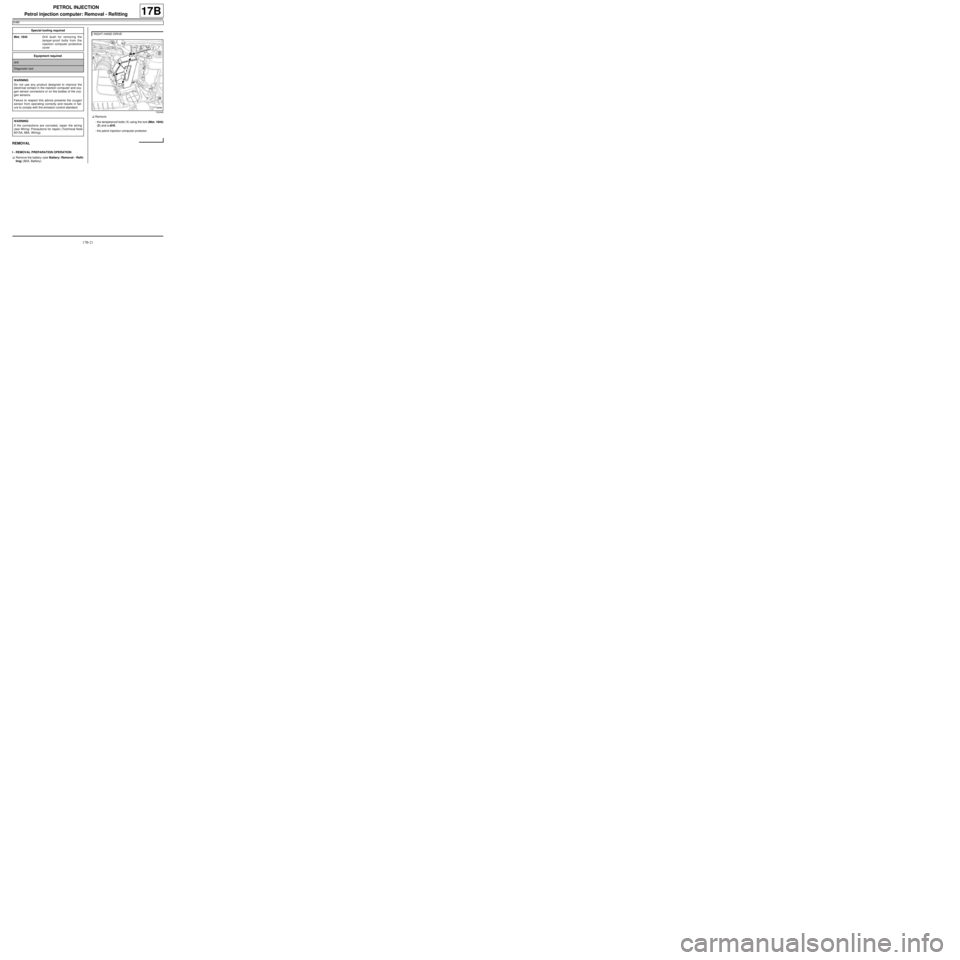
-the tamperproof bolts (1) using the tool (Mot. 1844)
(2) and a drill,
-the petrol injection computer protector. Special tooling required
Mot. 1844Drill bush for removing the
tamper-proof bolts from the
injection computer protective
cover
Equipment required
drill
Diagnostic tool
WARNING
Do not use any product designed to improve the
electr ical contact in the injection computer and oxy-
gen sensor connectors or on the bodies of the oxy-
gen sensors.
Failure to respect this advice prevents the oxygen
sensor from operating correctly and results in fail-
ure to comply with the emission control standard.
WARNING
If the connections are corroded, repair the wiring
(see Wiring: Precautions for repair) (Technical Note
6015A, 88A, Wiring).
RIGHT-HAND DRIVE
132448
Page 506 of 652
17B-31
PETROL INJECTION
Injector rail - Injectors: Removal - Refitting
D4F, and 780 or 782
17B
II - OPERATION FOR REMOVAL OF PART
CONCERNED
aRemove the dipstick.
aDisconnect:
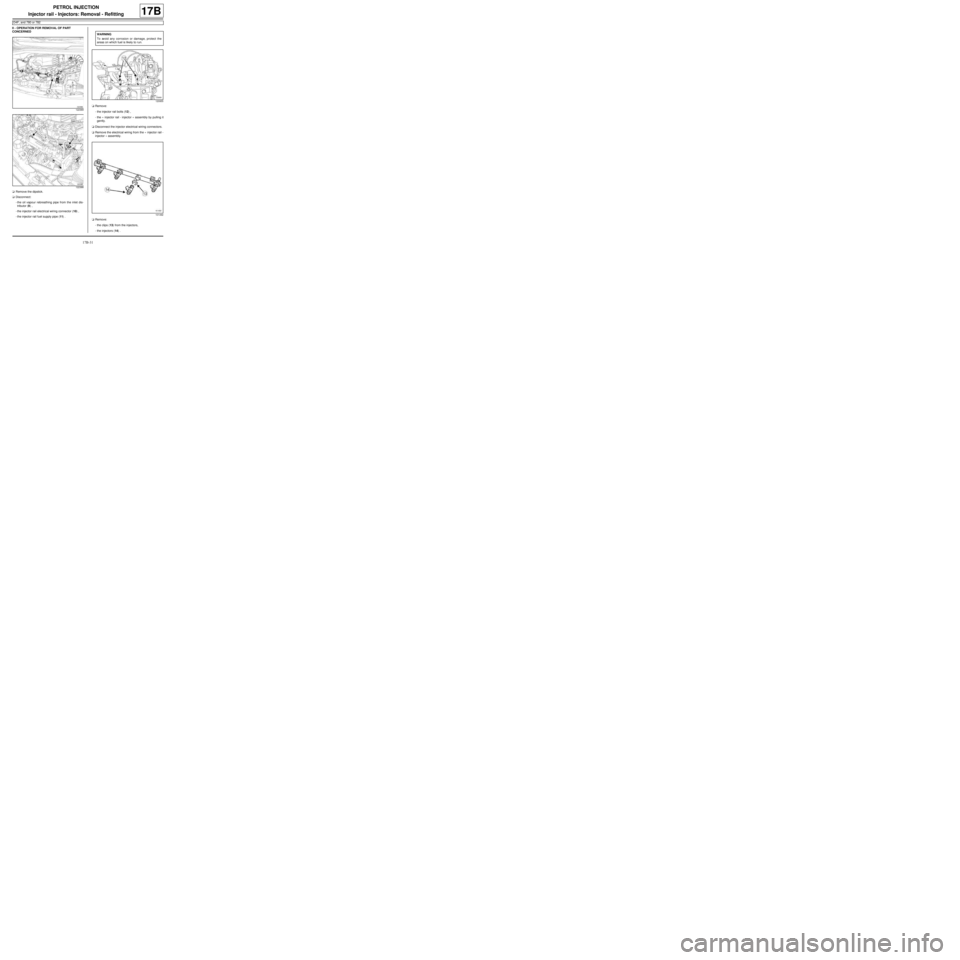
-the oil vapour rebreathing pipe from the inlet dis-
tributor (9) ,
-the injector rail electrical wiring connector (10) ,
-the injector rail fuel supply pipe (11) .aRemove:
-the injector rail bolts (12) ,
-the « injector rail - injector » assembly by pulling it
gently.
aDisconnect the injector electrical wiring connectors.
aRemove the electrical wiring from the « injector rail -
injector » assembly.
aRemove:
-the clips (13) from the injectors,
-the injectors (14) .
122389
122388
WARNING
To avoid any corrosion or damage, protect the
areas on which fuel is likely to r un.
120955
101492
Page 508 of 652
17B-33
PETROL INJECTION
Injector rail - Injectors: Removal - Refitting
K4M
17B
REMOVAL
I - REMOVAL PREPARATION OPERATION
aDisconnect the battery (see ) (80A, Battery).
aRemove:
-the windscreen wiper arms (see Windscreen wip-
er arm: Removal - Refitting) (85A, Wiping -
Washing),
-the scuttle panel grille (see Scuttle panel grille:
Removal - Refitting) (56A, Exterior equipment),
-the scoop under the scuttle panel grille (see Scoop
under the scuttle panel grille: Removal - Refit-
ting) (56A, Exterior equipment).a
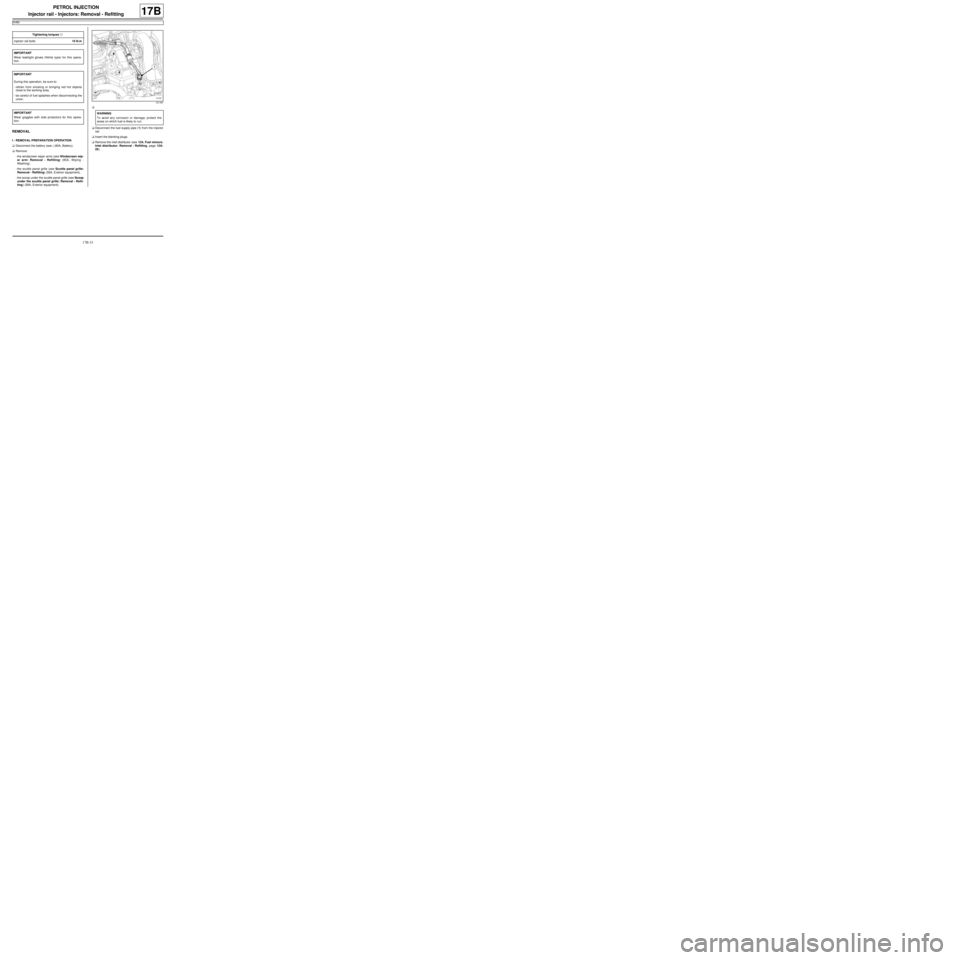
aDisconnect the fuel supply pipe (1) from the injector
rail.
aInsert the blanking plugs.
aRemove the inlet distributor (see 12A, Fuel mixture,
Inlet distributor: Removal - Refitting, page 12A-
29) . Tightening torquesm
injector rail bolts10 N.m
IMPORTANT
Wear leaktight gloves (Nitrile type) for this opera-
tion.
IMPORTANT
During this oper ation, be sure to:
-refrain from smoking or bringing red hot objects
close to the working area,
-be careful of fuel splashes when disconnecting the
union.
IMPORTANT
Wear goggles with side protectors for this opera-
tion.
131767
WARNING
To avoid any corrosion or damage, protect the
areas on which fuel is likely to r un.
Page 512 of 652
19A-2
COOLING
Engine cooling system: Check
19A
Expansion bottle cap valve rating:
I - CHECKING THE COOLING SYSTEM USING THE
TOOL (MOT. 1700)
a1 - Checking the expansion bottle cap valve
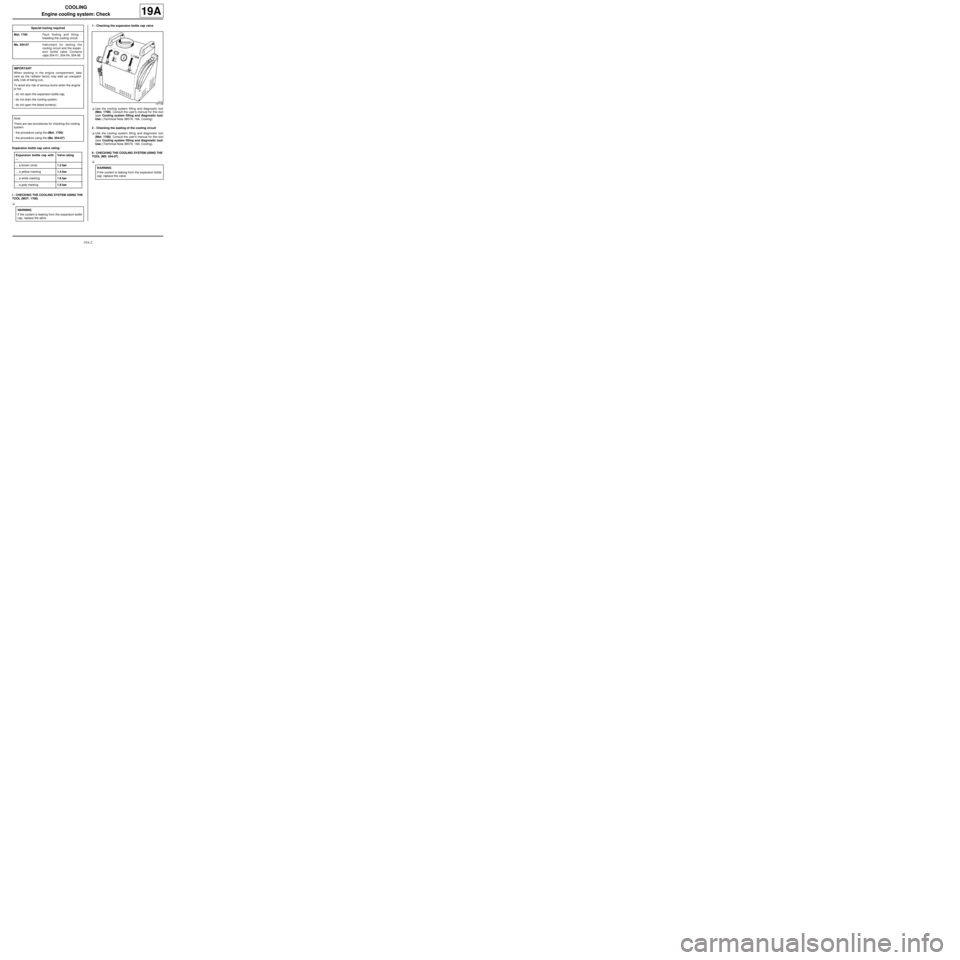
aUse the cooling system filling and diagnostic tool
(Mot. 1700). Consult the user's manual for this tool
(see Cooling system filling and diagnostic tool:
Use) (Technical Note 3857A, 19A, Cooling).
2 - Checking the sealing of the cooling circuit
aUse the cooling system filling and diagnostic tool
(Mot. 1700). Consult the user's manual for this tool
(see Cooling system filling and diagnostic tool:
Use) (Technical Note 3857A, 19A, Cooling).
II - CHECKING THE COOLING SYSTEM USING THE
TOOL (MS. 554-07)
a Special tooling required
Mot. 1700Fault finding and filling -
bleeding the cooling circuit.
Ms. 554-07Instr ument for testing the
cooling circuit and the expan-
sion bottle valve. Contains
caps 554-01, 554-04, 554-06
IMPORTANT
When working in the engine compartment, take
care as the radiator fan(s) may start up unexpect-
edly (risk of being cut).
To avoid any risk of serious burns when the engine
is hot:
-do not open the expansion bottle cap,
-do not drain the cooling system,
-do not open the bleed screw(s).
Note:
There are two procedures for checking the cooling
system:
-the procedure using the (Mot. 1700)
-the procedure using the (Ms. 554-07)
Expansion bottle cap with
...Valve rating
... a brown circle1.2 bar
... a yellow marking1.4 bar
... a white marking1.6 bar
... a grey marking1.8 bar
WARNING
If the coolant is leaking from the expansion bottle
cap, replace the valve.
107138
WARNING
If the coolant is leaking from the expansion bottle
cap, replace the valve.
Page 519 of 652
19A-9
COOLING
Cooling system: Draining - Refilling
D4F or D7F or K4M or K9K
19A
a
I - DRAINING
aPosition the vehicle on a two-post lift (see Vehicle:
Towing and lifting) (02A, Lifting equipment).
aRemove the expansion bottle cap.aRemove the engine undertray.
aPosition the coolant recovery tray under the vehi-
cle.
aRemove the cooling radiator bottom hose clip using
the tool (Mot. 1202-01) or (Mot. 1202-02) or (Mot.
1448).
aOpen the cooling system by removing the cooling ra-
diator bottom hose using the tool (Car. 1363).
aUse a compressed air nozzle to blow air into the
system through the expansion bottle opening to re-
move as much coolant as possible.
II - CLEANING
aFill the cooling system with water through the expan-
sion bottle.
aLet the water run until the water collected by the
cooling radiator bottom hose becomes clear.
aUse a compressed air nozzle to blow air into the
circuit through the expansion bottle opening to re-
move as much water as possible.
aRefit the hose which was removed.
III - FILLING
a
1 - Filling procedure with the tool (Mot. 1700)
aFill the cooling system with engine coolant recom-
mended by the manufacturer (see Vehicle: Parts
and consumables for the repair) (04B, Consum-
ables - Products) using the tool (Mot. 1700).
For the use of this tool (see Cooling system filling
and diagnostic tool: Use) (NT 3857A, 19A, Cool-
ing). Special tooling required
Mot. 1202-01Clip pliers for hose clips
(large size).
Mot. 1202-02Clip pliers for hose clips
(small size)
Mot. 1448Remote operation pliers for
hose clips .
Car. 1363Set of tr im removal levers.
Mot. 1700Fault finding and filling -
bleeding the cooling circuit.
Ms. 554-07Instr ument for testing the
cooling circuit and the expan-
sion bottle valve. Contains
caps 554-01, 554-04, 554-06
Equipment required
coolant recovery tray
compressed air nozzle
pedal press
IMPORTANT
When working in the engine compartment, take
care as the radiator fan(s) may start up unex-
pectedly (risk of being cut).
To avoid any risk of serious burns when the
engine is hot:
-do not open the expansion bottle cap,
-do not dr ain the cooling system,
-do not open the bleed screw(s).
WARNING
Before the operation, protect the electrical acces-
sories to prevent any risk of short circuiting and
protect the belts to avoid damaging them.
K4M
Note:
There are two procedures for filling the cooling
system:
-the method using the (Mot. 1700) tool is recom-
mended by Renault. It saves a considerable
amount of time because it does not require the
cooling system bleed screws to be opened,
-the procedure without a special tool.
Page 520 of 652
19A-10
COOLING
Cooling system: Draining - Refilling
D4F or D7F or K4M or K9K
19A
2 - Filling method without special tools
a
aRemove the air filter unit (see 12A, Fuel mixture,
Air filter unit: Removal - Refitting, page 12A-13) .
aRemove the front engine cover.
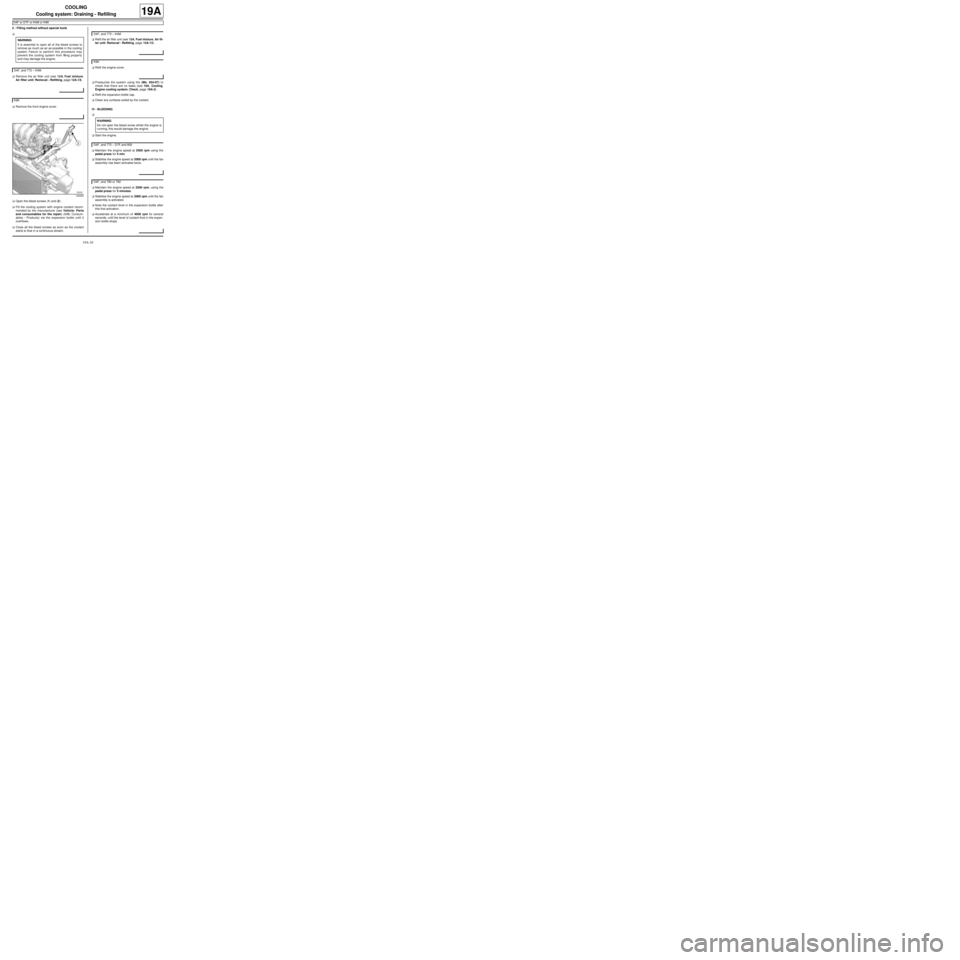
aOpen the bleed screws (1) and (2) .
aFill the cooling system with engine coolant recom-
mended by the manufacturer (see Vehicle: Parts
and consumables for the repair) (04B, Consum-
ables - Products) via the expansion bottle until it
overflows.
aClose all the bleed screws as soon as the coolant
starts to flow in a continuous stream.aRefit the air filter unit (see 12A, Fuel mixture, Air fil-
ter unit: Removal - Refitting, page 12A-13) .
aRefit the engine cover.
aPressurise the system using the (Ms. 554-07) to
check that there are no leaks (see 19A, Cooling,
Engine cooling system: Check, page 19A-2) .
aRefit the expansion bottle cap.
aClean any surfaces soiled by the coolant.
IV - BLEEDING
a
aStart the engine.
aMaintain the engine speed at 2500 rpm using the
pedal press for 5 min.
aStabilise the engine speed at 2000 rpm until the fan
assembly has been activated twice.
aMaintain the engine speed at 2500 rpm, using the
pedal press for 5 minutes.
aStabilise the engine speed at 2000 rpm until the fan
assembly is activated.
aNote the coolant level in the expansion bottle after
this first activation.
aAccelerate at a minimum of 4000 rpm for several
seconds, until the level of coolant fluid in the expan-
sion bottle drops. WARNING
It is essential to open all of the bleed screws to
remove as much as air as possible in the cooling
system. Failure to perform this procedure may
prevent the cooling system from filling properly
and may damage the engine.
D4F, and 772 – K4M
K9K
120526
D4F, and 772 – K4M
K9K
WARNING
Do not open the bleed screw whilst the engine is
running; this would damage the engine.
D4F, and 772 – D7F, and 800
D4F, and 780 or 782
Page 524 of 652
19A-14
COOLING
Cooling radiator: Removal - Refitting
K9K
19A
REMOVAL
I - REMOVAL PREPARATION OPERATION
aPosition the vehicle on a two-post lift (see Vehicle:
Towing and lifting) (02A, Lifting equipment).
aDisconnect the battery (see ) (80A, Battery).
aDrain the refrigerant circuit using a refrigerant
charging station (see Refrigerant circuit: Drain-
ing - Filling) (62A, Air conditioning).
aRemove:
-the front wheels (see Wheel: Removal - Refitting)
(35A, Wheels and tyres),
-the front wheel arch liners (see Front wheel arch
liner: Removal - Refitting) (55A, Exterior protec-
tion),
-the front bumper (see Front bumper: Removal -
Refitting) (55A, Exterior protection).
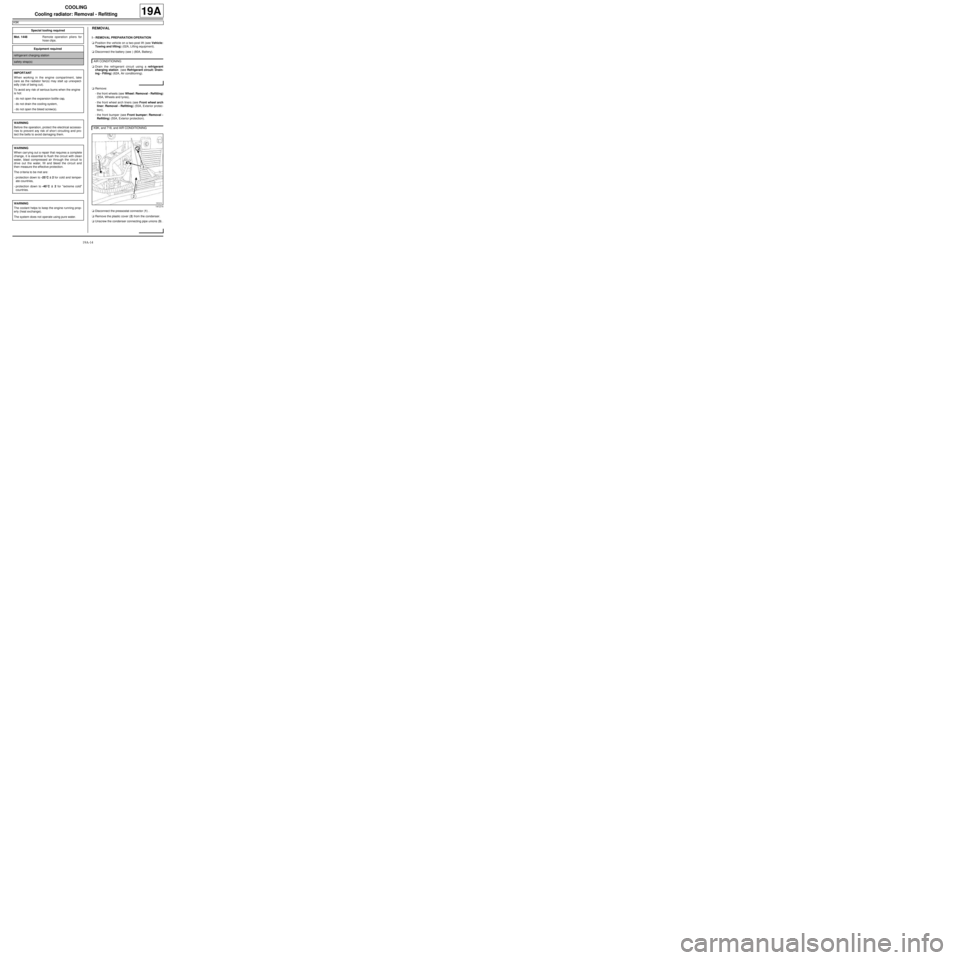
aDisconnect the pressostat connector (1) .
aRemove the plastic cover (2) from the condenser.
aUnscrew the condenser connecting pipe unions (3) . Special tooling required
Mot. 1448Remote operation pliers for
hose clips .
Equipment required
refrigerant charging station
safety strap(s)
IMPORTANT
When working in the engine compartment, take
care as the radiator fan(s) may start up unexpect-
edly (risk of being cut).
To avoid any risk of serious burns when the engine
is hot:
-do not open the expansion bottle cap,
-do not drain the cooling system,
-do not open the bleed screw(s).
WARNING
Before the operation, protect the electrical accesso-
ries to prevent any risk of shor t circuiting and pro-
tect the belts to avoid damaging them.
WARNING
When carr ying out a repair that requires a complete
change, it is essential to flush the circuit with clean
water, blast compressed air through the circuit to
drive out the water, fill and bleed the circuit and
then measure the effective protection.
The cr iteria to be met are:
-protection down to -25˚C ±± ± ±
2 for cold and temper-
ate countries,
-protection down to -40˚C ±± ± ±
2 for "extreme cold"
countries.
WARNING
The coolant helps to keep the engine running prop-
erly (heat exchange).
The system does not operate using pure water.AIR CONDITIONING
K9K, and 718, and AIR CONDITIONING
141214
Page 525 of 652
19A-15
COOLING
Cooling radiator: Removal - Refitting
K9K
19A
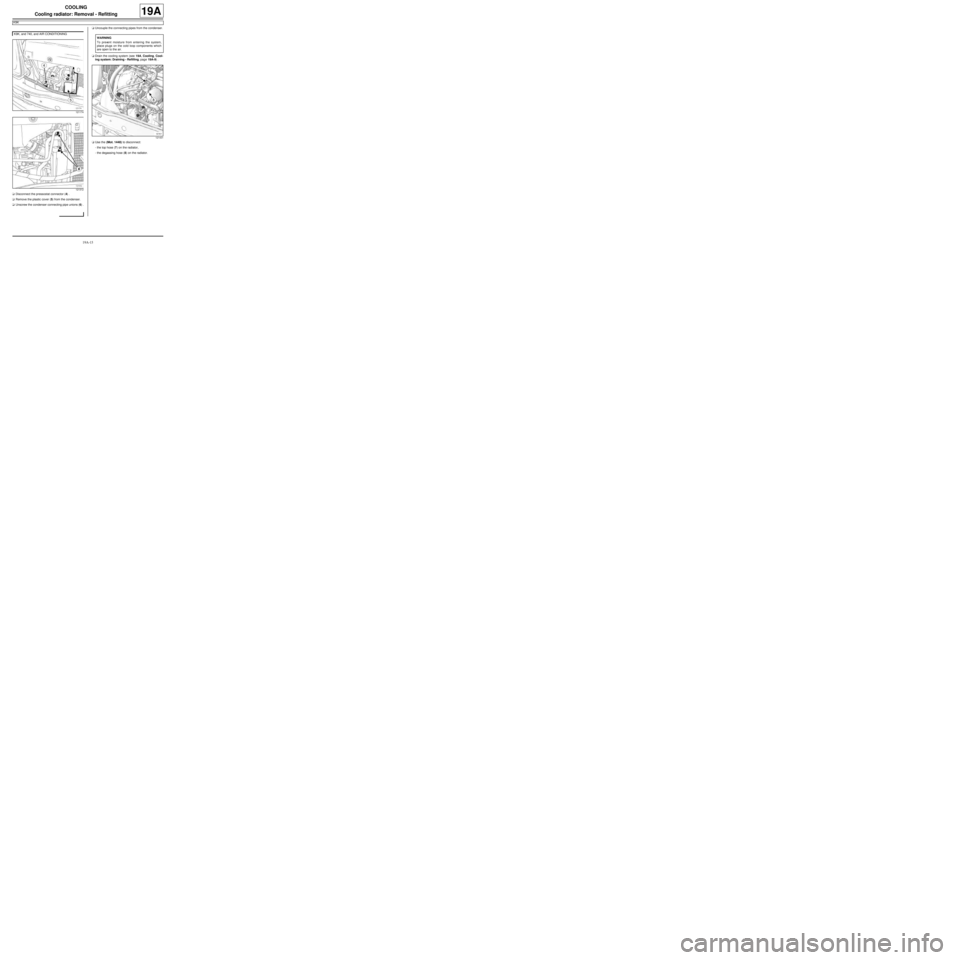
aDisconnect the pressostat connector (4) .
aRemove the plastic cover (5) from the condenser.
aUnscrew the condenser connecting pipe unions (6) .aUncouple the connecting pipes from the condenser.
aDrain the cooling system (see 19A, Cooling, Cool-
ing system: Draining - Refilling, page 19A-9) .
aUse the (Mot. 1448) to disconnect:
-the top hose (7) on the radiator,
-the degassing hose (8) on the radiator. K9K, and 740, and AIR CONDITIONING
121174
121312
WARNING
To prevent moisture from entering the system,
place plugs on the cold loop components which
are open to the air.
121431
Page 527 of 652
19A-17
COOLING
Cooling radiator: Removal - Refitting
K9K
19A
-the top hose on the radiator,
-the bottom hose on the radiator.
a
aLubricate the seals with the recommended air condi-
tioning oil to facilitate fitting.
aFit the condenser connecting pipes.
aFit the connecting pipe unions to the condenser.
aRefit the plastic cover on the condenser.
aConnect the pressostat connector.
aRefit:
-the front bumper (see Front bumper: Removal -
Refitting) (55A, Exterior protection),
-the front wheel arch liners (see Front wheel arch
liner: Removal - Refitting) (55A, Exterior protec-
tion),
-the front wheels (see Wheel: Removal - Refitting)
(35A, Wheels and tyres).
aConnect the battery (see ) (80A, Battery).
aFill and bleed the cooling system (see 19A, Cool-
ing, Cooling system: Draining - Refilling, page
19A-9) .aCheck that the system is operating correctly (see Air
conditioning: Check) (62A, Air conditioning).
aFill the refrigerant circuit using a refrigerant charg-
ing station (see Refrigerant circuit: Draining -
Filling) (62A, Air conditioning).
aCheck the refrigerant circuit (see Refrigerant cir-
cuit: Check) (62A, Air conditioning). AIR CONDITIONING
WARNING
Do not remove the blanking plugs from each
component until the last moment.
Also, do not remove the components from their
packaging until they are to be fitted to the vehi-
cle.
WARNING
To avoid any leaks, check that the seal and the
pipe surface are in good condition. The seal and
the surface must be clean and scratch free.
AIR CONDITIONING