Injector rail RENAULT TWINGO 2009 2.G Engine And Peripherals User Guide
[x] Cancel search | Manufacturer: RENAULT, Model Year: 2009, Model line: TWINGO, Model: RENAULT TWINGO 2009 2.GPages: 652
Page 298 of 652
12A-33
FUEL MIXTURE
Inlet distributor: Removal - Refitting
D4F, and 772
12A
REMOVAL
I - REMOVAL PREPARATION OPERATION
aRemove the air filter unit (see 12A, Fuel mixture,
Air filter unit: Removal - Refitting, page 12A-13) .
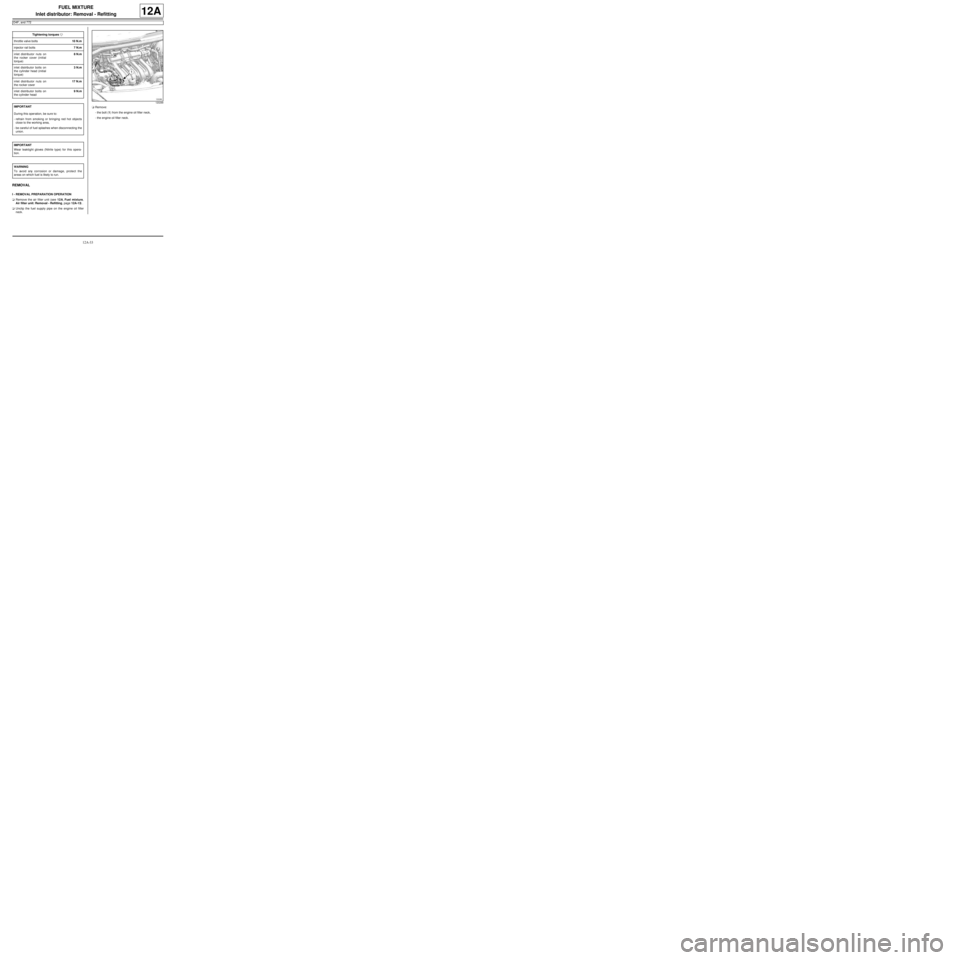
aUnclip the fuel supply pipe on the engine oil filler
neck.aRemove:
-the bolt (1) from the engine oil filler neck,
-the engine oil filler neck. Tightening torquesm
throttle valve bolts10 N.m
injector rail bolts7 N.m
inlet distributor nuts on
the rocker cover (initial
torque)8 N.m
inlet distributor bolts on
the cylinder head (initial
torque)3 N.m
inlet distributor nuts on
the rocker cover17 N.m
inlet distributor bolts on
the cylinder head9 N.m
IMPORTANT
During this oper ation, be sure to:
-refrain from smoking or bringing red hot objects
close to the working area,
-be careful of fuel splashes when disconnecting the
union.
IMPORTANT
Wear leaktight gloves (Nitrile type) for this opera-
tion.
WARNING
To avoid any corrosion or damage, protect the
areas on which fuel is likely to run.
120299
Page 299 of 652
12A-34
FUEL MIXTURE
Inlet distributor: Removal - Refitting
D4F, and 772
12A
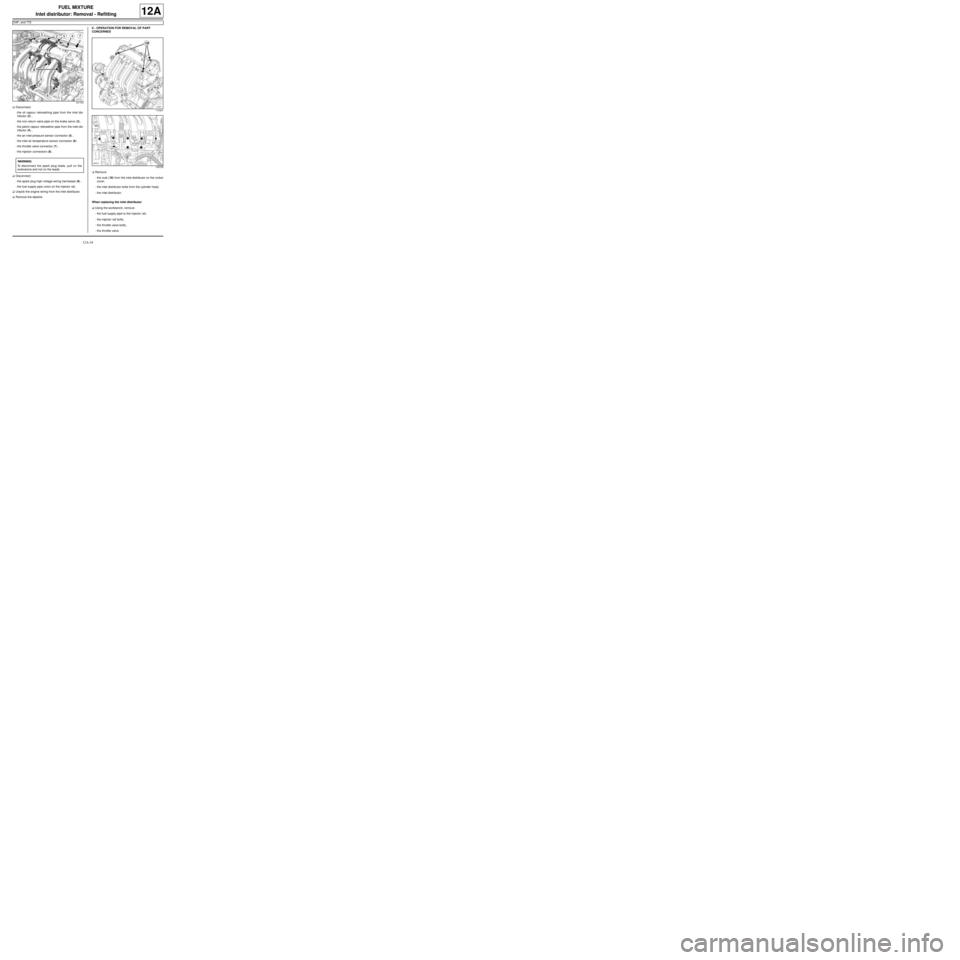
aDisconnect:
-the oil vapour rebreathing pipe from the inlet dis-
tributor (2) ,
-the non-return valve pipe on the brake servo (3) ,
-the petrol vapour rebreather pipe from the inlet dis-
tributor (4) ,
-the air inlet pressure sensor connector (5) ,
-the inlet air temperature sensor connector (6)
-the throttle valve connector (7) ,
-the injector connectors (8) .
aDisconnect:
-the spark plug high voltage wiring harnesses (9) ,
-the fuel supply pipe union on the injector rail.
aUnpick the engine wiring from the inlet distributor.
aRemove the dipstick.II - OPERATION FOR REMOVAL OF PART
CONCERNED
aRemove:
-the nuts (10) from the inlet distributor on the rocker
cover,
-the inlet distributor bolts from the cylinder head,
-the inlet distributor.
When replacing the inlet distributor
aUsing the workbench, remove:
-the fuel supply pipe to the injector rail,
-the injector rail bolts,
-the throttle valve bolts,
-the throttle valve.
121733
WARNING
To disconnect the spark plug leads, pull on the
extensions and not on the leads.
110421
109729
Page 300 of 652

12A-35
FUEL MIXTURE
Inlet distributor: Removal - Refitting
D4F, and 772
12A
REFITTING
I - REFITTING PREPARATION OPERATION
aparts always to be replaced: inlet distributor
seal.
When replacing the inlet distributor
aRefit:
-the throttle valve with a new seal,
-the throttle valve bolts.
aTorque tighten the throttle valve bolts (10 N.m).
aRefit:
-the injector rail,
-the injector rail bolts.
aTorque tighten the injector rail bolts (7 N.m).
II - REFITTING OPERATION FOR PART
CONCERNED
aRefit the inlet distributor, with its new seals.
aFit without tightening:
-the inlet distributor nuts on the rocker cover,
-the inlet distributor bolts from the cylinder head,
aPre-tighten to torque:
-the inlet distributor nuts on the rocker cover
(initial torque) (8 N.m),
-the inlet distributor bolts on the cylinder head
(initial torque) (3 N.m).
aTorque tighten in order:
-the inlet distributor nuts on the rocker cover (17
N.m),-the inlet distributor bolts on the cylinder head
(9 N.m).
109729
Page 301 of 652
12A-36
FUEL MIXTURE
Inlet distributor: Removal - Refitting
D4F, and 772
12A
III - FINAL OPERATION
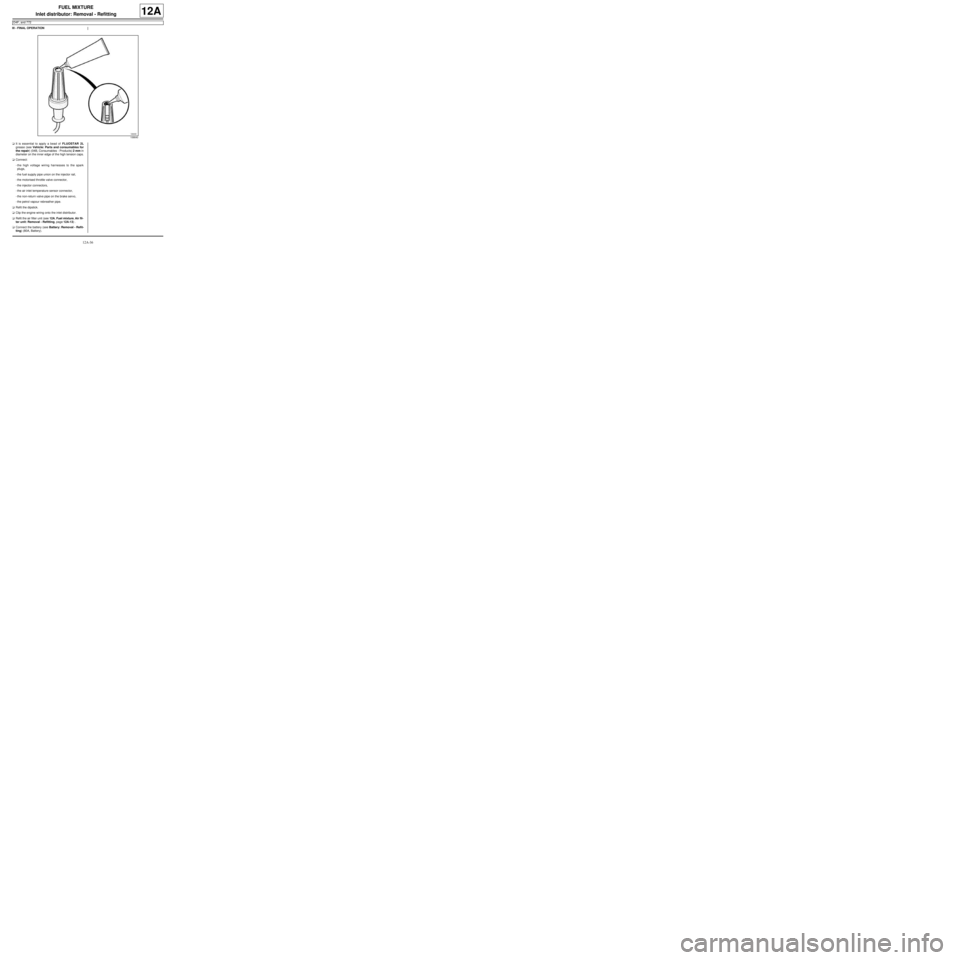
aIt is essential to apply a bead of FLUOSTAR 2L
grease (see Vehicle: Parts and consumables for
the repair) (04B, Consumables - Products) 2 mm in
diameter on the inner edge of the high tension caps.
aConnect:
-the high voltage wiring harnesses to the spark
plugs,
-the fuel supply pipe union on the injector rail,
-the motorised throttle valve connector,
-the injector connectors,
-the air inlet temperature sensor connector,
-the non-return valve pipe on the brake servo,
-the petrol vapour rebreather pipe.
aRefit the dipstick.
aClip the engine wiring onto the inlet distributor.
aRefit the air filter unit (see 12A, Fuel mixture, Air fil-
ter unit: Removal - Refitting, page 12A-13) .
aConnect the battery (see Battery: Removal - Refit-
ting) (80A, Battery).
106640
Page 303 of 652
12A-38
FUEL MIXTURE
Inlet distributor: Removal - Refitting
D4F, and 780 or 782
12A
aRemove the « injector rail - injector » assembly (see
17B, Petrol injection, Injector rail - Injectors: Re-
moval - Refitting, page 17B-27) .
II - OPERATION FOR REMOVAL OF PART
CONCERNED
aDisconnect:
-the air temperature sensor connector from the in-
tercooler air outlet pipe,
-the air pressure sensor connector from the inter-
cooler air outlet pipe.
aUnclip:
-the inlet distributor wiring,
-the throttle valve wiring on the inlet distributor.
aMove the throttle valve wiring to one side.
aDisconnect the non-return valve pipe from the inlet
distributor.
aMove the non-return valve pipe to one side.
aRemove:
-the inlet distributor bolts,
-the inlet distributor,
-the inlet distributor seal.
REFITTING
REFITTING PREPARATION OPERATION
aparts always to be replaced: inlet distributor
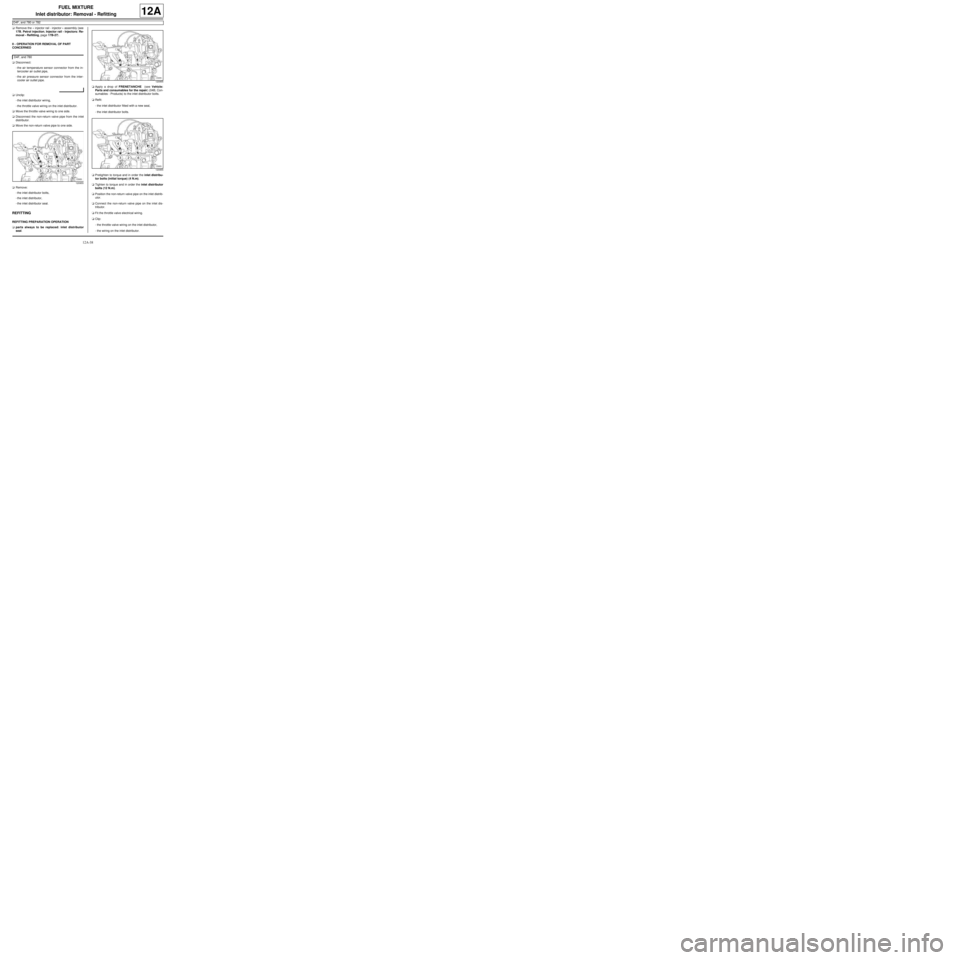
seal.aApply a drop of FRENETANCHE (see Vehicle:
Parts and consumables for the repair) (04B, Con-
sumables - Products) to the inlet distributor bolts.
aRefit:
-the inlet distributor fitted with a new seal,
-the inlet distributor bolts.
aPretighten to torque and in order the inlet distribu-
tor bolts (initial torque) (4 N.m).
aTighten to torque and in order the inlet distributor
bolts (12 N.m).
aPosition the non-return valve pipe on the inlet distrib-
utor.
aConnect the non-return valve pipe on the inlet dis-
tributor.
aFit the throttle valve electrical wiring.
aClip:
-the throttle valve wiring on the inlet distributor,
-the wiring on the inlet distributor. D4F, and 780
120955
120955
120955
Page 304 of 652
12A-39
FUEL MIXTURE
Inlet distributor: Removal - Refitting
D4F, and 780 or 782
12A
aConnect:
-the air pressure sensor connector on the intercool-
er air outlet pipe,
-the air temperature sensor connector on the inter-
cooler air outlet pipe.
aRefit:
-the injector rail (see 17B, Petrol injection, Injec-
tor rail - Injectors: Removal - Refitting, page
17B-27)
-the distributor pressure sensor,
-the pressure sensor bolt.
aConnect the distributor pressure sensor connector.
aRefit:
-the filler neck,
-the filler neck bolt,
-the throttle valve (see 12A, Fuel mixture, Throttle
valve: Removal - Refitting, page 12A-20) . D4F, and 780
Page 310 of 652
12A-45
FUEL MIXTURE
Injector holder shim: Removal - Refitting
K4M
12A
REMOVAL
I - REMOVAL PREPARATION OPERATION
aDisconnect the battery (see ) (80A, Battery).
aRemove:
-the windscreen wiper arms (see Windscreen wip-
er arm: Removal - Refitting) (85A, Wiping -
Washing),
-the scuttle panel grille (see Scuttle panel grille:
Removal - Refitting) (56A, Exterior equipment),
-the scoop under the scuttle panel grille (see Scoop
under the scuttle panel grille: Removal - Refit-
ting) (56A, Exterior equipment).aRemove:
-the dipstick,
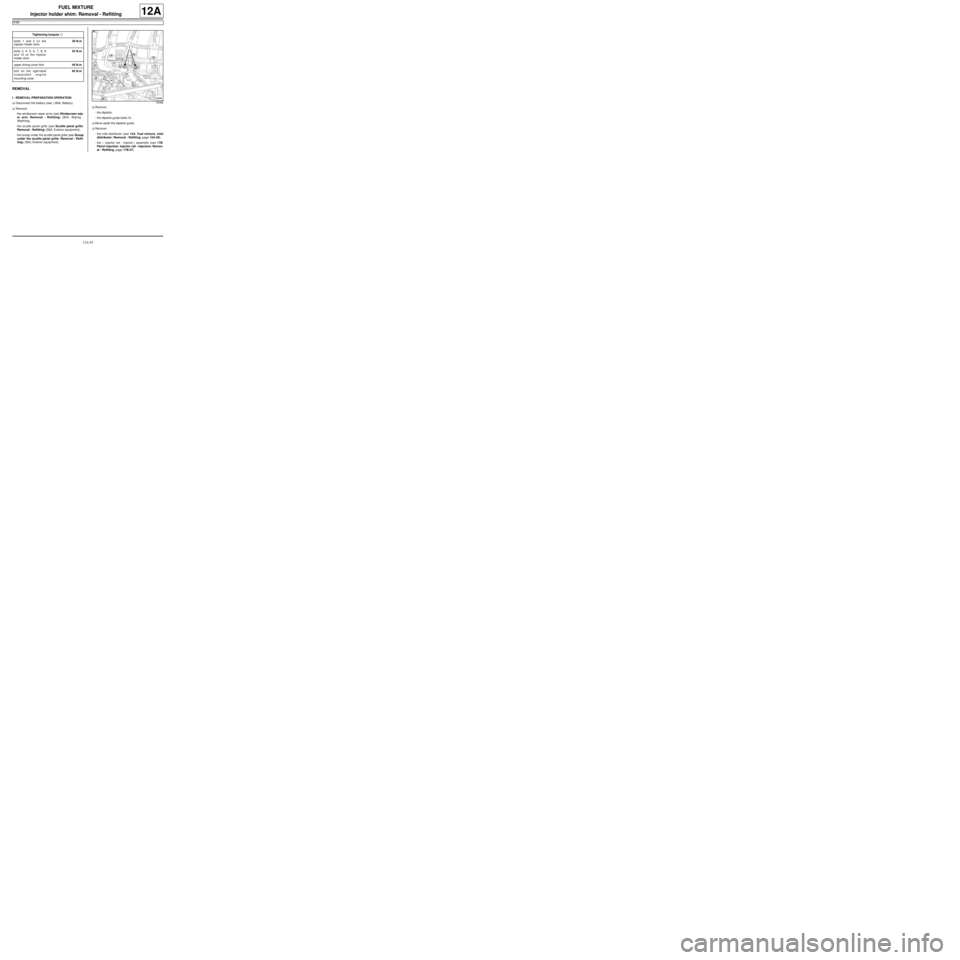
-the dipstick guide bolts (1) .
aMove aside the dipstick guide.
aRemove:
-the inlet distributor (see 12A, Fuel mixture, Inlet
distributor: Removal - Refitting, page 12A-29) ,
-the « injector rail - injector » assembly (see 17B,
Petrol injection, Injector rail - Injectors: Remov-
al - Refitting, page 17B-27) . Tightening torquesm
bolts 1 and 2 on the
injector holder shim30 N.m
bolts 3, 4, 5, 6, 7, 8, 9
and 10 on the injector
holder shim25 N.m
upper timing cover bolt40 N.m
bolt on the right-hand
suspended engine
mounting cover62 N.m
132368
Page 312 of 652
12A-47
FUEL MIXTURE
Injector holder shim: Removal - Refitting
K4M
12A
-bolts 3, 4, 5, 6, 7, 8, 9 and 10 on the injector
holder shim (25 N.m).
aTorque tighten:
-the upper timing cover bolt (40 N.m),
-the bolt on the right-hand suspended engine
mounting cover (62 N.m).
III - FINAL OPERATION
aRefit:
-the « injector rail - injector » assembly (see 17B,
Petrol injection, Injector rail - Injectors: Remov-
al - Refitting, page 17B-27) ,
-the inlet distributor (see 12A, Fuel mixture, Inlet
distributor: Removal - Refitting, page 12A-29) ,
-dipstick guide ,
-the dipstick,
-the scoop under the scuttle panel grille (see Scoop
under the scuttle panel grille: Removal - Refit-
ting) (56A, Exterior equipment),
-the scuttle panel grille (see Scuttle panel grille:
Removal - Refitting) (56A, Exterior equipment),
-the windscreen wiper arms (see Windscreen wip-
er arm: Removal - Refitting) (85A, Wiping -
Washing).
aConnect the battery (see ) (80A, Battery).
Page 344 of 652
13A-1
FUEL SUPPLY
Diesel supply circuit: Operating diagram
K9K
13A
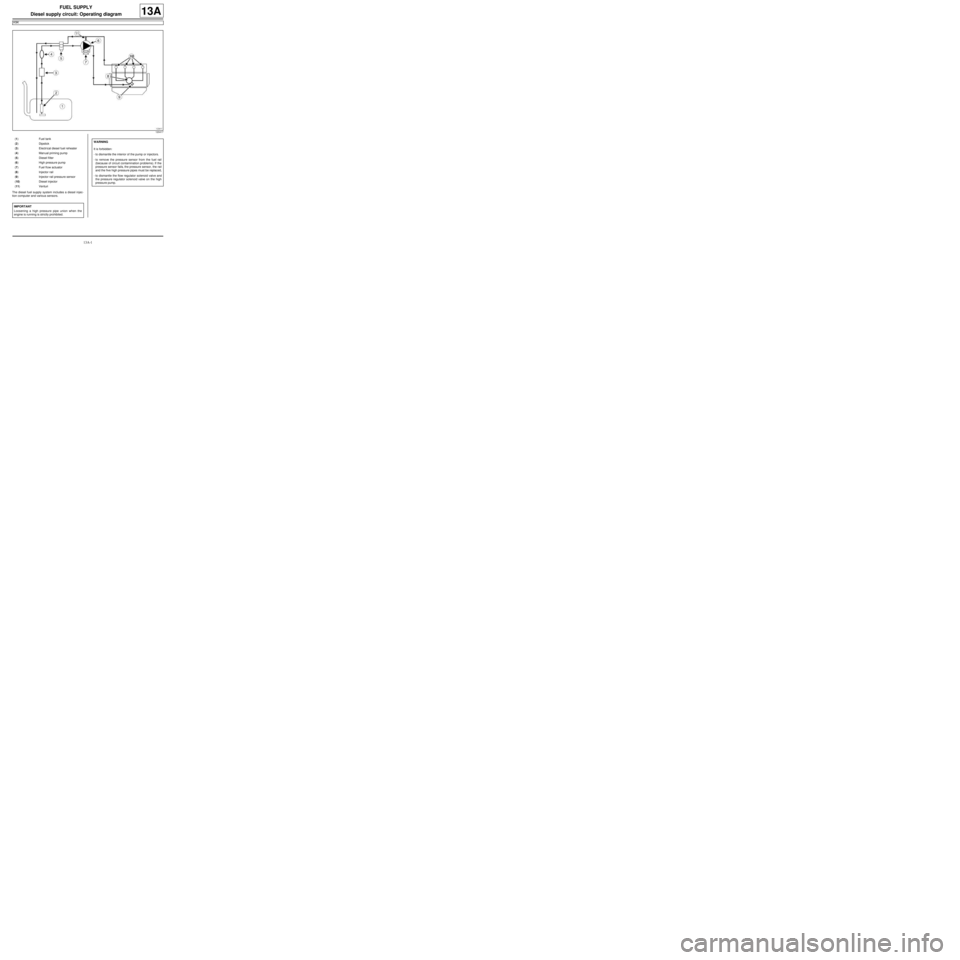
The diesel fuel supply system includes a diesel injec-
tion computer and various sensors.
120417
(1) Fuel tank
(2) Dipstick
(3) Electrical diesel fuel reheater
(4) Man ual priming pump
(5) Diesel filter
(6) High pressure pump
(7) Fuel fl ow actuator
(8) Injector rail
(9) Injector rail pressure sensor
(10) Diesel injector
(11) Venturi
IMPORTANT
Loosening a high pressure pipe union when the
engine is running is strictly prohibited.
WARNING
It is forbidden:
-to dismantle the interior of the pump or injectors.
-to remove the pressure sensor from the fuel rail
(because of circuit contamination problems). If the
pressure sensor fails, the pressure sensor, the rail
and the five high pressure pipes must be replaced,
-to dismantle the flow regulator solenoid valve and
the pressure regulator solenoid valve on the high
pressure pump.
Page 352 of 652
13A-9
FUEL SUPPLY
Fuel pressure: Check
D4F or D7F
13A
CHECK
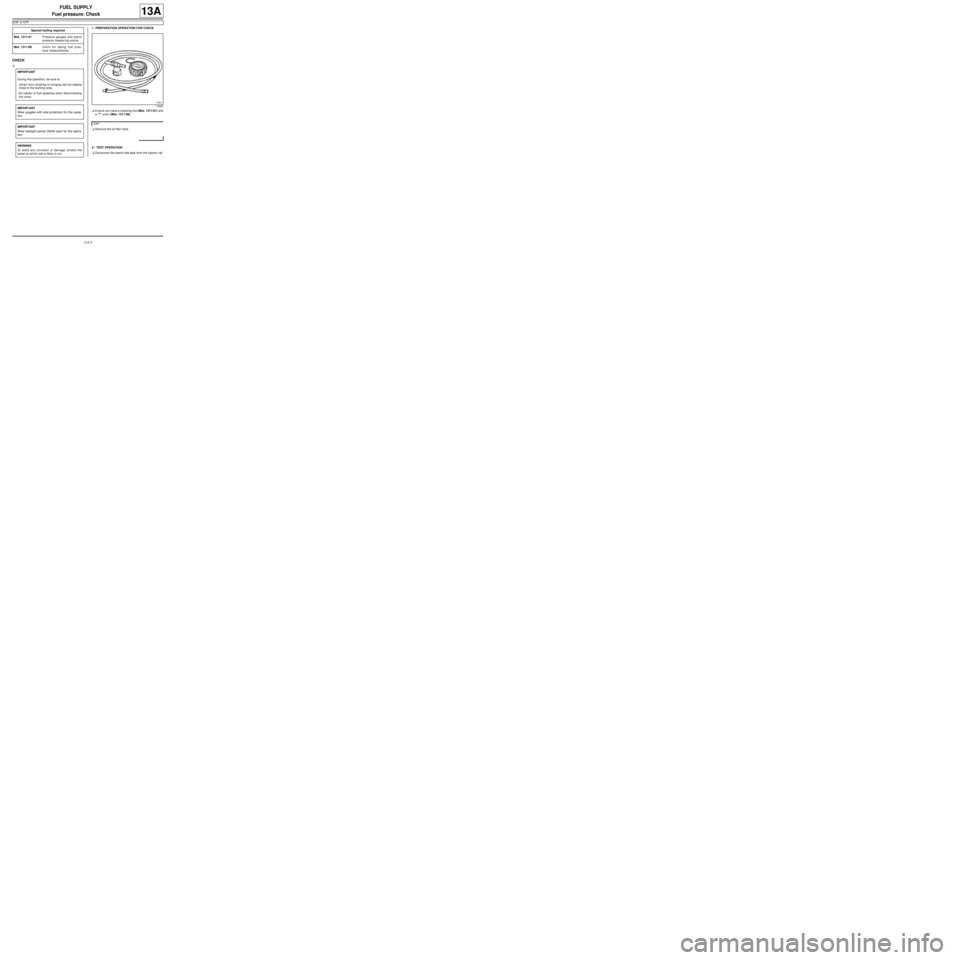
aI - PREPARATION OPERATION FOR CHECK
aEnsure you have a checking tool (Mot. 1311-01) and
a “T” union (Mot. 1311-08).
aRemove the oil filler neck.
II - TEST OPERATION
aDisconnect the petrol inlet pipe from the injector rail. Special tooling required
Mot. 1311-01Pressure gauges and petrol
pressure measur ing unions.
Mot. 1311-08Union for taking fuel pres-
sure measurements .
IMPORTANT
During this operation, be sure to:
-refrain from smoking or bringing red hot objects
close to the working area,
-be careful of fuel splashes when disconnecting
the union.
IMPORTANT
Wear goggles with side protectors for this opera-
tion.
IMPORTANT
Wear leaktight gloves (Nitrile type) for this opera-
tion.
WARNING
To avoid any corrosion or damage, protect the
areas on which fuel is likely to run.
116887
D4F