fuel RENAULT TWINGO 2009 2.G Engine And Peripherals Workshop Manual
[x] Cancel search | Manufacturer: RENAULT, Model Year: 2009, Model line: TWINGO, Model: RENAULT TWINGO 2009 2.GPages: 652
Page 413 of 652
13B-52
DIESEL INJECTION
Injector leak flow: Check
K9K
13B
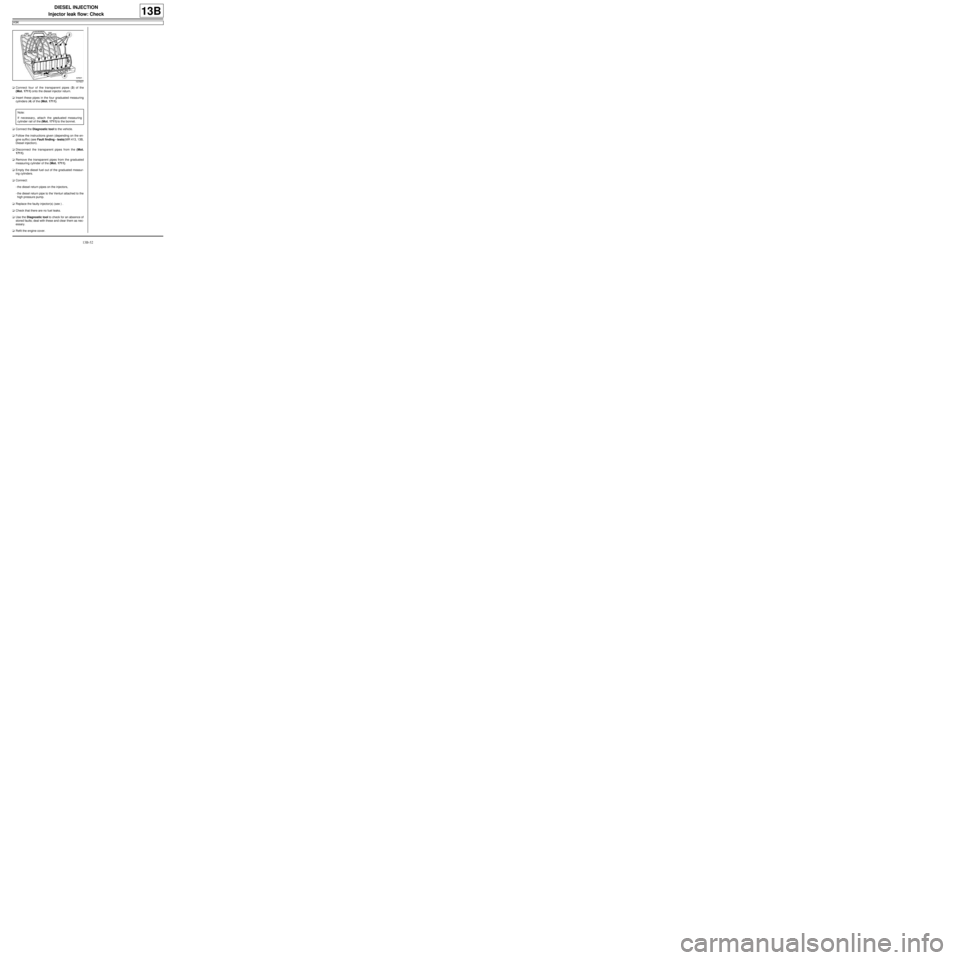
aConnect four of the transparent pipes (3) of the
(Mot. 1711) onto the diesel injector return.
aInsert these pipes in the four graduated measuring
cylinders (4) of the (Mot. 1711).
aConnect the Diagnostic tool to the vehicle.
aFollow the instructions given (depending on the en-
gine suffix) (see Fault finding - tests)(MR 413, 13B,
Diesel injection).
aDisconnect the transparent pipes from the (Mot.
1711).
aRemove the transparent pipes from the graduated
measuring cylinder of the (Mot. 1711).
aEmpty the diesel fuel out of the graduated measur-
ing cylinders.
aConnect:
-the diesel return pipes on the injectors,
-the diesel return pipe to the Venturi attached to the
high pressure pump.
aReplace the faulty injector(s) (see ) .
aCheck that there are no fuel leaks.
aUse the Diagnostic tool to check for an absence of
stored faults; deal with these and clear them as nec-
essary.
aRefit the engine cover.
107637
Note:
If necessary, attach the graduated measuring
cylinder rail of the (Mot. 1711) to the bonnet.
Page 417 of 652
13C-2
PREHEATING
Heater plugs: Removal - Refitting
K9K
13C
REMOVAL
I - REMOVAL PREPARATION OPERATION
aRemove the front engine cover.
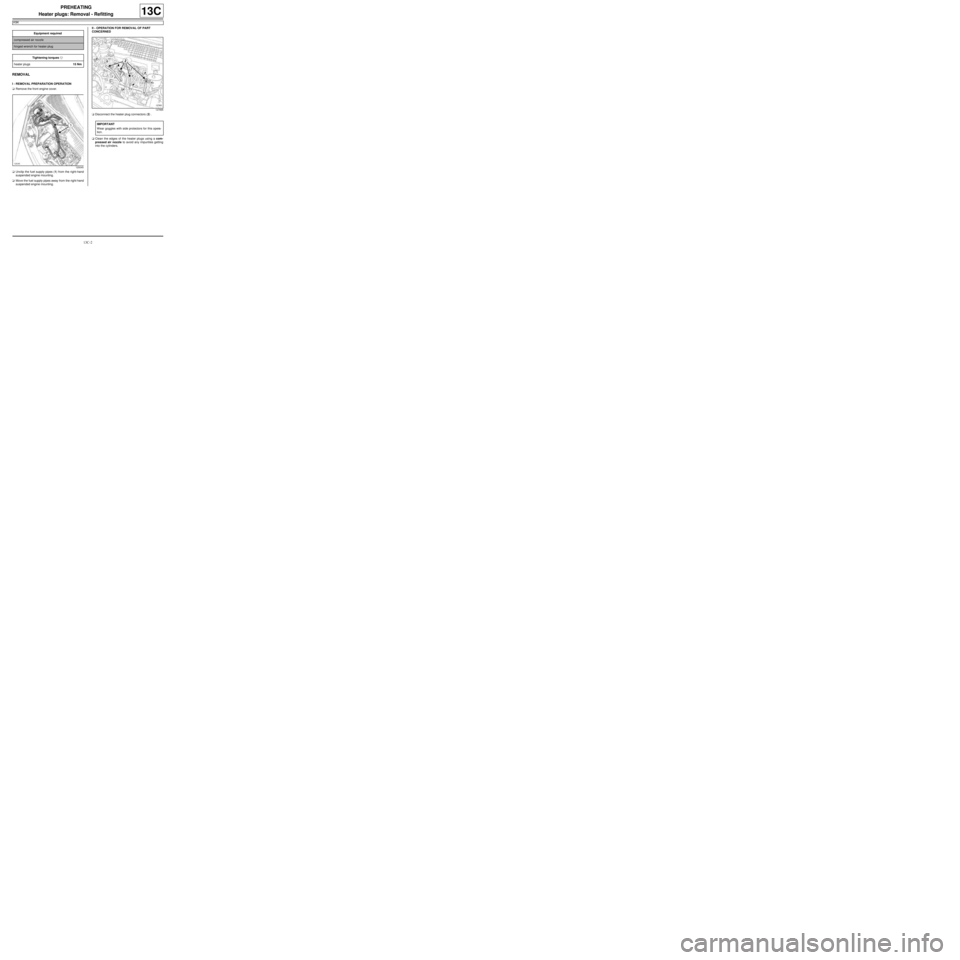
aUnclip the fuel supply pipes (1) from the right-hand
suspended engine mounting.
aMove the fuel supply pipes away from the right-hand
suspended engine mounting.II - OPERATION FOR REMOVAL OF PART
CONCERNED
aDisconnect the heater plug connectors (2) .
aClean the edges of the heater plugs using a com-
pressed air nozzle to avoid any impurities getting
into the cylinders. Equipment required
compressed air nozzle
hinged wrench for heater plug
Tightening torquesm
heater plugs15 Nm
120045
127895
IMPORTANT
Wear goggles with side protectors for this opera-
tion.
Page 418 of 652
13C-3
PREHEATING
Heater plugs: Removal - Refitting
K9K
13C
a
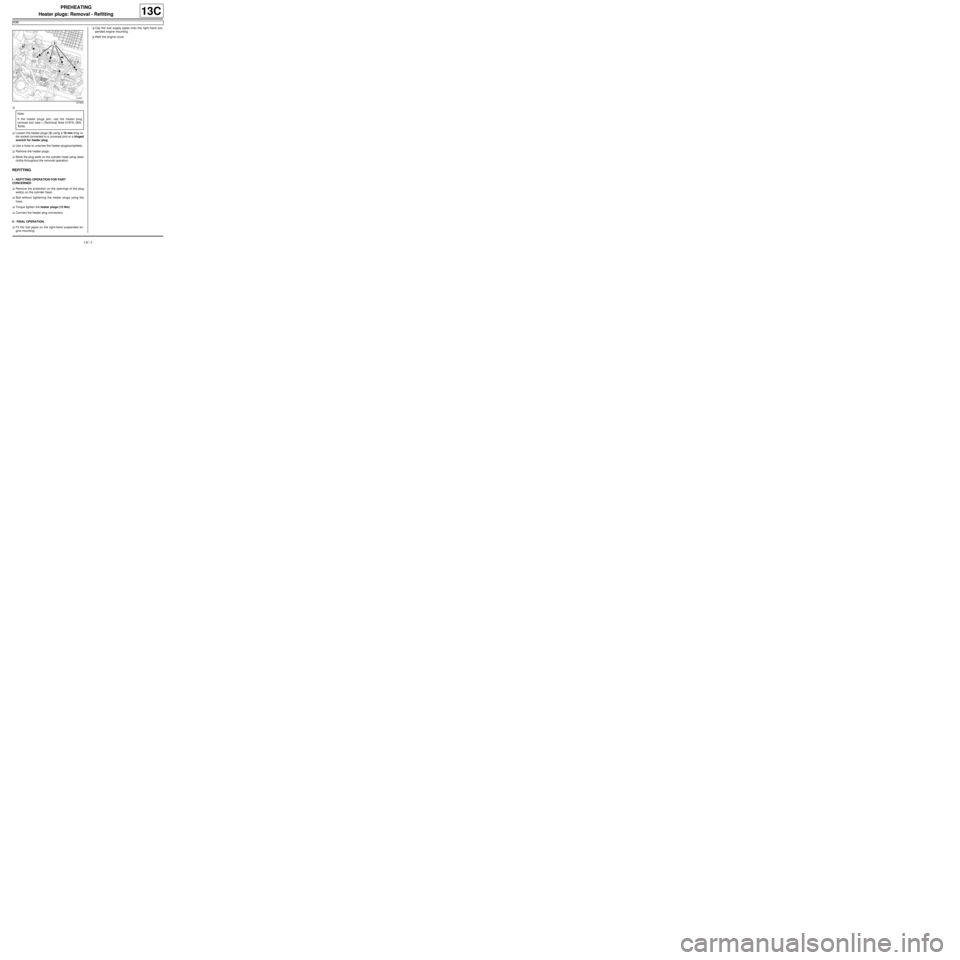
aLoosen the heater plugs (3) using a 10 mm long ra-
dio socket connected to a universal joint or a hinged
wrench for heater plug.
aUse a hose to unscrew the heater plugscompletely.
aRemove the heater plugs.
aBlock the plug wells on the cylinder head using clean
cloths throughout the removal operation.
REFITTING
I - REFITTING OPERATION FOR PART
CONCERNED
aRemove the protection on the openings of the plug
well(s) on the cylinder head.
aBolt without tightening the heater plugs using the
hose.
aTorque tighten the heater plugs (15 Nm).
aConnect the heater plug connectors.
II - FINAL OPERATION.
aFit the fuel pipes on the right-hand suspended en-
gine mounting.aClip the fuel supply pipes onto the right-hand sus-
pended engine mounting.
aRefit the engine cover.
127905
Note:
If the heater plugs jam, use the heater plug
removal tool (see ) (Technical Note 5197A, 06A,
Tools).
Page 420 of 652
14A-2
ANTIPOLLUTION
Fuel vapour recirculation circuit: Operating diagram
D4F or D7F
14A
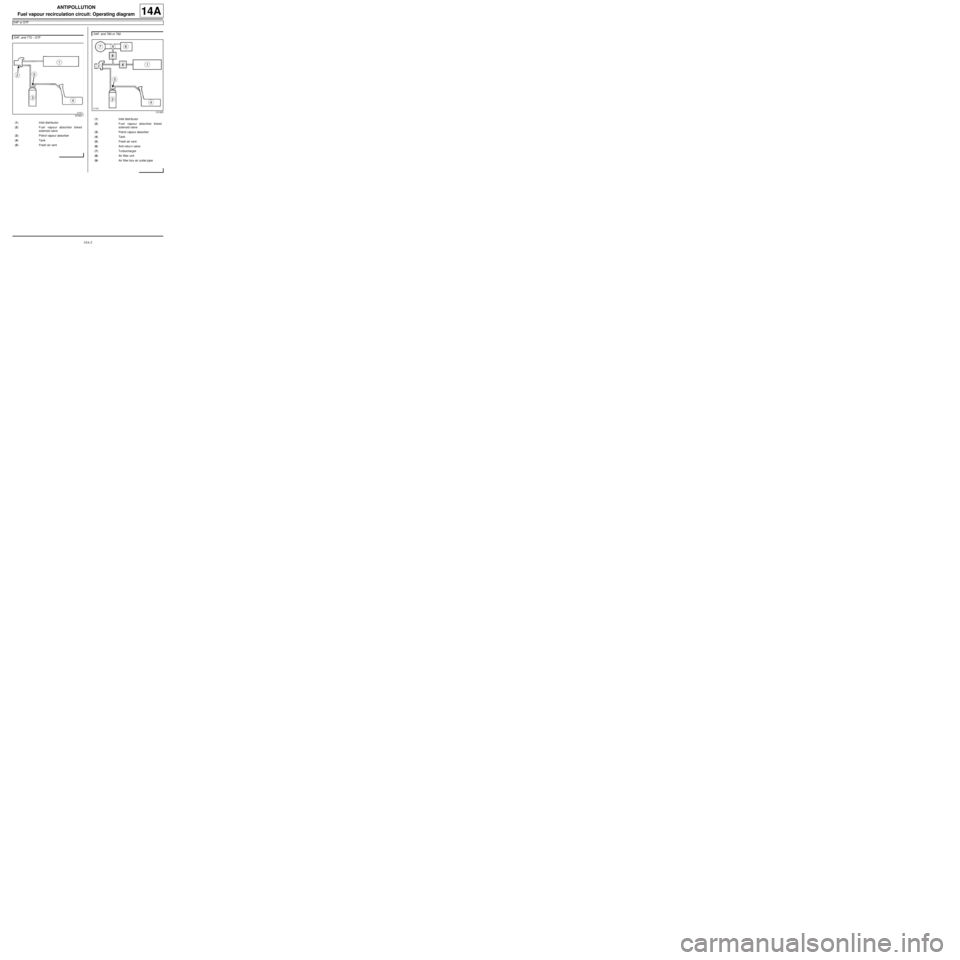
D4F, and 772 – D7F
97393-1
(1) Inlet distributor
(2) Fuel vapour absorber bleed
solenoid valve
(3) Petrol vapour absorber
(4) Tank
(5) Fresh air vent
D4F, and 780 or 782
121923
(1) Inlet distributor
(2) Fuel vapour absorber bleed
solenoid valve
(3) Petrol vapour absorber
(4) Tank
(5) Fresh air vent
(6) Anti-retur n valve
(7) Turbocharger
(8) Air filter unit
(9) Air filter box air outlet pipe
Page 421 of 652
14A-3
ANTIPOLLUTION
Fuel vapour recirculation circuit: Check
D4F or D7F
14A
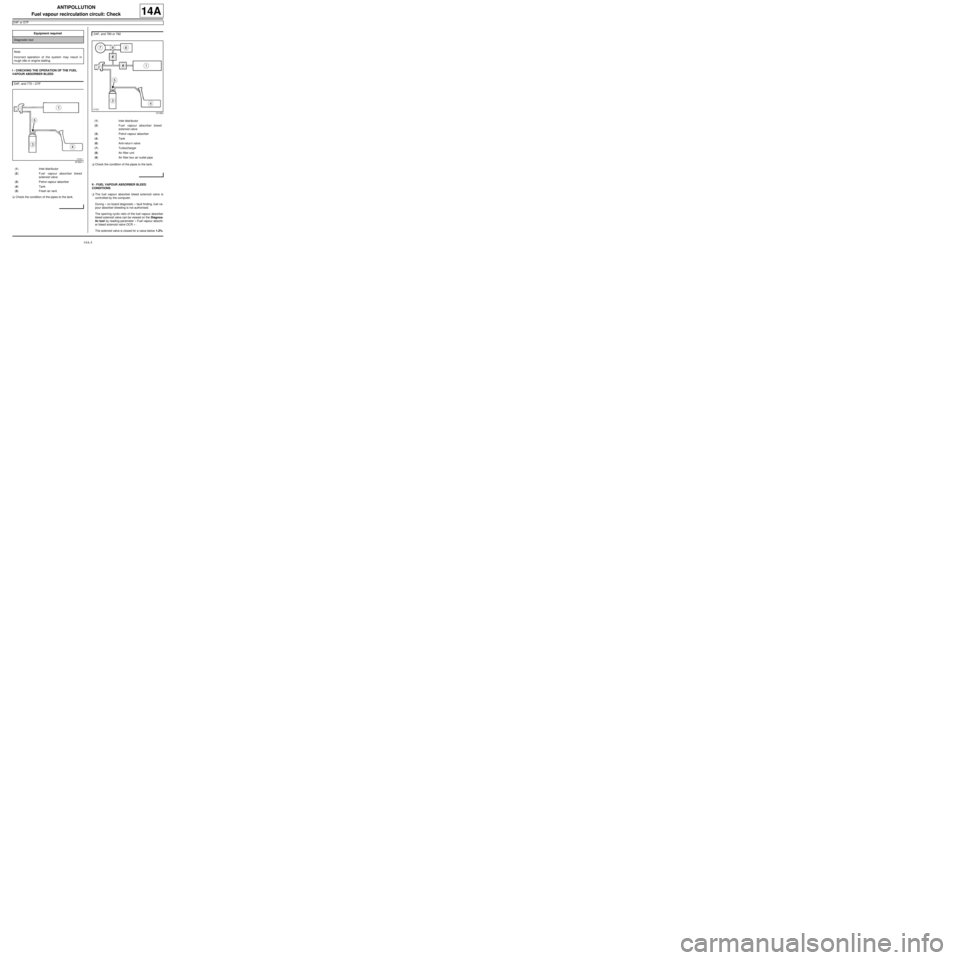
I - CHECKING THE OPERATION OF THE FUEL
VAPOUR ABSORBER BLEED
aCheck the condition of the pipes to the tank.aCheck the condition of the pipes to the tank.
II - FUEL VAPOUR ABSORBER BLEED
CONDITIONS
aThe fuel vapour absorber bleed solenoid valve is
controlled by the computer.
During « on board diagnostic » fault finding, fuel va-
pour absorber bleeding is not authorised.
The opening cyclic ratio of the fuel vapour absorber
bleed solenoid valve can be viewed on the Diagnos-
tic tool by reading parameter « Fuel vapour absorb-
er bleed solenoid valve OCR » .
The solenoid valve is closed for a value below 1.2%. Equipment required
Diagnostic tool
Note:
Incorrect operation of the system may result in
rough idle or engine stalling.
D4F, and 772 – D7F
97393-1
(1) Inlet distributor
(2) Fuel vapour absorber bleed
solenoid valve
(3) Petrol vapour absorber
(4) Tank
(5) Fresh air vent
D4F, and 780 or 782
121923
(1) Inlet distributor
(2) Fuel vapour absorber bleed
solenoid valve
(3) Petrol vapour absorber
(4) Tank
(6) Anti-retur n valve
(7) Turbocharger
(8) Air filter unit
(9) Air filter box air outlet pipe
Page 422 of 652
14A-4
ANTIPOLLUTION
Fuel vapour absorber: Removal - Refitting
D4F or D7F or K4M, and TECHNICAL REG: GERMANY or TECHNICAL REG: AUSTRIA or TECHNICAL REG:
BALKANS or TECHNICAL-LEGISLATIVE BELGIUM or TECHNICAL REG: BOSNIA or TECHNICAL REG:
CYPRUS-MALTA or CZECH REP AND SLOVAKIA or TECHNICAL REG: DENMARK or TECHNICAL REG: DOM
(FRENCH OVERSEAS SUBDIVISION) or TECHNICAL REG: SPAIN or TECHNICAL REG: FINLAND or
TECHNICAL REG: FRANCE or TECHNICAL REG: GREAT BRITAIN or TECHNICAL REG: GREECE or
TECHNICAL-LEGISLATIVE HOLLAND or TECHNICAL REG: HUNGARY or TECHNICAL REG: IRELAND or
TECHNICAL REG: ICELAND or TECHNICAL REG: ISRAEL or TECHNICAL REG: ITALY or TECHNICAL REG:
JAPAN or TECHNICAL REG: NORTH or TECHNICAL REG: NORWAY or TECHNICAL REG: POLAND or
TECHNICAL REG: PORTUGAL or TECHNICAL REG: SLOVENIA or TECHNICAL REG: SWEDEN or TECHNICAL
REG: SWITZERLAND or TECHNICAL REG: TOM (FRENCH OVERSEAS TERRITORIES)
14A
REMOVAL
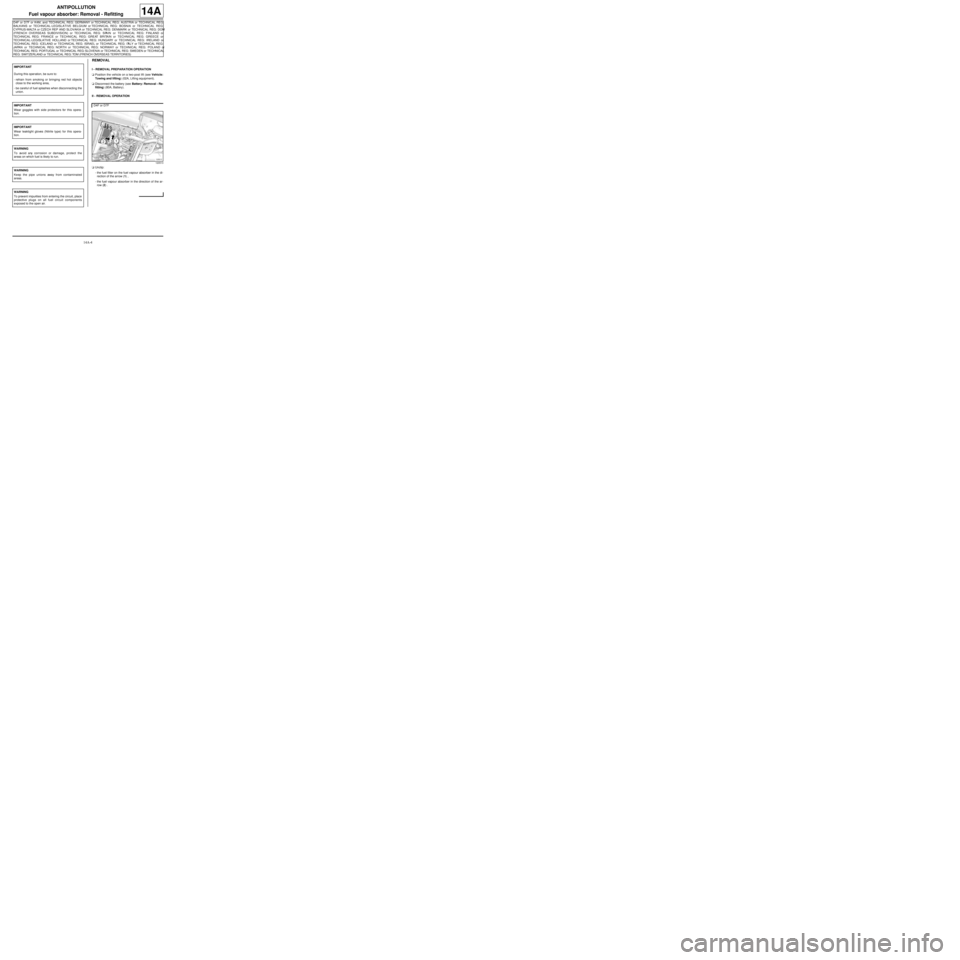
I - REMOVAL PREPARATION OPERATION
aPosition the vehicle on a two-post lift (see Vehicle:
Towing and lifting) (02A, Lifting equipment).
aDisconnect the battery (see Battery: Removal - Re-
fitting) (80A, Battery).
II - REMOVAL OPERATION
aUnclip:
-the fuel filter on the fuel vapour absorber in the di-
rection of the arrow (1) ,
-the fuel vapour absorber in the direction of the ar-
row (2) . IMPORTANT
During this oper ation, be sure to:
-refrain from smoking or bringing red hot objects
close to the working area,
-be careful of fuel splashes when disconnecting the
union.
IMPORTANT
Wear goggles with side protectors for this opera-
tion.
IMPORTANT
Wear leaktight gloves (Nitrile type) for this opera-
tion.
WARNING
To avoid any corrosion or damage, protect the
areas on which fuel is likely to run.
WARNING
Keep the pipe unions away from contaminated
areas.
WARNING
To prevent impurities from entering the circuit, place
protective plugs on all fuel circuit components
exposed to the open air.
D4F or D7F
120513
Page 423 of 652
14A-5
ANTIPOLLUTION
Fuel vapour absorber: Removal - Refitting
D4F or D7F or K4M, and TECHNICAL REG: GERMANY or TECHNICAL REG: AUSTRIA or TECHNICAL REG:
BALKANS or TECHNICAL-LEGISLATIVE BELGIUM or TECHNICAL REG: BOSNIA or TECHNICAL REG:
CYPRUS-MALTA or CZECH REP AND SLOVAKIA or TECHNICAL REG: DENMARK or TECHNICAL REG: DOM
(FRENCH OVERSEAS SUBDIVISION) or TECHNICAL REG: SPAIN or TECHNICAL REG: FINLAND or
TECHNICAL REG: FRANCE or TECHNICAL REG: GREAT BRITAIN or TECHNICAL REG: GREECE or
TECHNICAL-LEGISLATIVE HOLLAND or TECHNICAL REG: HUNGARY or TECHNICAL REG: IRELAND or
TECHNICAL REG: ICELAND or TECHNICAL REG: ISRAEL or TECHNICAL REG: ITALY or TECHNICAL REG:
JAPAN or TECHNICAL REG: NORTH or TECHNICAL REG: NORWAY or TECHNICAL REG: POLAND or
TECHNICAL REG: PORTUGAL or TECHNICAL REG: SLOVENIA or TECHNICAL REG: SWEDEN or TECHNICAL
REG: SWITZERLAND or TECHNICAL REG: TOM (FRENCH OVERSEAS TERRITORIES)
14A
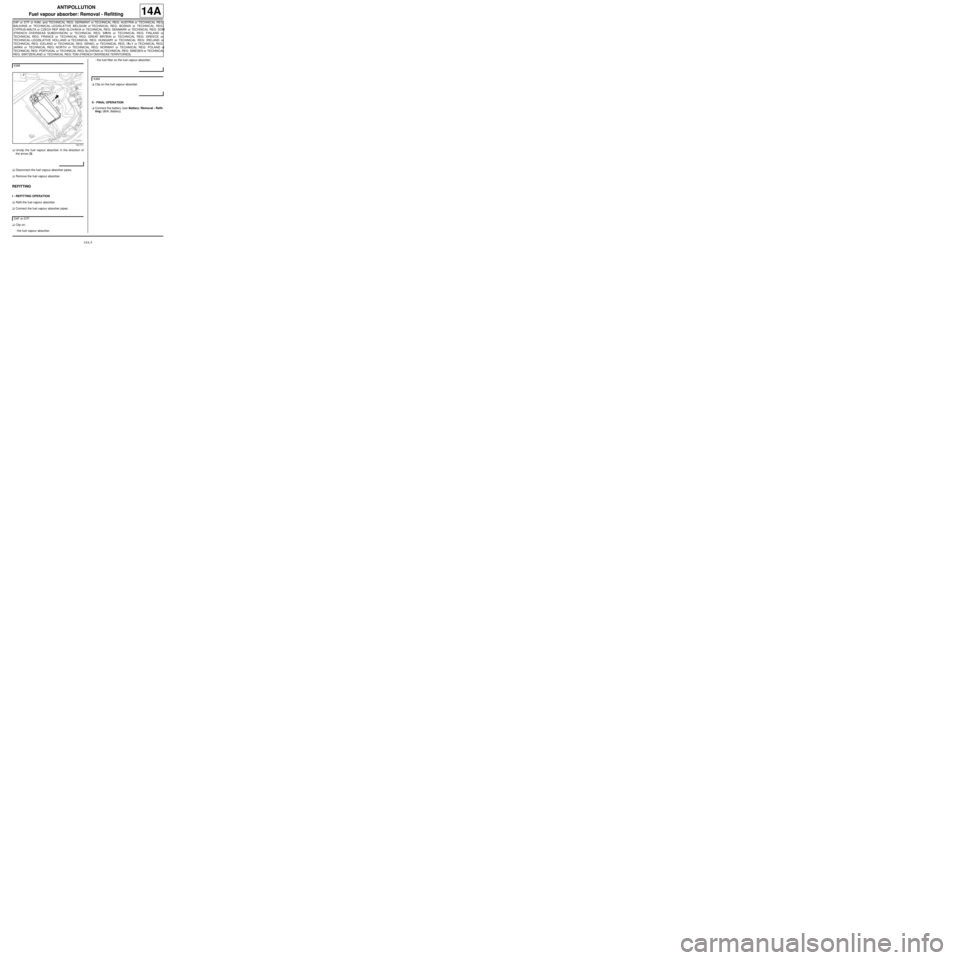
aUnclip the fuel vapour absorber in the direction of
the arrow (3) .
aDisconnect the fuel vapour absorber pipes.
aRemove the fuel vapour absorber.
REFITTING
I - REFITTING OPERATION
aRefit the fuel vapour absorber.
aConnect the fuel vapour absorber pipes.
aClip on:
-the fuel vapour absorber,-the fuel filter on the fuel vapour absorber.
aClip on the fuel vapour absorber.
II - FINAL OPERATION
aConnect the battery (see Battery: Removal - Refit-
ting) (80A, Battery). K4M
131771
D4F or D7F
K4M
Page 424 of 652
14A-6
ANTIPOLLUTION
Fuel vapour absorber: Removal - Refitting
D4F, and SOUTH AFRICA
14A
REMOVAL
I - REMOVAL PREPARATION OPERATION
aPosition the vehicle on a two-post lift (see Vehicle:
Towing and lifting)
aDisconnect the battery (see Battery: Removal - Re-
fitting)
aRemove the rear left-hand wheel (see Wheel: Re-
moval - Refitting)
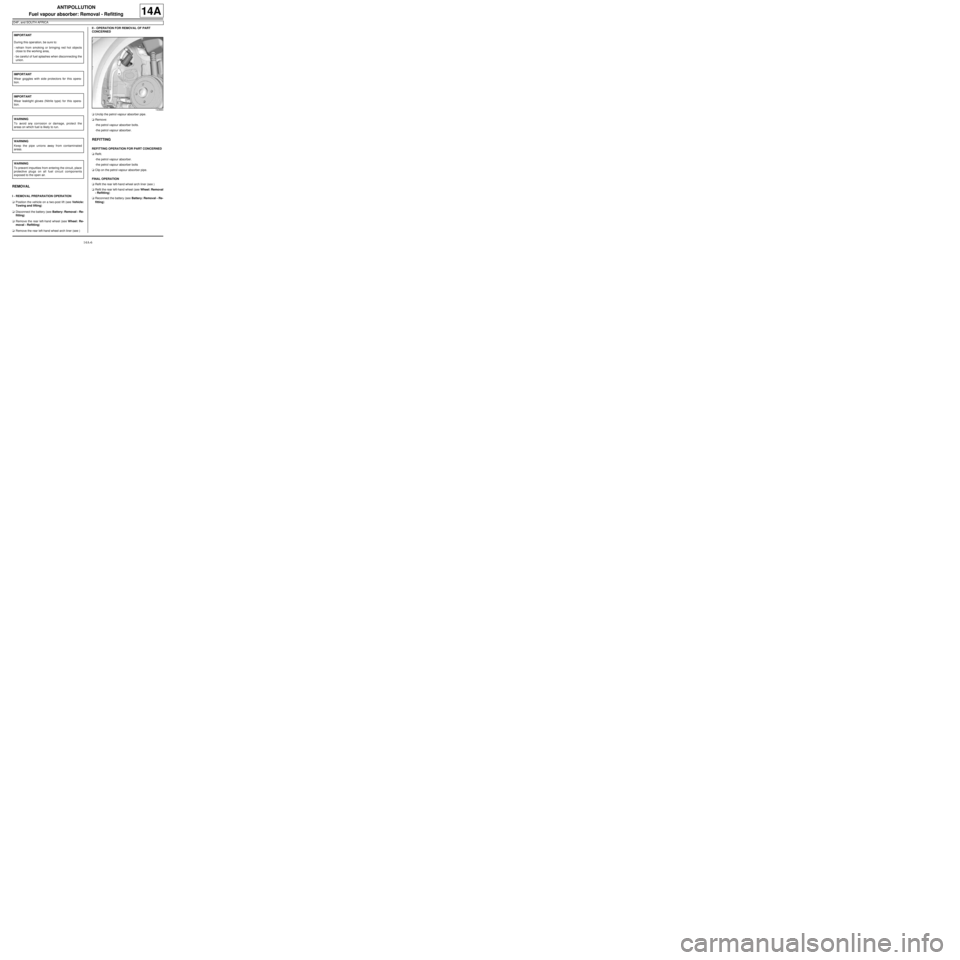
aRemove the rear left-hand wheel arch liner (see ) II - OPERATION FOR REMOVAL OF PART
CONCERNED
aUnclip the petrol vapour absorber pipe.
aRemove:
-the petrol vapour absorber bolts.
-the petrol vapour absorber.
REFITTING
REFITTING OPERATION FOR PART CONCERNED
aRefit.
-the petrol vapour absorber.
-the petrol vapour absorber bolts
aClip on the petrol vapour absorber pipe.
FINAL OPERATION
aRefit the rear left-hand wheel arch liner (see )
aRefit the rear left-hand wheel (see Wheel: Removal
- Refitting)
aReconnect the battery (see Battery: Removal - Re-
fitting) IMPORTANT
During this oper ation, be sure to:
-refrain from smoking or bringing red hot objects
close to the working area,
-be careful of fuel splashes when disconnecting the
union.
IMPORTANT
Wear goggles with side protectors for this opera-
tion.
IMPORTANT
Wear leaktight gloves (Nitrile type) for this opera-
tion.
WARNING
To avoid any corrosion or damage, protect the
areas on which fuel is likely to run.
WARNING
Keep the pipe unions away from contaminated
areas.
WARNING
To prevent impurities from entering the circuit, place
protective plugs on all fuel circuit components
exposed to the open air.
143884
Page 425 of 652
14A-7
ANTIPOLLUTION
Fuel vapour absorber: Check
D4F or D7F
14A
I - CHECKING THE FUEL VAPOUR ABSORBER
aOn the fuel vapour absorber, plug the circuit coming
from the fuel tank.
aConnect the pressure gauge of the (Mot. 1311-01)
to the fuel vapour absorber breather outlet.
aWith the engine at idle speed, check that no vacuum
is present at the fuel vapour absorber breather out-
let. In the same way, the control value read by the
Diagnostic tool in parameter « fuel vapour absorb-
er bleed solenoid valve OCR » remains minimal X
less than or equal to 1.5%.
Is there a vacuum?
-Yes: With the ignition off, use a manual vacuum
and pressure pump to apply a vacuum of 500
mbar to the solenoid valve outlet. The vacuum
pressure should not vary by more than 10 mbar
over 30 seconds.
•Does the pressure vary?
-Yes: the solenoid valve is faulty, replace it (see
17B, Petrol injection, Petrol injection: List
and location of components, page 17B-1) .
-No: if it is an electrical problem, check the circuit
(see MR 413 Fault finding, 17B, Petrol injec-
tion, Fault finding - Interpretation of faults,
Canister bleed solenoid valve circuit).
-No: In bleeding condition (see « bleeding
condition » ), the vacuum should increase. In the
same time, the value of the parameter on the Diag-
nostic tool increases.
II - CHECKING THE FUEL VAPOUR ABSORBER-
TANK CONNECTION
aCheck this connection by connecting a manual vac-
uum and pressure pump to the pipe leading to the
fuel vapour absorber.Special tooling required
Mot. 1311-01Pressure gauges and petrol
pressure measur ing unions.
Equipment required
Diagnostic tool
man ual vacuum and pressure pump
Page 426 of 652
14A-8
ANTIPOLLUTION
Fuel vapour absorber bleed solenoid valve: Removal - Refitting
K4M
14A
REMOVAL
I - REMOVAL PREPARATION OPERATION
aDisconnect the battery (see Battery: Removal - Re-
fitting) (80A, Battery).
aRemove:
-the windscreen wiper arms (see Windscreen wip-
er arm: Removal - Refitting) (85A, Wiping -
Washing),
-the scuttle panel grille (see Scuttle panel grille:
Removal - Refitting) (56A, Exterior equipment),
-the scoop under the scuttle panel grille (see Scoop
under the scuttle panel grille: Removal - Refit-
ting) (56A, Exterior equipment).II - REMOVAL OPERATION
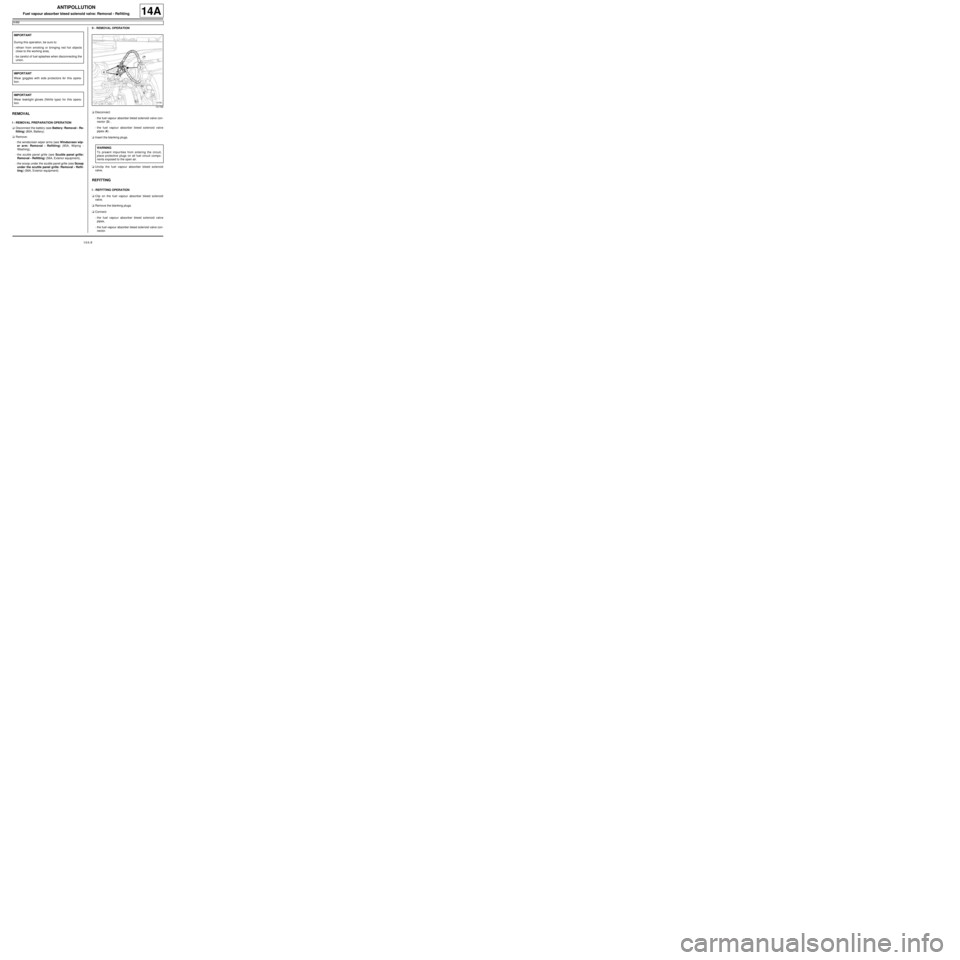
aDisconnect:
-the fuel vapour absorber bleed solenoid valve con-
nector (3) ,
-the fuel vapour absorber bleed solenoid valve
pipes (4) .
aInsert the blanking plugs.
aUnclip the fuel vapour absorber bleed solenoid
valve.
REFITTING
I - REFITTING OPERATION
aClip on the fuel vapour absorber bleed solenoid
valve.
aRemove the blanking plugs.
aConnect:
-the fuel vapour absorber bleed solenoid valve
pipes,
-the fuel vapour absorber bleed solenoid valve con-
nector. IMPORTANT
During this oper ation, be sure to:
-refrain from smoking or bringing red hot objects
close to the working area,
-be careful of fuel splashes when disconnecting the
union.
IMPORTANT
Wear goggles with side protectors for this opera-
tion.
IMPORTANT
Wear leaktight gloves (Nitrile type) for this opera-
tion.
131766
WARNING
To prevent impur ities from entering the circuit,
place protective plugs on all fuel circuit compo-
nents exposed to the open air.