fuel RENAULT TWINGO 2009 2.G Engine And Peripherals Workshop Manual
[x] Cancel search | Manufacturer: RENAULT, Model Year: 2009, Model line: TWINGO, Model: RENAULT TWINGO 2009 2.GPages: 652
Page 443 of 652
16A-4
STARTING - CHARGING
Alternator: Removal - Refitting
D4F or D7F, and AIR CONDITIONING
16A
REMOVAL
I - REMOVAL PREPARATION OPERATION
aPosition the vehicle on a two-post lift (see Vehicle:
Towing and lifting) (02A, Lifting equipment).
aDisconnect the battery (see Battery: Removal - Re-
fitting) (80A, Battery).
aRemove:
-the front right-hand wheel (see Wheel: Removal -
Refitting) (35A, Wheels and tyres),
-the front right-hand wheel arch liner (see Front
wheel arch liner: Removal - Refitting) (55A, Ex-
terior protection),
-the accessories belt (see 11A, Top and front of
engine, Accessories belt: Removal - Refitting,
page 11A-3) .
aRemove the air filter unit (see 12A, Fuel mixture,
Air filter unit: Removal - Refitting, page 12A-13) .
aRemove the inlet distributor (see 12A, Fuel mixture,
Inlet distributor: Removal - Refitting, page 12A-
29) .II - OPERATION FOR REMOVAL OF PART
CONCERNED
aDisconnect the alternator connector.
aRemove the alternator positive terminal nut.
aRemove:
-the alternator bolts,
-the alternator. Tightening torquesm
alter nator bolts25 N.m
D4F
120519
Page 444 of 652
16A-5
STARTING - CHARGING
Alternator: Removal - Refitting
D4F or D7F, and AIR CONDITIONING
16A
REFITTING
I - REFITTING PREPARATION OPERATION
aPush in the alternator rings using pliers or a vice to
facilitate fitting the alternator.
II - REFITTING OPERATION FOR PART
CONCERNED
aRefit:
-the alternator,
-the alternator bolts.
aTorque tighten the alternator bolts (25 N.m).
aRefit the alternator positive terminal nut.
aConnect the alternator connector.
III - FINAL OPERATION
aRefit the inlet distributor (see 12A, Fuel mixture, In-
let distributor: Removal - Refitting, page 12A-29)
.
aRefit the air filter unit (see 12A, Fuel mixture, Air fil-
ter unit: Removal - Refitting, page 12A-13) .aRefit:
-the accessories belt (see 11A, Top and front of
engine, Accessories belt: Removal - Refitting,
page 11A-3) ,
-the front right-hand wheel arch liner (see Front
wheel arch liner: Removal - Refitting) (55A, Ex-
terior protection),
-the front right-hand wheel (see Wheel: Removal -
Refitting) (35A, Wheels and tyres).
aConnect the battery (see Battery: Removal - Refit-
ting) (80A, Battery).
18987
D4F
Page 449 of 652
16A-10
STARTING - CHARGING
Starter: Removal - Refitting
D4F or D7F
16A
REMOVAL
I - REMOVAL PREPARATION OPERATION
aDisconnect the battery (see ) (80A, Battery).
aRemove the engine oil dipstick.
aRemove the air filter unit (see 12A, Fuel mixture,
Air filter unit: Removal - Refitting, page 12A-13) .
aDisconnect the air filter unit air inlet pipe from the air
filter unit cover (1) .
aMove the air filter unit air inlet pipe away from the air
filter unit cover.aDisconnect the pinking sensor connector (2) .
aRemove the engine wiring channel bolt from the
gearbox.
aUnclip the engine wiring channel from the gearbox.
aMove aside the engine wiring channel. Tightening torquesm
starter upper bolt44 N.m
starter electrical supply
nut8N.m
D4F, and 772
D4F, and 780 or 782
122833
120512
120414
Page 452 of 652
16A-13
STARTING - CHARGING
Starter: Removal - Refitting
D4F or D7F
16A
aClip the engine wiring channel onto the gearbox.
aRefit the engine wiring channel bolt to the gearbox.
aTighten the engine wiring channel bolt on the gear-
box.
aConnect the pinking sensor connector.
aFit the air filter unit air inlet pipe on the air filter unit
cover.
aConnect the air filter unit air inlet pipe on the air filter
unit cover.
aRefit the air filter unit (see 12A, Fuel mixture, Air fil-
ter unit: Removal - Refitting, page 12A-13) .
aRefit the engine oil dipstick.
aConnect the battery (see ) (80A, Battery). D4F, and 780 or 782
D4F, and 772
Page 455 of 652
16A-16
STARTING - CHARGING
Starter: Removal - Refitting
K4M
16A
REMOVAL
I - REMOVAL PREPARATION OPERATION
aDisconnect the battery (see Battery: Removal - Re-
fitting) (80A, Battery).
aRemove the air filter unit (see 12A, Fuel mixture,
Air filter unit: Removal - Refitting, page 12A-13) .
II - REMOVAL OPERATION
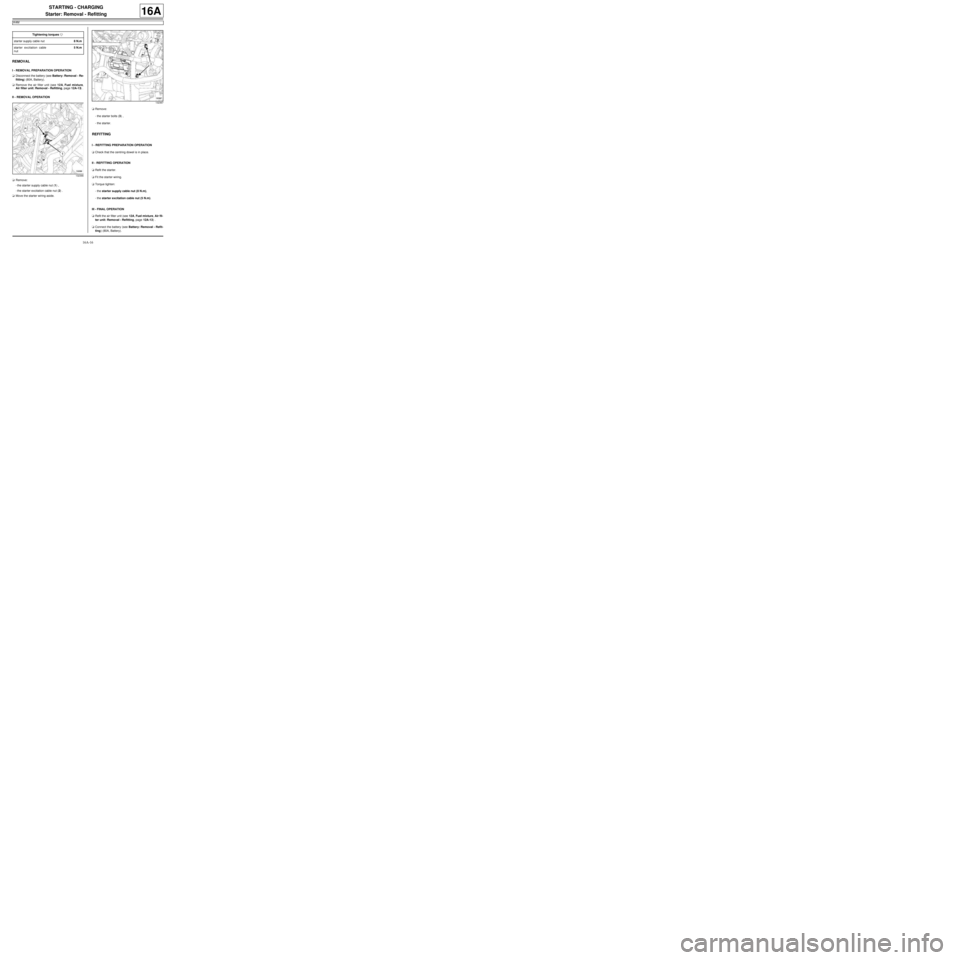
aRemove:
-the starter supply cable nut (1) ,
-the starter excitation cable nut (2) .
aMove the starter wiring aside.aRemove:
-the starter bolts (3) ,
-the starter.
REFITTING
I - REFITTING PREPARATION OPERATION
aCheck that the centring dowel is in place.
II - REFITTING OPERATION
aRefit the starter.
aFit the starter wiring.
aTorque tighten:
-the starter supply cable nut (8 N.m),
-the starter excitation cable nut (5 N.m).
III - FINAL OPERATION
aRefit the air filter unit (see 12A, Fuel mixture, Air fil-
ter unit: Removal - Refitting, page 12A-13) .
aConnect the battery (see Battery: Removal - Refit-
ting) (80A, Battery). Tightening torquesm
starter supply cable nut8 N.m
starter excitation cable
nut5 N.m
132366
132367
Page 459 of 652
17A-3
IGNITION
Coils: Removal - Refitting
D4F, and 772
17A
PARTS AND CONSUMABLES FOR THE
REPAIR WORK
aConsumable (see Vehicle: Parts and consuma-
bles for the repair) :
-Fluostar 2L.
REMOVAL
I - REMOVAL PREPARATION OPERATION
aDisconnect the battery (see Battery: Removal - Re-
fitting) .
aRemove the air filter unit (see 12A, Fuel mixture,
Air filter unit: Removal - Refitting, page 12A-13) .
II - OPERATION FOR REMOVAL OF PART
CONCERNED
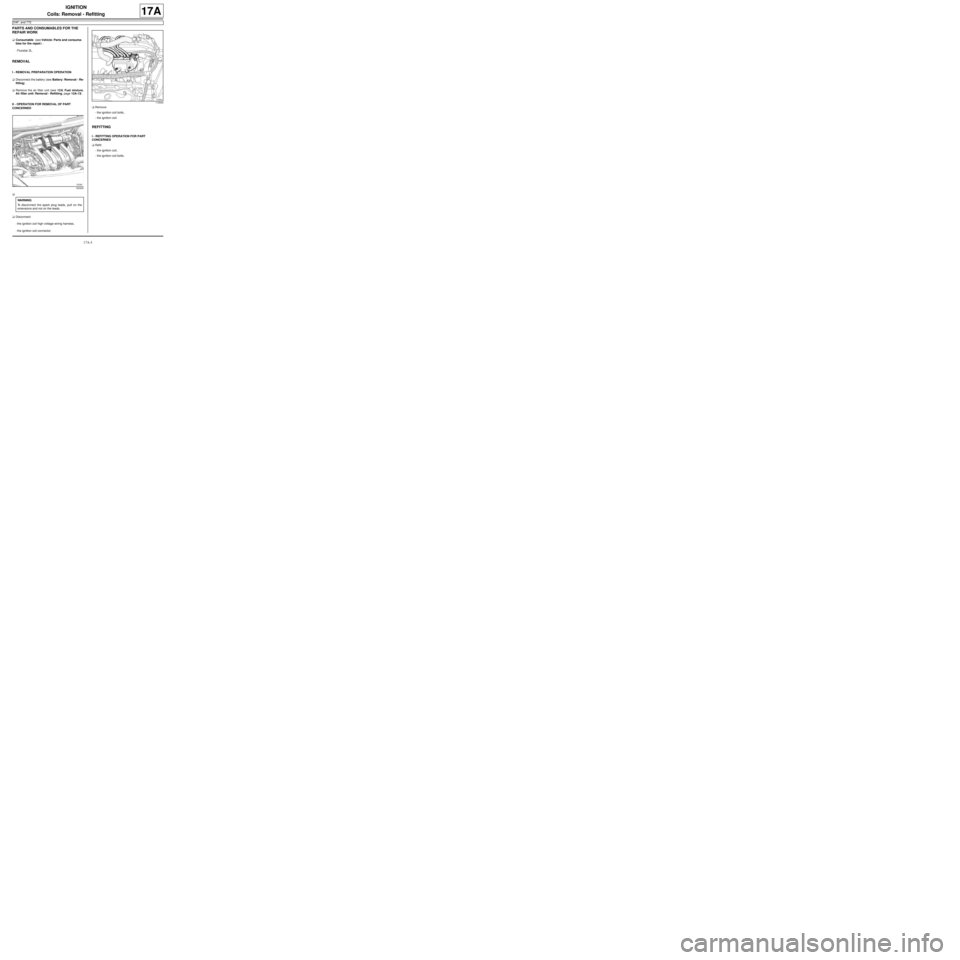
a
aDisconnect:
-the ignition coil high voltage wiring harness,
-the ignition coil connector.aRemove:
-the ignition coil bolts ,
-the ignition coil.
REFITTING
I - REFITTING OPERATION FOR PART
CONCERNED
aRefit:
-the ignition coil,
-the ignition coil bolts.
120300
WARNING
To disconnect the spark plug leads, pull on the
extensions and not on the leads.
113044
Page 460 of 652
17A-4
IGNITION
Coils: Removal - Refitting
D4F, and 772
17A
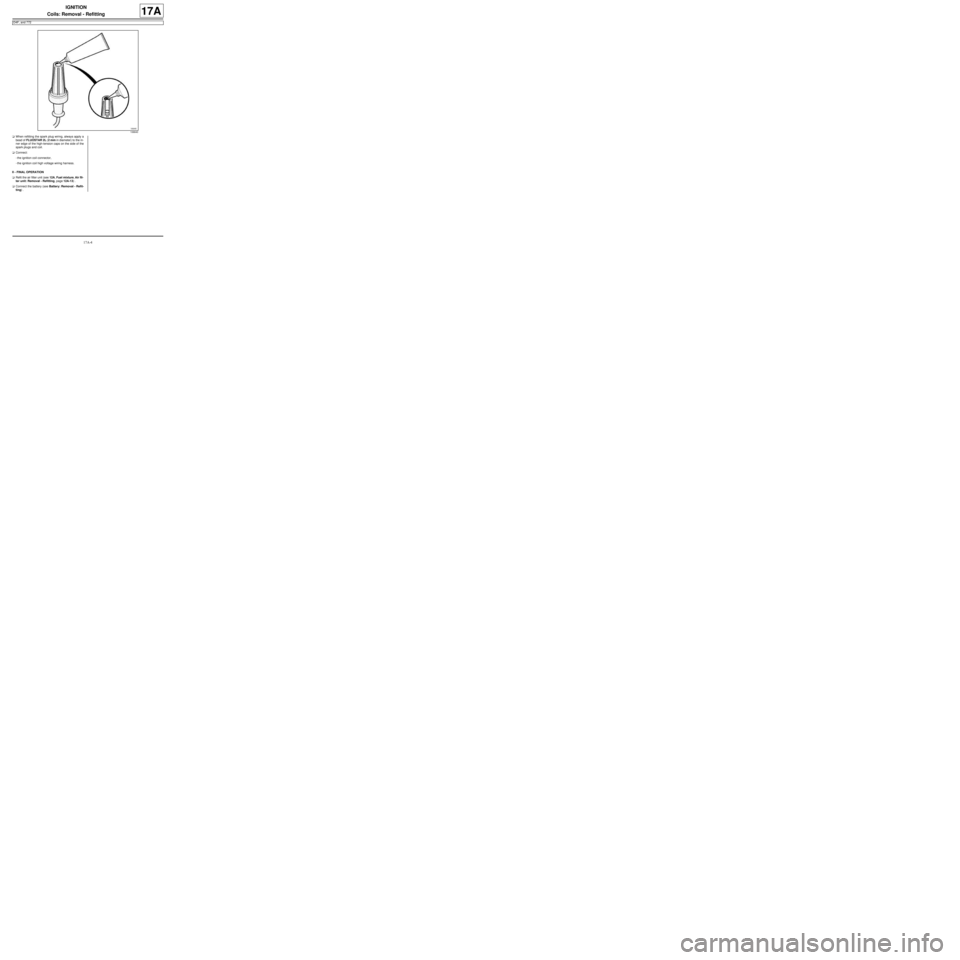
aWhen refitting the spark plug wiring, always apply a
bead of FLUOSTAR 2L (2 mm in diameter) to the in-
ner edge of the high-tension caps on the side of the
spark plugs and coil.
aConnect:
-the ignition coil connector,
-the ignition coil high voltage wiring harness.
II - FINAL OPERATION
aRefit the air filter unit (see 12A, Fuel mixture, Air fil-
ter unit: Removal - Refitting, page 12A-13) .
aConnect the battery (see Battery: Removal - Refit-
ting) .
106640
Page 471 of 652
17A-15
IGNITION
Plugs: Removal - Refitting
D4F, and 780 – D4F, and 782
17A
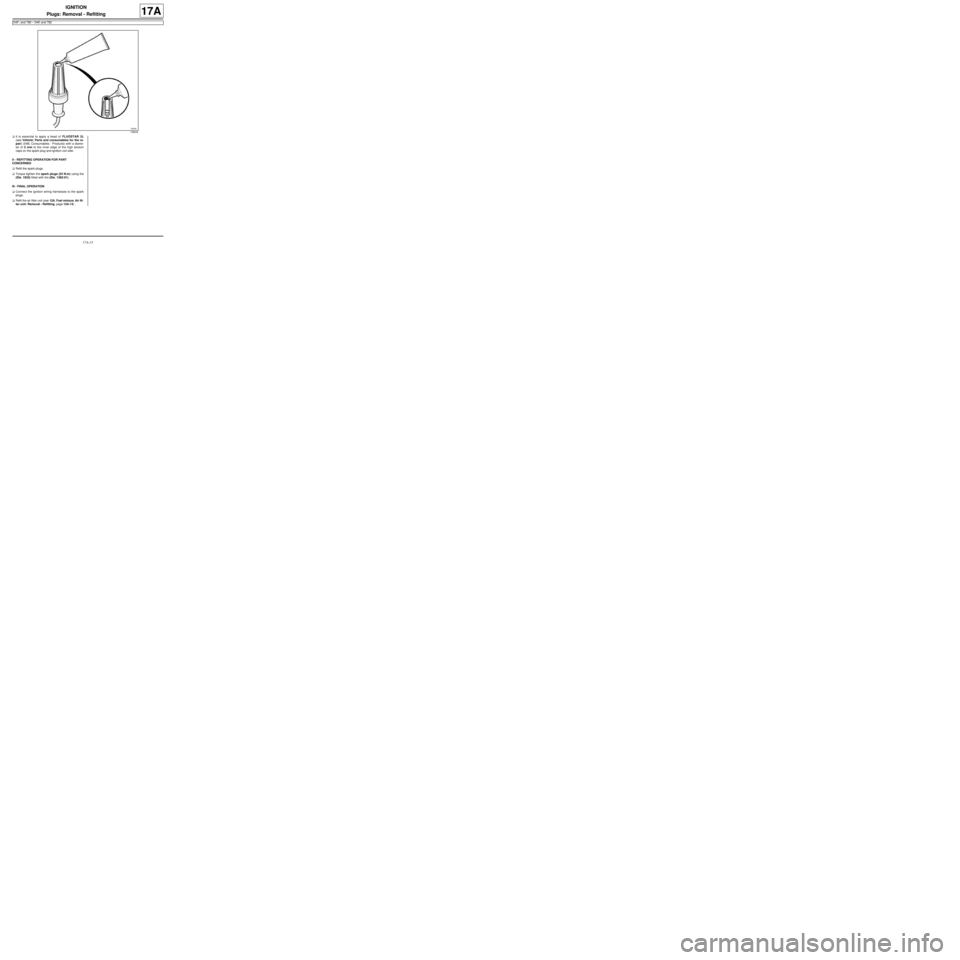
aIt is essential to apply a bead of FLUOSTAR 2L
(see Vehicle: Parts and consumables for the re-
pair) (04B, Consumables - Products) with a diame-
ter of 2 mm to the inner edge of the high tension
caps on the spark plug and ignition coil side.
II - REFITTING OPERATION FOR PART
CONCERNED
aRefit the spark plugs.
aTorque tighten the spark plugs (23 N.m) using the
(Ele. 1933) fitted with the (Ele. 1382-01).
III - FINAL OPERATION
aConnect the ignition wiring harnesses to the spark
plugs.
aRefit the air filter unit (see 12A, Fuel mixture, Air fil-
ter unit: Removal - Refitting, page 12A-13) .
106640
Page 473 of 652
17A-17
IGNITION
Plugs: Removal - Refitting
D4F, and 772
17A
Spark plug electrode gap
REMOVAL
I - REMOVAL PREPARATION OPERATION
aRemove the air filter unit (see 12A, Fuel mixture,
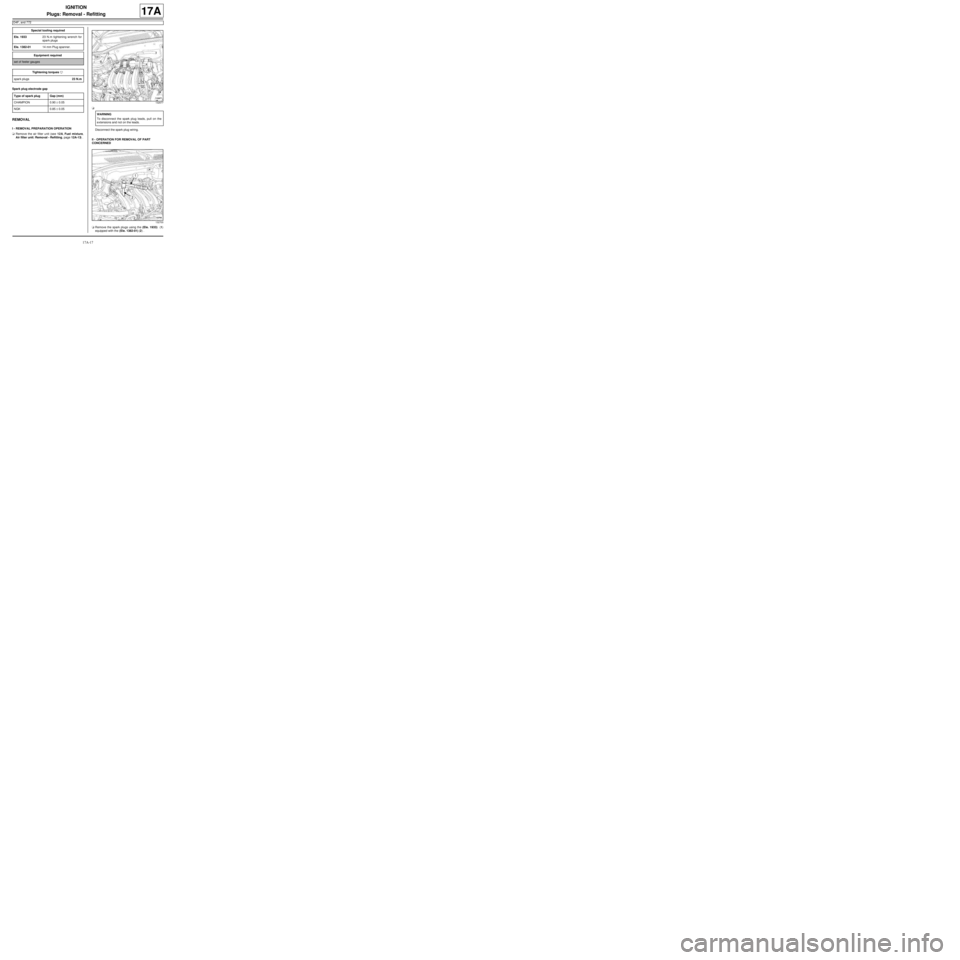
Air filter unit: Removal - Refitting, page 12A-13) .a
Disconnect the spark plug wiring.
II - OPERATION FOR REMOVAL OF PART
CONCERNED
aRemove the spark plugs using the (Ele. 1933) (1)
equipped with the (Ele. 1382-01) (2) . Special tooling required
Ele. 193323 N.m tightening wrench for
spar k plugs
Ele. 1382-0114 mm Plug spanner.
Equipment required
set of feeler gauges
Tightening torquesm
spar k plugs23 N.m
Type of spark plug Gap (mm)
CHAMPION 0.90 ± 0.05
NGK 0.85 ± 0.05
132677
WARNING
To disconnect the spark plug leads, pull on the
extensions and not on the leads.
132700
Page 475 of 652
17A-19
IGNITION
Plugs: Removal - Refitting
D4F, and 772
17A
III - FINAL OPERATION
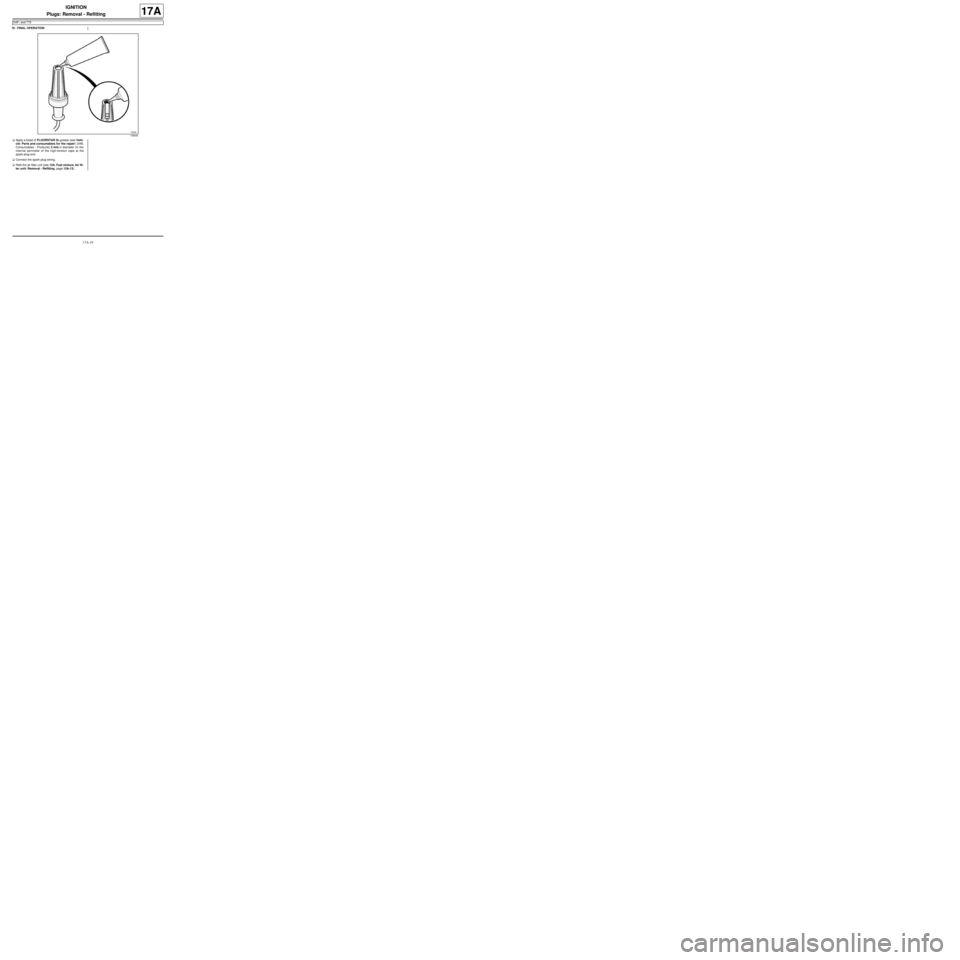
aApply a bead of FLUORSTAR 2L grease (see Vehi-
cle: Parts and consumables for the repair) (04B,
Consumables - Products) 2 mm in diameter on the
internal perimeter of the high-tension caps at the
spark plug end.
aConnect the spark plug wiring.
aRefit the air filter unit (see 12A, Fuel mixture, Air fil-
ter unit: Removal - Refitting, page 12A-13) .
106640