RENAULT TWINGO 2009 2.G Engine And Peripherals Manual Online
Manufacturer: RENAULT, Model Year: 2009, Model line: TWINGO, Model: RENAULT TWINGO 2009 2.GPages: 652
Page 81 of 652
10A-75
ENGINE AND CYLINDER BLOCK ASSEMBLY
Engine - gearbox assembly: Removal - Refitting
D4F or D7F
10A
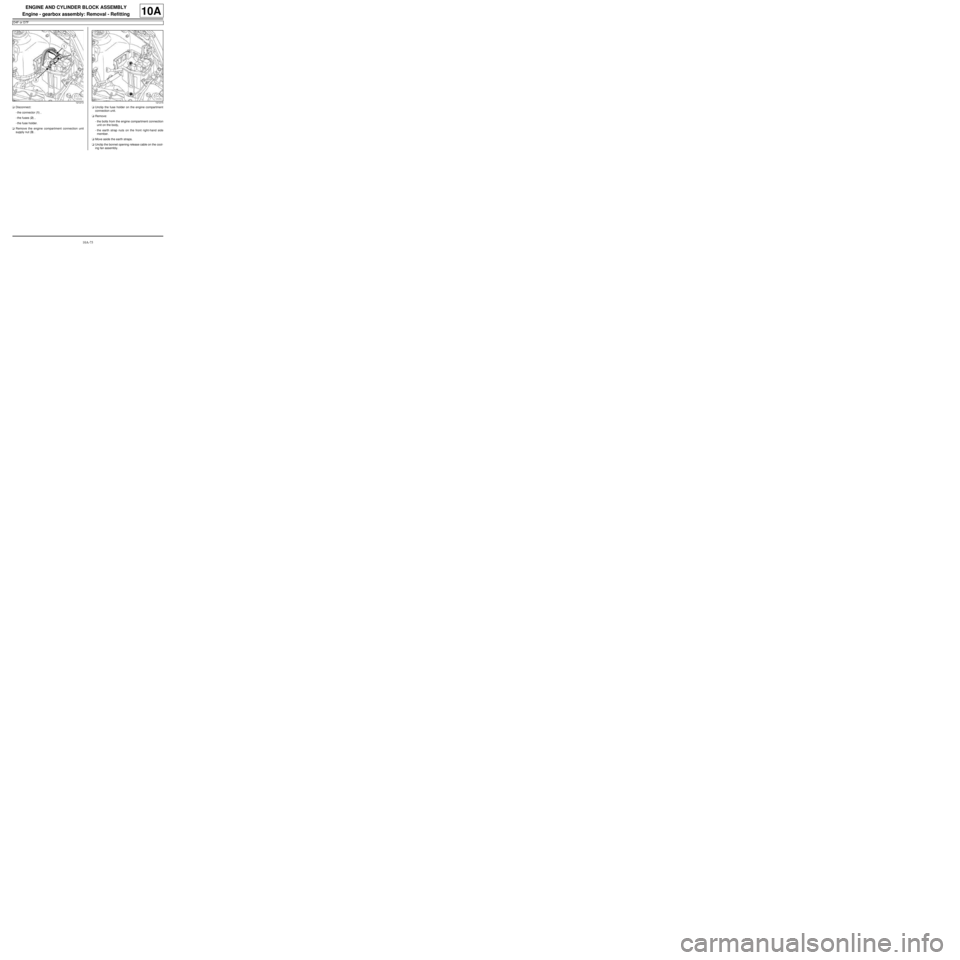
aDisconnect:
-the connector (1) ,
-the fuses (2) ,
-the fuse holder.
aRemove the engine compartment connection unit
supply nut (3) .aUnclip the fuse holder on the engine compartment
connection unit.
aRemove:
-the bolts from the engine compartment connection
unit on the body,
-the earth strap nuts on the front right-hand side
member.
aMove aside the earth straps.
aUnclip the bonnet opening release cable on the cool-
ing fan assembly.
121213121215
Page 82 of 652
10A-76
ENGINE AND CYLINDER BLOCK ASSEMBLY
Engine - gearbox assembly: Removal - Refitting
D4F or D7F
10A
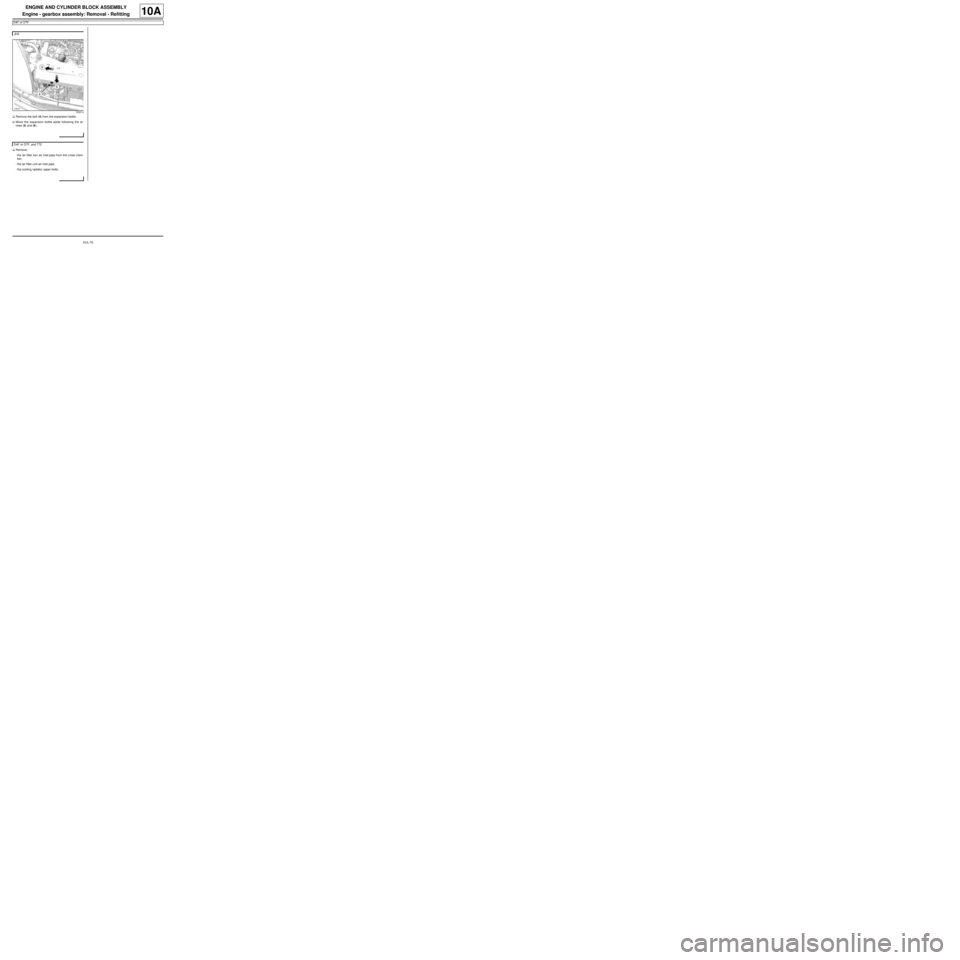
aRemove the bolt (4) from the expansion bottle.
aMove the expansion bottle aside following the ar-
rows (5) and (6) .
aRemove:
-the air filter box air inlet pipe from the cross mem-
ber,
-the air filter unit air inlet pipe,
-the cooling radiator upper bolts. JH3
120514
D4F or D7F, and 772
Page 83 of 652
10A-77
ENGINE AND CYLINDER BLOCK ASSEMBLY
Engine - gearbox assembly: Removal - Refitting
D4F or D7F
10A
a
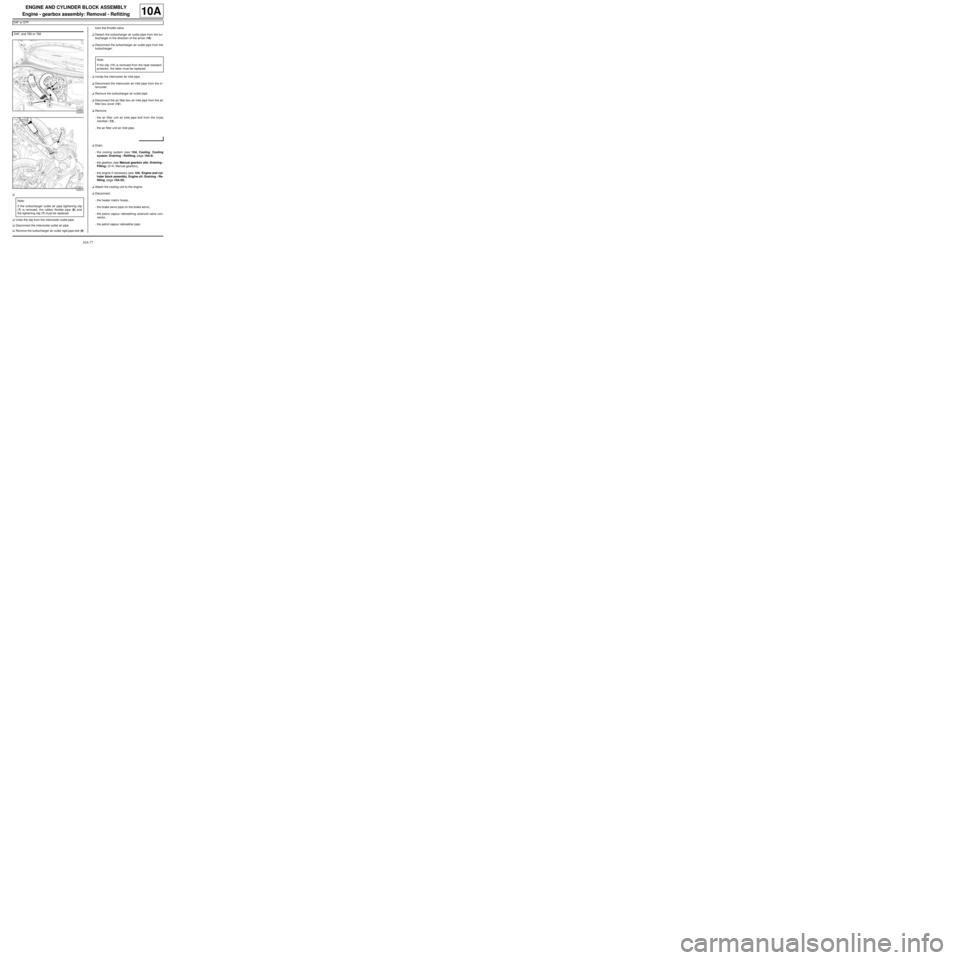
aUndo the clip from the intercooler outlet pipe.
aDisconnect the intercooler outlet air pipe.
aRemove the turbocharger air outlet rigid pipe bolt (9)from the throttle valve.
aDetach the turbocharger air outlet pipe from the tur-
bocharger in the direction of the arrow (10) .
aDisconnect the turbocharger air outlet pipe from the
turbocharger.
aUnclip the intercooler air inlet pipe.
aDisconnect the intercooler air inlet pipe from the in-
tercooler.
aRemove the turbocharger air outlet pipe.
aDisconnect the air filter box air inlet pipe from the air
filter box cover (12) .
aRemove:
-the air filter unit air inlet pipe bolt from the cross
member (13) ,
-the air filter unit air inlet pipe.
aDrain:
-the cooling system (see 19A, Cooling, Cooling
system: Draining - Refilling, page 19A-9) ,
-the gearbox (see Manual gearbox oils: Draining -
Filling) (21A, Manual gearbox),
-the engine if necessary (see 10A, Engine and cyl-
inder block assembly, Engine oil: Draining - Re-
filling, page 10A-22) .
aAttach the cooling unit to the engine.
aDisconnect:
-the heater matrix hoses,
-the brake servo pipe on the brake servo,
-the petrol vapour rebreathing solenoid valve con-
nector,
-the petrol vapour rebreather pipe. D4F, and 780 or 782
122833
122673
Note:
If the turbocharger outlet air pipe tightening clip
(7) is removed, the rubber flexible pipe (8) and
the tightening clip (7) must be replaced.
Note:
If the clip (11) is removed from the heat resistant
protector, the latter must be replaced.
Page 84 of 652
10A-78
ENGINE AND CYLINDER BLOCK ASSEMBLY
Engine - gearbox assembly: Removal - Refitting
D4F or D7F
10A
aDrain the coolant circuit (see Refrigerant circuit:
Draining - Filling) .
aRemove:
-the air conditioning pipe bolts on the compressor,
-the air conditioning pipe bolt on the dehydrator res-
ervoir.
aDisconnect the air conditioning pressostat connec-
tor.
a
aDisconnect the fuel supply pipe union.
aInsert the blanking plugs.
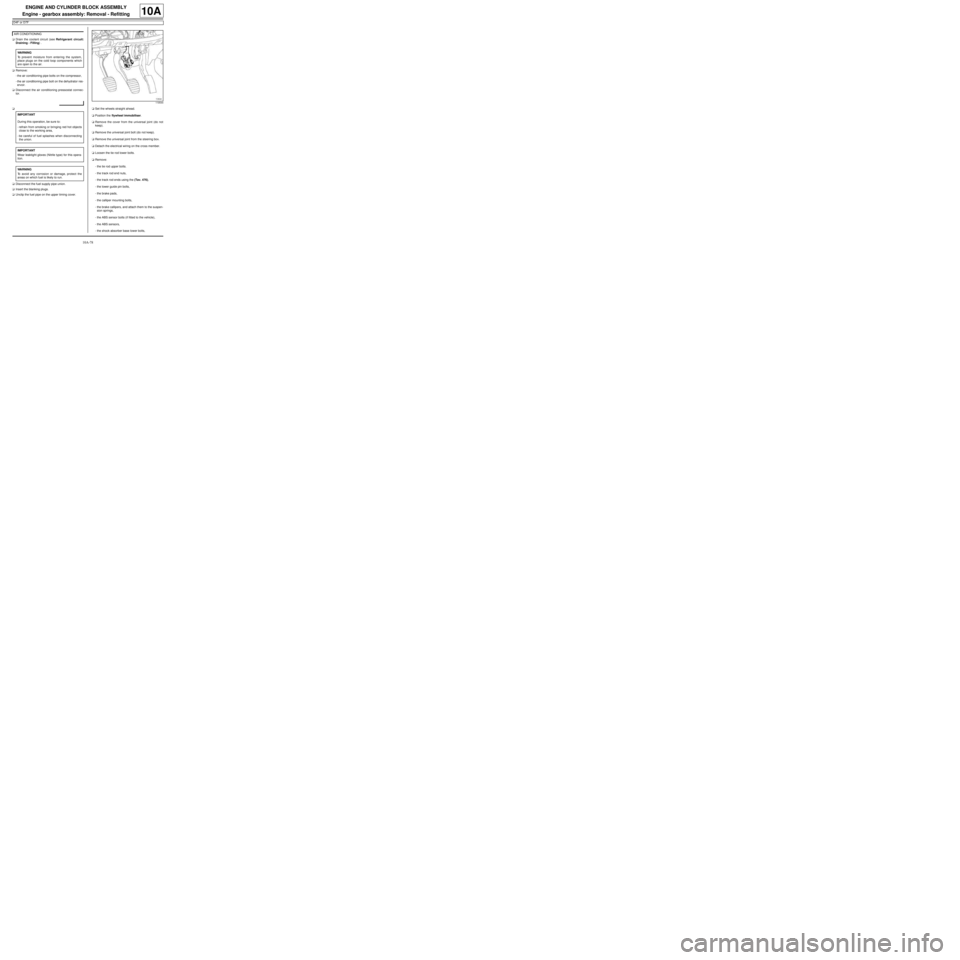
aUnclip the fuel pipe on the upper timing cover.aSet the wheels straight ahead.
aPosition the flywheel immobiliser.
aRemove the cover from the universal joint (do not
keep).
aRemove the universal joint bolt (do not keep).
aRemove the universal joint from the steering box.
aDetach the electrical wiring on the cross member.
aLoosen the tie rod lower bolts.
aRemove:
-the tie rod upper bolts.
-the track rod end nuts,
-the track rod ends using the (Tav. 476),
-the lower guide pin bolts,
-the brake pads,
-the calliper mounting bolts,
-the brake callipers, and attach them to the suspen-
sion springs,
-the ABS sensor bolts (if fitted to the vehicle),
-the ABS sensors,
-the shock absorber base lower bolts, AIR CONDITIONING
WARNING
To prevent moisture from entering the system,
place plugs on the cold loop components which
are open to the air.
IMPORTANT
During this operation, be sure to:
-refrain from smoking or bringing red hot objects
close to the working area,
-be careful of fuel splashes when disconnecting
the union.
IMPORTANT
Wear leaktight gloves (Nitrile type) for this opera-
tion.
WARNING
To avoid any corrosion or damage, protect the
areas on which fuel is likely to run.
119544
Page 85 of 652
10A-79
ENGINE AND CYLINDER BLOCK ASSEMBLY
Engine - gearbox assembly: Removal - Refitting
D4F or D7F
10A
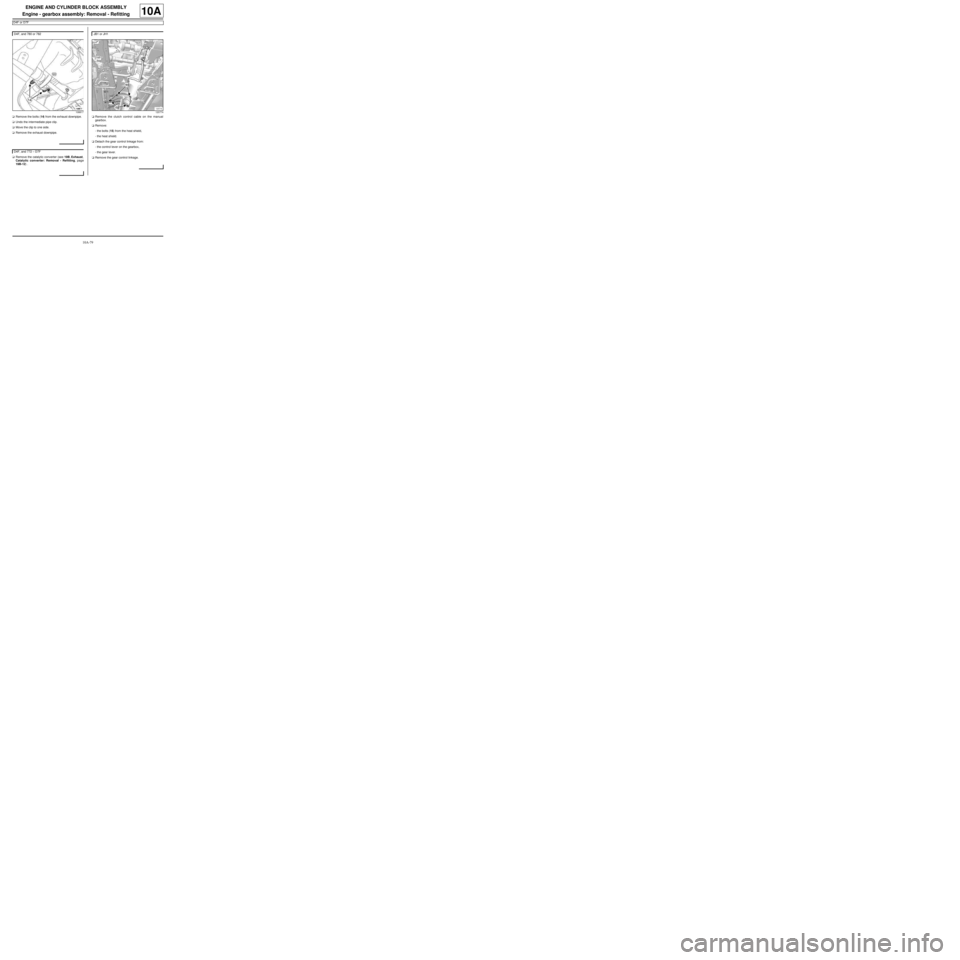
aRemove the bolts (14) from the exhaust downpipe.
aUndo the intermediate pipe clip.
aMove the clip to one side.
aRemove the exhaust downpipe.
aRemove the catalytic converter (see 19B, Exhaust,
Catalytic converter: Removal - Refitting, page
19B-12) .aRemove the clutch control cable on the manual
gearbox.
aRemove:
-the bolts (15) from the heat shield,
-the heat shield.
aDetach the gear control linkage from:
-the control lever on the gearbox,
-the gear lever.
aRemove the gear control linkage. D4F, and 780 or 782
108817
D4F, and 772 – D7F
JB1 or JH1
120774
Page 86 of 652
10A-80
ENGINE AND CYLINDER BLOCK ASSEMBLY
Engine - gearbox assembly: Removal - Refitting
D4F or D7F
10A
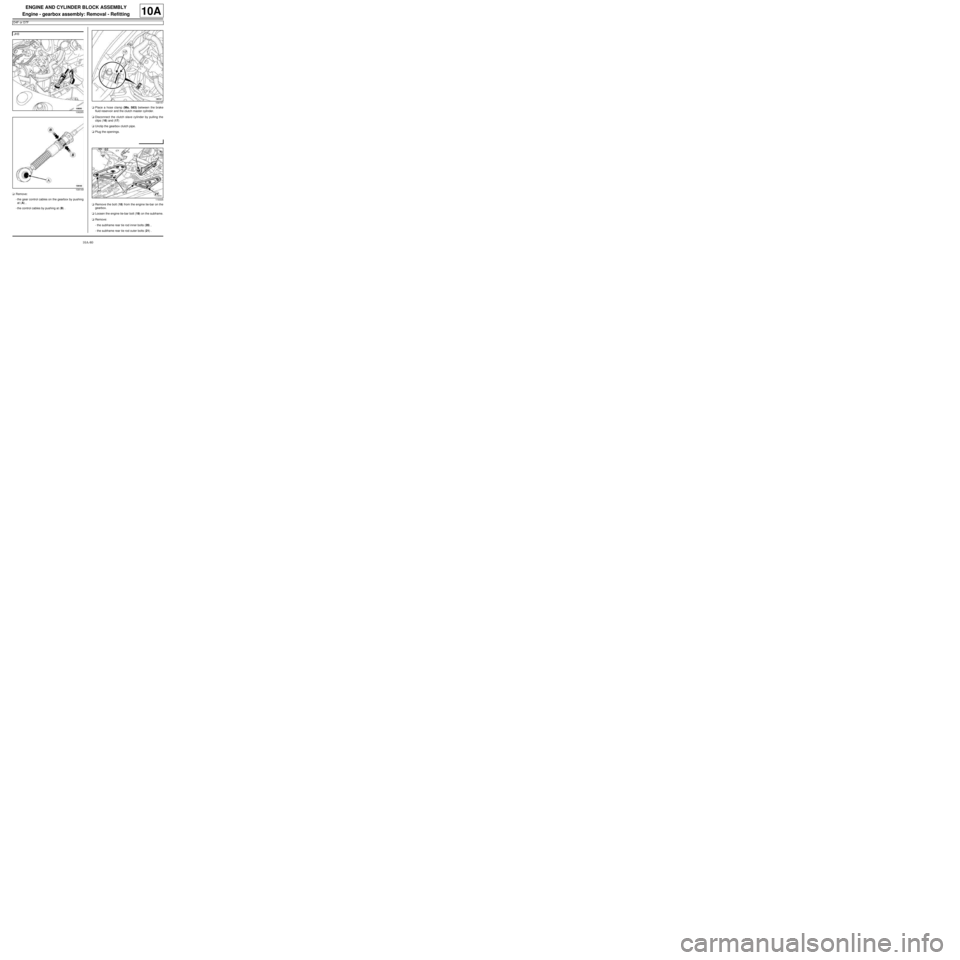
aRemove:
-the gear control cables on the gearbox by pushing
at (A) ,
-the control cables by pushing at (B) .aPlace a hose clamp (Ms. 583) between the brake
fluid reservoir and the clutch master cylinder.
aDisconnect the clutch slave cylinder by pulling the
clips (16) and (17)
aUnclip the gearbox clutch pipe.
aPlug the openings.
aRemove the bolt (18) from the engine tie-bar on the
gearbox.
aLoosen the engine tie-bar bolt (19) on the subframe.
aRemove:
-the subframe rear tie rod inner bolts (20) ,
-the subframe rear tie rod outer bolts (21) . JH3
108265
109149
109157
119335
Page 87 of 652

10A-81
ENGINE AND CYLINDER BLOCK ASSEMBLY
Engine - gearbox assembly: Removal - Refitting
D4F or D7F
10A
II - OPERATION FOR REMOVAL OF PART
CONCERNED
aFit the engine support tool (Mot. 1379) by tilting the
engine towards the rear.
aRemove the right-hand suspended engine mounting
(see 19D, Engine mounting, Right-hand sus-
pended engine mounting: Removal - Refitting,
page 19D-13) .
aPosition a shim between the multifunction support
and the subframe.aInsert a shim between the gearbox and the sub-
frame.
aRemove the left-hand suspended engine mounting
nut (22) .
10267
120777
120778
120310
Page 88 of 652
10A-82
ENGINE AND CYLINDER BLOCK ASSEMBLY
Engine - gearbox assembly: Removal - Refitting
D4F or D7F
10A
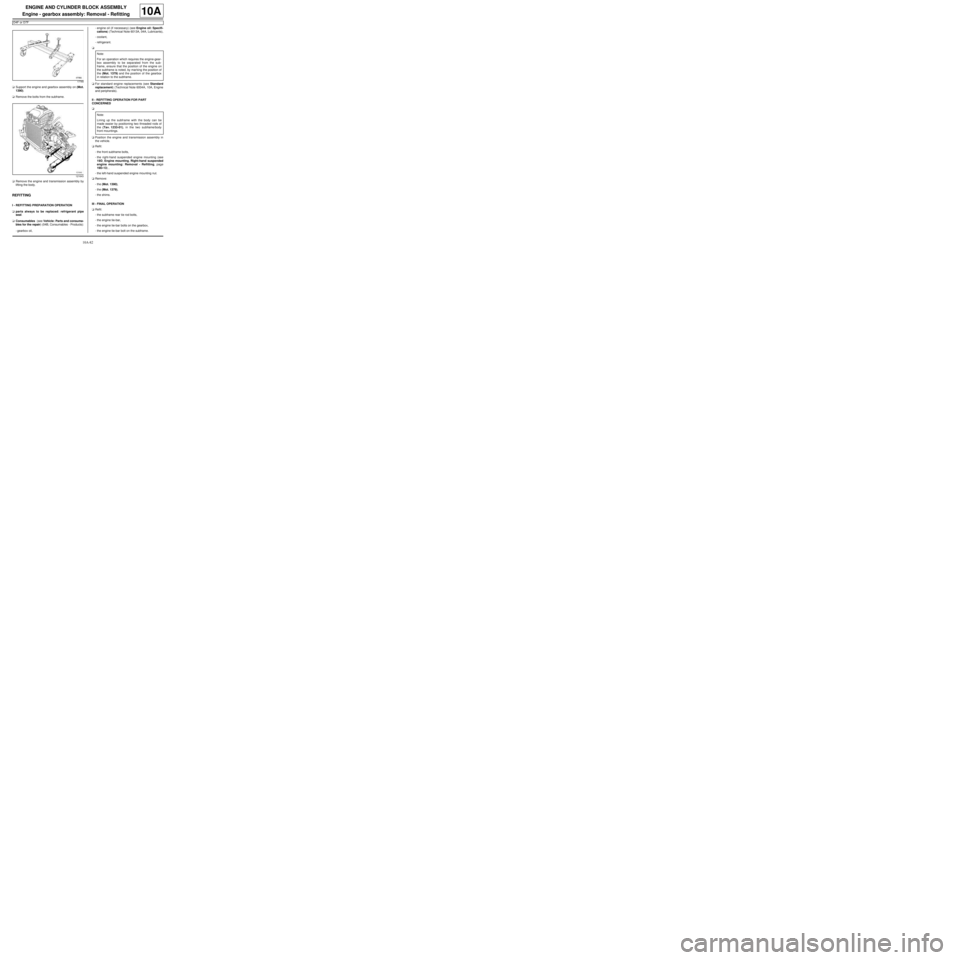
aSupport the engine and gearbox assembly on (Mot.
1390).
aRemove the bolts from the subframe.
aRemove the engine and transmission assembly by
lifting the body.
REFITTING
I - REFITTING PREPARATION OPERATION
aparts always to be replaced: refrigerant pipe
seal.
aConsumables (see Vehicle: Parts and consuma-
bles for the repair) (04B, Consumables - Products):
-gearbox oil,-engine oil (if necessary) (see Engine oil: Specifi-
cations) (Technical Note 6013A, 04A, Lubricants),
-coolant,
-refrigerant.
a
aFor standard engine replacements (see Standard
replacement) (Technical Note 6004A, 10A, Engine
and peripherals).
II - REFITTING OPERATION FOR PART
CONCERNED
a
aPosition the engine and transmission assembly in
the vehicle.
aRefit:
-the front subframe bolts,
-the right-hand suspended engine mounting (see
19D, Engine mounting, Right-hand suspended
engine mounting: Removal - Refitting, page
19D-13) ,
-the left-hand suspended engine mounting nut.
aRemove:
-the (Mot. 1390),
-the (Mot. 1379),
-the shims.
III - FINAL OPERATION
aRefit:
-the subframe rear tie rod bolts,
-the engine tie-bar,
-the engine tie-bar bolts on the gearbox,
-the engine tie-bar bolt on the subframe.
17765
121643
Note:
For an operation which requires the engine-gear-
box assembly to be separated from the sub-
frame, ensure that the position of the engine on
the subframe is noted, by mar king the position of
the (Mot. 1379) and the position of the gearbox
in relation to the subframe .
Note:
Lining up the subframe with the body can be
made easier by positioning two threaded rods of
the (Tav. 1233-01), in the two subframe/body
front mountings.
Page 89 of 652
10A-83
ENGINE AND CYLINDER BLOCK ASSEMBLY
Engine - gearbox assembly: Removal - Refitting
D4F or D7F
10A
aTorque tighten:
-the front subframe bolts (62 N.m),
-the rear subframe bolts (105 N.m),
-the subframe rear tie rod inner bolts (21 N.m),
-the subframe rear tie rod outer bolts (90 N.m),
-the engine tie-bar bolts on the gearbox (105
N.m),
-the engine tie-bar bolt on the subframe (105
N.m).
aRefit the control cables onto the gearbox.
aRemove the blanking plugs from the openings.
aClip the clutch pipe onto the gearbox.
aConnect the clutch slave cylinder.
aRemove the hose clamp (Ms. 583).
aBleed the clutch circuit (see Clutch circuit: Bleed) .
aRefit the gear control linkage.
aAttach the gear control linkage to:
-the gear lever,
-the control lever on the gearbox.
aRefit:
-the heat shield,
-the heat shield bolts.
aRefit the clutch control cable on the manual gearbox.
aRefit the catalytic converter (see 19B, Exhaust,
Catalytic converter: Removal - Refitting, page
19B-12) .aRefit the exhaust downpipe.
aFit the clip.
aTighten the intermediate pipe clip.
aRefit the exhaust downpipe bolts.
aTorque tighten the exhaust downpipe bolts (9
N.m).
aRefit:
-the shock absorber base lower bolts,
-the ABS sensors,
-the ABS sensor bolts (if fitted to the vehicle),
-the brake callipers,
-the calliper mounting bolts,
-the brake pads,
-the lower guide pin bolts,
-track rod ends,
-the track rod end nuts,
-the tie rod upper bolts.
aTorque tighten:
-the shock absorber base lower bolts (105 N.m ),
-the calliper mounting bolts (105 N.m),
-the lower guide pin bolts (34 N.m),
-the track rod end nuts (37 N.m),
-the tie rod upper bolts (21 N.m),
-the tie rod lower bolts (62 N.m).
aClip the electrical wiring on to the cross member.
aFit the steering box universal joint.
aRefit the universal joint bolt.
aTorque tighten the universal joint (24 N.m).
aRemove the flywheel immobiliser.
aClip the fuel pipe on to the upper timing cover.
aConnect the fuel supply pipe union.
aConnect the air conditioning pressostat connector. JH3
JB1 or JH1
D4F, and 772 – D7F
D4F, and 780 or 782
AIR CONDITIONING
Page 90 of 652
10A-84
ENGINE AND CYLINDER BLOCK ASSEMBLY
Engine - gearbox assembly: Removal - Refitting
D4F or D7F
10A
aRefit:
-the air conditioning pipe bolt on the dehydrator res-
ervoir,
-the air conditioning pipe bolts on the compressor.
aTighten:
-the air conditioning pipe bolts on the dehydrator
reservoir,
-the air conditioning pipe bolts on the compressor.
aFill the refrigerant circuit (see Refrigerant circuit:
Draining - Filling) (62A, Air conditioning).
aConnect:
-the petrol vapour rebreathing solenoid valve con-
nector,
-the brake servo pipe on the brake servo,
-the heater matrix hoses.
aFit the cooling unit.
aRefill:
-the engine oil, if necessary (see 10A, Engine and
cylinder block assembly, Engine oil: Draining -
Refilling, page 10A-22) ,
-the gearbox oil (see Manual gearbox oils: Drain-
ing - Filling) ,
-and bleed the cooling system (see 19A, Cooling,
Cooling system: Draining - Refilling, page 19A-
9) .
aRefit:
-the air filter unit air inlet pipe,
-the air filter unit air inlet pipe bolt on the cross
member.
aConnect the air filter box air inlet pipe on the air filter
box cover.
aRefit the turbocharger outlet air pipe.
aPush the intercooler air inlet pipe clip.
aConnect the intercooler air inlet pipe on the inter-
cooler.aPush the turbocharger outlet air pipe clip, following
the direction shown by the arrow (23) .
aConnect the turbocharger air outlet pipe onto the tur-
bocharger.
aRefit the turbocharger outlet rigid air pipe bolt on the
throttle valve.
aConnect the intercooler air outlet pipe to the inter-
cooler.
aTighten the intercooler air outlet pipe clip.
aRefit:
-the cooling radiator upper bolts.
-the air filter unit air inlet pipe,
-the air filter box air inlet pipe on the cross member,
aPosition the expansion bottle.
aRefit the expansion bottle bolt.
aClip the bonnet opening release cable on to the cool-
ing fan assembly.
aPosition the earth straps.
aRefit the earth strap nuts on the front right-hand side
member. D4F, and 780 or 782
122666
D4F or D7F, and 772