bonnet RENAULT TWINGO 2009 2.G Engine And Peripherals Workshop Manual
[x] Cancel search | Manufacturer: RENAULT, Model Year: 2009, Model line: TWINGO, Model: RENAULT TWINGO 2009 2.GPages: 652
Page 7 of 652
10A-1
ENGINE AND CYLINDER BLOCK ASSEMBLY
Crankshaft seal on timing end: Removal - Refitting
K4M
10A
REMOVAL
I - REMOVAL PREPARATION OPERATION
aPosition the vehicle on a two-post lift (see Vehicle:
Towing and lifting) (02A, Lifting equipment).
aDisconnect the battery (see Battery: Removal - Re-
fitting) (80A, Battery).
aRemove:
-the engine undertray,
-the front right-hand wheel (see Wheel: Removal -
Refitting) (35A, Wheels and tyres),
-the front right-hand wheel arch liner (see Front
wheel arch liner: Removal - Refitting) (55A, Ex-
terior protection),
-the front bumper (see Front bumper: Removal -
Refitting) (55A, Exterior protection),
-the headlights (see Halogen headlight: Removal
- Refitting) (80B, Headlights),
-the bonnet catch (see Bonnet lock: Removal -
Refitting) (52A, Non-side opening element mecha-
nisms),
-the front upper cross member (see Front upper
cross member: Removal - Refitting) (42A, Upper
front structure),
-the accessories belt (see 11A, Top and front of
engine, Accessories belt: Removal - Refitting,
page 11A-3) ,
-the air filter unit (see 12A, Fuel mixture, Air filter
unit: Removal - Refitting, page 12A-13) ,
-the throttle valve (see 12A, Fuel mixture, Throttle
valve: Removal - Refitting, page 12A-20) ,
-the windscreen wiper arms (see Windscreen wip-
er arm: Removal - Refitting) (85A, Wiping -
Washing),
-the scuttle panel grille (see Scuttle panel grille:
Removal - Refitting) (56A, Exterior equipment),
-the scoop under the scuttle panel grille (see Scoop
under the scuttle panel grille: Removal - Refit-
ting) (56A, Exterior equipment),-the right-hand suspended engine mounting (see
19D, Engine mounting, Right-hand suspended
engine mounting: Removal - Refitting, page
19D-13) ,
-the crankshaft accessories pulley (see 11A, Top
and front of engine, Crankshaft accessories
pulley: Removal - Refitting, page 11A-20) ,
-the timing belt (see 11A, Top and front of engine,
Timing belt: Removal - Refitting, page 11A-27) ,
-the camshaft dephaser (see 11A, Top and front of
engine, Camshaft dephaser: Removal - Refit-
ting, page 11A-135) .
II - REMOVAL OPERATION
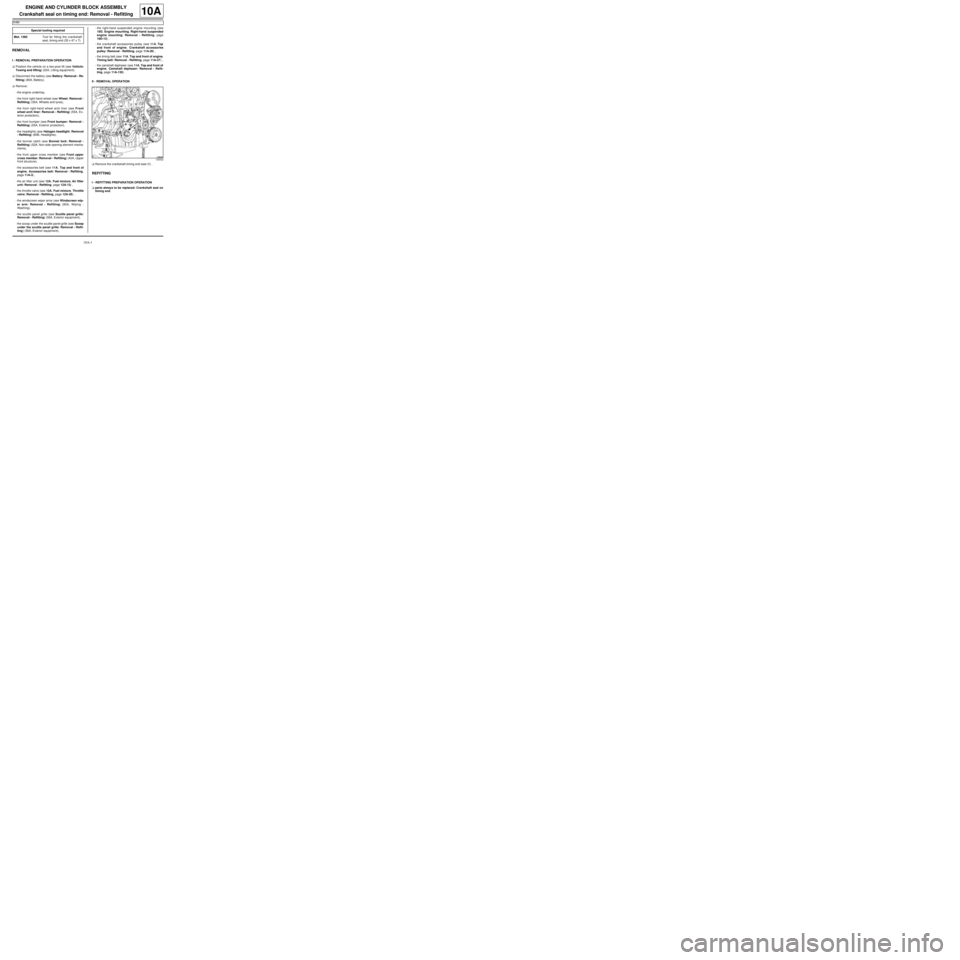
aRemove the crankshaft timing end seal (1) .
REFITTING
I - REFITTING PREPARATION OPERATION
aparts always to be replaced: Crankshaft seal on
timing end. Special tooling required
Mot. 1385Tool for fitting the crankshaft
seal, timing end (35 x 47 x 7).
130542
Page 8 of 652
10A-2
ENGINE AND CYLINDER BLOCK ASSEMBLY
Crankshaft seal on timing end: Removal - Refitting
K4M
10A
aUse SURFACE CLEANER (see Vehicle: Parts
and consumables for the repair) (04B, Consuma-
bles - Products) to clean and degrease:
-the mating face of the crankshaft seal at the timing
end,
-the crankshaft seal housing at the timing end of the
cylinder block.
II - REFITTING OPERATION
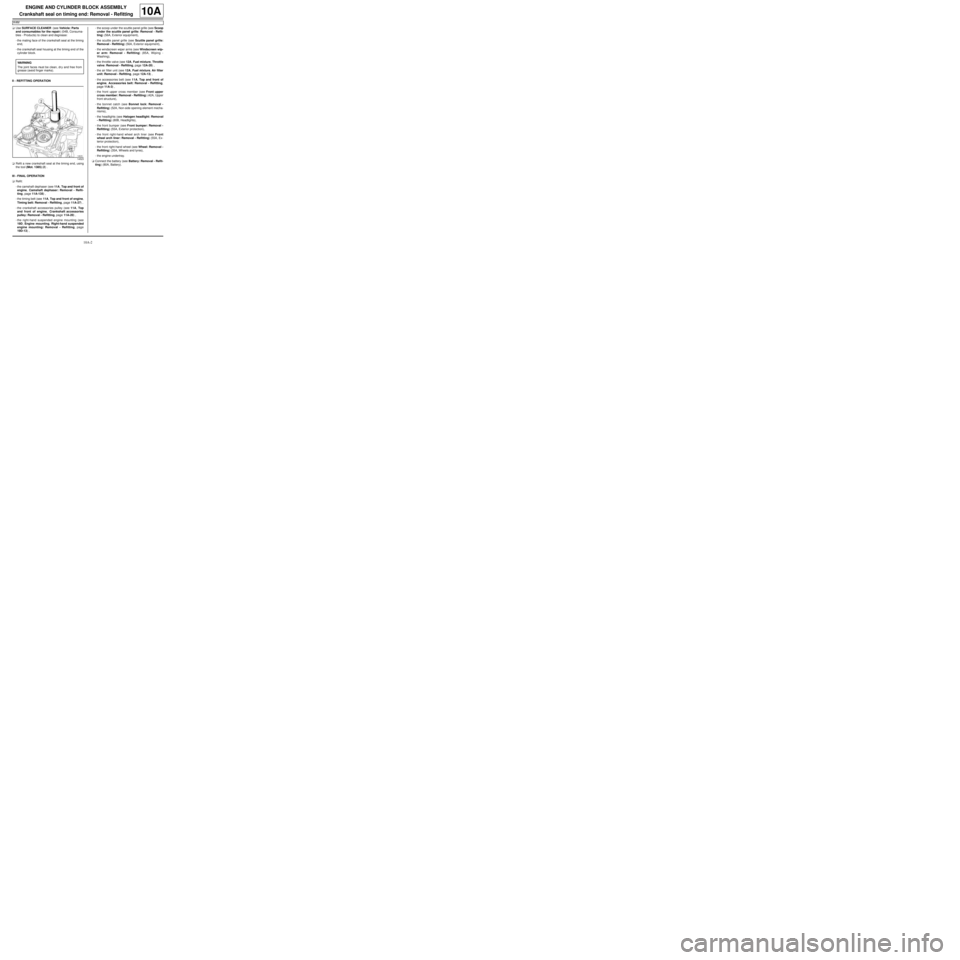
aRefit a new crankshaft seal at the timing end, using
the tool (Mot. 1385) (2) .
III - FINAL OPERATION
aRefit:
-the camshaft dephaser (see 11A, Top and front of
engine, Camshaft dephaser: Removal - Refit-
ting, page 11A-135) ,
-the timing belt (see 11A, Top and front of engine,
Timing belt: Removal - Refitting, page 11A-27) ,
-the crankshaft accessories pulley (see 11A, Top
and front of engine, Crankshaft accessories
pulley: Removal - Refitting, page 11A-20) ,
-the right-hand suspended engine mounting (see
19D, Engine mounting, Right-hand suspended
engine mounting: Removal - Refitting, page
19D-13) ,-the scoop under the scuttle panel grille (see Scoop
under the scuttle panel grille: Removal - Refit-
ting) (56A, Exterior equipment),
-the scuttle panel grille (see Scuttle panel grille:
Removal - Refitting) (56A, Exterior equipment),
-the windscreen wiper arms (see Windscreen wip-
er arm: Removal - Refitting) (85A, Wiping -
Washing),
-the throttle valve (see 12A, Fuel mixture, Throttle
valve: Removal - Refitting, page 12A-20) ,
-the air filter unit (see 12A, Fuel mixture, Air filter
unit: Removal - Refitting, page 12A-13) ,
-the accessories belt (see 11A, Top and front of
engine, Accessories belt: Removal - Refitting,
page 11A-3) ,
-the front upper cross member (see Front upper
cross member: Removal - Refitting) (42A, Upper
front structure),
-the bonnet catch (see Bonnet lock: Removal -
Refitting) (52A, Non-side opening element mecha-
nisms),
-the headlights (see Halogen headlight: Removal
- Refitting) (80B, Headlights),
-the front bumper (see Front bumper: Removal -
Refitting) (55A, Exterior protection),
-the front right-hand wheel arch liner (see Front
wheel arch liner: Removal - Refitting) (55A, Ex-
terior protection),
-the front right-hand wheel (see Wheel: Removal -
Refitting) (35A, Wheels and tyres),
-the engine undertray.
aConnect the battery (see Battery: Removal - Refit-
ting) (80A, Battery). WARNING
The joint faces must be clean, dr y and free from
grease (avoid finger marks).
14523
Page 77 of 652
10A-71
ENGINE AND CYLINDER BLOCK ASSEMBLY
Multifunction support: Removal - Refitting
K4M
10A
REMOVAL
I - REMOVAL PREPARATION OPERATION
aPosition the vehicle on a two-post lift (see Vehicle:
Towing and lifting) (02A, Lifting equipment).
aDisconnect the battery (see Battery: Removal - Re-
fitting) (80A, Battery).
aRemove the engine undertray.
aDrain the refrigerant circuit using a refrigerant
charging station (see Refrigerant circuit: Drain-
ing - Filling) (62A, Air conditioning).
aRemove:
-the front right-hand wheel (see Wheel: Removal -
Refitting) (35A, Wheels and tyres),
-the front right-hand wheel arch liner (see Front
wheel arch liner: Removal - Refitting) (55A, Ex-
terior protection),
-the front bumper (see Front bumper: Removal -
Refitting) (55A, Exterior protection),
-the headlights (see Halogen headlight: Removal
- Refitting) (80B, Headlights),
-the bonnet catch (see Bonnet lock: Removal -
Refitting) (52A, Non-side opening element mecha-
nisms),-the front upper cross member (see Front upper
cross member: Removal - Refitting) (42A, Upper
front structure),
-the accessories belt (see 11A, Top and front of
engine, Accessories belt: Removal - Refitting,
page 11A-3) ,
-the alternator (see 16A, Starting - Charging, Al-
ternator: Removal - Refitting, page 16A-1) ,
-the air conditioning compressor (see Compressor:
Removal - Refitting) (62A, Air conditioning). Equipment required
refrigerant charging station
Tightening torquesm
multifunction support
bolts 1 and 2 (initial
torque)5 N.m
multifunction support
bolt 7 on the cylinder
block (initial torque)5 N.m
multifunction support
bolts 6, 5, 4 and 35 N.m
multifunction support
bolts44 N.m
multifunction support
bolt on the cylinder
block25 N.m
Page 79 of 652
10A-73
ENGINE AND CYLINDER BLOCK ASSEMBLY
Multifunction support: Removal - Refitting
K4M
10A
REFITTING
I - REFITTING OPERATION
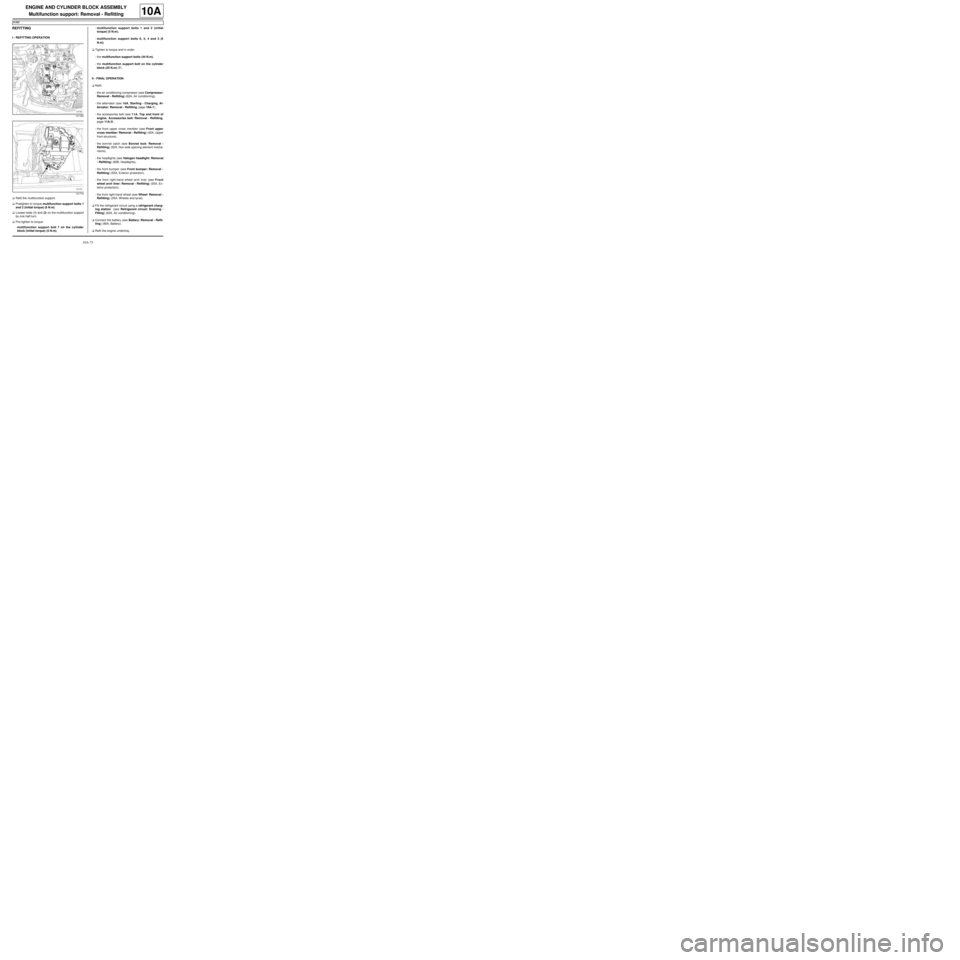
aRefit the multifunction support.
aPretighten to torque multifunction support bolts 1
and 2 (initial torque) (5 N.m).
aLoosen bolts (1) and (2) on the multifunction support
by one half-turn.
aPre-tighten to torque:
-multifunction support bolt 7 on the cylinder
block (initial torque) (5 N.m),-multifunction support bolts 1 and 2 (initial
torque) (5 N.m),
-multifunction support bolts 6, 5, 4 and 3 (5
N.m).
aTighten to torque and in order:
-the multifunction support bolts (44 N.m),
-the multifunction support bolt on the cylinder
block (25 N.m) (7) .
II - FINAL OPERATION
aRefit:
-the air conditioning compressor (see Compressor:
Removal - Refitting) (62A, Air conditioning),
-the alternator (see 16A, Starting - Charging, Al-
ternator: Removal - Refitting, page 16A-1) ,
-the accessories belt (see 11A, Top and front of
engine, Accessories belt: Removal - Refitting,
page 11A-3) ,
-the front upper cross member (see Front upper
cross member: Removal - Refitting) (42A, Upper
front structure),
-the bonnet catch (see Bonnet lock: Removal -
Refitting) (52A, Non-side opening element mecha-
nisms),
-the headlights (see Halogen headlight: Removal
- Refitting) (80B, Headlights),
-the front bumper (see Front bumper: Removal -
Refitting) (55A, Exterior protection),
-the front right-hand wheel arch liner (see Front
wheel arch liner: Removal - Refitting) (55A, Ex-
terior protection),
-the front right-hand wheel (see Wheel: Removal -
Refitting) (35A, Wheels and tyres).
aFill the refrigerant circuit using a refrigerant charg-
ing station (see Refrigerant circuit: Draining -
Filling) (62A, Air conditioning).
aConnect the battery (see Battery: Removal - Refit-
ting) (80A, Battery).
aRefit the engine undertray.
131780
131779
Page 81 of 652
10A-75
ENGINE AND CYLINDER BLOCK ASSEMBLY
Engine - gearbox assembly: Removal - Refitting
D4F or D7F
10A
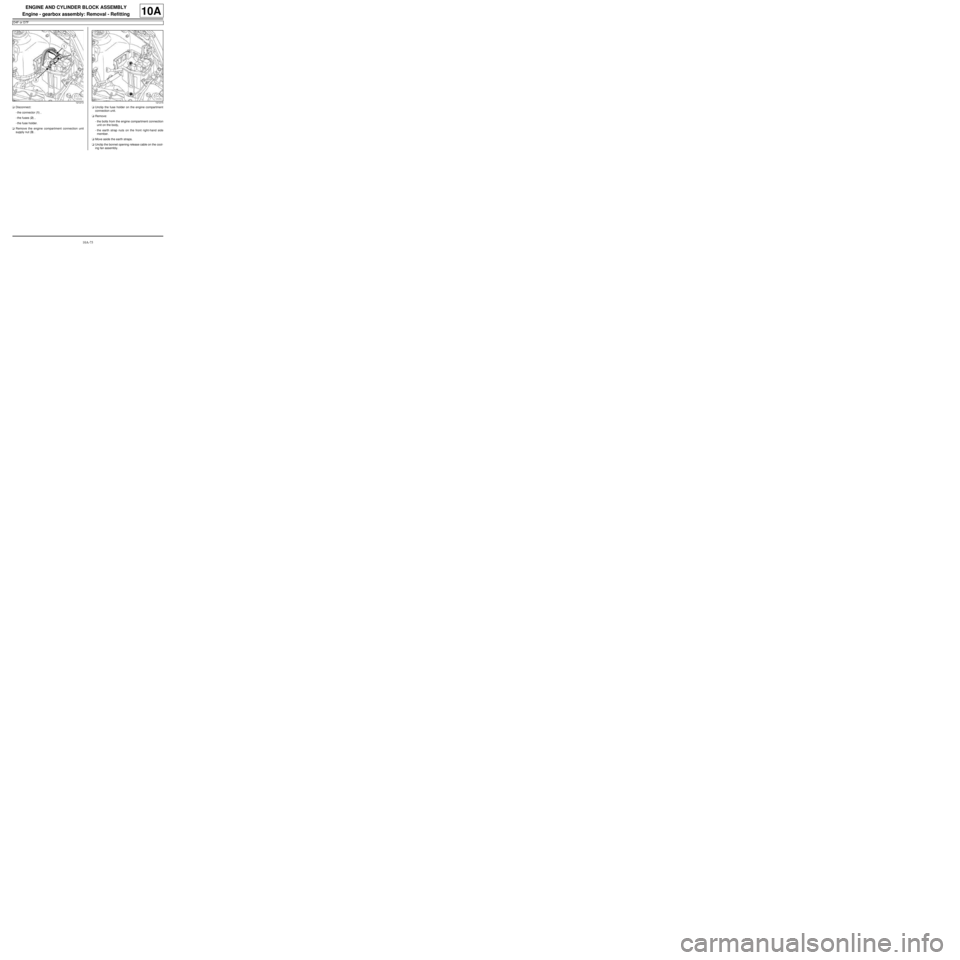
aDisconnect:
-the connector (1) ,
-the fuses (2) ,
-the fuse holder.
aRemove the engine compartment connection unit
supply nut (3) .aUnclip the fuse holder on the engine compartment
connection unit.
aRemove:
-the bolts from the engine compartment connection
unit on the body,
-the earth strap nuts on the front right-hand side
member.
aMove aside the earth straps.
aUnclip the bonnet opening release cable on the cool-
ing fan assembly.
121213121215
Page 90 of 652
10A-84
ENGINE AND CYLINDER BLOCK ASSEMBLY
Engine - gearbox assembly: Removal - Refitting
D4F or D7F
10A
aRefit:
-the air conditioning pipe bolt on the dehydrator res-
ervoir,
-the air conditioning pipe bolts on the compressor.
aTighten:
-the air conditioning pipe bolts on the dehydrator
reservoir,
-the air conditioning pipe bolts on the compressor.
aFill the refrigerant circuit (see Refrigerant circuit:
Draining - Filling) (62A, Air conditioning).
aConnect:
-the petrol vapour rebreathing solenoid valve con-
nector,
-the brake servo pipe on the brake servo,
-the heater matrix hoses.
aFit the cooling unit.
aRefill:
-the engine oil, if necessary (see 10A, Engine and
cylinder block assembly, Engine oil: Draining -
Refilling, page 10A-22) ,
-the gearbox oil (see Manual gearbox oils: Drain-
ing - Filling) ,
-and bleed the cooling system (see 19A, Cooling,
Cooling system: Draining - Refilling, page 19A-
9) .
aRefit:
-the air filter unit air inlet pipe,
-the air filter unit air inlet pipe bolt on the cross
member.
aConnect the air filter box air inlet pipe on the air filter
box cover.
aRefit the turbocharger outlet air pipe.
aPush the intercooler air inlet pipe clip.
aConnect the intercooler air inlet pipe on the inter-
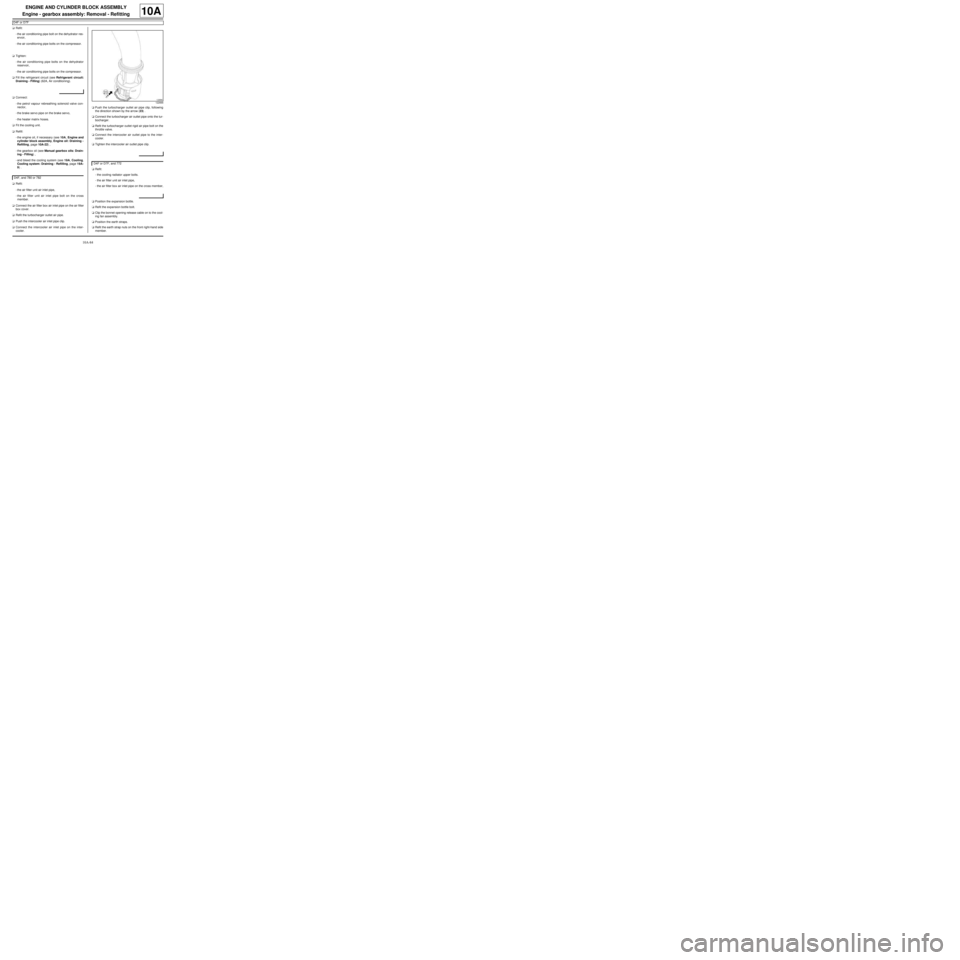
cooler.aPush the turbocharger outlet air pipe clip, following
the direction shown by the arrow (23) .
aConnect the turbocharger air outlet pipe onto the tur-
bocharger.
aRefit the turbocharger outlet rigid air pipe bolt on the
throttle valve.
aConnect the intercooler air outlet pipe to the inter-
cooler.
aTighten the intercooler air outlet pipe clip.
aRefit:
-the cooling radiator upper bolts.
-the air filter unit air inlet pipe,
-the air filter box air inlet pipe on the cross member,
aPosition the expansion bottle.
aRefit the expansion bottle bolt.
aClip the bonnet opening release cable on to the cool-
ing fan assembly.
aPosition the earth straps.
aRefit the earth strap nuts on the front right-hand side
member. D4F, and 780 or 782
122666
D4F or D7F, and 772
Page 122 of 652
11A-5
TOP AND FRONT OF ENGINE
Accessories belt: Removal - Refitting
K9K, and AIR CONDITIONING
11A
PARTS AND CONSUMABLES FOR THE
REPAIR WORK
aParts always to be replaced:
-accessories belt,
-accessories belt tensioning roller,
-accessories belt tensioning roller bolt,
-axle sub-frame bolts.
REMOVAL
I - REMOVAL PREPARATION OPERATION
aPosition the vehicle on a two-post lift (see Vehicle:
Towing and lifting) (MR 411, 02A, Lifting equip-
ment).
aDisconnect the battery (see ) (MR 411, 80A, Bat-
tery).
aRemove:
-the wiper arms (see Windscreen wiper arm: Re-
moval - Refitting) (MR 411, 85A, Wipers - Wash-
ers),
-the scuttle panel grille (see Scuttle panel grille:
Removal - Refitting) (MR 412, 56A, Exterior
equipment),
-the scoop under the scuttle panel grille (see Scoop
under the scuttle panel grille: Removal - Refit-
ting) (MR 412, 56A, Exterior equipment).
-the front right-hand wheel (see Wheel: Removal -
Refitting) (MR 411, 35A, Wheels and tyres),
-the front right-hand wheel arch liner (see Front
wheel arch liner: Removal - Refitting) (MR 412,
55A, Exterior protection),
-the front bumper (see Front bumper: Removal -
Refitting) (MR 412, 55A, Exterior protection),
-the left-hand and right-hand headlights (see Halo-
gen headlight: Removal - Refitting) (MR 411,
80B, Headlights).aRemove:
-the air filter inlet air pipe bolt from the front upper
cross member,
-the expansion bottle bolt from the front upper cross
member,
-the cooling radiator retaining bracket bolt from the
front upper cross member.
aUnclip and then remove from the front upper cross
member:
-the air filter inlet air pipe,
-the expansion bottle.
aRemove the bonnet catch bolts.
aRemove the « cable - bonnet catch » assembly.
aRemove:
-the front upper cross member (see Front upper
cross member: Removal - Refitting) (MR 412,
42A, Upper front structure),
-the air conditioning pipe clip from the right-hand
headlight carrier panel,
-the right-hand suspended engine mounting (see
19D, Engine mounting, Right-hand suspended
engine mounting: Removal - Refitting, page
19D-13) .
II - OPERATION FOR REMOVAL OF PART
CONCERNED
1 - Removing the accessories belt
aRaise the engine using the (Mot. 1672) to access
the tensioning roller.
aRelax the accessories belt using a ratchet, an exten-
sion and a 16 mm socket.
aRemove the belt, passing it over its slot between the
headlight carrier panel and the alternator pulley.
aLower the engine using tool (Mot. 1672). Special tooling required
Mot. 1672Low er engine support.
Tightening torquesm
tensioning roller bolt40 Nm
alter nator bolts25 Nm
Note:
Shift the engine forwards slightly by hand to facil-
itate setting up the tools.
Page 124 of 652
11A-7
TOP AND FRONT OF ENGINE
Accessories belt: Removal - Refitting
K9K, and AIR CONDITIONING
11A
-the front upper cross member (see Front upper
cross member: Removal - Refitting) (MR 412,
42A, Upper front structure),
aFit the « cable - bonnet catch » assembly.
aRefit the bonnet catch nuts.
aClip the following onto the front upper cross mem-
ber:
-the air filter inlet air pipe,
-the expansion bottle.
aRefit:
-the air filter inlet air pipe bolt onto the front upper
cross member,
-the expansion bottle bolt onto the front upper cross
member,
-the cooling radiator retaining bracket bolt onto the
front upper cross member.
-the left-hand and right-hand headlights (see Halo-
gen headlight: Removal - Refitting) (MR 411,
80B, Headlights).
-the front bumper (see Front bumper: Removal -
Refitting) (MR 412, 55A, Exterior protection),
-the front right-hand wheel arch liner (see Front
wheel arch liner: Removal - Refitting) (MR 412,
55A, Exterior protection),
-the front right-hand wheel (see Wheel: Removal -
Refitting) (MR 411, 35A, Wheels and tyres),
-the scoop under the scuttle panel grille (see Scoop
under the scuttle panel grille: Removal - Refit-
ting) (MR 412, 56A, Exterior equipment).
-the scuttle panel grille (see Scuttle panel grille:
Removal - Refitting) (MR 412, 56A, Exterior
equipment),
-the wiper arms (see Windscreen wiper arm: Re-
moval - Refitting) (MR 411, 85A, Wipers - Wash-
ers),
aConnect the battery (see ) (MR 411, 80A, Battery).
aAdjust the headlights (see Halogen headlight: Ad-
justment) (MR 411, 80B, Headlights).
Page 127 of 652
11A-10
TOP AND FRONT OF ENGINE
Accessories belt: Removal - Refitting
K9K, and STANDARD HEATING
11A
PARTS AND CONSUMABLES FOR THE
REPAIR WORK
aParts always to be replaced:
-accessories belt,
-accessories belt tensioning roller,
-accessories belt tensioning roller bolt
-the air conditioning compressor substitute pulley,
-axle sub-frame bolts.
REMOVAL
I - REMOVAL PREPARATION OPERATION
aPosition the vehicle on a two-post lift (see Vehicle:
Towing and lifting) (MR 411, 02A, Lifting equip-
ment).
aDisconnect the battery (see ) (MR 411, 80A, Bat-
tery).
aRemove:
-the front right-hand wheel (see Wheel: Removal -
Refitting) (MR 411, 35A, Wheels and tyres),
-the front right-hand wheel arch liner (see Front
wheel arch liner: Removal - Refitting) (MR 412,
55A, Exterior protection),
-the front bumper (see Front bumper: Removal -
Refitting) (MR 412, 55A, Exterior protection),
-the left-hand and right-hand headlights (see Halo-
gen headlight: Removal - Refitting) (MR 411,
80B, Headlights).aRemove:
-the air filter inlet air pipe bolt from the front upper
cross member,
-the expansion bottle bolt from the front upper cross
member,
-the cooling radiator retaining bracket bolt from the
front upper cross member.
aUnclip and then remove from the front upper cross
member:
-the air filter inlet air pipe,
-the expansion bottle.
aRemove the bonnet catch bolts.
aRemove the « cable - bonnet catch » assembly.
aRemove the front upper cross member (see Front
upper cross member: Removal - Refitting) (MR
412, 42A, Upper front structure).
II - OPERATION FOR REMOVAL OF PART
CONCERNED
1 - Removing the accessories belt
aRelax the accessories belt using a 16 mm spanner.
aRemove the accessories belt from the air condition-
ing compressor substitute pulley.
aRemove the accessories belt, passing it over its slot
between the RH side member and the crankshaft
accessories and alternator pulleys.
aDiscard the accessories belt
2 - Removing the tensioning roller and the air
conditioning compressor substitute pulley
a
aDisconnect the connector on the alternator.
aRemove the nut from the alternator harness.
aMove the alternator harness to one side.
aRemove the alternator upper bolt.
aLoosen the alternator lower bolt.
aRemove the alternator with its lower bolt fitted. Tightening torquesm
air conditioning com-
pressor substitute pul-
ley bolts25 Nm
tensioning roller bolt40 Nm
bolts mounting the mul-
tifunction support on the
cylinder block44 Nm
bolt mounting the multi-
function support on the
sump25 Nm
alter nator bolts25 Nm
Note:
The tensioning roller and air conditioning com-
pressor substitute pulley must be replaced every
time the accessor ies belt is replaced.
Page 129 of 652
11A-12
TOP AND FRONT OF ENGINE
Accessories belt: Removal - Refitting
K9K, and STANDARD HEATING
11A
aCheck that the accessories belt is correctly mounted
on the crankshaft accessories, air conditioning com-
pressor and alternator pulleys.
aTurn the engine two revolutions.
aCheck that the accessories belt is correctly fitted on
the crankshaft accessories, air conditioning com-
pressor substitute, alternator and tensioning roller
pulleys.
II - FINAL OPERATION.
aRefit the front upper cross member (see Front up-
per cross member: Removal - Refitting) (MR 412,
42A, Upper front structure).
aFit the « cable - bonnet catch » assembly.
aRefit the bonnet catch nuts.
aClip the following onto the front upper cross mem-
ber:
-the air filter inlet air pipe,
-the expansion bottle.
aRefit:
-the air filter inlet air pipe bolt onto the front upper
cross member,
-the expansion bottle bolt onto the front upper cross
member,
-the cooling radiator retaining bracket bolt onto the
front upper cross member.
-the left-hand and right-hand headlights (see Halo-
gen headlight: Removal - Refitting) (MR 411,
80B, Headlights).
-the front bumper (see Front bumper: Removal -
Refitting) (MR 412, 55A, Exterior protection),
-the front right-hand wheel arch liner (see Front
wheel arch liner: Removal - Refitting) (MR 412,
55A, Exterior protection),
-the front right-hand wheel (see Wheel: Removal -
Refitting) (MR 411, 35A, Wheels and tyres),
aConnect the battery (see ) (MR 411, 80A, Battery).
aAdjust the headlights (see Halogen headlight: Ad-
justment) (MR 411, 80B, Headlights).