air RENAULT TWINGO RS 2009 2.G Chasiss ABS Workshop Manual
[x] Cancel search | Manufacturer: RENAULT, Model Year: 2009, Model line: TWINGO RS, Model: RENAULT TWINGO RS 2009 2.GPages: 76
Page 1 of 76

Chassis
"The repair procedures given by the manufacturer in this document are based on the
technical specifications current when it was prepared.
The procedures may be modified as a result of changes introduced by the
manufacturer in the production of the various component units and accessories from
which his vehicles are constructed."
V1
All rights reserved by Renault s.a.s.
Edition Anglaise
Copying or translating, in part or in full, of this document or use of the service part
reference numbering system is forbidden without the prior written authority of
Renault s.a.s.
© Renault s.a.s.
V1 MR-413-X44-38C000$000_engTOC.mif
ANTI-LOCK BRAKING SYSTEM
MK70 ABS
Vdiag No: 04
Fault finding - Introduction 38C - 2
Fault finding - List and location of components 38C - 7
Fault finding - Operating diagram 38C - 8
Fault finding - Function 38C - 9
Fault finding - Role of components 38C - 10
Fault finding - Defect and safe modes 38C - 11
Diagnostics - Replacing parts 38C - 12
Diagnostics - Configuration and Programming 38C - 13
Fault finding - Fault summary table 38C - 14
Fault finding - Interpretation of faults 38C - 15
Fault finding - Conformity check 38C - 51
Diagnostic - Summary table of statuses and parameters 38C - 52
Fault finding - Interpretation of statuses 38C - 53
Fault finding - Dealing with command modes 38C - 57
Fault finding - Command summary table 38C - 58
Fault finding - Dealing with command modes 38C - 59
Fault finding - Customer complaints 38C - 64
Fault finding - Fault Finding Chart 38C - 65
38C
MR-413-X44-38C000$000_engTOC.mif
Page 3 of 76
38C-3
MR-413-X44-38C000$047_eng.mif
V1
ANTI-LOCK BRAKING SYSTEM
Fault finding - Introduction
MK70 ABS
Vdiag No: 04
38C
3. REMINDERS
Procedure
To run diagnostics on the vehicle computers, switch on the ignition using the key.
Faults
Faults are declared as either present or stored (depending on whether they appeared in a certain context and have
disappeared since, or whether they remain present but have not been diagnosed within the current context).
The present or stored status of faults should be taken into consideration when the diagnostic tool is switched on
after the + after ignition feed (without any system components being active).
For a present fault, apply the procedure described in the Interpretation of faults section.
For a stored fault, note the faults displayed and apply the instructions in the Notes section.
If the fault is confirmed when the instructions in the Notes section are applied, the fault is present. Deal with the
fault.
If the fault is not confirmed, check:
–the electrical lines which correspond to the fault,
–the connectors on these lines (corrosion, bent pins, etc.),
–the resistance of the component detected as faulty,
–the condition of the wires (melted or split insulation, wear).
Conformity check
The aim of the conformity check is to check statuses and parameters that do not produce a fault display on the
diagnostic tool when they are inconsistent. Therefore, this stage is used to:
–carry out fault finding on faults that do not have a fault display, and which may correspond to a customer
complaint.
–check that the system is operating correctly and that there is no risk of a fault recurring after repairs.
This section gives the fault finding procedures for statuses and parameters and the conditions for checking them.
If a status is not behaving normally or a parameter is outside the permitted tolerance values, consult the
corresponding fault finding page.
Customer complaints - Fault finding chart
If the test with the diagnostic tool is OK but the customer complaint is still present, the fault should be processed by
customer complaint.
A summary of the overall procedure to follow is provided on the following page in the
form of a flow chart.
Page 6 of 76
38C-6
MR-413-X44-38C000$047_eng.mif
V1
ANTI-LOCK BRAKING SYSTEM
Fault finding - Introduction
MK70 ABS
Vdiag No: 04
38C
Visual inspection of the sealing:
(Only for watertight connectors)
●Check for the seal on the connection (between the 2 parts of the connection).
●Check the seal at the back of the connectors:
–For unit joints (1 for each wire), check that the unit joints are present on each electrical wire and that
they are correctly positioned in the opening (level with the housing). Check that plugs are present on
openings which are not used.
–For a grommet seal (one seal which covers the entire internal surface of the connector), check that
the seal is present.
–For gel seals, check for gel in all of the openings without removing the excess or any protruding
sections (it does not matter if there is gel on the contacts).
–For hotmelt sealing (heat-shrink sheath with glue), check that the sheath has contracted correctly on
the rear of the connectors and electrical wires, and that the hardened glue comes out of the side of
the wire.
●Check that there is no damage to any of the seals (cuts, burns, significant deformation, etc.).
If a fault is detected, repair or replace the wiring (see Technical Note 6015A, Repairing electrical wiring, Wiring:
Precautions for repair)
5. FAULT FINDING LOG
You will always be asked for this log:
–when requesting technical assistance from Techline,
–for approval requests when replacing parts for which approval is mandatory,
–to be attached to monitored parts for which reimbursement is requested. The log is needed for
–warranty reimbursement, and enables better analysis of the parts removed.
6. SAFETY INSTRUCTIONS
Safety rules must be observed during any work on a component to prevent any damage or injury:
–check the battery voltage to avoid incorrect operation of computer functions,
–use the proper tools.
It is forbidden to carry out a road test with the diagnostic tool in dialogue with the ECU because the ABS and
Electronic Brake Distribution functions are deactivated. Braking pressure is identical on both vehicle axles
(risk of a spin under heavy braking).IMPORTANTIMPORTANT
Any fault on a complex system requires thorough fault finding with the appropriate tools. The
FAULT FINDING LOG, which should be completed during the procedure, enables you to keep
track of the procedure which is carried out. It is an essential document when consulting the
manufacturer.
IT IS THEREFORE MANDATORY TO FILL OUT A FAULT FINDING LOG EACH TIME FAULT FINDING IS
CARRIED OUT.
Page 15 of 76
38C-15
MR-413-X44-38C000$470_eng.mif
V1
38C
ANTI-LOCK BRAKING SYSTEM
Fault finding - Interpretation of faults
DF001
PRESENT
OR
STOREDCOMPUTER SUPPLY VOLTAGE
1.DEF: Feed voltage too low
2.DEF: Feed voltage too high
NOTESConditions for applying the fault finding procedure to stored faults:
Apply the fault finding procedure whether the fault is present or stored.
Use the Technical Note wiring diagram for New Twingo.
1.DEF
NOTESSpecial notes: This fault will appear in a road test
(speed greater than 12 mph (20 km/h)) if the computer
supply voltage is below the minimum operating voltage
(9.4 V < min battery voltage < 10 V).
Check the tightness and the condition of the battery terminals.
Check the battery voltage and carry out any work required to obtain the correct voltage (10 V < battery voltage
< 17 V).
Check the charging circuit (see 80A, battery).
Check the condition and position of the 15A and 20A fuses in the engine fuse and relay box.
Check the condition and position of the F10 5 A fuse in the Passenger compartment fuse box.
Consult section 81C, Fuses.
Check the connection and condition (possible damage to the wiring) of the connector of component 1094.
If the connector is faulty (see Technical Note 6015A, Repairing electrical wiring, wiring: Precautions for
repair), repair the connector, otherwise replace the wiring.
●Connector of component 1094 disconnected, check the insulation and continuity of connection MAH of
component 1094 (tightness, oxidisation etc.).
●Connectors of component 1094 and R107 disconnected, check the insulation and continuity of
connection AP5 between component 1094 and intermediate connector R107.
●Check the insulation and continuity of connection AP5 between intermediate connector R107 and
component 1016.
●Connectors of component 1094 and R67 disconnected, check the insulation and continuity of
connections BP8 and BP14 between component 1094 and intermediate connector R67.
●Check the insulation and continuity of connections BP8 and BP14 between intermediate connector R67
and component 597.
If the connection or connections are faulty (see Technical Note 6015A, Electrical wiring repair, Wiring:
Precautions for repair), repair the connectors or wiring, otherwise replace the wiring.
If the checks reveal no faults, perform a conformity check of component 597.
If all the checks are in order, reconnect the computer and clear the computer fault memory.
Exit the fault finding procedure and carry out a road test.
If the fault is still present, contact the Techline.
AFTER REPAIRClear the computer fault memory.
Carry out a road test followed by another check with the diagnostic tool.
ABS_V04_DF001
MK70 ABS
Vdiag No: 04
MR-413-X44-38C000$470_eng.mif
Page 16 of 76
38C-16
MR-413-X44-38C000$470_eng.mif
V1
ANTI-LOCK BRAKING SYSTEM
Fault finding - Interpretation of faults
MK70 ABS
Vdiag No: 04
38C
DF001
CONTINUED
2.DEF
NOTESSpecial notes:
This fault will appear in a road test (speed greater than
12 mph (20 km/h)) if the computer supply voltage is above
the maximum operating voltage (17 V < maximum battery
voltage < 19 V). This fault may appear when starting using a
charger or a 24 V battery.
Check the charging circuit (See MR411 Mechanical systems, 16A, Starting-charging).
If all the checks are in order, reconnect the computer and clear the computer fault memory.
Exit the fault finding procedure and carry out a road test.
If the fault is still present, contact the Techline.
AFTER REPAIRClear the computer fault memory.
Carry out a road test followed by another check with the diagnostic tool.
Page 17 of 76
38C-17
MR-413-X44-38C000$470_eng.mif
V1
MK70 ABS
Vdiag No: 04ANTI-LOCK BRAKING SYSTEM
Fault finding - Interpretation of faults38C
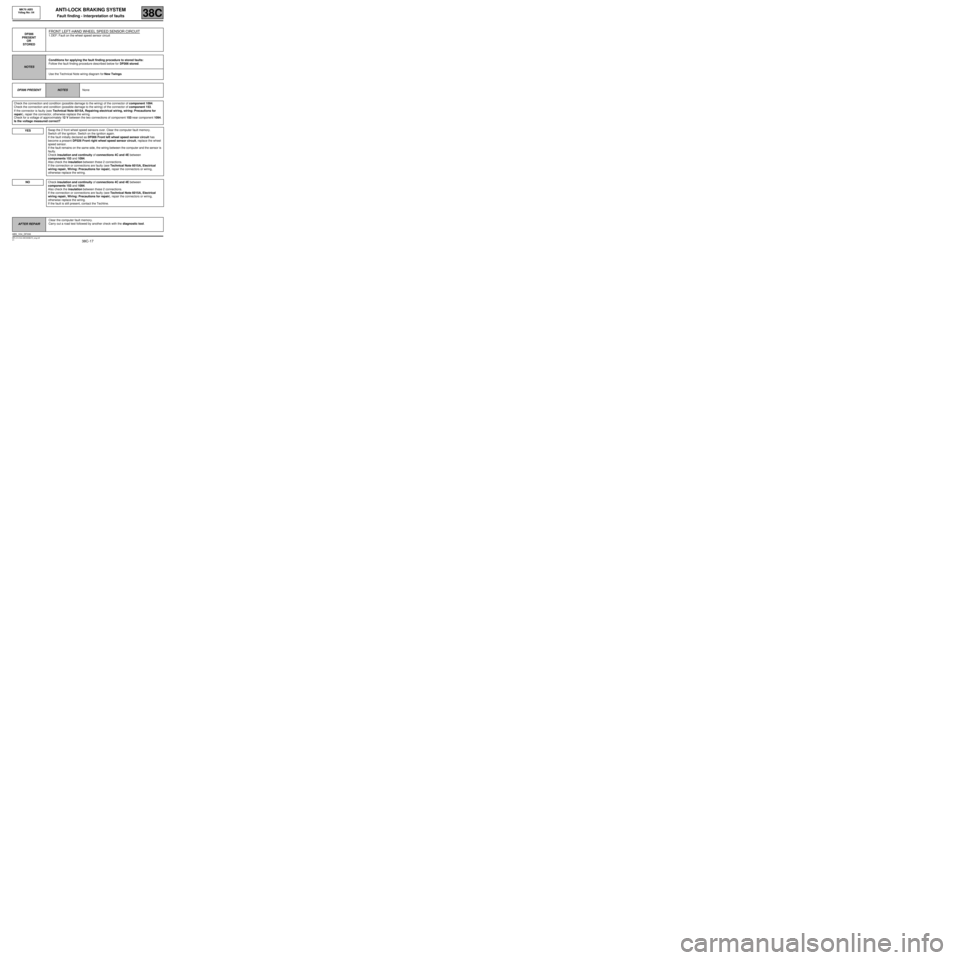
DF006
PRESENT
OR
STOREDFRONT LEFT-HAND WHEEL SPEED SENSOR CIRCUIT
1.DEF: Fault on the wheel speed sensor circuit
NOTESConditions for applying the fault finding procedure to stored faults:
Follow the fault finding procedure described below for DF006 stored.
Use the Technical Note wiring diagram for New Twingo.
DF006 PRESENT
NOTESNone
Check the connection and condition (possible damage to the wiring) of the connector of component 1094.
Check the connection and condition (possible damage to the wiring) of the connector of component 153.
If the connector is faulty (see Technical Note 6015A, Repairing electrical wiring, wiring: Precautions for
repair), repair the connector, otherwise replace the wiring.
Check for a voltage of approximately 12 V between the two connections of component 153 near component 1094.
Is the voltage measured correct?
YES
Swap the 2 front wheel speed sensors over. Clear the computer fault memory.
Switch off the ignition. Switch on the ignition again.
If the fault initially declared as DF006 Front left wheel speed sensor circuit has
become a present DF026 Front right wheel speed sensor circuit, replace the wheel
speed sensor.
If the fault remains on the same side, the wiring between the computer and the sensor is
faulty.
Check insulation and continuity of connections 4C and 4E between
components 153 and 1094.
Also check the insulation between these 2 connections.
If the connection or connections are faulty (see Technical Note 6015A, Electrical
wiring repair, Wiring: Precautions for repair), repair the connectors or wiring,
otherwise replace the wiring.
If the fault is still present, contact the Techline.
NO
AFTER REPAIRClear the computer fault memory.
Carry out a road test followed by another check with the diagnostic tool.
ABS_V04_DF006
Page 18 of 76
38C-18
MR-413-X44-38C000$470_eng.mif
V1
ANTI-LOCK BRAKING SYSTEM
Fault finding - Interpretation of faults
MK70 ABS
Vdiag No: 04
38C
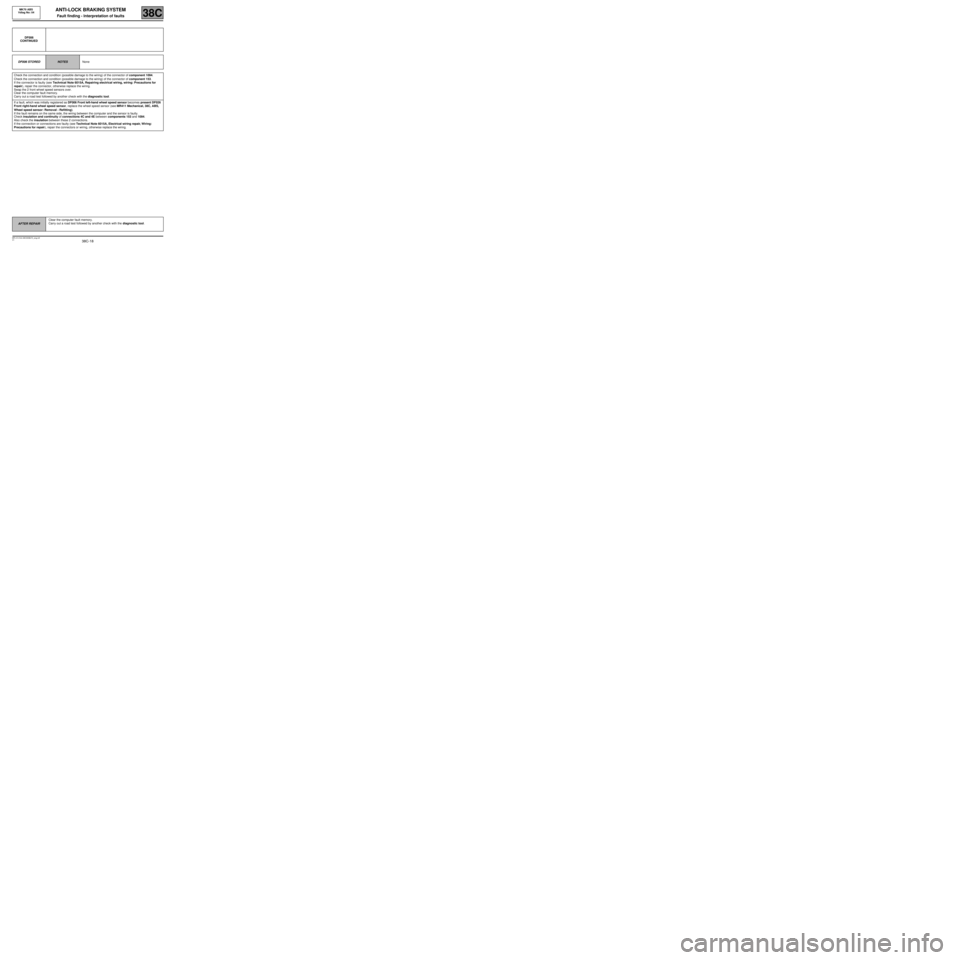
DF006
CONTINUED
DF006 STORED
NOTESNone
Check the connection and condition (possible damage to the wiring) of the connector of component 1094.
Check the connection and condition (possible damage to the wiring) of the connector of component 153.
If the connector is faulty (see Technical Note 6015A, Repairing electrical wiring, wiring: Precautions for
repair), repair the connector, otherwise replace the wiring.
Swap the 2 front wheel speed sensors over.
Clear the computer fault memory.
Carry out a road test followed by another check with the diagnostic tool.
If a fault, which was initially registered as DF006 Front left-hand wheel speed sensor becomes present DF026
Front right-hand wheel speed sensor, replace the wheel speed sensor (see MR411 Mechanical, 38C, ABS,
Wheel speed sensor: Removal - Refitting).
If the fault remains on the same side, the wiring between the computer and the sensor is faulty.
Check insulation and continuity of connections 4C and 4E between components 153 and 1094.
Also check the insulation between these 2 connections.
If the connection or connections are faulty (see Technical Note 6015A, Electrical wiring repair, Wiring:
Precautions for repair), repair the connectors or wiring, otherwise replace the wiring.
AFTER REPAIRClear the computer fault memory.
Carry out a road test followed by another check with the diagnostic tool.
Page 19 of 76
38C-19
MR-413-X44-38C000$470_eng.mif
V1
MK70 ABS
Vdiag No: 04ANTI-LOCK BRAKING SYSTEM
Fault finding - Interpretation of faults38C
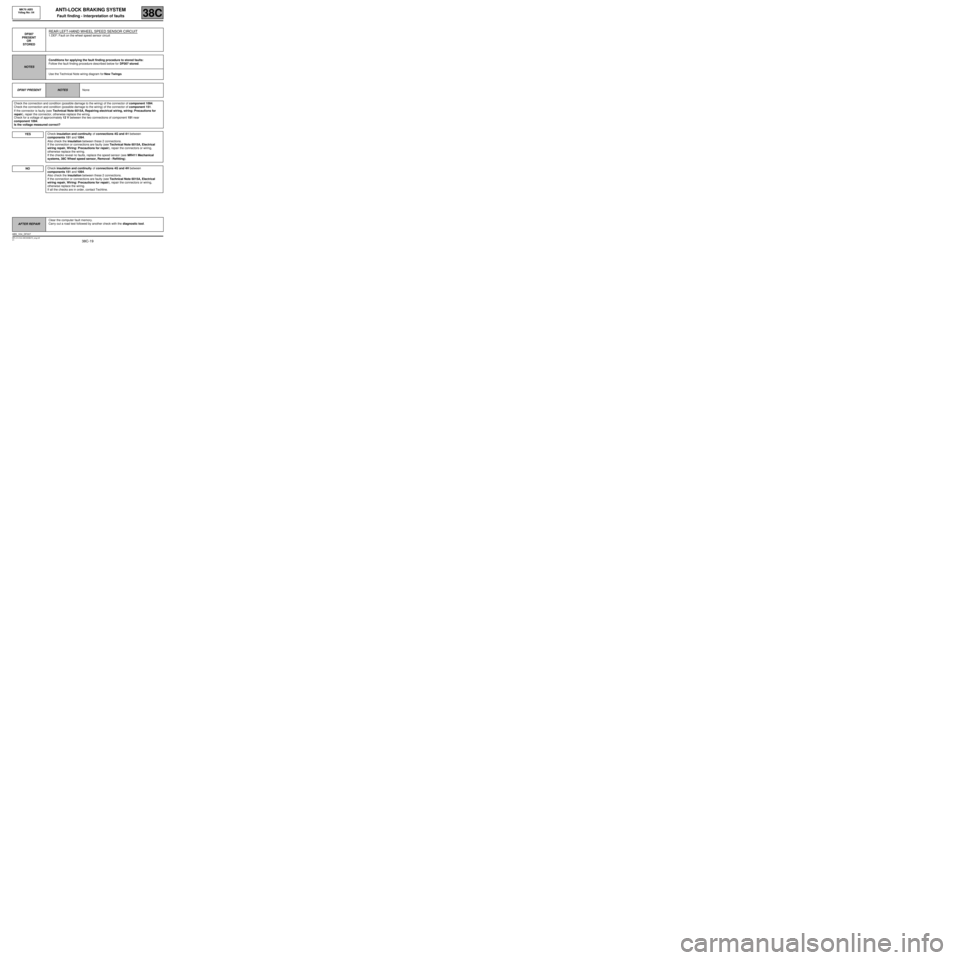
DF007
PRESENT
OR
STOREDREAR LEFT-HAND WHEEL SPEED SENSOR CIRCUIT
1.DEF: Fault on the wheel speed sensor circuit
NOTESConditions for applying the fault finding procedure to stored faults:
Follow the fault finding procedure described below for DF007 stored.
Use the Technical Note wiring diagram for New Twingo.
DF007 PRESENT
NOTESNone
Check the connection and condition (possible damage to the wiring) of the connector of component 1094.
Check the connection and condition (possible damage to the wiring) of the connector of component 151.
If the connector is faulty (see Technical Note 6015A, Repairing electrical wiring, wiring: Precautions for
repair), repair the connector, otherwise replace the wiring.
Check for a voltage of approximately 12 V between the two connections of component 151 near
component 1094.
Is the voltage measured correct?
YES
Check insulation and continuity of connections 4G and 4H between
components 151 and 1094.
Also check the insulation between these 2 connections.
If the connection or connections are faulty (see Technical Note 6015A, Electrical
wiring repair, Wiring: Precautions for repair), repair the connectors or wiring,
otherwise replace the wiring.
If the checks reveal no faults, replace the speed sensor (see MR411 Mechanical
systems, 38C Wheel speed sensor, Removal - Refitting).
Check insulation and continuity of connections 4G and 4H between
components 151 and 1094.
Also check the insulation between these 2 connections.
If the connection or connections are faulty (see Technical Note 6015A, Electrical
wiring repair, Wiring: Precautions for repair), repair the connectors or wiring,
otherwise replace the wiring.
If all the checks are in order, contact Techline.
NO
AFTER REPAIRClear the computer fault memory.
Carry out a road test followed by another check with the diagnostic tool.
ABS_V04_DF007
Page 20 of 76
38C-20
MR-413-X44-38C000$470_eng.mif
V1
ANTI-LOCK BRAKING SYSTEM
Fault finding - Interpretation of faults
MK70 ABS
Vdiag No: 04
38C
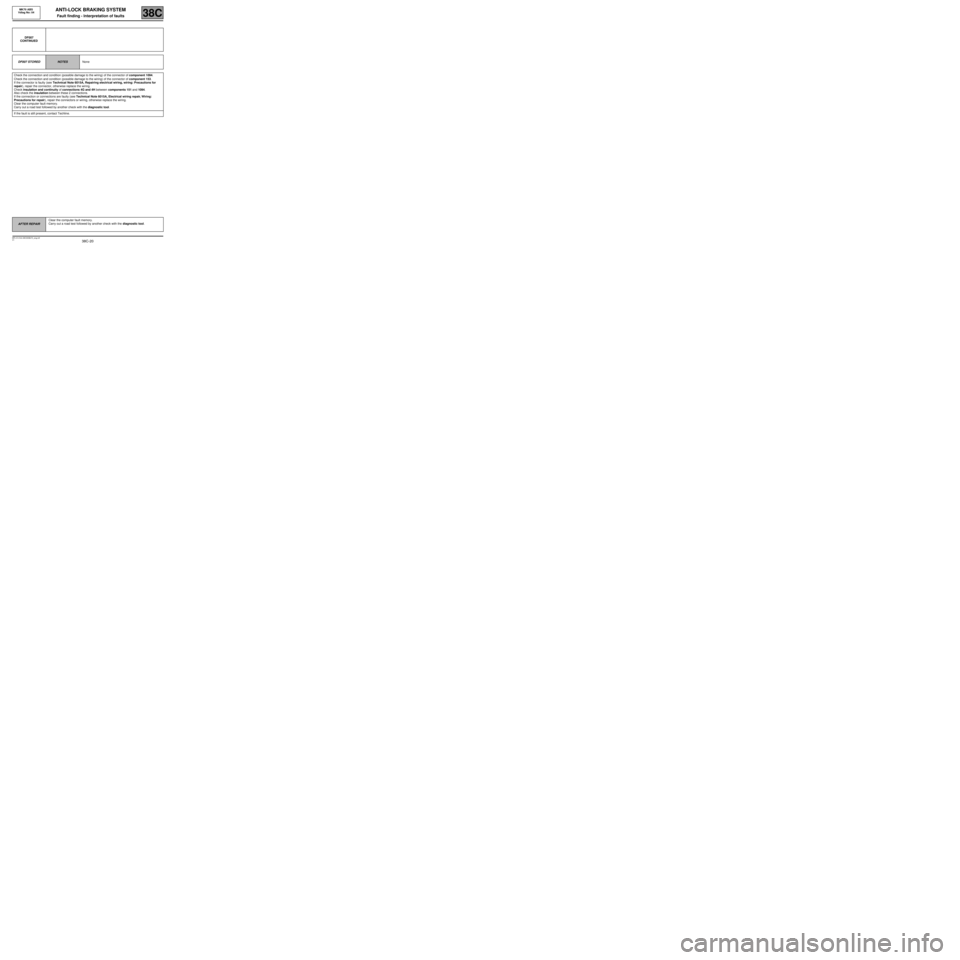
DF007
CONTINUED
DF007 STORED
NOTESNone
Check the connection and condition (possible damage to the wiring) of the connector of component 1094.
Check the connection and condition (possible damage to the wiring) of the connector of component 153.
If the connector is faulty (see Technical Note 6015A, Repairing electrical wiring, wiring: Precautions for
repair), repair the connector, otherwise replace the wiring.
Check insulation and continuity of connections 4G and 4H between components 151 and 1094.
Also check the insulation between these 2 connections.
If the connection or connections are faulty (see Technical Note 6015A, Electrical wiring repair, Wiring:
Precautions for repair), repair the connectors or wiring, otherwise replace the wiring.
Clear the computer fault memory.
Carry out a road test followed by another check with the diagnostic tool.
If the fault is still present, contact Techline.
AFTER REPAIRClear the computer fault memory.
Carry out a road test followed by another check with the diagnostic tool.
Page 21 of 76
38C-21
MR-413-X44-38C000$470_eng.mif
V1
ANTI-LOCK BRAKING SYSTEM
Fault finding - Interpretation of faults
MK70 ABS
Vdiag No: 04
38C
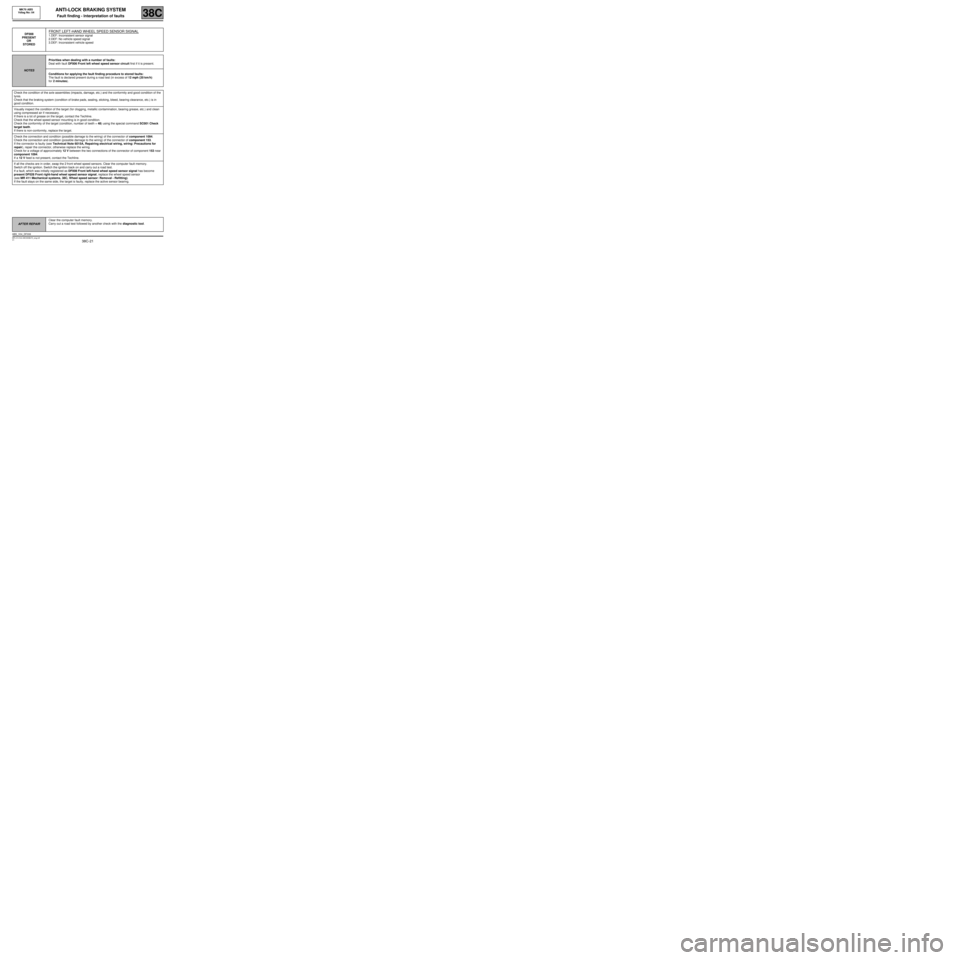
DF008
PRESENT
OR
STOREDFRONT LEFT-HAND WHEEL SPEED SENSOR SIGNAL
1.DEF: Inconsistent sensor signal
2.DEF: No vehicle speed signal
3.DEF: Inconsistent vehicle speed
NOTESPriorities when dealing with a number of faults:
Deal with fault DF006 Front left wheel speed sensor circuit first if it is present.
Conditions for applying the fault finding procedure to stored faults:
The fault is declared present during a road test (in excess of 12 mph (20 km/h)
for 2 minutes).
Check the condition of the axle assemblies (impacts, damage, etc.) and the conformity and good condition of the
tyres.
Check that the braking system (condition of brake pads, sealing, sticking, bleed, bearing clearance, etc.) is in
good condition.
Visually inspect the condition of the target (for clogging, metallic contamination, bearing grease, etc.) and clean
using compressed air if necessary.
If there is a lot of grease on the target, contact the Techline.
Check that the wheel speed sensor mounting is in good condition.
Check the conformity of the target (condition, number of teeth = 48) using the special command SC001 Check
target teeth.
If there is non-conformity, replace the target.
Check the connection and condition (possible damage to the wiring) of the connector of component 1094.
Check the connection and condition (possible damage to the wiring) of the connector of component 153.
If the connector is faulty (see Technical Note 6015A, Repairing electrical wiring, wiring: Precautions for
repair), repair the connector, otherwise replace the wiring.
Check for a voltage of approximately 12 V between the two connections of the connector of component 153 near
component 1094.
If a 12 V feed is not present, contact the Techline.
If all the checks are in order, swap the 2 front wheel speed sensors. Clear the computer fault memory.
Switch off the ignition. Switch the ignition back on and carry out a road test.
If a fault, which was initially registered as DF008 Front left-hand wheel speed sensor signal has become
present DF028 Front right-hand wheel speed sensor signal, replace the wheel speed sensor
(see MR 411 Mechanical systems, 38C, Wheel speed sensor: Removal - Refitting).
If the fault stays on the same side, the target is faulty, replace the active sensor bearing.
AFTER REPAIRClear the computer fault memory.
Carry out a road test followed by another check with the diagnostic tool.
ABS_V04_DF008