lights RENAULT TWINGO RS 2009 2.G Electrical Equipment User Guide
[x] Cancel search | Manufacturer: RENAULT, Model Year: 2009, Model line: TWINGO RS, Model: RENAULT TWINGO RS 2009 2.GPages: 241
Page 20 of 241
80B-8
HEADLIGHTS
Halogen headlight: Removal - Refitting
80B
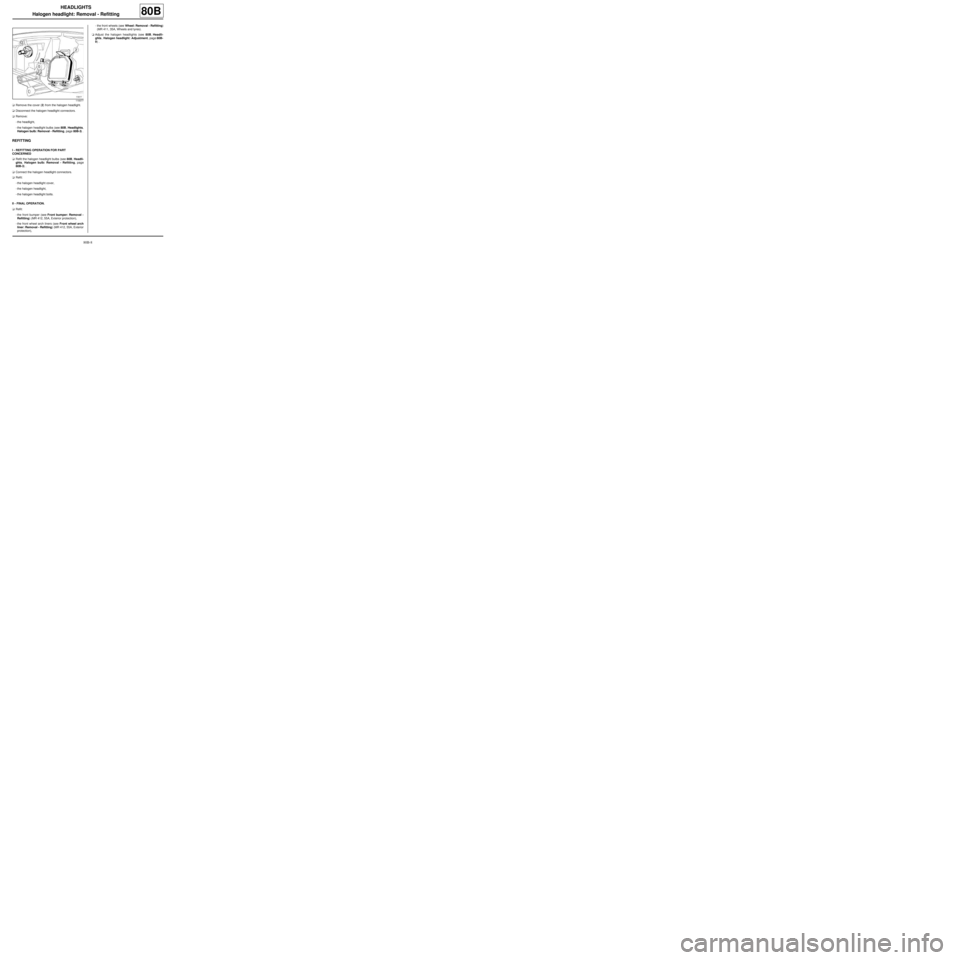
aRemove the cover (2) from the halogen headlight.
aDisconnect the halogen headlight connectors.
aRemove:
-the headlight,
-the halogen headlight bulbs (see 80B, Headlights,
Halogen bulb: Removal - Refitting, page 80B-3) .
REFITTING
I - REFITTING OPERATION FOR PART
CONCERNED
aRefit the halogen headlight bulbs (see 80B, Headli-
ghts, Halogen bulb: Removal - Refitting, page
80B-3) .
aConnect the halogen headlight connectors.
aRefit:
-the halogen headlight cover,
-the halogen headlight,
-the halogen headlight bolts.
II - FINAL OPERATION.
aRefit:
-the front bumper (see Front bumper: Removal -
Refitting) (MR 412, 55A, Exterior protection),
-the front wheel arch liners (see Front wheel arch
liner: Removal - Refitting) (MR 412, 55A, Exterior
protection),-the front wheels (see Wheel: Removal - Refitting)
(MR 411, 35A, Wheels and tyres).
aAdjust the halogen headlights (see 80B, Headli-
ghts, Halogen headlight: Adjustment, page 80B-
9) .
119377
Page 21 of 241
80B-9
HEADLIGHTS
Halogen headlight: Adjustment
80B
ADJUSTMENT
I - PREPARATION OPERATION
aPlace the vehicle on a level horizontal working area.
aDo not apply the parking brake.
aCheck and inflate the tyres (see Tyre pressure)
(MR 411, 35A, Wheels and tyres).
aOpen the cover.
aCheck:
-that the luggage compartment is empty,
-that the headlights are clean.
aPosition the headlight beam remote adjustment con-
trol on 0.
aSwitch on the dipped headlights.
II - TEST OPERATION
aPlace a headlight adjustment and checking tool
set to -1% in front of the vehicle (see equipment ins-
tructions).
aCheck the headlight beam adjustment using the
headlight adjustment and checking tool (see the
instructions for the equipment).III - ADJUSTMENT OPERATION
aUsing the headlight adjustment and checking
tool :
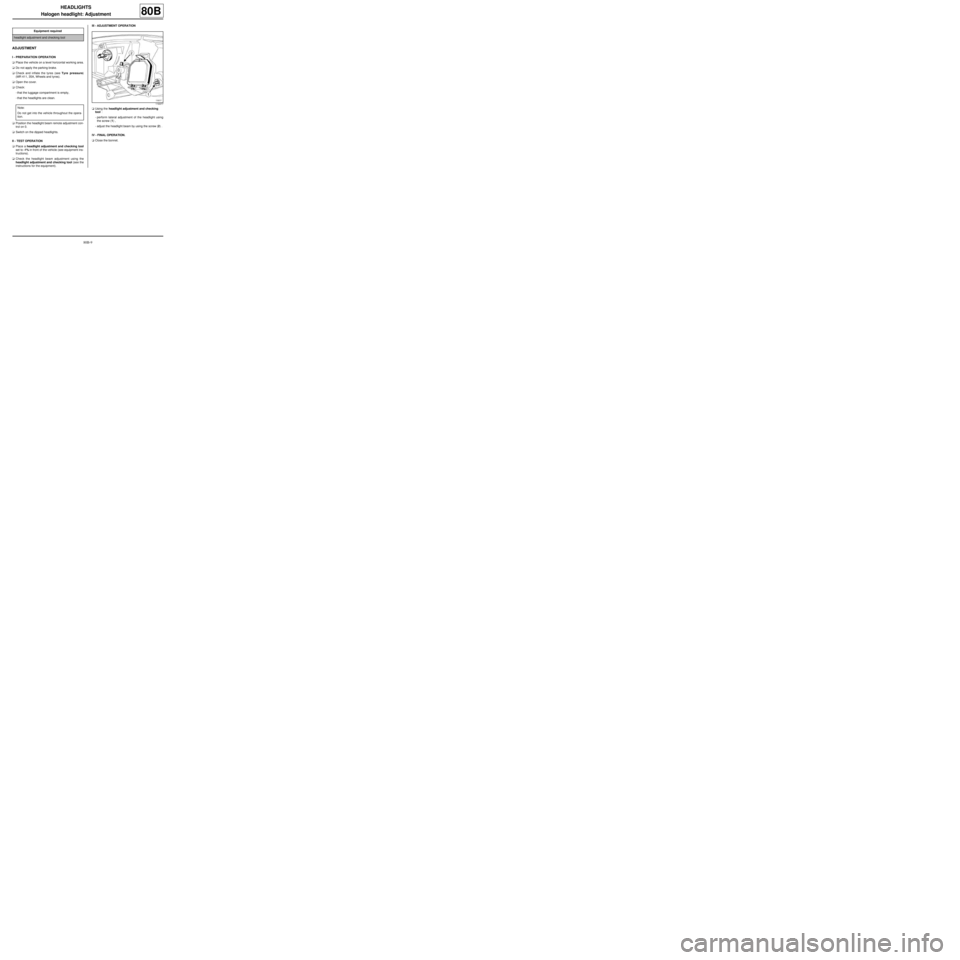
-perform lateral adjustment of the headlight using
the screw (1) ,
-adjust the headlight beam by using the screw (2) .
IV - FINAL OPERATION.
aClose the bonnet. Equipment required
headlight adjustment and checking tool
Note:
Do not get into the vehicle throughout the opera-
tion.
119377
Page 22 of 241
80B-10
HEADLIGHTS
Front fog light: Removal - Refitting
80B
REMOVAL
I - REMOVAL PREPARATION OPERATION
Removing the left-hand fog light bulb
a
aPosition the vehicle on a two-post lift (see Vehicle:
Towing and lifting) (02A, Lifting equipment).
aRemove:
-the front wheels (see Wheel: Removal - Refitting)
(35A, Wheels and tyres),
-the front wheel arch liners (see Front wheel arch
liner: Removal - Refitting) (55A, Exterior protec-
tion),
-the front bumper (see Front bumper: Removal -
Refitting) (55A, Exterior protection).Removing the fog light bulb
aRemove:
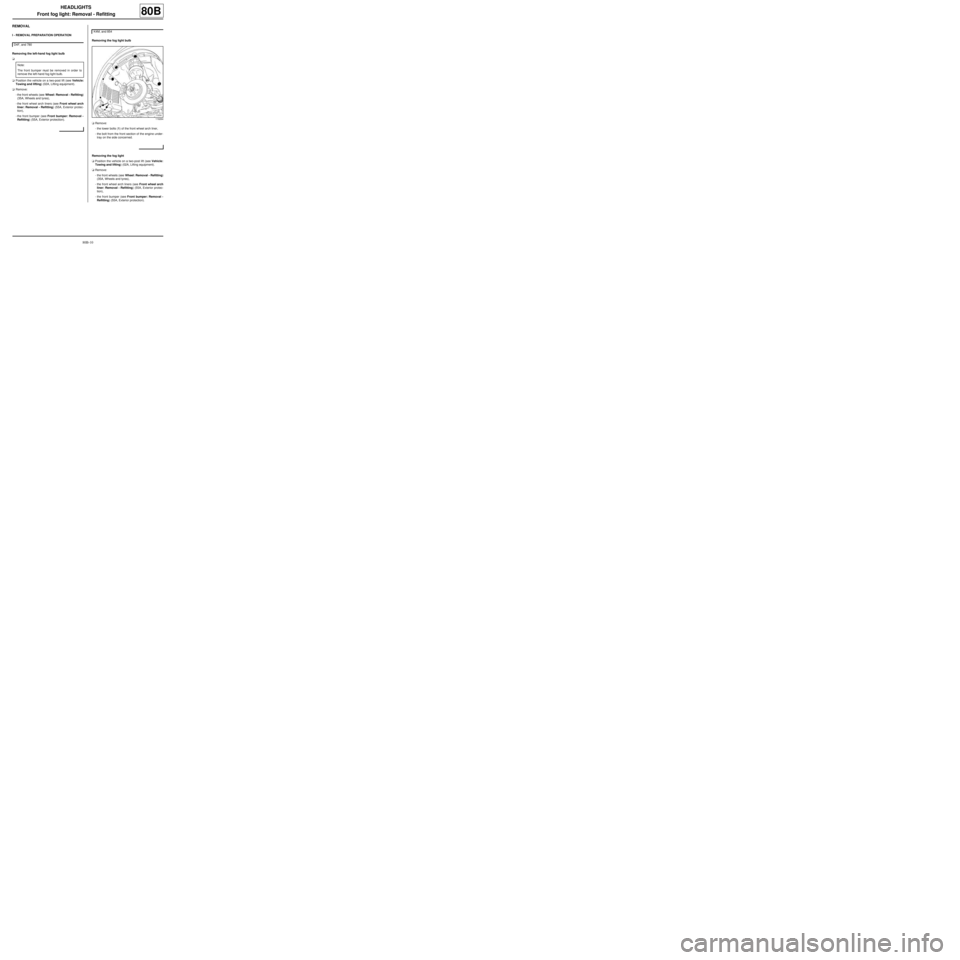
-the lower bolts (1) of the front wheel arch liner,
-the bolt from the front section of the engine under-
tray on the side concerned.
Removing the fog light
aPosition the vehicle on a two-post lift (see Vehicle:
Towing and lifting) (02A, Lifting equipment).
aRemove:
-the front wheels (see Wheel: Removal - Refitting)
(35A, Wheels and tyres),
-the front wheel arch liners (see Front wheel arch
liner: Removal - Refitting) (55A, Exterior protec-
tion),
-the front bumper (see Front bumper: Removal -
Refitting) (55A, Exterior protection). D4F, and 780
Note:
The front bumper must be removed in order to
remove the left-hand fog light bulb.
K4M, and 854
119264
Page 23 of 241
80B-11
HEADLIGHTS
Front fog light: Removal - Refitting
80B
II - OPERATION FOR REMOVAL OF PART
CONCERNED
1 - Removing the fog light bulb
a
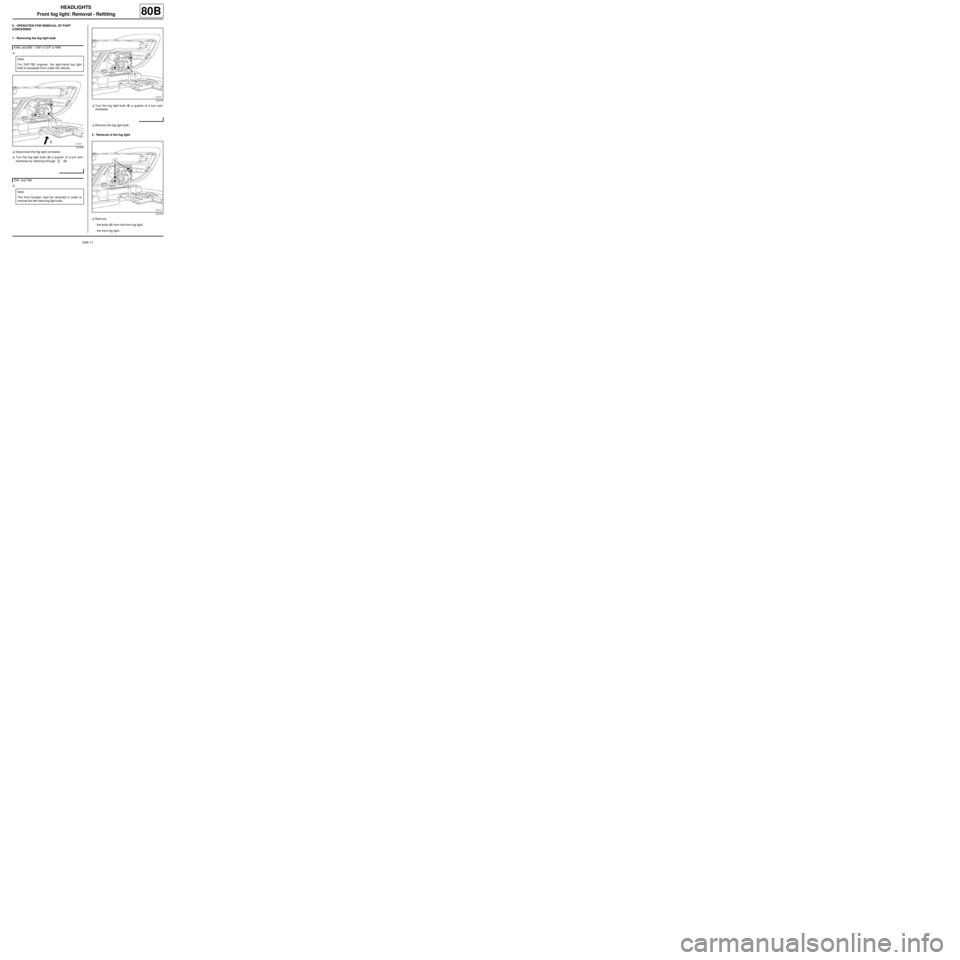
aDisconnect the fog light connector.
aTurn the fog light bulb (3) a quarter of a turn anti-
clockwise by reaching through
b (2) .
aaTurn the fog light bulb (4) a quarter of a turn anti-
clockwise.
aRemove the fog light bulb.
2 - Removal of the fog light
aRemove:
-the bolts (5) from the front fog light,
-the front fog light. K4M, and 854 – D4F or D7F or K9K
Note:
For D4F/780 engines, the right-hand fog light
bulb is accessed from under the vehicle.
121079
D4F, and 780
Note:
The front bumper must be removed in order to
remove the left-hand fog light bulb.
121079
121079
Page 24 of 241
80B-12
HEADLIGHTS
Front fog light: Removal - Refitting
80B
REFITTING
I - REFITTING OPERATION FOR PART
CONCERNED
1 - Refitting the fog light bulb
aReplace the fog light bulb with an approved bulb.
aRefit the fog light bulb.
aTurn the fog light bulb a quarter of a turn clockwise.
aConnect the fog light connector.
2 - Refitting the fog light
aRefit the front fog light.
II - FINAL OPERATION.
Refitting the left-hand fog light bulb
aRefit:
-the front bumper (see Front bumper: Removal -
Refitting) (55A, Exterior protection),
-the front wheel arch liners (see Front wheel arch
liner: Removal - Refitting) (55A, Exterior protec-
tion),
-the front wheels (see Wheel: Removal - Refitting)
(35A, Wheels and tyres).
Refitting the fog light bulb
aRefit:
-the lower bolts of the front wheel arch liner,
-the bolt for the front section of the engine undertray
on the side concerned.
Refitting the fog light
aRefit:
-the front bumper (see Front bumper: Removal -
Refitting) (55A, Exterior protection),-the front wheel arch liners (see Front wheel arch
liner: Removal - Refitting) (55A, Exterior protec-
tion),
-the front wheels (see Wheel: Removal - Refitting)
(35A, Wheels and tyres).
D4F, and 780
K4M, and 854
Page 25 of 241
80B-13
HEADLIGHTS
Side indicator: Removal - Refitting
80B
REMOVAL
OPERATION FOR REMOVAL OF PART
CONCERNED
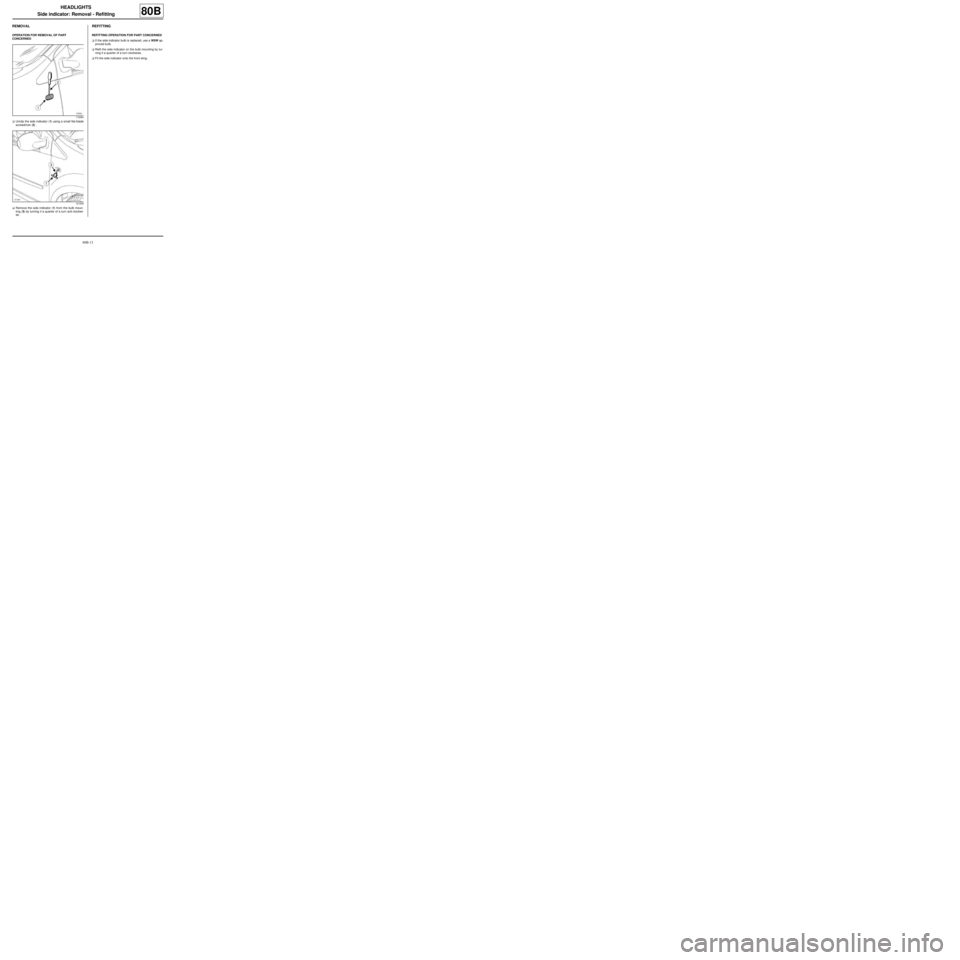
aUnclip the side indicator (1) using a small flat-blade
screwdriver (2) .
aRemove the side indicator (1) from the bulb moun-
ting (3) by turning it a quarter of a turn anti-clockwi-
se.
REFITTING
REFITTING OPERATION FOR PART CONCERNED
aIf the side indicator bulb is replaced, use a W5W ap-
proved bulb.
aRefit the side indicator on the bulb mounting by tur-
ning it a quarter of a turn clockwise.
aFit the side indicator onto the front wing.
119384
121206
Page 33 of 241
81A-8
REAR LIGHTING
Number plate light: Removal - Refitting
81A
REMOVAL
I - REMOVAL PREPARATION OPERATION
aSwitch off the ignition.
II - REMOVAL OPERATION FOR PART
CONCERNED
aUnclip the license plate lights at (1) with a small flat-
blade screwdriver.
aDisconnect the license plate light connectors.
aRemove the license plate light bulbs (see 81A, Rear
lighting, Rear light bulb: Removal - Refitting,
page 81A-4) .
REFITTING
REFITTING OPERATION FOR PART CONCERNED
aRefit the license plate light bulbs (see 81A, Rear li-
ghting, Rear light bulb: Removal - Refitting, page
81A-4) .
aConnect the number plate light connectors.
aClip on the number plate lights.
121082
Page 35 of 241
81B-2
INTERIOR LIGHTING
Interior light: Removal - Refitting
81B
REMOVAL
OPERATION FOR REMOVAL OF PART
CONCERNED
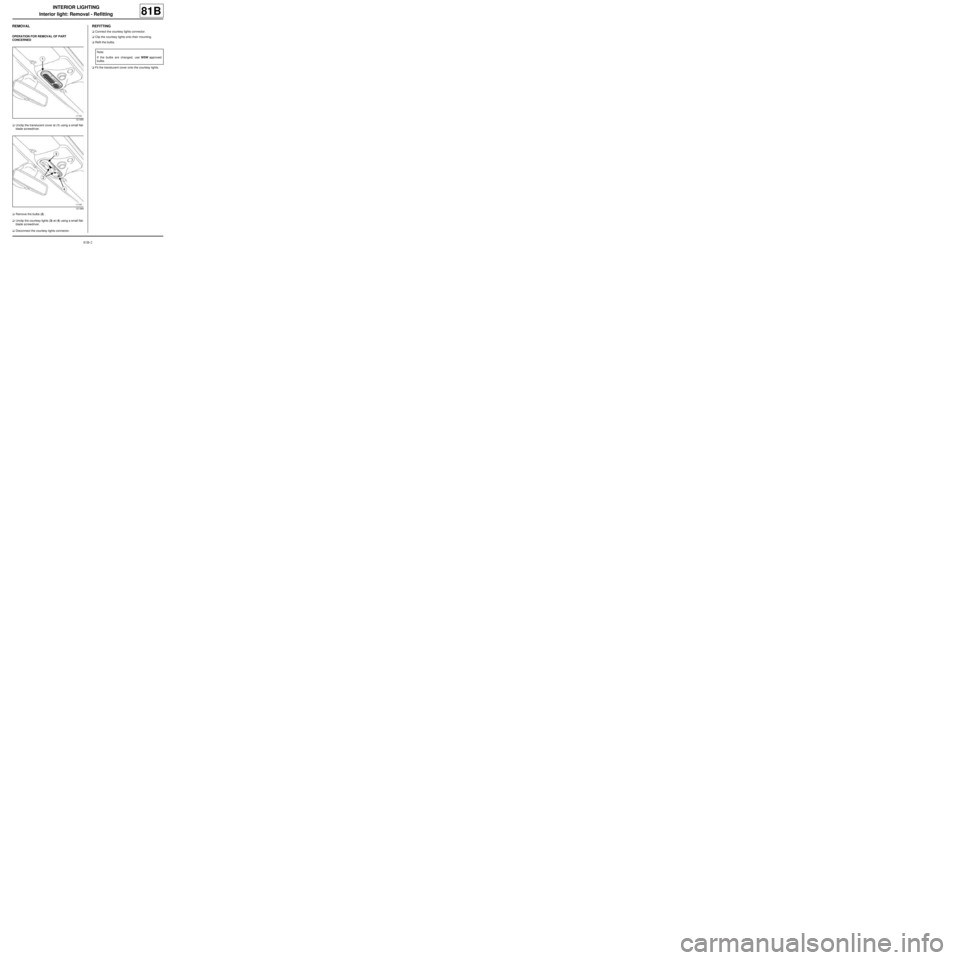
aUnclip the translucent cover at (1) using a small flat-
blade screwdriver.
aRemove the bulbs (2) .
aUnclip the courtesy lights (3) at (4) using a small flat-
blade screwdriver.
aDisconnect the courtesy lights connector.
REFITTING
aConnect the courtesy lights connector.
aClip the courtesy lights onto their mounting.
aRefit the bulbs.
aFit the translucent cover onto the courtesy lights.
121390
121389
Note:
If the bulbs are changed, use W5W approved
bulbs.
Page 65 of 241
84A-10
CONTROL - SIGNALS
Hazard warning lights and central door control: Removal - Refitting84A
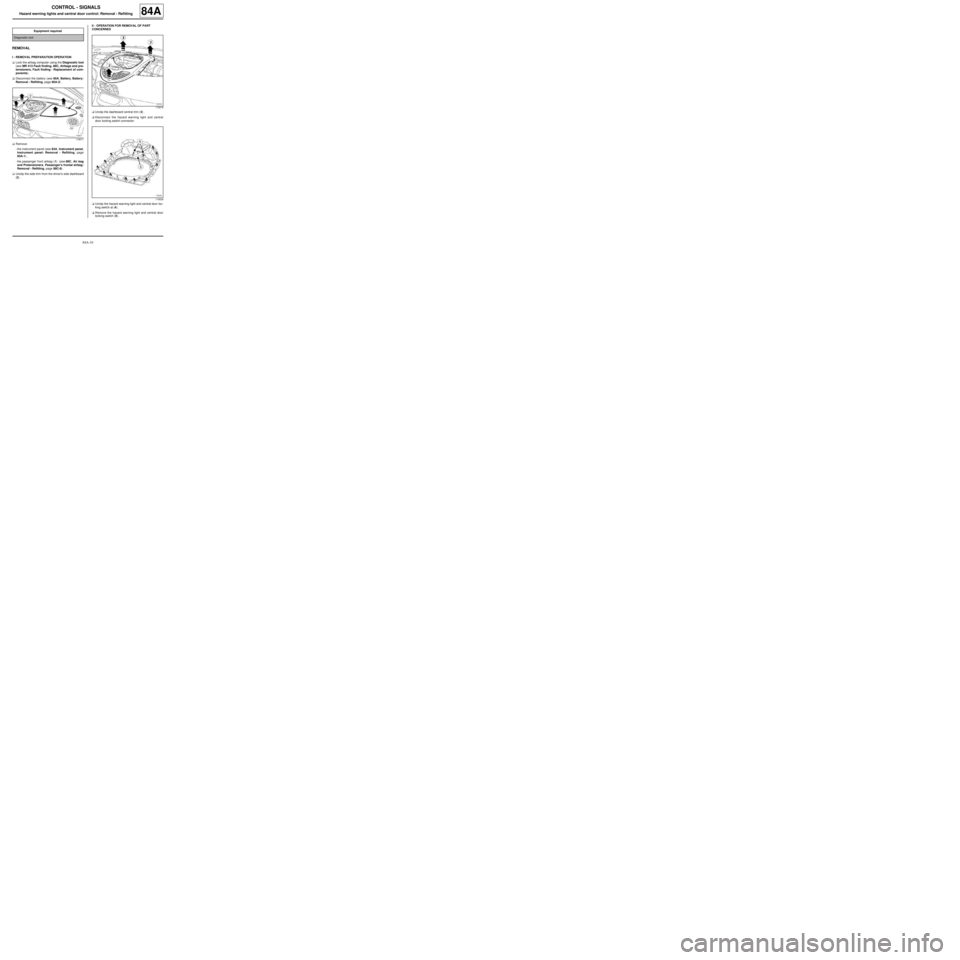
REMOVAL
I - REMOVAL PREPARATION OPERATION
aLock the airbag computer using the Diagnostic tool
(see MR 413 Fault finding, 88C, Airbags and pre-
tensioners, Fault finding - Replacement of com-
ponents).
aDisconnect the battery (see 80A, Battery, Battery:
Removal - Refitting, page 80A-2) .
aRemove:
-the instrument panel (see 83A, Instrument panel,
Instrument panel: Removal - Refitting, page
83A-1) ,
-the passenger front airbag (1) (see 88C, Air bag
and Pretensioners, Passenger's frontal airbag:
Removal - Refitting, page 88C-8) .
aUnclip the side trim from the driver's side dashboard
(2) .II - OPERATION FOR REMOVAL OF PART
CONCERNED
aUnclip the dashboard central trim (3) .
aDisconnect the hazard warning light and central
door locking switch connector.
aUnclip the hazard warning light and central door loc-
king switch at (4) .
aRemove the hazard warning light and central door
locking switch (5) . Equipment required
Diagnostic tool
119517
119518
119539
Page 66 of 241
84A-11
CONTROL - SIGNALS
Hazard warning lights and central door control: Removal - Refitting84A
REFITTING
I - REFITTING OPERATION FOR PART
CONCERNED
aRefit the hazard warning light and central door loc-
king switch.
aConnect the hazard warning light and central door
locking switch connector.
II - FINAL OPERATION.
aClip on:
-the dashboard central trim,
-the side trim from the driver's side dashboard.
aRefit:
-the passenger front airbag (see 88C, Air bag and
Pretensioners, Passenger's frontal airbag: Re-
moval - Refitting, page 88C-8) ,
-the instrument panel (see 83A, Instrument panel,
Instrument panel: Removal - Refitting, page
83A-1) .
aConnect the battery (see 80A, Battery, Battery: Re-
moval - Refitting, page 80A-2) .
aUnlock the airbag computer using the Diagnostic
tool (see MR 413 Fault finding, 88C, Airbags and
pretensioners, Fault finding - Replacement of
components).