battery RENAULT TWINGO RS 2009 2.G Engine And Peripherals Workshop Manual
[x] Cancel search | Manufacturer: RENAULT, Model Year: 2009, Model line: TWINGO RS, Model: RENAULT TWINGO RS 2009 2.GPages: 652
Page 454 of 652

16A-15
STARTING - CHARGING
Starter: Removal - Refitting
K9K
16A
REFITTING
I - REFITTING OPERATION FOR PART
CONCERNED
aRefit:
-the starter,
-the starter bolts.
aTighten the starter bolts.
aFit:
-the starter wiring harness,
-the gearbox wiring channel.
aRefit:
-the wiring channel mounting clip on the gearbox,
-the electrical connections on the starter,
-the electrical connection nuts.
aTighten to torque:
-the electrical connection nut (5 N.m) (5) ,
-the electrical connection nut (8 N.m) (6) .
aConnect:
-the accelerometer connector,
-the rail pressure sensor connector.
II - FINAL OPERATION
aRefit the engine cover.
aConnect the battery (see ) (MR 411, 80A, Battery).
121432
Page 455 of 652
16A-16
STARTING - CHARGING
Starter: Removal - Refitting
K4M
16A
REMOVAL
I - REMOVAL PREPARATION OPERATION
aDisconnect the battery (see Battery: Removal - Re-
fitting) (80A, Battery).
aRemove the air filter unit (see 12A, Fuel mixture,
Air filter unit: Removal - Refitting, page 12A-13) .
II - REMOVAL OPERATION
aRemove:
-the starter supply cable nut (1) ,
-the starter excitation cable nut (2) .
aMove the starter wiring aside.aRemove:
-the starter bolts (3) ,
-the starter.
REFITTING
I - REFITTING PREPARATION OPERATION
aCheck that the centring dowel is in place.
II - REFITTING OPERATION
aRefit the starter.
aFit the starter wiring.
aTorque tighten:
-the starter supply cable nut (8 N.m),
-the starter excitation cable nut (5 N.m).
III - FINAL OPERATION
aRefit the air filter unit (see 12A, Fuel mixture, Air fil-
ter unit: Removal - Refitting, page 12A-13) .
aConnect the battery (see Battery: Removal - Refit-
ting) (80A, Battery). Tightening torquesm
starter supply cable nut8 N.m
starter excitation cable
nut5 N.m
132366
132367
Page 457 of 652
17A-1
IGNITION
Coils: Removal - Refitting
D7F
17A
PARTS AND CONSUMABLES FOR THE
REPAIR WORK
aConsumable (see Vehicle: Parts and consuma-
bles for the repair) :
-Fluostar 2L.
REMOVAL
I - REMOVAL PREPARATION OPERATION
aDisconnect the battery ( (see Battery: Removal -
Refitting) ).
II - OPERATION FOR REMOVAL OF PART
CONCERNED
a
aDisconnect:
-the wiring (1) from the ignition coil,
-the connector (2) from the ignition coil.
aRemove the bolt from the interference suppressor.
aMove aside the air filter unit cover (3) .
aRemove:
-the bolts (4) from the ignition coil,
-the ignition coil.
REFITTING
I - REFITTING OPERATION FOR PART
CONCERNED
aRefit:
-the ignition coil,
-the ignition coil bolts.
aRefit the air filter unit cover.
120404
WARNING
To disconnect the spark plug leads, pull on the
extensions and not on the leads.
Page 458 of 652
17A-2
IGNITION
Coils: Removal - Refitting
D7F
17A
aWhen refitting the spark plug wiring, always apply a
bead of FLUOSTAR 2L (2 mm in diameter) to the in-
ner edge of the high-tension caps on the side of the
spark plugs and coil.
aConnect:
-the ignition coil connector,
-the ignition coil wiring.
II - FINAL OPERATION
aConnect the battery ( (see Battery: Removal - Re-
fitting) ).
106640
Page 459 of 652
17A-3
IGNITION
Coils: Removal - Refitting
D4F, and 772
17A
PARTS AND CONSUMABLES FOR THE
REPAIR WORK
aConsumable (see Vehicle: Parts and consuma-
bles for the repair) :
-Fluostar 2L.
REMOVAL
I - REMOVAL PREPARATION OPERATION
aDisconnect the battery (see Battery: Removal - Re-
fitting) .
aRemove the air filter unit (see 12A, Fuel mixture,
Air filter unit: Removal - Refitting, page 12A-13) .
II - OPERATION FOR REMOVAL OF PART
CONCERNED
a
aDisconnect:
-the ignition coil high voltage wiring harness,
-the ignition coil connector.aRemove:
-the ignition coil bolts ,
-the ignition coil.
REFITTING
I - REFITTING OPERATION FOR PART
CONCERNED
aRefit:
-the ignition coil,
-the ignition coil bolts.
120300
WARNING
To disconnect the spark plug leads, pull on the
extensions and not on the leads.
113044
Page 460 of 652
17A-4
IGNITION
Coils: Removal - Refitting
D4F, and 772
17A
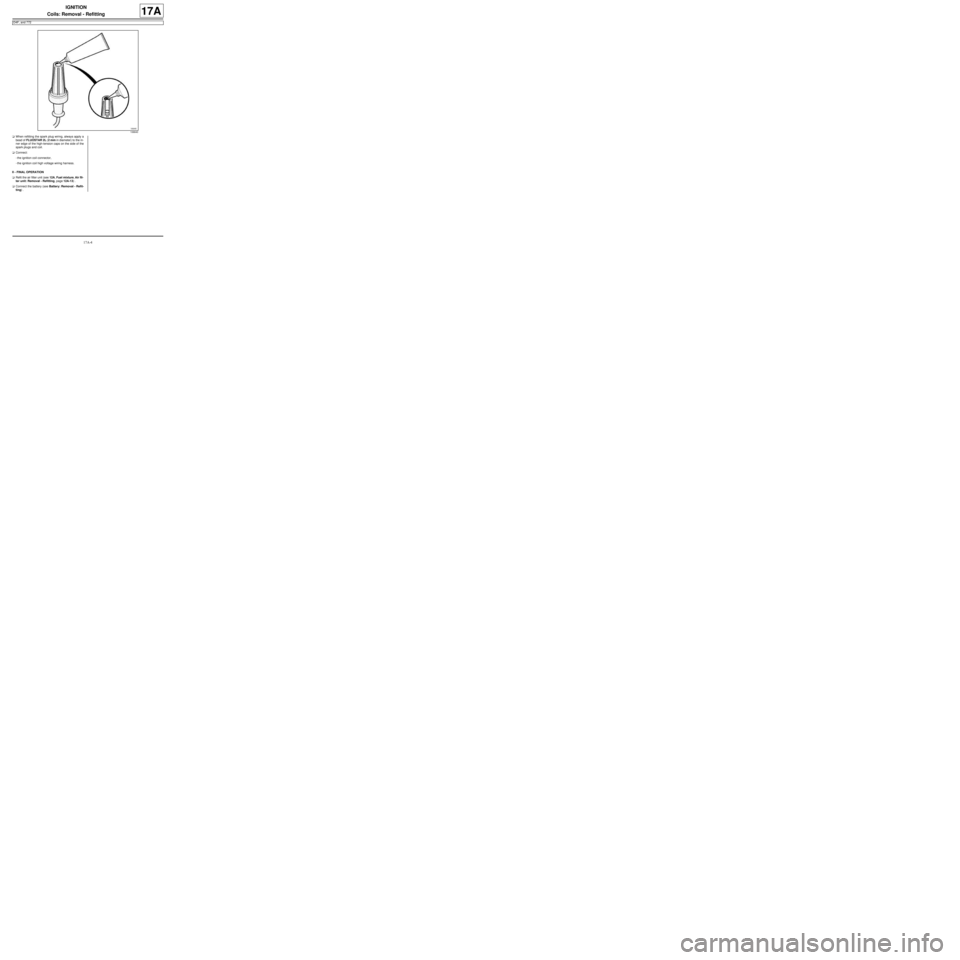
aWhen refitting the spark plug wiring, always apply a
bead of FLUOSTAR 2L (2 mm in diameter) to the in-
ner edge of the high-tension caps on the side of the
spark plugs and coil.
aConnect:
-the ignition coil connector,
-the ignition coil high voltage wiring harness.
II - FINAL OPERATION
aRefit the air filter unit (see 12A, Fuel mixture, Air fil-
ter unit: Removal - Refitting, page 12A-13) .
aConnect the battery (see Battery: Removal - Refit-
ting) .
106640
Page 493 of 652
17B-18
PETROL INJECTION
Oxygen sensors: Removal - Refitting
K4M
17B
REFITTING THE UPSTREAM OXYGEN
SENSOR
I - REFITTING PREPARATION OPERATION
aClean the threading of the upstream oxygen sensor
using a WIRE BRUSH.
aUse SURFACE CLEANER (see Vehicle: Parts
and consumables for the repair) (04B, Consuma-
bles - Products) to clean and degrease:
-the thread hole of the upstream oxygen sensor on
the exhaust manifold,
-the threading of the upstream oxygen sensor if it is
to be reused.
II - REFITTING OPERATION
aRefit the upstream oxygen sensor.
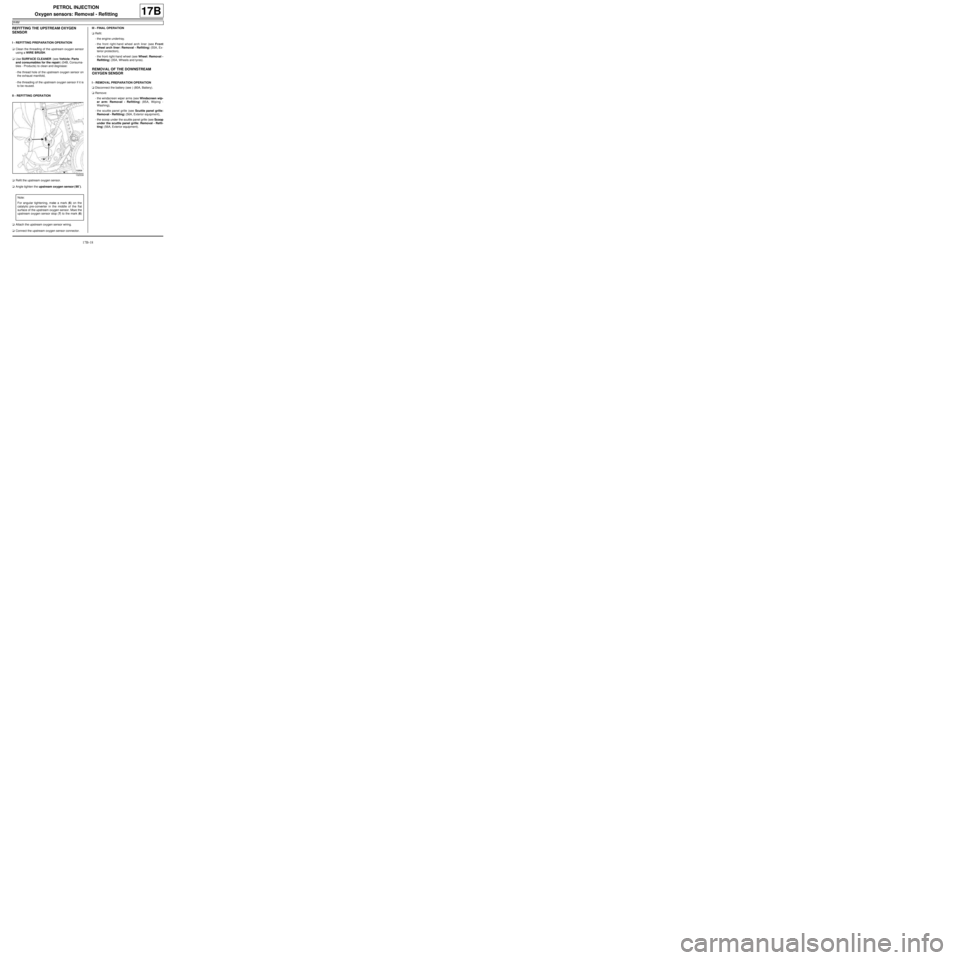
aAngle tighten the upstream oxygen sensor ( 90˚).
aAttach the upstream oxygen sensor wiring.
aConnect the upstream oxygen sensor connector.III - FINAL OPERATION
aRefit:
-the engine undertray.
-the front right-hand wheel arch liner (see Front
wheel arch liner: Removal - Refitting) (55A, Ex-
terior protection),
-the front right-hand wheel (see Wheel: Removal -
Refitting) (35A, Wheels and tyres).
REMOVAL OF THE DOWNSTREAM
OXYGEN SENSOR
I - REMOVAL PREPARATION OPERATION
aDisconnect the battery (see ) (80A, Battery).
aRemove:
-the windscreen wiper arms (see Windscreen wip-
er arm: Removal - Refitting) (85A, Wiping -
Washing),
-the scuttle panel grille (see Scuttle panel grille:
Removal - Refitting) (56A, Exterior equipment),
-the scoop under the scuttle panel grille (see Scoop
under the scuttle panel grille: Removal - Refit-
ting) (56A, Exterior equipment).
132539
Note:
For angular tightening, make a mark (6) on the
catalytic pre-converter in the middle of the flat
surface of the upstream oxygen sensor. Move the
upstream oxygen sensor stop (7) to the mark (6)
.
Page 494 of 652
17B-19
PETROL INJECTION
Oxygen sensors: Removal - Refitting
K4M
17B
II - REMOVAL OPERATION
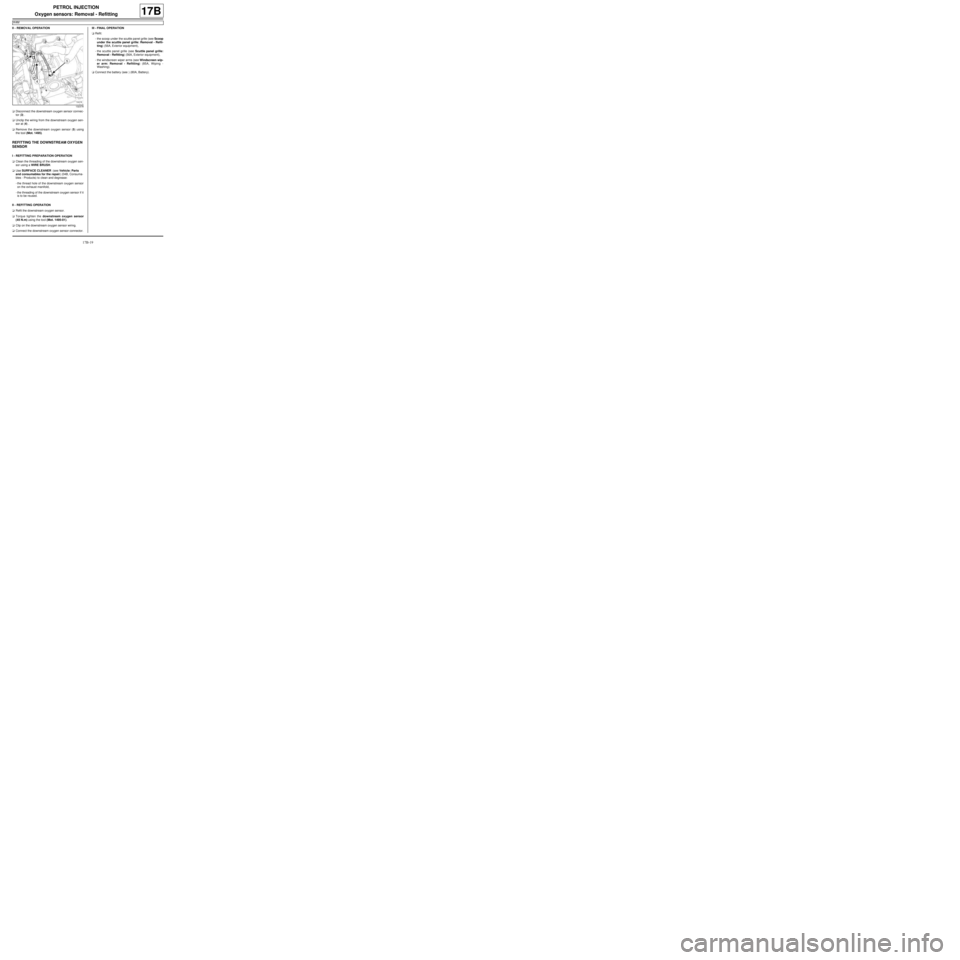
aDisconnect the downstream oxygen sensor connec-
tor (3) .
aUnclip the wiring from the downstream oxygen sen-
sor at (4) .
aRemove the downstream oxygen sensor (5) using
the tool (Mot. 1495).
REFITTING THE DOWNSTREAM OXYGEN
SENSOR
I - REFITTING PREPARATION OPERATION
aClean the threading of the downstream oxygen sen-
sor using a WIRE BRUSH.
aUse SURFACE CLEANER (see Vehicle: Parts
and consumables for the repair) (04B, Consuma-
bles - Products) to clean and degrease:
-the thread hole of the downstream oxygen sensor
on the exhaust manifold,
-the threading of the downstream oxygen sensor if it
is to be reused.
II - REFITTING OPERATION
aRefit the downstream oxygen sensor.
aTorque tighten the downstream oxygen sensor
(45 N.m) using the tool (Mot. 1495-01).
aClip on the downstream oxygen sensor wiring.
aConnect the downstream oxygen sensor connector.III - FINAL OPERATION
aRefit:
-the scoop under the scuttle panel grille (see Scoop
under the scuttle panel grille: Removal - Refit-
ting) (56A, Exterior equipment),
-the scuttle panel grille (see Scuttle panel grille:
Removal - Refitting) (56A, Exterior equipment),
-the windscreen wiper arms (see Windscreen wip-
er arm: Removal - Refitting) (85A, Wiping -
Washing).
aConnect the battery (see ) (80A, Battery).
132378
Page 495 of 652
17B-20
PETROL INJECTION
Petrol injection computer: Removal - Refitting
D4F or D7F
17B
REMOVAL
I - REMOVAL PREPARATION OPERATION
aDisconnect the battery (see ) (MR 411, 80A, Bat-
tery).II - OPERATION FOR REMOVAL OF PART
CONCERNED
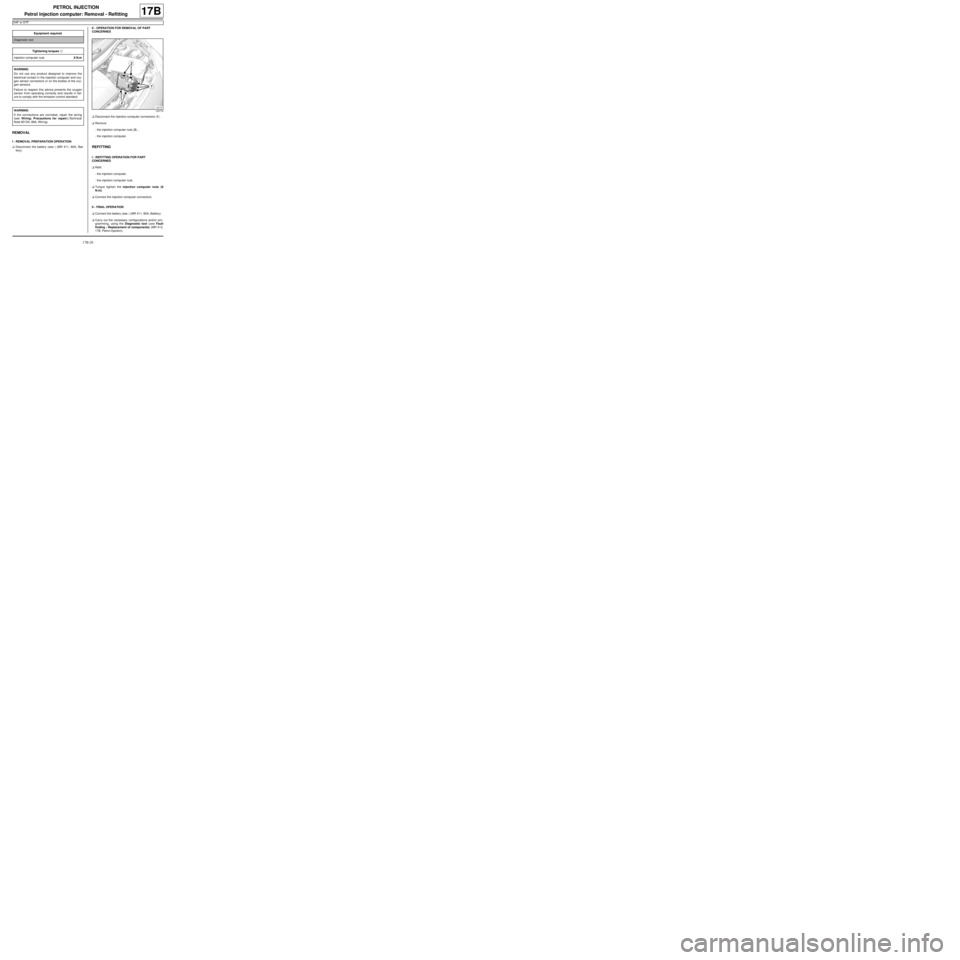
aDisconnect the injection computer connectors (1) .
aRemove:
-the injection computer nuts (2) ,
-the injection computer.
REFITTING
I - REFITTING OPERATION FOR PART
CONCERNED
aRefit:
-the injection computer,
-the injection computer nuts.
aTorque tighten the injection computer nuts (8
N.m).
aConnect the injection computer connectors.
II - FINAL OPERATION
aConnect the battery (see ) (MR 411, 80A, Battery).
aCarry out the necessary configurations and/or pro-
gramming, using the Diagnostic tool (see Fault
finding - Replacement of components) (MR 413,
17B, Petrol injection). Equipment required
Diagnostic tool
Tightening torquesm
injection computer nuts8 N.m
WARNING
Do not use any product designed to improve the
electr ical contact in the injection computer and oxy-
gen sensor connectors or on the bodies of the oxy-
gen sensors.
Failure to respect this advice prevents the oxygen
sensor from operating correctly and results in fail-
ure to comply with the emission control standard.
WARNING
If the connections are corroded, repair the wiring
(see Wiring: Precautions for repair) (Technical
Note 6015A, 88A, Wiring).
120779
Page 496 of 652
17B-21
PETROL INJECTION
Petrol injection computer: Removal - Refitting
K4M
17B
REMOVAL
I - REMOVAL PREPARATION OPERATION
aRemove the battery (see Battery: Removal - Refit-
ting) (80A, Battery).aRemove:
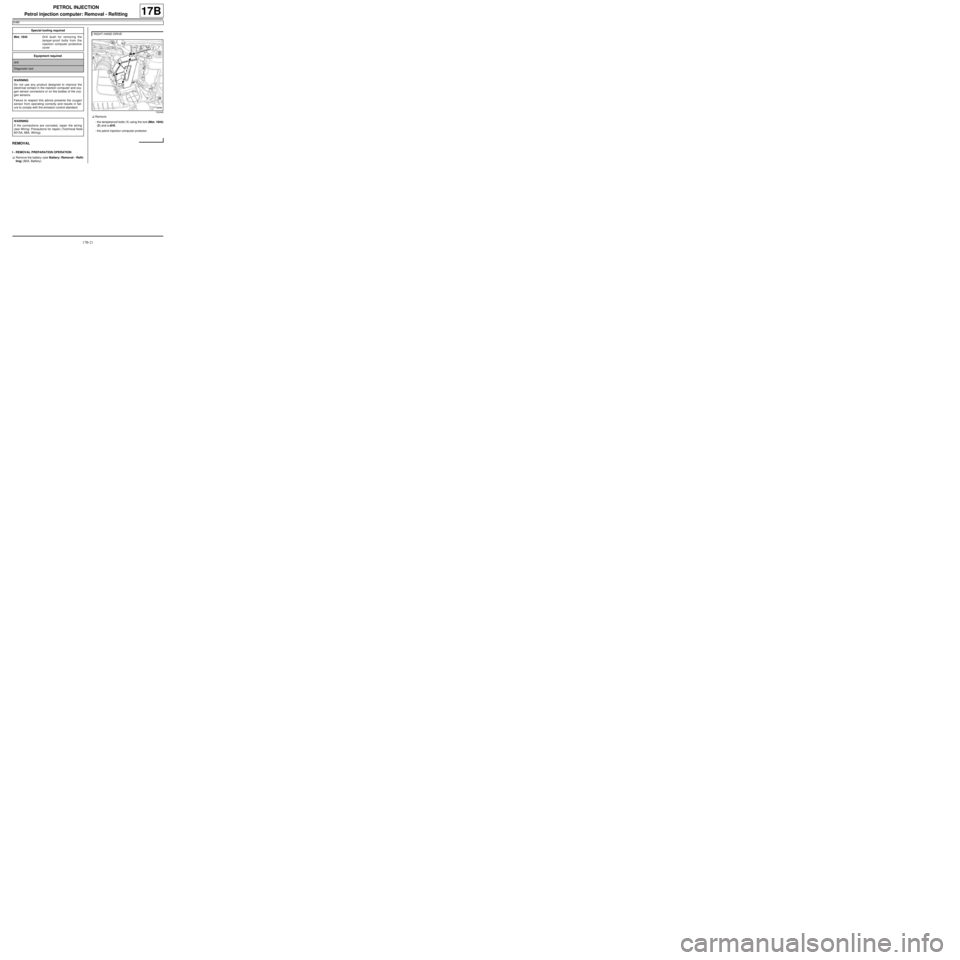
-the tamperproof bolts (1) using the tool (Mot. 1844)
(2) and a drill,
-the petrol injection computer protector. Special tooling required
Mot. 1844Drill bush for removing the
tamper-proof bolts from the
injection computer protective
cover
Equipment required
drill
Diagnostic tool
WARNING
Do not use any product designed to improve the
electr ical contact in the injection computer and oxy-
gen sensor connectors or on the bodies of the oxy-
gen sensors.
Failure to respect this advice prevents the oxygen
sensor from operating correctly and results in fail-
ure to comply with the emission control standard.
WARNING
If the connections are corroded, repair the wiring
(see Wiring: Precautions for repair) (Technical Note
6015A, 88A, Wiring).
RIGHT-HAND DRIVE
132448