wheel bolts RENAULT TWINGO RS 2009 2.G Engine And Peripherals Repair Manual
[x] Cancel search | Manufacturer: RENAULT, Model Year: 2009, Model line: TWINGO RS, Model: RENAULT TWINGO RS 2009 2.GPages: 652
Page 208 of 652
11A-91
TOP AND FRONT OF ENGINE
Camshaft: Removal - Refitting
D4F, and 780 or 782
11A
REMOVAL
I - REMOVAL PREPARATION OPERATION
aPosition the vehicle on a two-post lift (see Vehicle:
Towing and lifting) (02A, Lifting equipment).
aDisconnect the battery (see Battery: Removal - Re-
fitting) (80A, Battery).
aRemove:
-the front right-hand wheel (see Wheel: Removal -
Refitting) (35A, Wheels and tyres),
-the front right-hand wheel arch liner (see Front
wheel arch liner: Removal - Refitting) (55A, Ex-
terior protection),
-the air filter unit (see 12A, Fuel mixture, Air filter
unit: Removal - Refitting, page 12A-13) ,
-the ignition coil (see 17A, Ignition, Coils: Remov-
al - Refitting, page 17A-1) ,
-the accessories belt (see 11A, Top and front of
engine, Accessories belt: Removal - Refitting,
page 11A-3) ,
-the right-hand suspended engine mounting (see
19D, Engine mounting, Right-hand suspended
engine mounting: Removal - Refitting, page
19D-13) ,
-the timing belt (see 11A, Top and front of engine,
Timing belt: Removal - Refitting, page 11A-27) ,-the rocker cover (see 11A, Top and front of en-
gine, Rocker cover: Removal - Refitting, page
11A-66) .
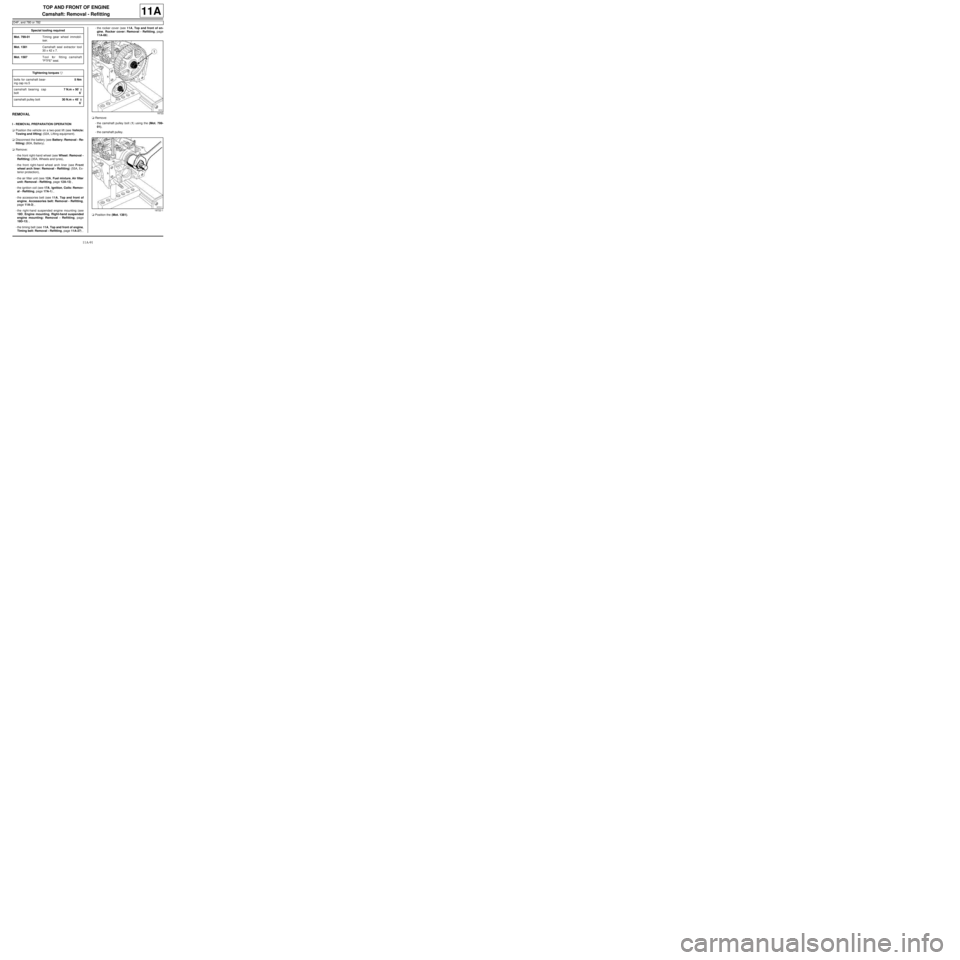
aRemove:
-the camshaft pulley bolt (1) using the (Mot. 799-
01),
-the camshaft pulley.
aPosition the (Mot. 1381). Special tooling required
Mot. 799-01Timing gear wheel immobil-
iser.
Mot. 1381Camshaft seal extractor tool
30 x 42 x 7.
Mot. 1587Tool for fitting camshaft
"PTFE" seal.
Tightening torquesm
bolts for camshaft bear-
ing cap no.55 Nm
camshaft bearing cap
bolt7 N.m + 50˚ ±± ± ±
6˚
camshaft pulley bolt30 N.m + 45˚ ±± ± ±
6˚
18722
18722-1
Page 219 of 652
11A-102
TOP AND FRONT OF ENGINE
Camshaft: Removal - Refitting
D7F
11A
REMOVAL
I - REMOVAL PREPARATION OPERATION
aPosition the vehicle on a two-post lift (see Vehicle:
Towing and lifting) (02A, Lifting equipment).
aDisconnect the battery (see Battery: Removal - Re-
fitting) (80A, Battery).
aPerform the following operations:
-drain the engine oil (see 10A, Engine and cylin-
der block assembly, Engine oil: Draining - Re-
filling, page 10A-22) ,
-drain the cooling system (see 19A, Cooling, Cool-
ing system: Draining - Refilling, page 19A-9) .
aRemove:
-the front right-hand wheel (see Wheel: Removal -
Refitting) (35A, Wheels and tyres),
-the front right-hand wheel arch liner (see Front
wheel arch liner: Removal - Refitting) (55A, Ex-
terior protection),
-the ignition coil (see 17A, Ignition, Coils: Remov-
al - Refitting, page 17A-1) ,
-the air filter box (see 12A, Fuel mixture, Air filter
unit: Removal - Refitting, page 12A-13) ,
-the accessories belt (see 11A, Top and front of
engine, Accessories belt: Removal - Refitting,
page 11A-3) ,-the right-hand suspended engine mounting (see
19D, Engine mounting, Right-hand suspended
engine mounting: Removal - Refitting, page
19D-13) ,
-the crankshaft accessories pulley (see 11A, Top
and front of engine, Crankshaft accessories
pulley: Removal - Refitting, page 11A-20) ,
-the timing belt (see 11A, Top and front of engine,
Timing belt: Removal - Refitting, page 11A-27) ,
-the intake distributor (see 12A, Fuel mixture, Inlet
distributor: Removal - Refitting, page 12A-29) ,
-the rocker cover (see 11A, Top and front of en-
gine, Rocker cover: Removal - Refitting, page
11A-66) .
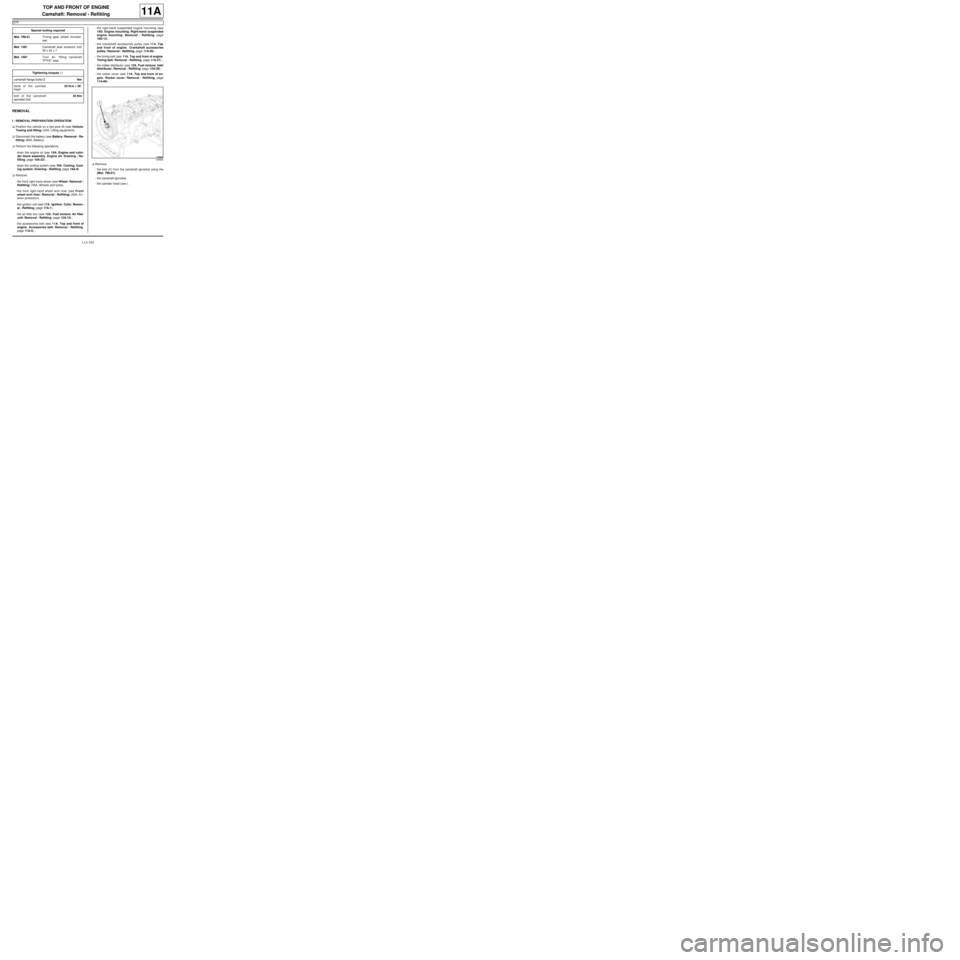
aRemove:
-the bolt (1) from the camshaft sprocket using the
(Mot. 799-01),
-the camshaft sprocket,
-the cylinder head (see ) . Special tooling required
Mot. 799-01Timing gear wheel immobil-
iser.
Mot. 1381Camshaft seal extractor tool
30 x 42 x 7.
Mot. 1587Tool for fitting camshaft
"PTFE" seal.
Tightening torquesm
camshaft flange bolts12Nm
bolts of the cylinder
head23 N.m + 36˚
bolt of the camshaft
sprocket bolt45 Nm
124822
Page 224 of 652
11A-107
TOP AND FRONT OF ENGINE
Camshaft: Removal - Refitting
K9K
11A
REMOVAL
I - REMOVAL PREPARATION OPERATION
aPosition the vehicle on a two-post lift (see Vehicle:
Towing and lifting) (02A, Lifting equipment).
aRemove the front engine cover.
aDisconnect the battery (see Battery: Removal - Re-
fitting) (80A, Battery).
aRemove:
-the air filter unit (see 12A, Fuel mixture, Air filter
unit: Removal - Refitting, page 12A-13) ,
-the windscreen wiper arms (see Windscreen wip-
er arm: Removal - Refitting) (85A, Wiping -
Washing),
-the scuttle panel grille (see Scuttle panel grille:
Removal - Refitting) (56A, Exterior equipment),
-the scoop under the scuttle panel grille (see Scoop
under the scuttle panel grille: Removal - Refit-
ting) (56A, Exterior equipment),
-the front right-hand wheel (see Wheel: Removal -
Refitting) (35A, Wheels and tyres),
-the front right-hand wheel arch liner (see Front
wheel arch liner: Removal - Refitting) (55A, Ex-
terior protection),
-the front bumper (see Front bumper: Removal -
Refitting) (55A, Exterior protection),
-the halogen headlights (see Halogen headlight:
Removal - Refitting) (80B, Headlights),
-the front upper cross member (see Front upper
cross member: Removal - Refitting) (42A, Upper
front structure),
-the lower engine tie-bar (see 19D, Engine mount-
ing, Lower engine tie-bar: Removal - Refitting,
page 19D-18) ,
-the right-hand suspended engine mounting (see
19D, Engine mounting, Right-hand suspended
engine mounting: Removal - Refitting, page
19D-13) ,
-the accessories belt (see 11A, Top and front of
engine, Accessories belt: Removal - Refitting,
page 11A-3) ,-the crankshaft accessories pulley (see 11A, Top
and front of engine, Crankshaft accessories
pulley: Removal - Refitting, page 11A-20) ,
-the camshaft position sensor (see 13B, Diesel in-
jection, Camshaft position sensor: Removal -
Refitting, page 13B-14) ,
-the timing belt (see 11A, Top and front of engine,
Timing belt: Removal - Refitting, page 11A-27) ,
-the rocker cover (see 11A, Top and front of en-
gine, Rocker cover: Removal - Refitting, page
11A-66) ,
-the vacuum pump (see Vacuum pump: Removal
- Refitting) (37A, Mechanical component controls).
II - OPERATION FOR REMOVAL OF PART
CONCERNED
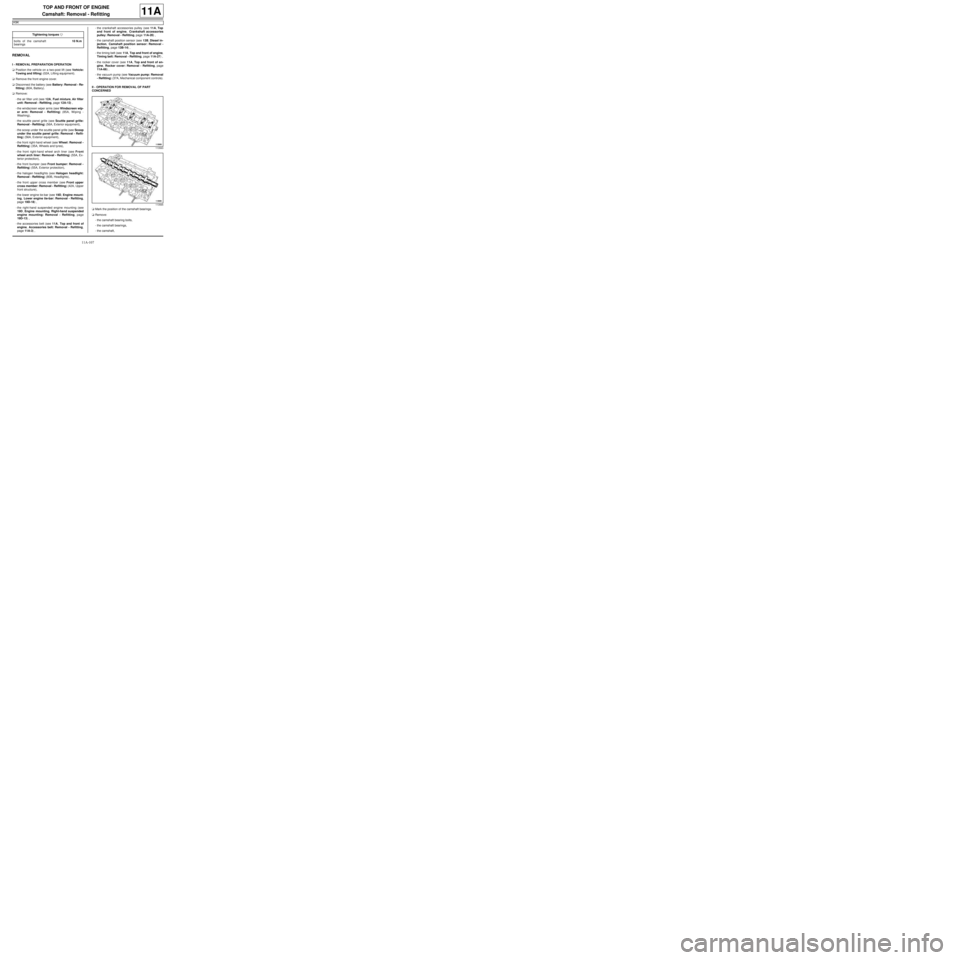
aMark the position of the camshaft bearings.
aRemove:
-the camshaft bearing bolts,
-the camshaft bearings,
-the camshaft, Tightening torquesm
bolts of the camshaft
bearings10 N.m
113563
113565
Page 225 of 652
11A-108
TOP AND FRONT OF ENGINE
Camshaft: Removal - Refitting
K9K
11A
-the camshaft seal (see 11A, Top and front of en-
gine, Camshaft seal, timing end: Removal - Re-
fitting, page 11A-138) .
REFITTING
I - REFITTING PREPARATION OPERATION
aAlways replace:
-the nut from the camshaft pulley,
-the camshaft seal.
a
aUsing ABRASIVE PADS clean the load-bearing sur-
faces of the camshaft bearings.
aDegrease the load-bearing surfaces of the camshaft
bearings using SURFACE CLEANER (see Vehi-
cle: Parts and consumables for the repair) (04B,
Consumables - Products) and a CLEAN CLOTH.
aApply four beads (1) of RESIN ADHESIVE (see Ve-
hicle: Parts and consumables for the repair)
(04B, Consumables - Products) 7 mm in diameter
on the cylinder head.II - REFITTING OPERATION FOR PART
CONCERNED
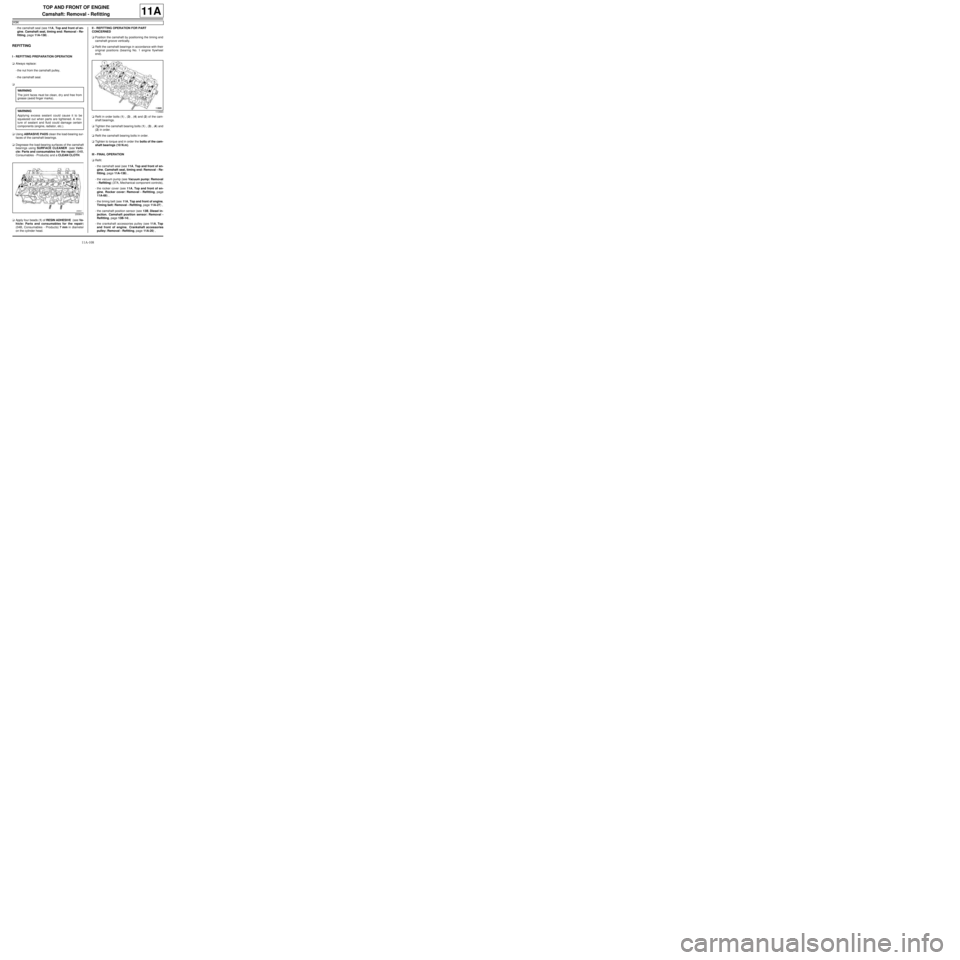
aPosition the camshaft by positioning the timing end
camshaft groove vertically.
aRefit the camshaft bearings in accordance with their
original positions (bearing No. 1 engine flywheel
end).
aRefit in order bolts (1) , (3) , (4) and (2) of the cam-
shaft bearings.
aTighten the camshaft bearing bolts (1) , (3) , (4) and
(2) in order.
aRefit the camshaft bearing bolts in order.
aTighten to torque and in order the bolts of the cam-
shaft bearings (10 N.m).
III - FINAL OPERATION
aRefit:
-the camshaft seal (see 11A, Top and front of en-
gine, Camshaft seal, timing end: Removal - Re-
fitting, page 11A-138) ,
-the vacuum pump (see Vacuum pump: Removal
- Refitting) (37A, Mechanical component controls),
-the rocker cover (see 11A, Top and front of en-
gine, Rocker cover: Removal - Refitting, page
11A-66) ,
-the timing belt (see 11A, Top and front of engine,
Timing belt: Removal - Refitting, page 11A-27) ,
-the camshaft position sensor (see 13B, Diesel in-
jection, Camshaft position sensor: Removal -
Refitting, page 13B-14) ,
-the crankshaft accessories pulley (see 11A, Top
and front of engine, Crankshaft accessories
pulley: Removal - Refitting, page 11A-20) , WARNING
The joint faces must be clean, dr y and free from
grease (avoid finger marks).
WARNING
Applying excess sealant could cause it to be
squeezed out when parts are tightened. A mix-
ture of sealant and fluid could damage certain
components (engine, radiator, etc.).
20064-1
113563
Page 231 of 652
11A-114
TOP AND FRONT OF ENGINE
Cylinder head: Removal - Refitting
K9K
11A
REMOVAL
I - REMOVAL PREPARATION OPERATION
aPosition the vehicle on a two-post lift (see Vehicle:
Towing and lifting) (02A, Lifting equipment).
aRemove the front engine cover.
aDisconnect the battery (see ) (80A, Battery).
aRemove:
-the windscreen wiper arms (see Windscreen wip-
er arm: Removal - Refitting) (85A, Wiping -
Washing),
-the scuttle panel grille (see Scuttle panel grille:
Removal - Refitting) (56A, Exterior equipment),
-the scoop under the scuttle panel grille (see Scoop
under the scuttle panel grille: Removal - Refit-
ting) (56A, Exterior equipment),-the front wheels (see Wheel: Removal - Refitting)
(35A, Wheels and tyres),
-the front wheel arch liners (see Front wheel arch
liner: Removal - Refitting) (55A, Exterior protec-
tion),
-the front bumper (see Front bumper: Removal -
Refitting) (55A, Exterior protection),
-the halogen headlights (see Halogen headlight:
Removal - Refitting) (80B, Headlights),
-the front upper cross member (see Front upper
cross member: Removal - Refitting) (42A, Upper
front structure),
-the accessories belt (see 11A, Top and front of
engine, Accessories belt: Removal - Refitting,
page 11A-3) ,
-the timing belt (see 11A, Top and front of engine,
Timing belt: Removal - Refitting, page 11A-27) .
aDrain the cooling system (see 19A, Cooling, Cool-
ing system: Draining - Refilling, page 19A-9) .
aRemove:
-the nut from the dipstick guide,
-the dipstick guide.
aDisconnect:
-the injector connectors,
-the heater plug connectors ,
-the connectors to the high pressure pump,
-injector rail pressure sensor connector,
-the accelerometer connector.
aRemove the nut from the engine wiring channel.
aMove aside the engine wiring.
aDisconnect the fuel inlet and return pipes from the
high pressure pump. Special tooling required
Mot. 1202-01Clip pliers for hose clips
(large size).
Mot. 1202-02Clip pliers for hose clips
(small size)
Mot. 1448Remote operation pliers for
hose clips .
Equipment required
cylinder head bolt tightening gauge (angular mea-
suring type)
Tightening torquesm
cylinder head bolts (ini-
tial torque)25 N.m
cylinder head bolts270˚ ±± ± ±
10˚
IMPORTANT
Wear goggles with side protectors for this opera-
tion.
IMPORTANT
Wear leaktight gloves (Nitrile type) for this opera-
tion.
WARNING
To avoid any corrosion or damage, protect the
areas on which fuel is likely to r un.
IMPORTANT
Dur ing this operation, be sure to:
-refrain from smoking or bringing red hot objects
close to the working area,
-be careful of fuel splashes when disconnecting
the union.
Page 236 of 652
11A-119
TOP AND FRONT OF ENGINE
Cylinder head: Removal - Refitting
K4M
11A
REMOVAL
I - REMOVAL PREPARATION OPERATION
aPosition the vehicle on a two-post lift (see Vehicle:
Towing and lifting) (02A, Lifting equipment).
aDisconnect the battery (see Battery: Removal - Re-
fitting) (80A, Battery).
aRemove the engine undertray.
aDrain the cooling system (see 19A, Cooling, Cool-
ing system: Draining - Refilling, page 19A-9) .
aRemove:
-the windscreen wiper arms (see Windscreen wip-
er arm: Removal - Refitting) (85A, Wiping -
Washing),
-the scuttle panel grille (see Scuttle panel grille:
Removal - Refitting) (56A, Exterior equipment),
-the scoop under the scuttle panel grille (see Scoop
under the scuttle panel grille: Removal - Refit-
ting) (56A, Exterior equipment),
-the coils (see 17A, Ignition, Coils: Removal - Re-
fitting, page 17A-1) ,-the throttle valve (see 12A, Fuel mixture, Throttle
valve: Removal - Refitting, page 12A-20) ,
-the inlet distributor (see 12A, Fuel mixture, Inlet
distributor: Removal - Refitting, page 12A-29) ,
-the oil decanter (see 11A, Top and front of en-
gine, Oil decanter: Removal - Refitting, page
11A-147) ,
-the front right-hand wheel (see Wheel: Removal -
Refitting) (35A, Wheels and tyres),
-the front right-hand wheel arch liner (see Front
wheel arch liner: Removal - Refitting) (55A, Ex-
terior protection),
-the front bumper (see Front bumper: Removal -
Refitting) (55A, Exterior protection),
-the headlights (see Halogen headlight: Removal
- Refitting) (80B, Headlights),
-the bonnet catch (see Bonnet lock: Removal -
Refitting) (52A, Non-side opening element mecha-
nisms),
-the front upper cross member (see Front upper
cross member: Removal - Refitting) (42A, Upper
front structure),
-the accessories belt (see 11A, Top and front of
engine, Accessories belt: Removal - Refitting,
page 11A-3) ,
-the air filter unit (see 12A, Fuel mixture, Air filter
unit: Removal - Refitting, page 12A-13) ,
-the lower engine tie-bar (see 19D, Engine mount-
ing, Lower engine tie-bar: Removal - Refitting,
page 19D-18) ,
-the right-hand suspended engine mounting (see
19D, Engine mounting, Right-hand suspended
engine mounting: Removal - Refitting, page
19D-13) ,
-the crankshaft accessories pulley (see 11A, Top
and front of engine, Crankshaft accessories
pulley: Removal - Refitting, page 11A-20) ,
-the timing belt (see 11A, Top and front of engine,
Timing belt: Removal - Refitting, page 11A-27) ,
-the camshaft dephaser (see 11A, Top and front of
engine, Camshaft dephaser: Removal - Refit-
ting, page 11A-135) ,
-the camshaft seals on the timing end (see 11A,
Top and front of engine, Camshaft seal, timing
end: Removal - Refitting, page 11A-138) ,
-the rocker cover (see 11A, Top and front of en-
gine, Rocker cover: Removal - Refitting, page
11A-66) , Special tooling required
Mot. 1448Remote operation pliers for
hose clips .
Mot. 1202-01Clip pliers for hose clips
(large size).
Mot. 1202-02Clip pliers for hose clips
(small size)
Tightening torquesm
cylinder head bolts (ini-
tial torque)20 N.m
cylinder head bolts240˚ ±± ± ±
6˚
IMPORTANT
Wear cut-resistant gloves during the operation.
IMPORTANT
Wear leaktight gloves (Nitrile type) for this opera-
tion.
Page 237 of 652
11A-120
TOP AND FRONT OF ENGINE
Cylinder head: Removal - Refitting
K4M
11A
-the camshafts (see 11A, Top and front of engine,
Camshaft: Removal - Refitting, page 11A-82) .
aDrain the gearbox (see Manual gearbox oils:
Draining - Filling) (21A, Manual gearbox).
aRemove:
-the front right-hand wheel driveshaft (see Front
right-hand driveshaft: Removal - Refitting)
(29A, Driveshafts),
-the exhaust manifold (see 12A, Fuel mixture, Ex-
haust manifold: Removal - Refitting, page 12A-
48) .
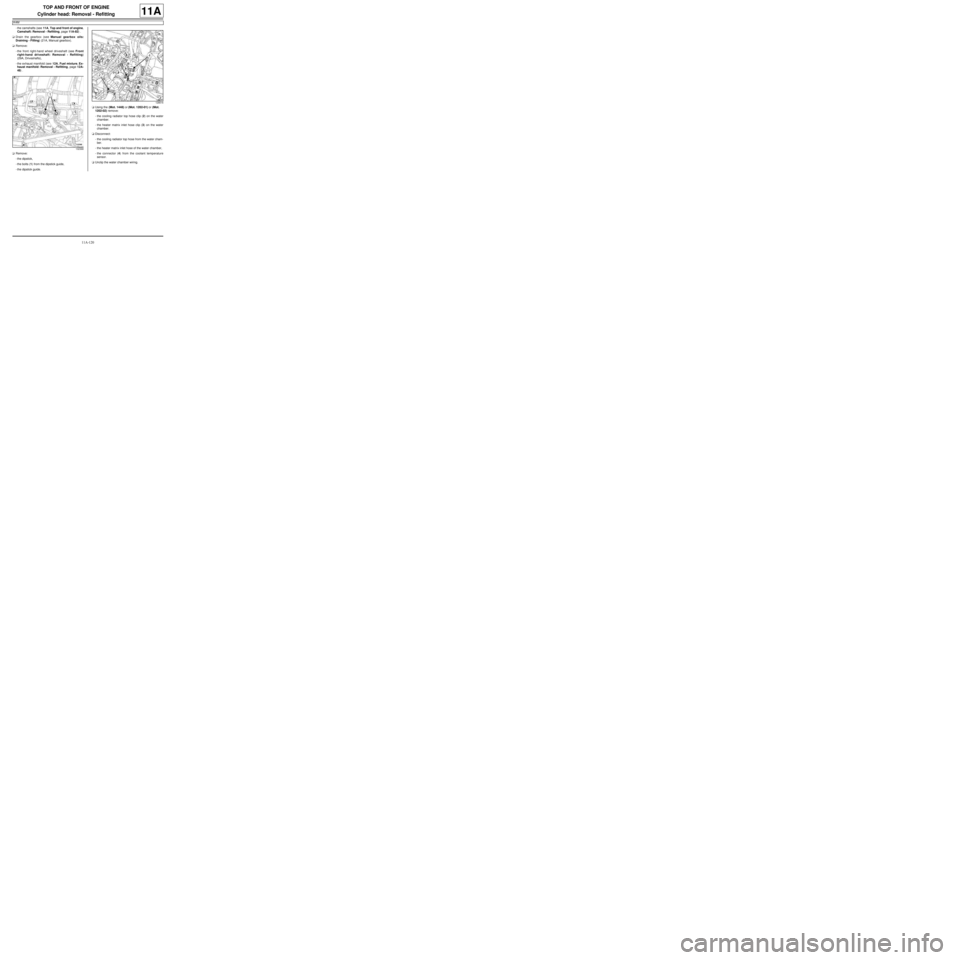
aRemove:
-the dipstick,
-the bolts (1) from the dipstick guide,
-the dipstick guide.aUsing the (Mot. 1448) or (Mot. 1202-01) or (Mot.
1202-02) remove:
-the cooling radiator top hose clip (2) on the water
chamber.
-the heater matrix inlet hose clip (3) on the water
chamber.
aDisconnect:
-the cooling radiator top hose from the water cham-
ber.
-the heater matrix inlet hose of the water chamber,
-the connector (4) from the coolant temperature
sensor.
aUnclip the water chamber wiring.
132368
128616
Page 240 of 652

11A-123
TOP AND FRONT OF ENGINE
Cylinder head: Removal - Refitting
K4M
11A
II - REFITTING OPERATION
aRefit:
-the cylinder head,
-the new cylinder head bolts.
aWithout tightening, fit the cylinder head bolts in or-
der.
aPretighten to torque and in order the cylinder head
bolts (initial torque) (20 N.m).
aCheck that all of the new cylinder head bolts are
tightened to the correct torque (20 N.m).
aAngle tighten in order the cylinder head bolts (240˚
±± ± ±
6˚).III - FINAL OPERATION
aPosition the injector wiring.
aConnect the injector connectors.
aFit the wiring bracket on the water chamber.
aRefit:
-the wiring bracket bolt on the water chamber,
-the bolts of the engine wiring channel.
aClip on the water chamber wiring.
aConnect:
-the coolant temperature sensor connector,
-the heater matrix inlet hose to the water chamber,
-the cooling radiator top hose to the water chamber.
aUsing the (Mot. 1448) or (Mot. 1202-01) or (Mot.
1202-02) fit:
-the cooling radiator top hose clip on the water
chamber,
-the heater matrix inlet hose clip on the water cham-
ber.
aRefit:
-dipstick guide ,
-the dipstick,
-the exhaust manifold (see 12A, Fuel mixture, Ex-
haust manifold: Removal - Refitting, page 12A-
48) .
-the front right-hand wheel driveshaft (see Front
right-hand driveshaft: Removal - Refitting)
(29A, Driveshafts),
-the camshafts (see 11A, Top and front of engine,
Camshaft: Removal - Refitting, page 11A-82) ,
-the rocker cover (see 11A, Top and front of en-
gine, Rocker cover: Removal - Refitting, page
11A-66) ,
-the camshaft seals on the timing end (see 11A,
Top and front of engine, Camshaft seal, timing
end: Removal - Refitting, page 11A-138) ,
-the camshaft dephaser (see 11A, Top and front of
engine, Camshaft dephaser: Removal - Refit-
ting, page 11A-135) ,
-the timing belt (see 11A, Top and front of engine,
Timing belt: Removal - Refitting, page 11A-27) ,
-the crankshaft accessories pulley (see 11A, Top
and front of engine, Crankshaft accessories
pulley: Removal - Refitting, page 11A-20) ,
103259
WARNING
In order to ensure that the bolts are correctly
tightened, use a syringe to remove any oil which
may be in the cylinder head mounting holes.
WARNING
Do not oil the new bolts. Be sure to oil bolts
being reused.
WARNING
Do not retighten the cylinder head bolts after
applying this procedure.
Page 242 of 652
11A-125
TOP AND FRONT OF ENGINE
Cylinder head: Removal - Refitting
D7F – D4F, and 772
11A
REMOVAL
I - REMOVAL PREPARATION OPERATION
aPosition the vehicle on a two-post lift (see Vehicle:
Towing and lifting) (02A, Lifting equipment).
aDisconnect the battery (see ) (80A, Battery).
aRemove:
-the scuttle panel grille (see Scuttle panel grille:
Removal - Refitting) (56A, Exterior equipment),
-the scoop under the scuttle panel grille (see Scoop
under the scuttle panel grille: Removal - Refit-
ting) (56A, Exterior equipment).
aRemove:
-the front right-hand wheel (see Wheel: Removal -
Refitting) (35A, Wheels and tyres),-the front right-hand wheel arch liner (see Front
wheel arch liner: Removal - Refitting) (55A, Ex-
terior protection),
-the accessories belt (see 11A, Top and front of
engine, Accessories belt: Removal - Refitting,
page 11A-3) ,
-the crankshaft accessories pulley (see 11A, Top
and front of engine, Crankshaft accessories
pulley: Removal - Refitting, page 11A-20) ,
-the timing belt (see 11A, Top and front of engine,
Timing belt: Removal - Refitting, page 11A-27) .
aRemove:
-the air filter unit (see 12A, Fuel mixture, Air filter
unit: Removal - Refitting, page 12A-13) ,
-the intake distributor (see 12A, Fuel mixture, Inlet
distributor: Removal - Refitting, page 12A-29) .
aRemove:
-the inlet manifold (see 12A, Fuel mixture, Inlet
distributor: Removal - Refitting, page 12A-29) ,
-the air filter box retaining belts,
-the air filter unit.
aRemove:
-the ignition coil (see 17A, Ignition, Coils: Remov-
al - Refitting, page 17A-1) ,
-the rocker cover (see 11A, Top and front of en-
gine, Rocker cover: Removal - Refitting, page
11A-66) .
aPerform the following operations:
-drain the engine oil (see 10A, Engine and cylin-
der block assembly, Engine oil: Draining - Re-
filling, page 10A-22) ,
-drain the cooling system (see 19A, Cooling, Cool-
ing system: Draining - Refilling, page 19A-9) .
aRemove the oil filter (see 10A, Engine and cylinder
block assembly, Oil filter: Removal - Refitting,
page 10A-29) . Special tooling required
Mot. 1448Remote operation pliers for
hose clips .
Mot. 1202-01Clip pliers for hose clips
(large size).
Mot. 1202-02Clip pliers for hose clips
(small size)
Tightening torquesm
cylinder head bolts (ini-
tial torque)20 N.m
cylinder head bolts230˚ ±± ± ±
6
IMPORTANT
Wear goggles with side protectors for this opera-
tion.
IMPORTANT
Wear leaktight gloves (Nitrile type) for this opera-
tion.
D4F
D4F
D7F
Page 245 of 652
11A-128
TOP AND FRONT OF ENGINE
Cylinder head: Removal - Refitting
D7F – D4F, and 772
11A
aTighten to torque and in order the cylinder head
bolts (initial torque) (20 N.m).
aCheck that all the cylinder head bolts are pretight-
ened to 20 Nm.
aAngle tighten in order the cylinder head bolts (230˚
±± ± ±
6).
III - FINAL OPERATION
aRefit the exhaust bracket bolts.
aTighten the exhaust bracket bolts.
aConnect the water chamber hoses.
aFit the water chamber hose clips using the tool (Mot.
1448) or (Mot. 1202-01) or (Mot. 1202-02).
aConnect the coolant temperature sensor connector.
aRefit:
-the rocker cover (see 11A, Top and front of en-
gine, Rocker cover: Removal - Refitting, page
11A-66) ,
-the ignition coil.
aRefit:
-the inlet manifold (see 12A, Fuel mixture, Inlet
distributor: Removal - Refitting, page 12A-29) ,-the air filter unit (see 12A, Fuel mixture, Air filter
unit: Removal - Refitting, page 12A-13) .
aRefit:
-the air filter unit,
-the air filter box retaining belts,
-the intake distributor (see 12A, Fuel mixture, Inlet
distributor: Removal - Refitting, page 12A-29) .
aRefit:
-the timing belt (see 11A, Top and front of engine,
Timing belt: Removal - Refitting, page 11A-27) ,
-the crankshaft accessories pulley (see 11A, Top
and front of engine, Crankshaft accessories
pulley: Removal - Refitting, page 11A-20) ,
-the accessories belt (see 11A, Top and front of
engine, Accessories belt: Removal - Refitting,
page 11A-3) .
aRefit:
-the scoop under the scuttle panel grille (see Scoop
under the scuttle panel grille: Removal - Refit-
ting) (56A, Exterior equipment),
-the scuttle panel grille (see Scuttle panel grille:
Removal - Refitting) (56A, Exterior equipment).
aRefit:
-a new oil filter (see 10A, Engine and cylinder
block assembly, Oil filter: Removal - Refitting,
page 10A-29) ,
-the front right-hand wheel arch liner (see Front
wheel arch liner: Removal - Refitting) (55A, Ex-
terior protection),
-the front right-hand wheel (see Wheel: Removal -
Refitting) (35A, Wheels and tyres).
aPerform the following operations:
-top up the engine oil (see 10A, Engine and cylin-
der block assembly, Engine oil: Draining - Re-
filling, page 10A-22) ,
18641
D4F
D7F
D4F