wheel bolts RENAULT TWINGO RS 2009 2.G Engine And Peripherals Manual Online
[x] Cancel search | Manufacturer: RENAULT, Model Year: 2009, Model line: TWINGO RS, Model: RENAULT TWINGO RS 2009 2.GPages: 652
Page 537 of 652
19A-27
COOLING
Coolant pump: Removal - Refitting
K9K
19A
REMOVAL
I - REMOVAL PREPARATION OPERATION
aPosition the vehicle on a two-post lift (see Vehicle:
Towing and lifting) (02A, Lifting equipment).
aDisconnect the battery (see Battery: Removal - Re-
fitting) (80A, Battery).
aRemove:
-the windscreen wiper arms (see Windscreen wip-
er arm: Removal - Refitting) (85A, Wiping -
Washing),
-the scuttle panel grille (see Scuttle panel grille:
Removal - Refitting) (56A, Exterior equipment),
-the scoop under the scuttle panel grille (see Scoop
under the scuttle panel grille: Removal - Refit-
ting) (56A, Exterior equipment),
-the front right-hand wheel (see Wheel: Removal -
Refitting) (35A, Wheels and tyres),
-the front right-hand wheel arch liner (see Front
wheel arch liner: Removal - Refitting) (55A, Ex-
terior protection),
-the front bumper (see Front bumper: Removal -
Refitting) (55A, Exterior protection),
-the halogen headlights (see Halogen headlight:
Removal - Refitting) (80B, Headlights),
-the front upper cross member (see Front upper
cross member: Removal - Refitting) (42A, Upper
front structure),-the lower engine tie-bar (see 19D, Engine mount-
ing, Lower engine tie-bar: Removal - Refitting,
page 19D-18) ,
-the right-hand suspended engine mounting (see
19D, Engine mounting, Right-hand suspended
engine mounting: Removal - Refitting, page
19D-13) ,
-the accessories belt (see 11A, Top and front of
engine, Accessories belt: Removal - Refitting,
page 11A-3) ,
-the crankshaft accessories pulley (see 11A, Top
and front of engine, Crankshaft accessories
pulley: Removal - Refitting, page 11A-20) ,
-the camshaft position sensor (see 13B, Diesel in-
jection, Camshaft position sensor: Removal -
Refitting, page 13B-14) ,
-the timing belt (see 11A, Top and front of engine,
Timing belt: Removal - Refitting, page 11A-27) .
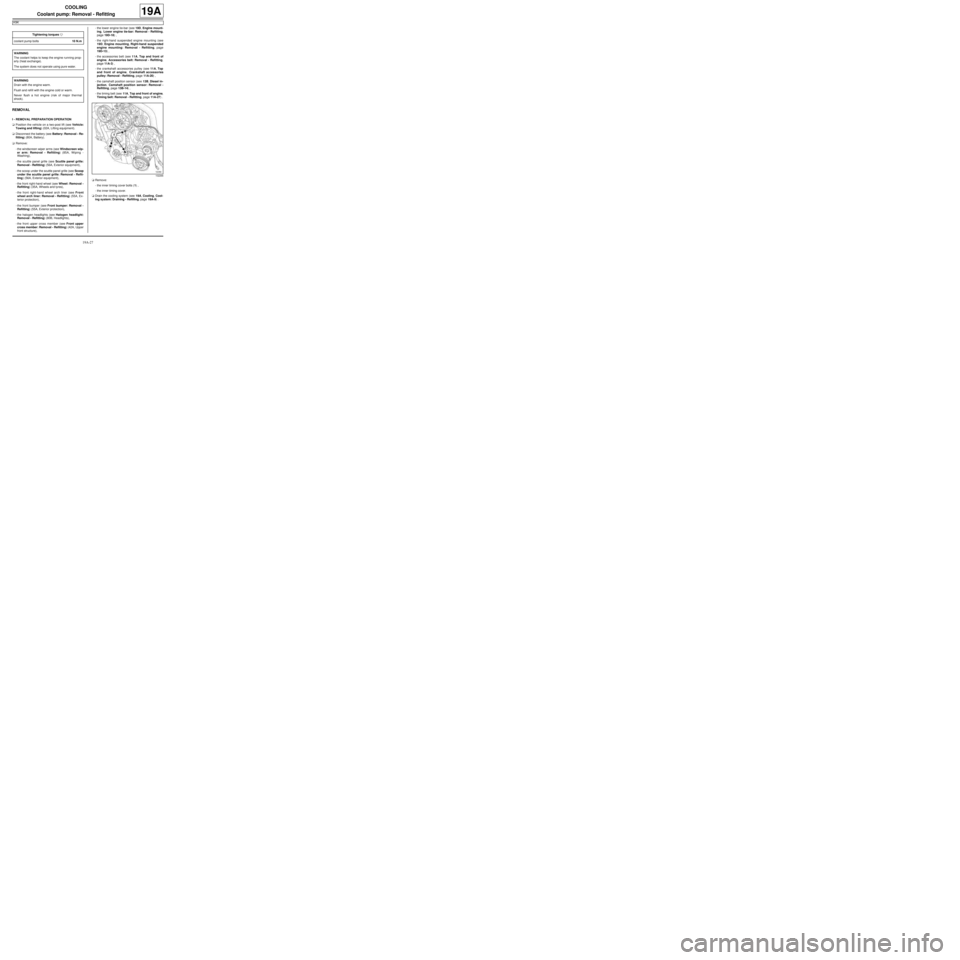
aRemove:
-the inner timing cover bolts (1) ,
-the inner timing cover.
aDrain the cooling system (see 19A, Cooling, Cool-
ing system: Draining - Refilling, page 19A-9) . Tightening torquesm
coolant pump bolts10 N.m
WARNING
The coolant helps to keep the engine running prop-
erly (heat exchange).
The system does not operate using pure water.
WARNING
Drain with the engine warm.
Flush and refill with the engine cold or warm.
Never flush a hot engine (risk of major thermal
shock).
102266
Page 539 of 652
19A-29
COOLING
Coolant pump: Removal - Refitting
K9K
19A
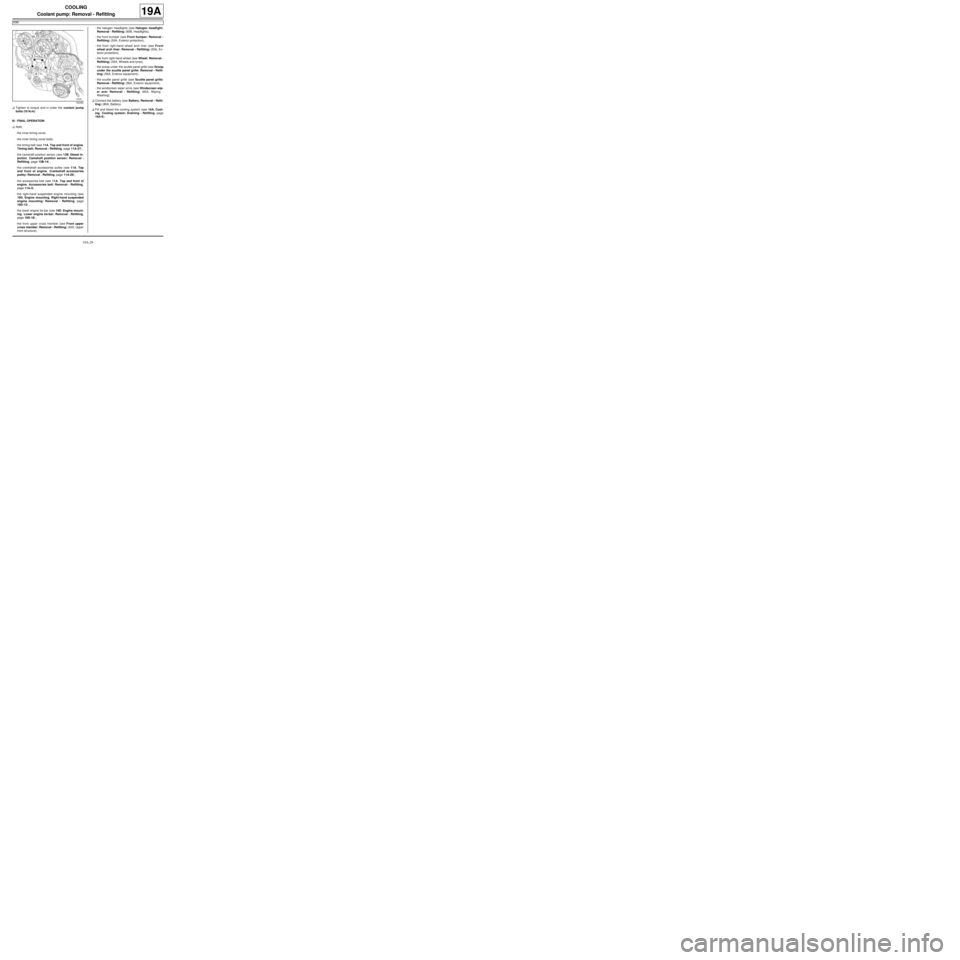
aTighten to torque and in order the coolant pump
bolts (10 N.m).
III - FINAL OPERATION
aRefit:
-the inner timing cover,
-the inner timing cover bolts,
-the timing belt (see 11A, Top and front of engine,
Timing belt: Removal - Refitting, page 11A-27) ,
-the camshaft position sensor (see 13B, Diesel in-
jection, Camshaft position sensor: Removal -
Refitting, page 13B-14) ,
-the crankshaft accessories pulley (see 11A, Top
and front of engine, Crankshaft accessories
pulley: Removal - Refitting, page 11A-20) ,
-the accessories belt (see 11A, Top and front of
engine, Accessories belt: Removal - Refitting,
page 11A-3) ,
-the right-hand suspended engine mounting (see
19D, Engine mounting, Right-hand suspended
engine mounting: Removal - Refitting, page
19D-13) ,
-the lower engine tie-bar (see 19D, Engine mount-
ing, Lower engine tie-bar: Removal - Refitting,
page 19D-18) ,
-the front upper cross member (see Front upper
cross member: Removal - Refitting) (42A, Upper
front structure),-the halogen headlights (see Halogen headlight:
Removal - Refitting) (80B, Headlights),
-the front bumper (see Front bumper: Removal -
Refitting) (55A, Exterior protection),
-the front right-hand wheel arch liner (see Front
wheel arch liner: Removal - Refitting) (55A, Ex-
terior protection),
-the front right-hand wheel (see Wheel: Removal -
Refitting) (35A, Wheels and tyres),
-the scoop under the scuttle panel grille (see Scoop
under the scuttle panel grille: Removal - Refit-
ting) (56A, Exterior equipment),
-the scuttle panel grille (see Scuttle panel grille:
Removal - Refitting) (56A, Exterior equipment),
-the windscreen wiper arms (see Windscreen wip-
er arm: Removal - Refitting) (85A, Wiping -
Washing).
aConnect the battery (see Battery: Removal - Refit-
ting) (80A, Battery).
aFill and bleed the cooling system (see 19A, Cool-
ing, Cooling system: Draining - Refilling, page
19A-9) .
102262
Page 540 of 652
19A-30
COOLING
Coolant pump: Removal - Refitting
K4M
19A
REMOVAL
I - REMOVAL PREPARATION OPERATION
aPosition the vehicle on a two-post lift (see Vehicle:
Towing and lifting) (02A, Lifting equipment).
aDrain the cooling system (see 19A, Cooling, Cool-
ing system: Draining - Refilling, page 19A-9) .
aDisconnect the battery (see Battery: Removal - Re-
fitting) (80A, Battery).aRemove:
-the engine undertray,
-the front right-hand wheel (see Wheel: Removal -
Refitting) (35A, Wheels and tyres),
-the front right-hand wheel arch liner (see Front
wheel arch liner: Removal - Refitting) (55A, Ex-
terior protection),
-the front bumper (see Front bumper: Removal -
Refitting) (55A, Exterior protection),
-the headlights (see Halogen headlight: Removal
- Refitting) (80B, Headlights),
-the bonnet catch (see Bonnet lock: Removal -
Refitting) (52A, Non-side opening element mecha-
nisms),
-the front upper cross member (see Front upper
cross member: Removal - Refitting) (42A, Upper
front structure),
-the accessories belt (see 11A, Top and front of
engine, Accessories belt: Removal - Refitting,
page 11A-3) ,
-the air filter unit (see 12A, Fuel mixture, Air filter
unit: Removal - Refitting, page 12A-13) ,
-the throttle valve (see 12A, Fuel mixture, Throttle
valve: Removal - Refitting, page 12A-20) ,
-the windscreen wiper arms (see Windscreen wip-
er arm: Removal - Refitting) (85A, Wiping -
Washing),
-the scuttle panel grille (see Scuttle panel grille:
Removal - Refitting) (56A, Exterior equipment),
-the scoop under the scuttle panel grille (see Scoop
under the scuttle panel grille: Removal - Refit-
ting) (56A, Exterior equipment),
-the right-hand suspended engine mounting (see
19D, Engine mounting, Right-hand suspended
engine mounting: Removal - Refitting, page
19D-13) ,
-the crankshaft accessories pulley (see 11A, Top
and front of engine, Crankshaft accessories
pulley: Removal - Refitting, page 11A-20) ,
-the timing belt (see 11A, Top and front of engine,
Timing belt: Removal - Refitting, page 11A-27) ,
-the camshaft dephaser (see 11A, Top and front of
engine, Camshaft dephaser: Removal - Refit-
ting, page 11A-135) . Tightening torquesm
bolt 1 of the coolant
pump27 N.m
bolts 2 to 8 of the water
pump10 N.m
IMPORTANT
When working in the engine compartment, take
care as the radiator fan(s) may start up unexpect-
edly (risk of being cut).
To avoid any risk of serious burns when the engine
is hot:
-do not open the expansion bottle cap,
-do not drain the cooling system,
-do not open the bleed screw(s).
WARNING
Prepare for the flow of fluid, and protect the sur-
rounding components.
WARNING
When carr ying out a repair that requires a complete
change, it is essential to flush the circuit with clean
water, blast compressed air through the circuit to
drive out the water, fill and bleed the circuit and
then measure the effective protection.
The cr iteria to be met are:
-protection down to -25˚C ±± ± ±
2 for cold and temper-
ate countries,
-protection down to -40˚C ±± ± ±
2 for "extreme cold"
countries.
Page 574 of 652
19A-64
COOLING
Expansion bottle: Removal - Refitting
D4F or D7F or K4M or K9K
19A
REMOVAL
I - REMOVAL PREPARATION OPERATION
aPosition the vehicle on a two-post lift (see Vehicle:
Towing and lifting) (02A, Lifting equipment).
aRemove:
-the front wheels (see Wheel: Removal - Refitting)
(35A, Wheels and tyres),
-the front wheel arch liners (see Front wheel arch
liner: Removal - Refitting) (55A, Exterior protec-
tion),
-the front bumper (see Front bumper: Removal -
Refitting) (55A, Exterior protection).
aRemove the front engine cover.
aRemove the oil filler neck.II - OPERATION FOR REMOVAL OF PART
CONCERNED
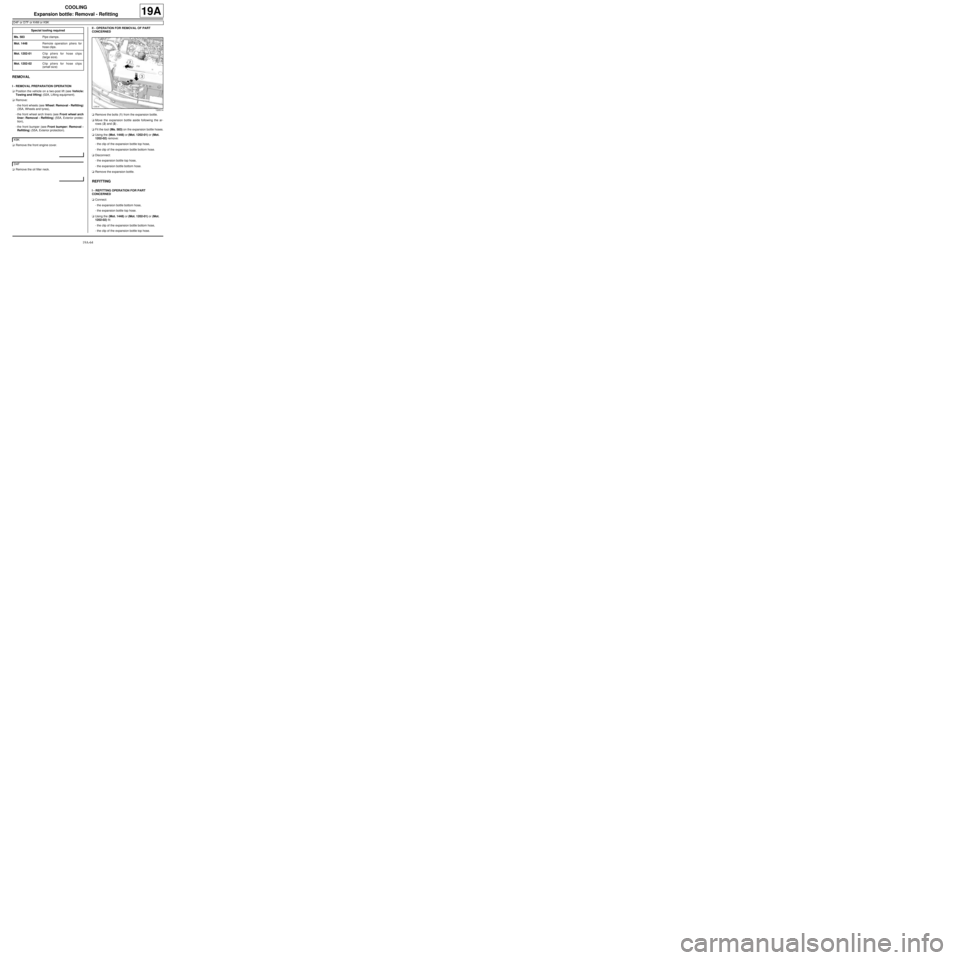
aRemove the bolts (1) from the expansion bottle.
aMove the expansion bottle aside following the ar-
rows (2) and (3) .
aFit the tool (Ms. 583) on the expansion bottle hoses.
aUsing the (Mot. 1448) or (Mot. 1202-01) or (Mot.
1202-02) remove:
-the clip of the expansion bottle top hose,
-the clip of the expansion bottle bottom hose.
aDisconnect:
-the expansion bottle top hose,
-the expansion bottle bottom hose.
aRemove the expansion bottle.
REFITTING
I - REFITTING OPERATION FOR PART
CONCERNED
aConnect:
-the expansion bottle bottom hose,
-the expansion bottle top hose.
aUsing the (Mot. 1448) or (Mot. 1202-01) or (Mot.
1202-02) fit:
-the clip of the expansion bottle bottom hose,
-the clip of the expansion bottle top hose. Special tooling required
Ms. 583Pipe clamps .
Mot. 1448Remote operation pliers for
hose clips .
Mot. 1202-01Clip pliers for hose clips
(large size).
Mot. 1202-02Clip pliers for hose clips
(small size)
K9K
D4F
120514
Page 625 of 652
19C-11
TANK
Filler neck: Removal - Refitting
D4F or D7F or K4M or K9K
19C
REMOVAL
I - REMOVAL PREPARATION OPERATION
aPosition the vehicle on a two-post lift (see Vehicle:
Towing and lifting) (02A, Lifting equipment).
aDisconnect the battery (see Battery: Removal - Re-
fitting) (80A, Battery).
aDrain the fuel tank (see 19C, Tank, Fuel tank:
Draining, page 19C-1) .
aRemove the rear right-hand wheel (see Wheel: Re-
moval - Refitting) (35A, Wheels and tyres).II - OPERATION FOR REMOVAL OF PART
CONCERNED
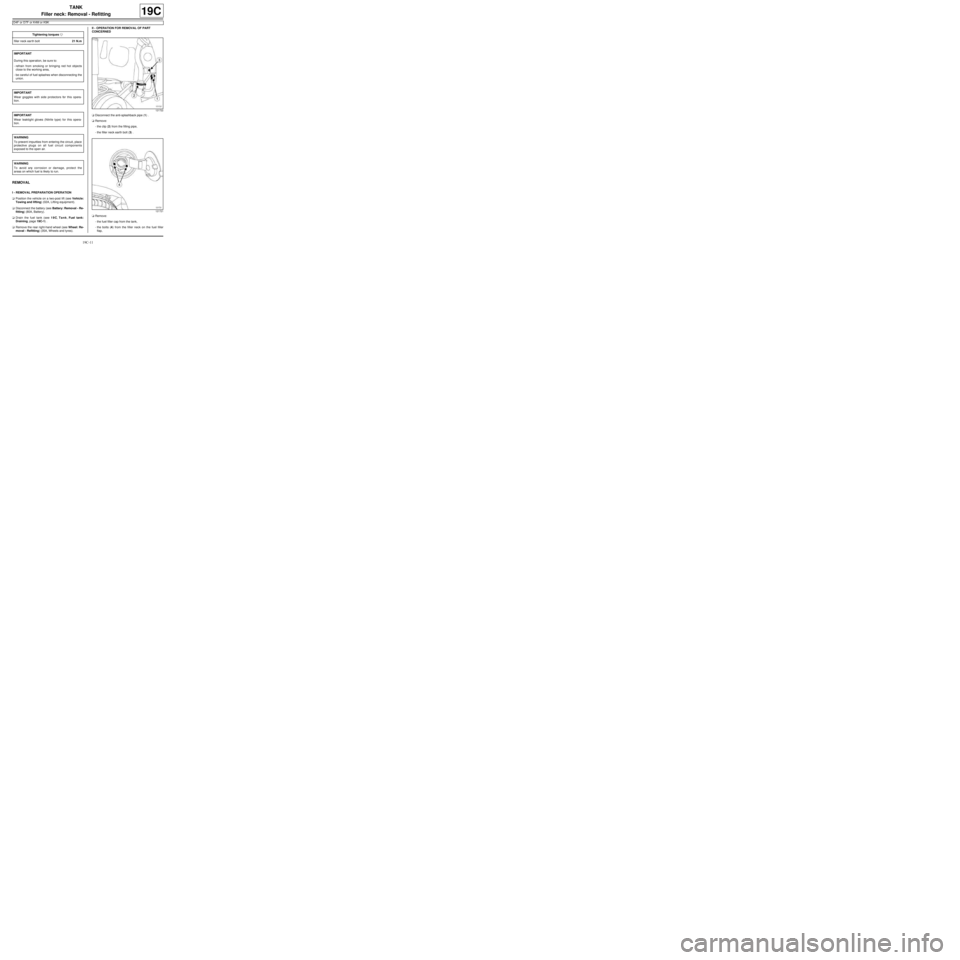
aDisconnect the anti-splashback pipe (1) .
aRemove:
-the clip (2) from the filling pipe,
-the filler neck earth bolt (3) .
aRemove:
-the fuel filler cap from the tank,
-the bolts (4) from the filler neck on the fuel filler
flap, Tightening torquesm
filler neck ear th bolt21 N.m
IMPORTANT
During this oper ation, be sure to:
-refrain from smoking or bringing red hot objects
close to the working area,
-be careful of fuel splashes when disconnecting the
union.
IMPORTANT
Wear goggles with side protectors for this opera-
tion.
IMPORTANT
Wear leaktight gloves (Nitrile type) for this opera-
tion.
WARNING
To prevent impurities from entering the circuit, place
protective plugs on all fuel circuit components
exposed to the open air.
WARNING
To avoid any corrosion or damage, protect the
areas on which fuel is likely to run.
121722
121721
Page 634 of 652
19D-4
ENGINE MOUNTING
Left-hand suspended engine mounting: Removal - Refitting
D4F or D7F
19D
REMOVAL
I - REMOVAL PREPARATION OPERATION
aPosition the vehicle on a two-post lift (see Vehicle:
Towing and lifting) (02A, Lifting equipment).
aRemove:
-the battery (see ) (80A, Battery),
-the battery tray (see Battery tray: Removal - Re-
fitting) (80A, Battery),
-the front left-hand wheel (see Wheel: Removal -
Refitting) (35A, Wheels and tyres),
-the petrol injection computer (see 17B, Petrol in-
jection, Petrol injection computer: Removal -
Refitting, page 17B-20) ,
-the petrol injection computer mounting bolts,
-the petrol injection computer mounting nuts.
aRemove:
-the engine wiring nut,
-the petrol injection computer mounting.
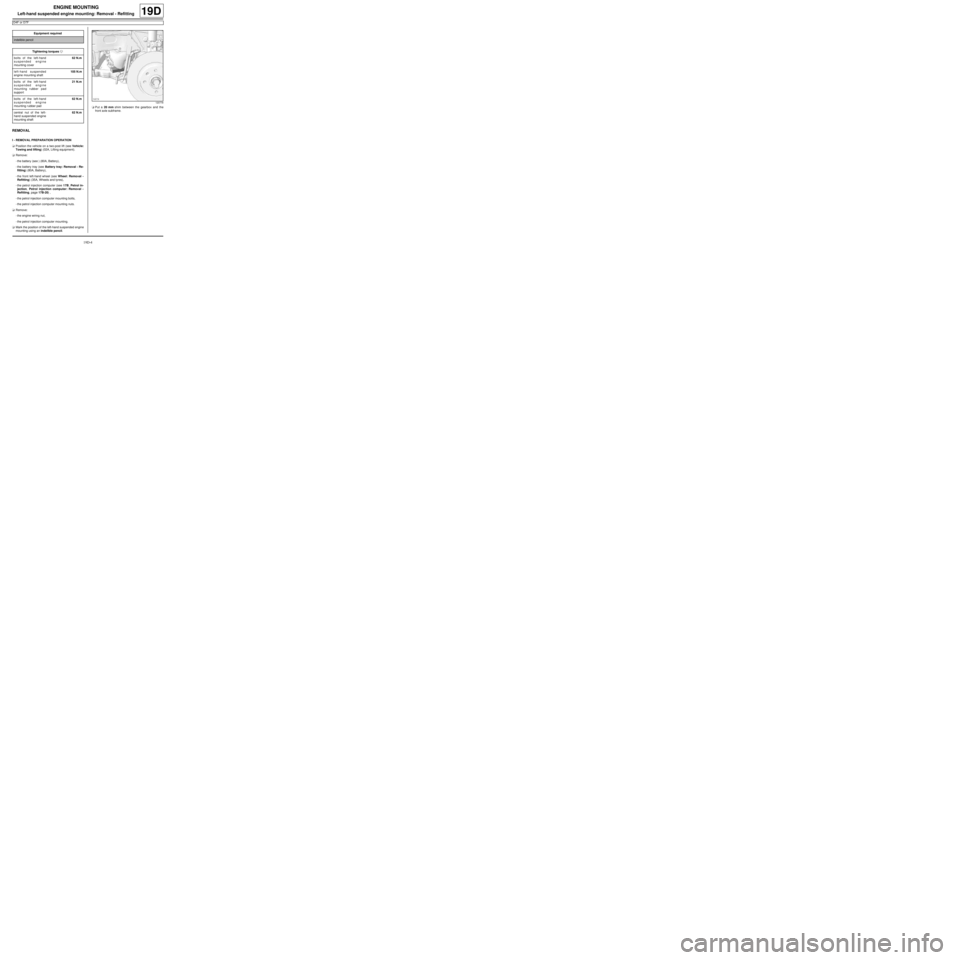
aMark the position of the left-hand suspended engine
mounting using an indelible pencil.aPut a 20 mm shim between the gearbox and the
front axle subframe. Equipment required
indelible pencil
Tightening torquesm
bolts of the left-hand
suspended engine
mounting cover62 N.m
left-hand suspended
engine mounting shaft105 N.m
bolts of the left-hand
suspended engine
mounting rubber pad
support21 N.m
bolts of the left-hand
suspended engine
mounting r ubber pad62 N.m
central nut of the left-
hand suspended engine
mounting shaft62 N.m
120778
Page 636 of 652
19D-6
ENGINE MOUNTING
Left-hand suspended engine mounting: Removal - Refitting
D4F or D7F
19D
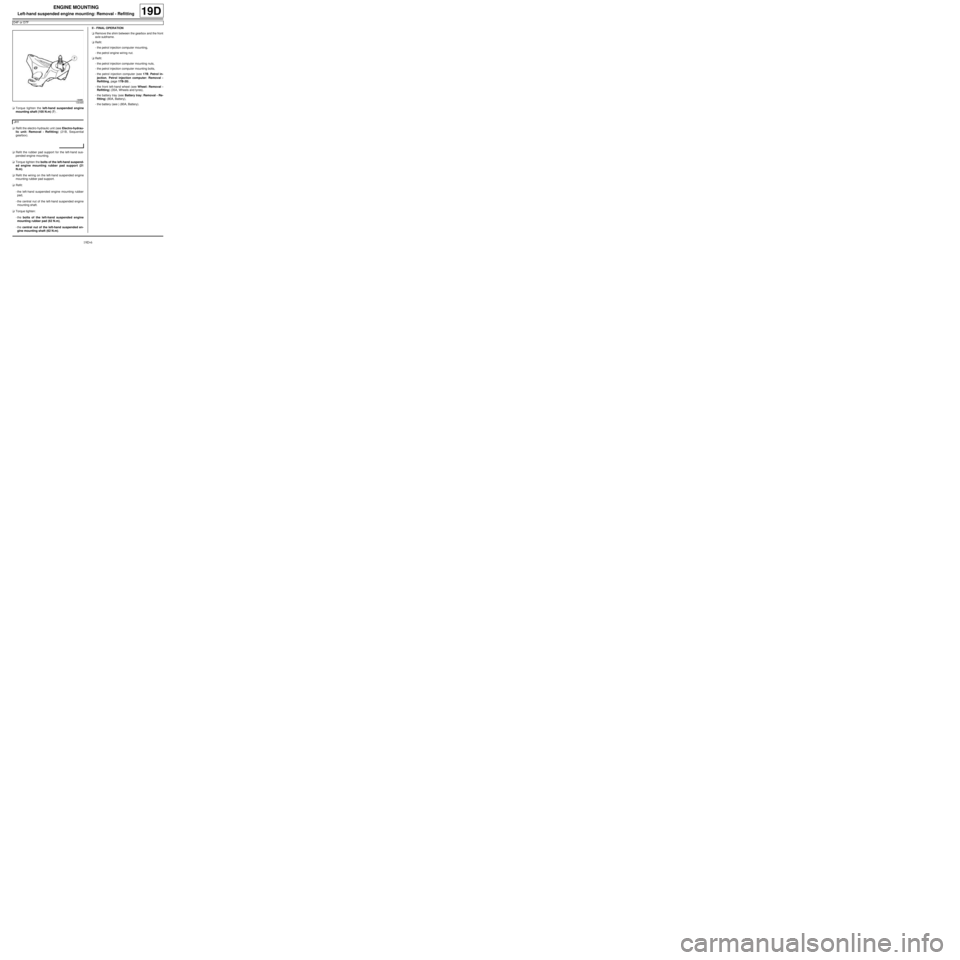
aTorque tighten the left-hand suspended engine
mounting shaft (105 N.m) (7) .
aRefit the electro-hydraulic unit (see Electro-hydrau-
lic unit: Removal - Refitting) (21B, Sequential
gearbox).
aRefit the rubber pad support for the left-hand sus-
pended engine mounting.
aTorque tighten the bolts of the left-hand suspend-
ed engine mounting rubber pad support (21
N.m).
aRefit the wiring on the left-hand suspended engine
mounting rubber pad support.
aRefit:
-the left-hand suspended engine mounting rubber
pad,
-the central nut of the left-hand suspended engine
mounting shaft.
aTorque tighten:
-the bolts of the left-hand suspended engine
mounting rubber pad (62 N.m),
-the central nut of the left-hand suspended en-
gine mounting shaft (62 N.m).II - FINAL OPERATION
aRemove the shim between the gearbox and the front
axle subframe.
aRefit:
-the petrol injection computer mounting,
-the petrol engine wiring nut.
aRefit:
-the petrol injection computer mounting nuts,
-the petrol injection computer mounting bolts,
-the petrol injection computer (see 17B, Petrol in-
jection, Petrol injection computer: Removal -
Refitting, page 17B-20) ,
-the front left-hand wheel (see Wheel: Removal -
Refitting) (35A, Wheels and tyres),
-the battery tray (see Battery tray: Removal - Re-
fitting) (80A, Battery),
-the battery (see ) (80A, Battery).
130485
JH1
Page 640 of 652

19D-10
ENGINE MOUNTING
Left-hand suspended engine mounting: Removal - Refitting
K4M
19D
REMOVAL
I - REMOVAL PREPARATION OPERATION
aPosition the vehicle on a two-post lift (see Vehicle:
Towing and lifting) (02A, Lifting equipment).
aRemove:
-the battery (see Battery: Removal - Refitting)
(80A, Battery),
-the petrol injection computer (see 17B, Petrol in-
jection, Petrol injection computer: Removal -
Refitting, page 17B-20) ,
-the air filter unit (see 12A, Fuel mixture, Air filter
unit: Removal - Refitting, page 12A-13) ,
-the battery tray (see Battery tray: Removal - Re-
fitting) (80A, Battery),
-the front left-hand wheel (see Wheel: Removal -
Refitting) (35A, Wheels and tyres),
-the front left-hand wheel arch liner (see Front
wheel arch liner: Removal - Refitting) (55A, Ex-
terior protection).
aMark the position of the left-hand suspended engine
mounting.aPut a 20 mm shim between the gearbox and the
sub-frame. Tightening torquesm
bolts of the suspended
engine mounting sup-
por t on the gearbox62 N.m
gearbox suspended
engine mounting rubber
pad shaft105 N.m
bolts of the suspended
engine mounting sup-
por t on the body21 N.m
bolts of the suspended
mounting r ubber pad62 N.m
suspended engine
mounting shaft nut62 N.m
120778
Page 642 of 652
19D-12
ENGINE MOUNTING
Left-hand suspended engine mounting: Removal - Refitting
K4M
19D
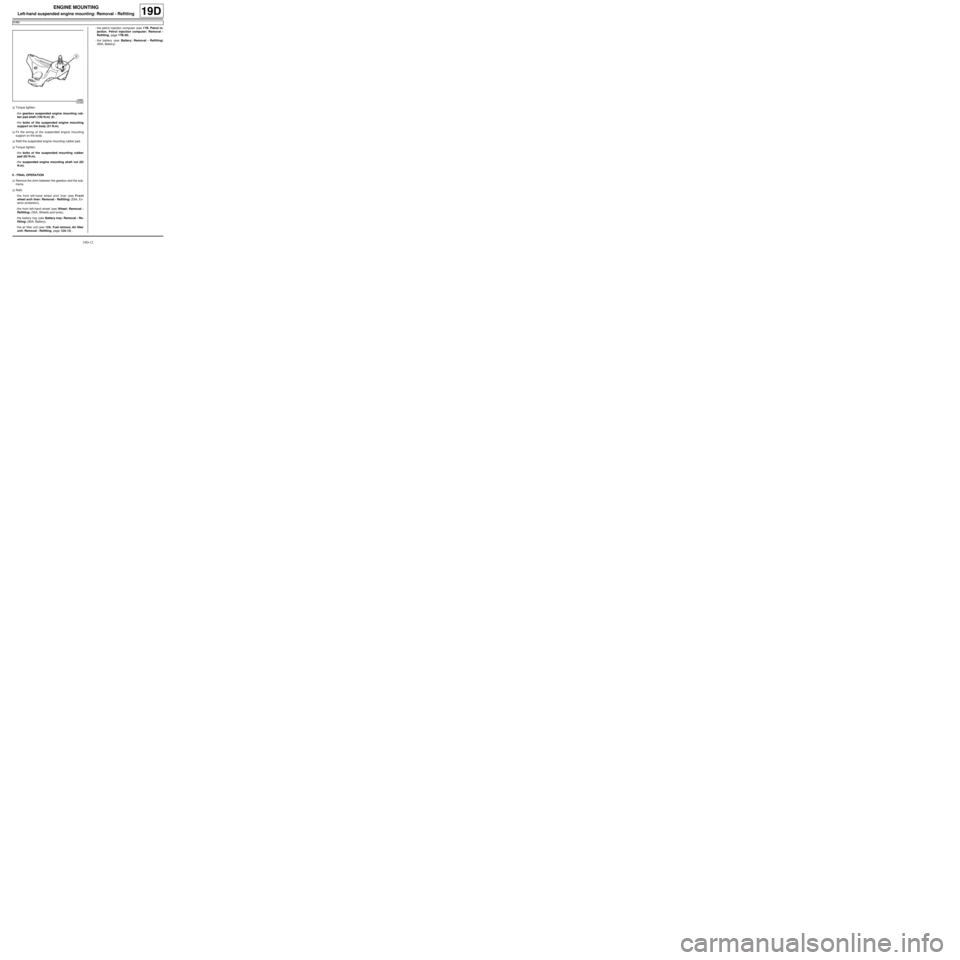
aTorque tighten:
-the gearbox suspended engine mounting rub-
ber pad shaft (105 N.m) (8) ,
-the bolts of the suspended engine mounting
support on the body (21 N.m).
aFit the wiring of the suspended engine mounting
support on the body.
aRefit the suspended engine mounting rubber pad.
aTorque tighten:
-the bolts of the suspended mounting rubber
pad (62 N.m),
-the suspended engine mounting shaft nut (62
N.m).
II - FINAL OPERATION
aRemove the shim between the gearbox and the sub-
frame.
aRefit:
-the front left-hand wheel arch liner (see Front
wheel arch liner: Removal - Refitting) (55A, Ex-
terior protection),
-the front left-hand wheel (see Wheel: Removal -
Refitting) (35A, Wheels and tyres),
-the battery tray (see Battery tray: Removal - Re-
fitting) (80A, Battery),
-the air filter unit (see 12A, Fuel mixture, Air filter
unit: Removal - Refitting, page 12A-13) ,-the petrol injection computer (see 17B, Petrol in-
jection, Petrol injection computer: Removal -
Refitting, page 17B-20) ,
-the battery (see Battery: Removal - Refitting)
(80A, Battery).
130485