RENAULT TWINGO RS 2009 2.G Mechanism And Accessories Manual Online
TWINGO RS 2009 2.G
RENAULT
RENAULT
https://www.carmanualsonline.info/img/7/1723/w960_1723-0.png
RENAULT TWINGO RS 2009 2.G Mechanism And Accessories Manual Online
Trending: mirror, service, check engine, glove box, headlights, wheel, oil level
Page 81 of 95
57A-8
INTERIOR EQUIPMENT
Centre front panel: Removal - Refitting
57A
REFITTING
I - REFITTING OPERATION FOR PART
CONCERNED
aRefit:
-the centre front panel,
-the bolts (3) ,
-the clips (4) ,
-the upper section of the centre front panel.
II - FINAL OPERATION.
aConnect the various connectors (1) .
aRefit:
-the dashboard lower trim,
-the centre console (see 57A, Interior equipment,
Centre console: Removal - Refitting, page 57A-
12) ,
-the radio (see Radio: Removal - Refitting) (MR
411, 86A, Radio).
Page 82 of 95
57A-9
INTERIOR EQUIPMENT
Glovebox: Removal - Refitting
57A
REMOVAL
I - REMOVAL PREPARATION OPERATION
aLock the airbag computer using the Diagnostic tool
(see Fault finding - Replacement of components)
(MR 413, 88C, Airbags and pretensioners).
aDisconnect the battery (see Battery: Removal - Re-
fitting) (MR 411, 80A, Battery).
aRemove the dashboard (see 57A, Interior equip-
ment, Dashboard: Removal - Refitting, page 57A-
1) .II - OPERATION FOR REMOVAL OF PART
CONCERNED
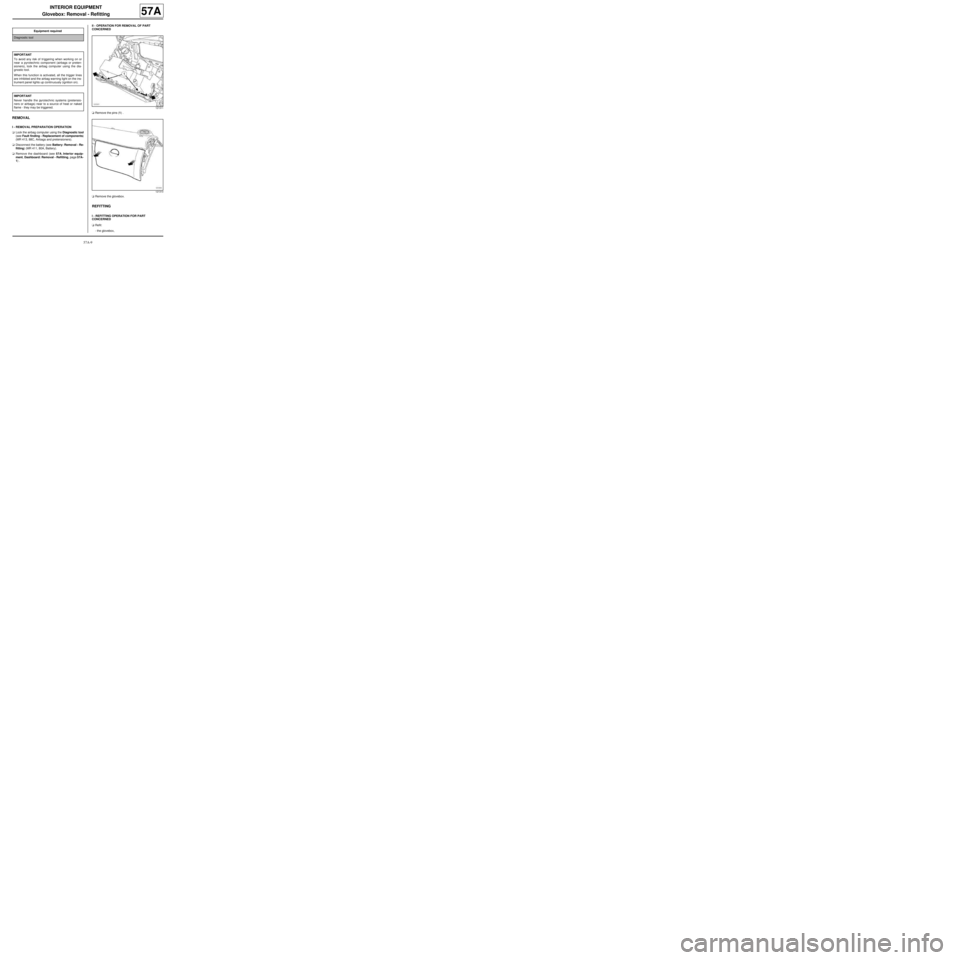
aRemove the pins (1) .
aRemove the glovebox.
REFITTING
I - REFITTING OPERATION FOR PART
CONCERNED
aRefit:
-the glovebox, Equipment required
Diagnostic tool
IMPORTANT
To avoid any risk of triggering when working on or
near a pyrotechnic component (airbags or preten-
sioners), lock the airbag computer using the dia-
gnostic tool.
When this function is activated, all the trigger lines
are inhibited and the airbag warning light on the ins-
trument panel lights up contin uously (ignition on).
IMPORTANT
Never handle the pyrotechnic systems (pretensio-
ners or airbags) near to a source of heat or naked
flame - they may be triggered.
121311
121310
Page 83 of 95
57A-10
INTERIOR EQUIPMENT
Glovebox: Removal - Refitting
57A
-the pins (1) .
II - FINAL OPERATION.
aRefit the dashboard (see 57A, Interior equipment,
Dashboard: Removal - Refitting, page 57A-1) .
aConnect the battery (see Battery: Removal - Refit-
ting) (MR 411, 80A, Battery).
aUnlock the airbag computer using the Diagnostic
tool (see Fault finding - Replacement of compo-
nents) (MR 413, 88C, Airbags and pretensioners).
Page 84 of 95
57A-11
INTERIOR EQUIPMENT
Dashboard storage compartment: Removal - Refitting57A
REMOVAL
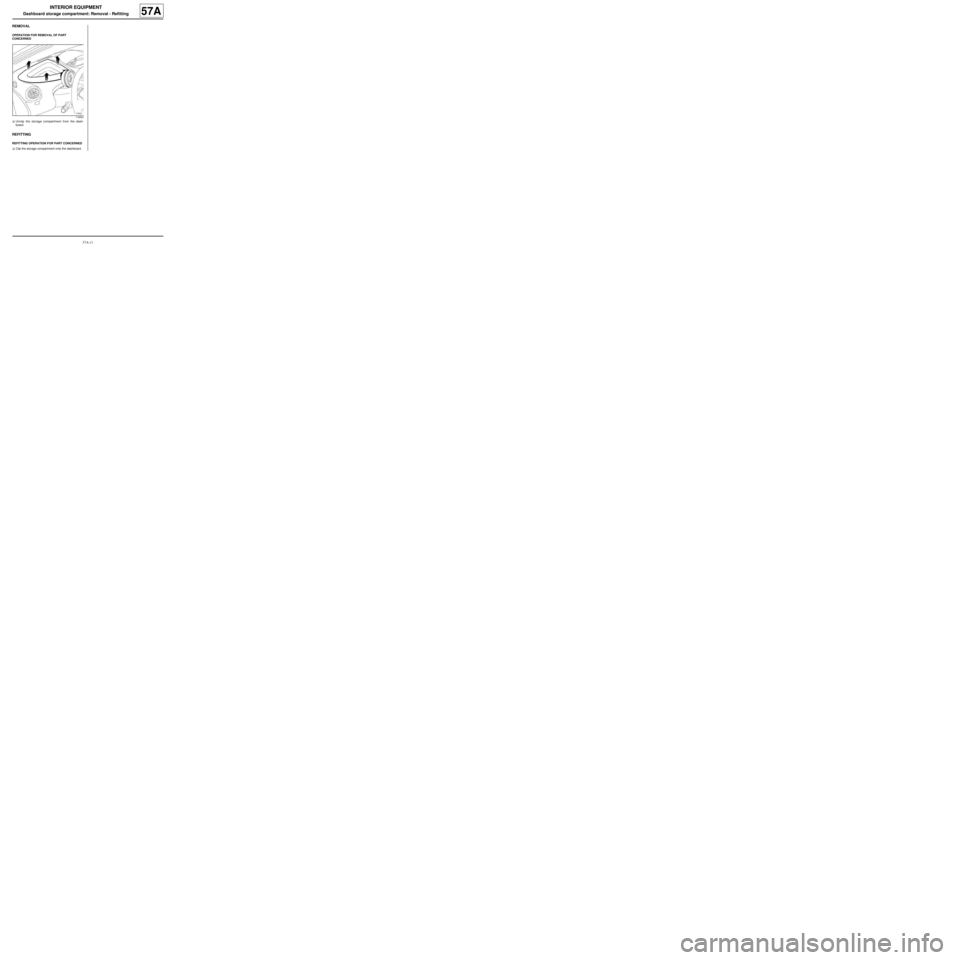
OPERATION FOR REMOVAL OF PART
CONCERNED
aUnclip the storage compartment from the dash-
board.
REFITTING
REFITTING OPERATION FOR PART CONCERNED
aClip the storage compartment onto the dashboard.
119502
Page 85 of 95
57A-12
INTERIOR EQUIPMENT
Centre console: Removal - Refitting
57A
REMOVAL
I - REMOVAL PREPARATION OPERATION
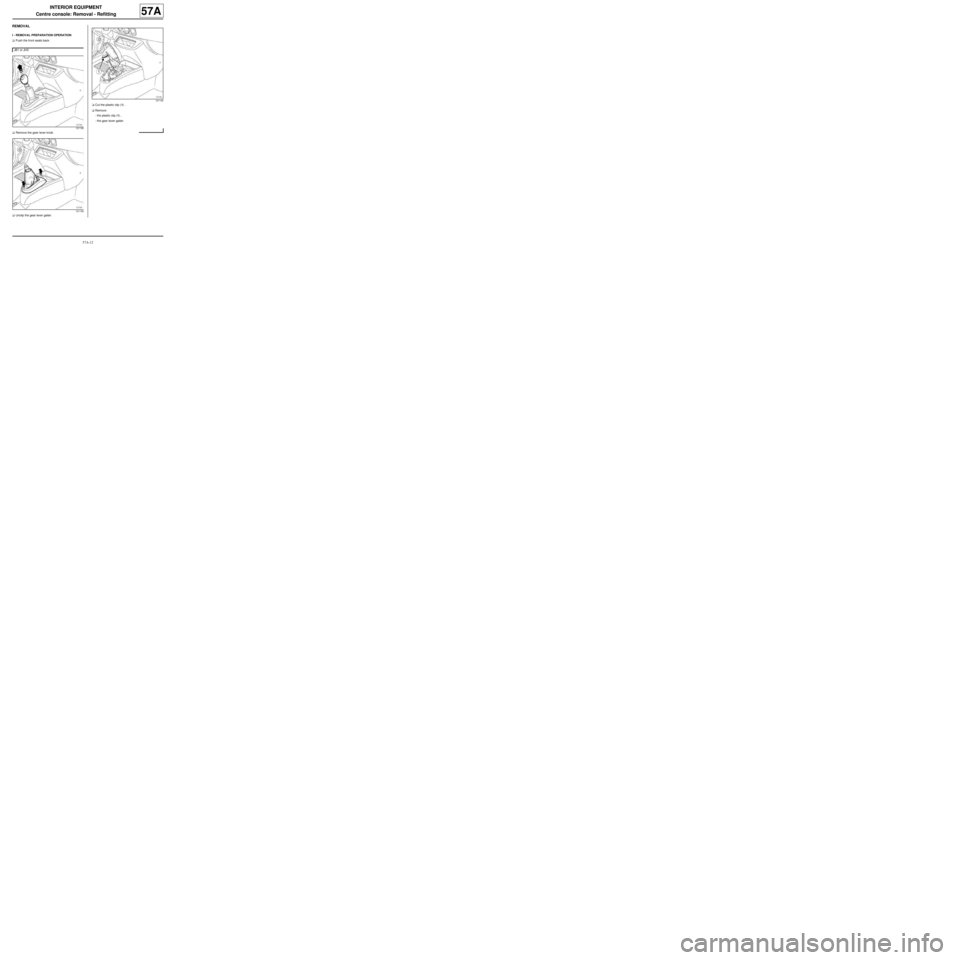
aPush the front seats back.
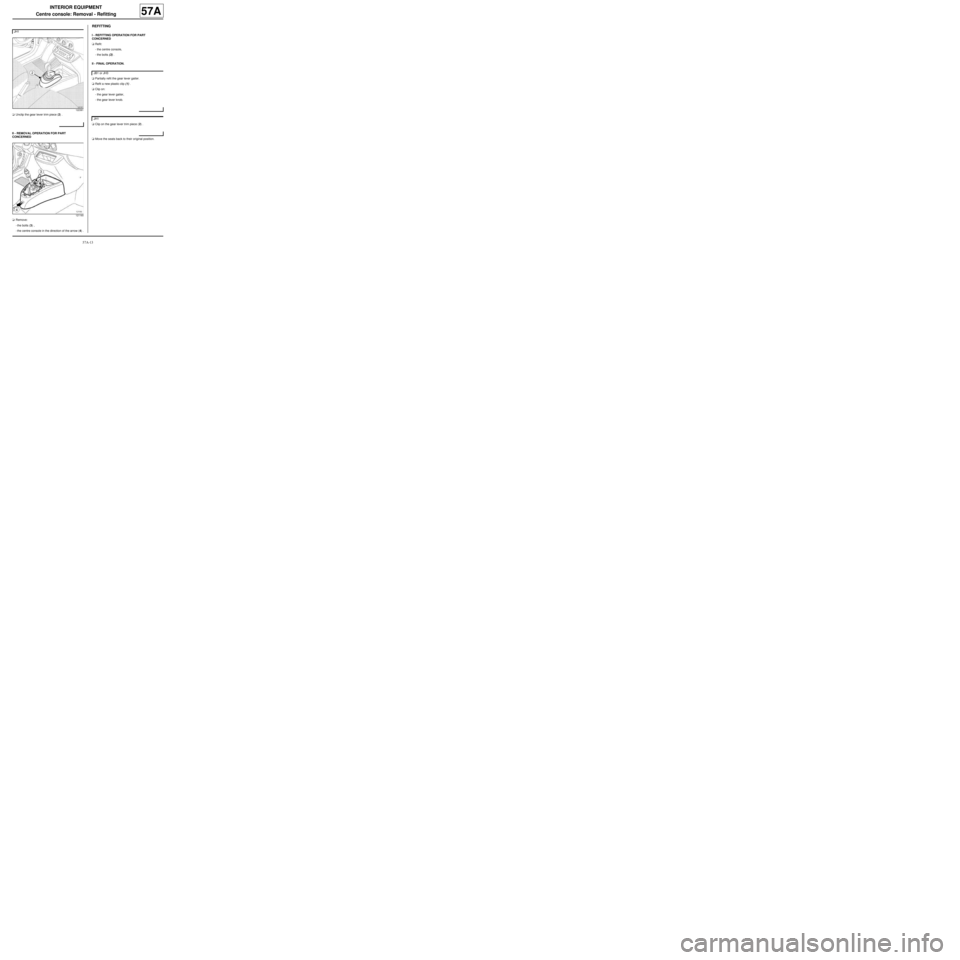
aRemove the gear lever knob.
aUnclip the gear lever gaiter.aCut the plastic clip (1) .
aRemove:
-the plastic clip (1) ,
-the gear lever gaiter. JB1 or JH3
121138
121139
121140
Page 86 of 95
57A-13
INTERIOR EQUIPMENT
Centre console: Removal - Refitting
57A
aUnclip the gear lever trim piece (2) .
II - REMOVAL OPERATION FOR PART
CONCERNED
aRemove:
-the bolts (3) ,
-the centre console in the direction of the arrow (4) .
REFITTING
I - REFITTING OPERATION FOR PART
CONCERNED
aRefit:
-the centre console,
-the bolts (3) .
II - FINAL OPERATION.
aPartially refit the gear lever gaiter.
aRefit a new plastic clip (1) .
aClip on:
-the gear lever gaiter,
-the gear lever knob.
aClip on the gear lever trim piece (2) .
aMove the seats back to their original position. JH1
122381
121160
JB1 or JH3
JH1
Page 87 of 95
57A-14
INTERIOR EQUIPMENT
Interior rear-view mirror: Removal - Refitting
57A
REMOVAL
OPERATION FOR REMOVAL OF PART
CONCERNED
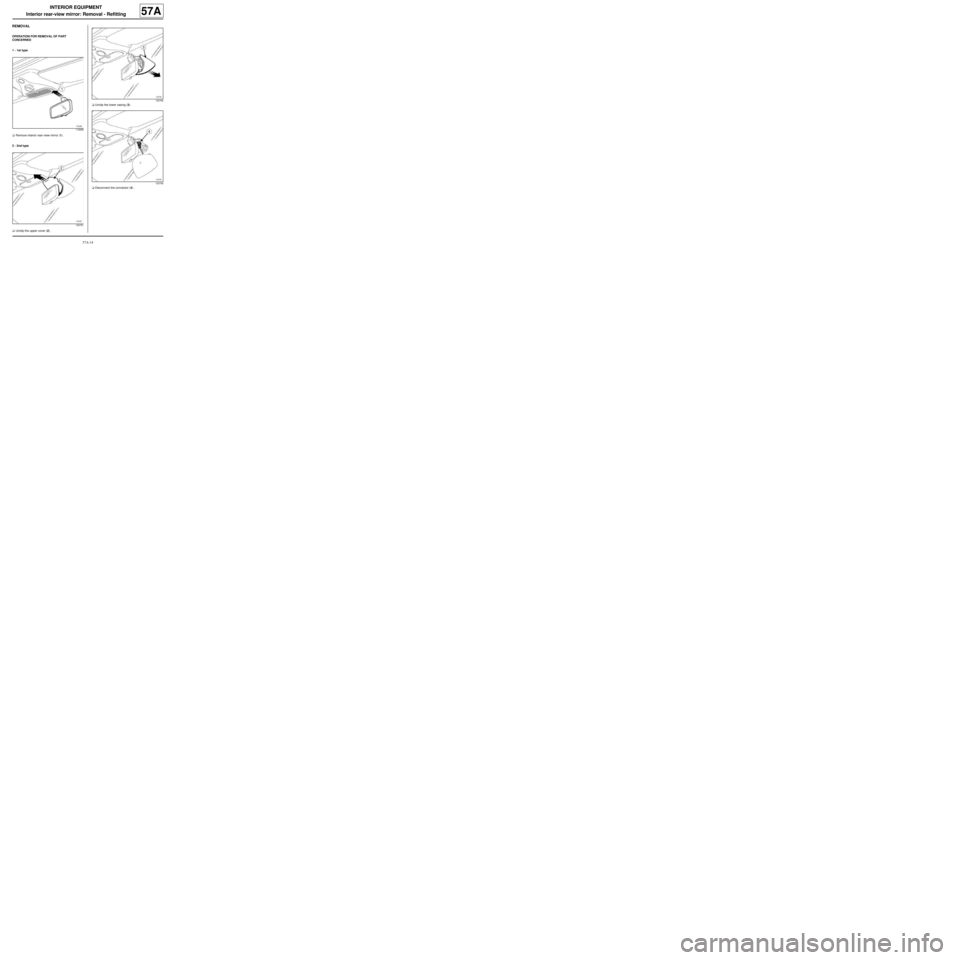
1 - 1st type
aRemove interior rear-view mirror (1) .
2 - 2nd type
aUnclip the upper cover (2) .aUnclip the lower casing (3) .
aDisconnect the connector (4) .
119299
120791
120792
120793
Page 88 of 95
57A-15
INTERIOR EQUIPMENT
Interior rear-view mirror: Removal - Refitting
57A
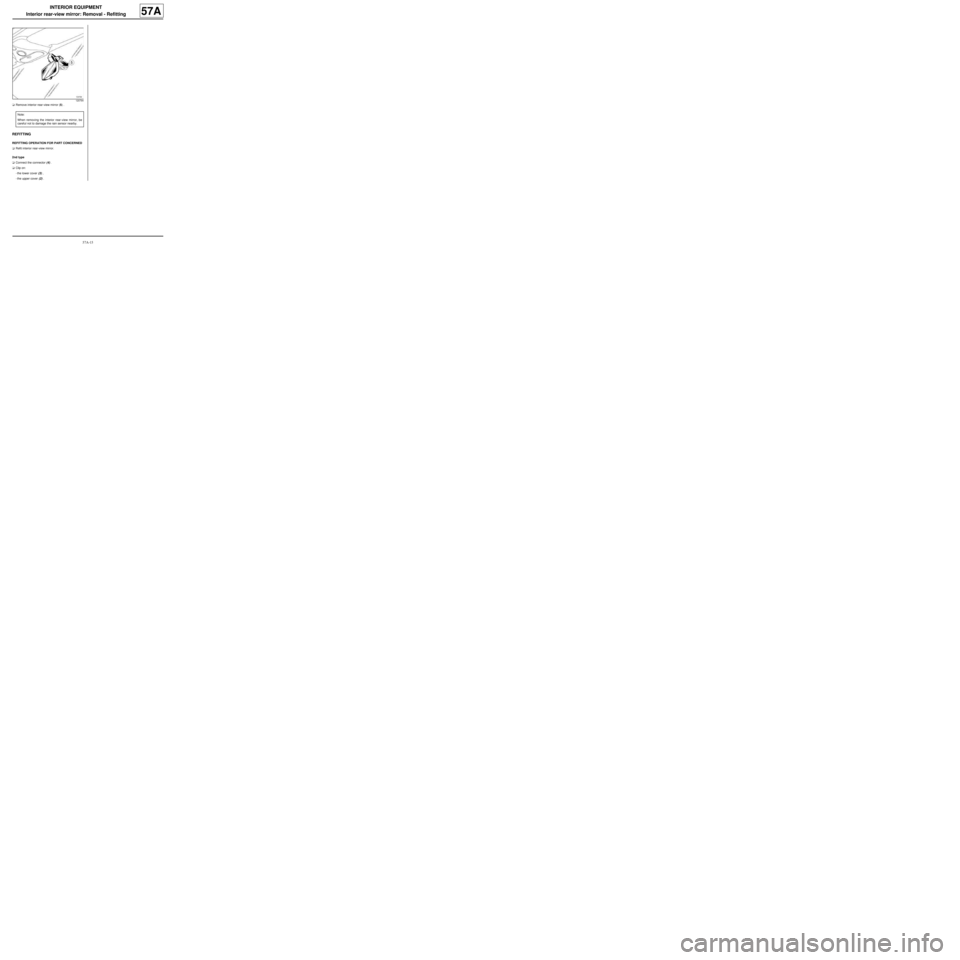
aRemove interior rear-view mirror (5) .
REFITTING
REFITTING OPERATION FOR PART CONCERNED
aRefit interior rear-view mirror.
2nd type
aConnect the connector (4) .
aClip on:
-the lower cover (3) ,
-the upper cover (2) .
120794
Note:
When removing the interior rear-view mirror, be
careful not to damage the rain sensor nearby.
Page 89 of 95
57A-16
INTERIOR EQUIPMENT
Sun visor: Removal - Refitting
57A
REMOVAL
OPERATION FOR REMOVAL OF PART
CONCERNED
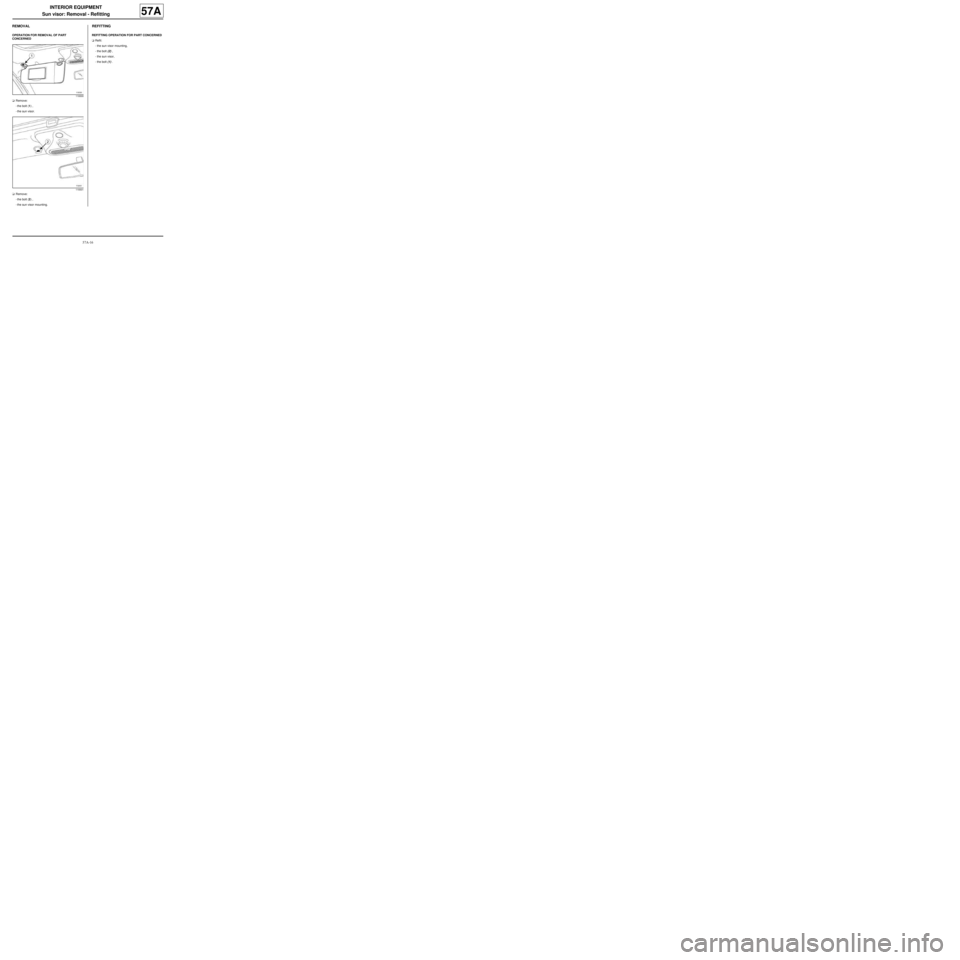
aRemove:
-the bolt (1) ,
-the sun visor.
aRemove:
-the bolt (2) ,
-the sun visor mounting.
REFITTING
REFITTING OPERATION FOR PART CONCERNED
aRefit:
-the sun visor mounting,
-the bolt (2) ,
-the sun visor,
-the bolt (1) .
119300
119301
Page 90 of 95
59A-1
SAFETY ACCESSORIES
Front seat belt: Removal - Refitting
59A
REMOVAL
I - REMOVAL PREPARATION OPERATION
aRemove:
-the complete rear bench seat ( (see Complete rear
seat: Removal - Refitting) ),
-the rear wing panel trim ( (see Rear panel lining:
Removal - Refitting) ).
II - OPERATION FOR REMOVAL OF PART
CONCERNED
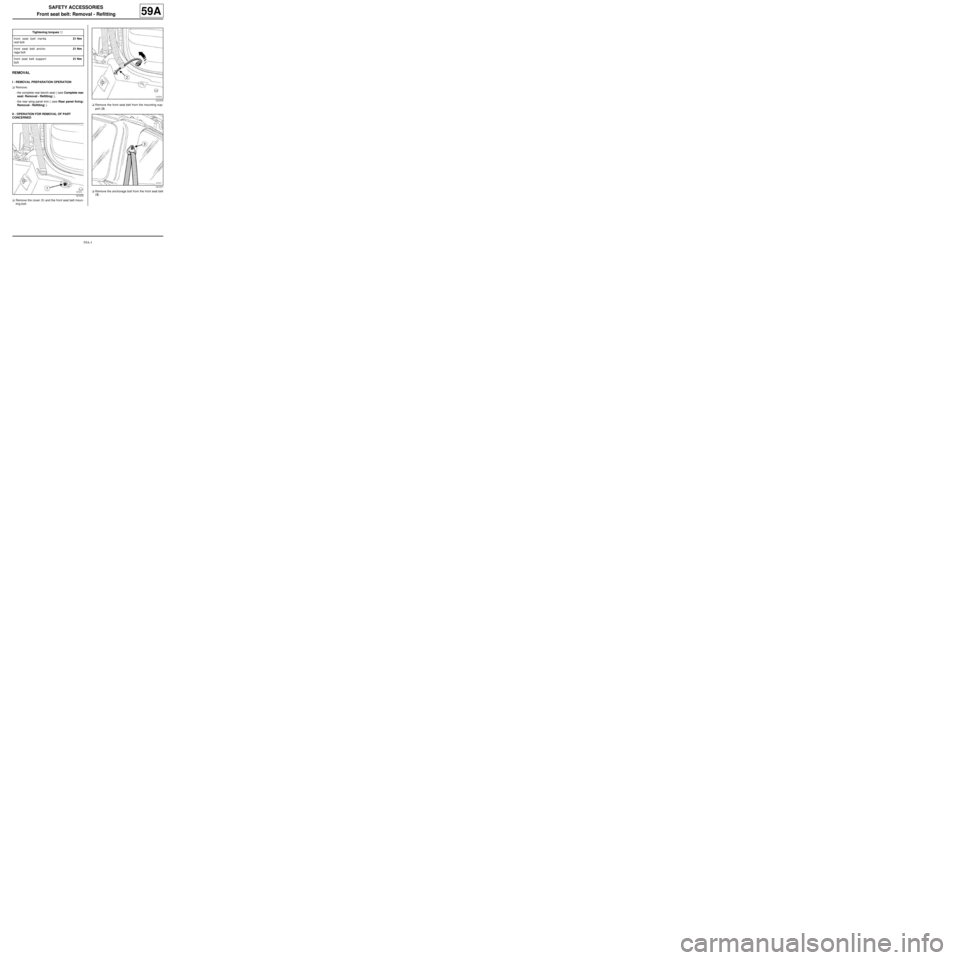
aRemove the cover (1) and the front seat belt moun-
ting bolt.aRemove the front seat belt from the mounting sup-
port (2) .
aRemove the anchorage bolt from the front seat belt
(3) . Tightening torquesm
front seat belt inertia
reel bolt21 Nm
front seat belt ancho-
rage bolt21 Nm
front seat belt support
bolt21 Nm
121072
121074
121071
Trending: lock, battery, warning, dashboard, wheel, power steering, heating
