RENAULT TWINGO RS 2009 2.G Panelwork Workshop Manual
Manufacturer: RENAULT, Model Year: 2009, Model line: TWINGO RS, Model: RENAULT TWINGO RS 2009 2.GPages: 209
Page 201 of 209

48A-2
NON-SIDE OPENING ELEMENTS
Bonnet: Removal - Refitting
48A
2 - OPERATION FOR REMOVAL OF PART
CONCERNED
aRemove:
-the bolts (4) ,
-the bonnet.
IV - REFITTING BY MEANS OF THE BONNET
HINGE BOLTS
1 - OPERATION FOR REFITTING PART
CONCERNED
aRefit:
-the bonnet,
-the bolts (4) .
aAdjust the opening clearances and flush fitting (see
48A, Non-side opening elements, Bonnet: Remo-
val - Refitting, page 48A-1) .
2 - FINAL OPERATION
aClip on the pipe at (2) .
aConnect the pipe at (1) .
aRefit:
-the front wing (see 42A, Front upper structure,
Front wing: Removal - Refitting, page 42A-3) ,
-the halogen headlights (see Halogen headlight:
Removal - Refitting) (MR 411, 80B, Headlights),
-the front bumper (see Front bumper: Removal -
Refitting) (MR 412, 55A, Exterior protection),-the front wheel arch liner (see Front wheel arch
liner: Removal - Refitting) (MR 412, 55A, Exterior
protection).
121519
Page 202 of 209
48A-3
NON-SIDE OPENING ELEMENTS
Bonnet: Stripping - Rebuilding
48A
STRIPPING
STRIPPING OPERATION FOR PART CONCERNED
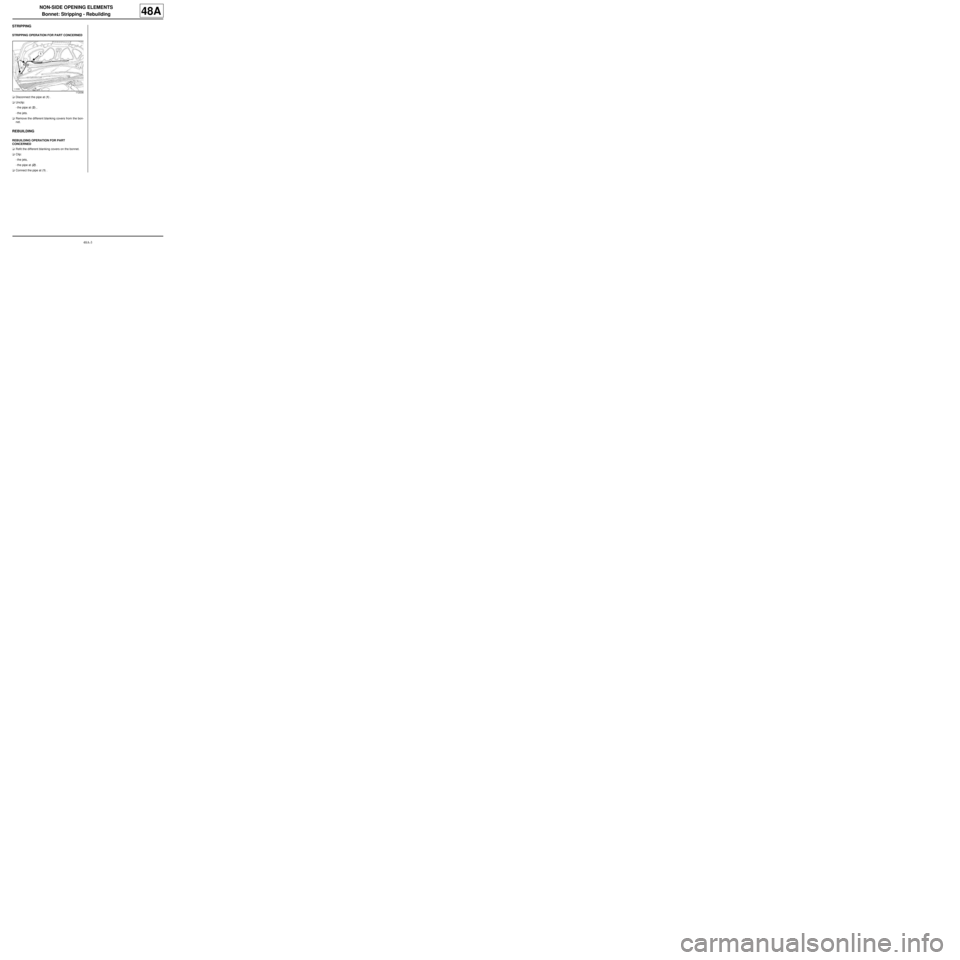
aDisconnect the pipe at (1) .
aUnclip:
-the pipe at (2) ,
-the jets.
aRemove the different blanking covers from the bon-
net.
REBUILDING
REBUILDING OPERATION FOR PART
CONCERNED
aRefit the different blanking covers on the bonnet.
aClip:
-the jets,
-the pipe at (2) .
aConnect the pipe at (1) .
112036
Page 203 of 209
48A-4
NON-SIDE OPENING ELEMENTS
Bonnet: Adjustment
48A
ADJUSTMENT
aFor information on the adjustment values for the
bonnet (see Vehicle panel gaps: Adjustment va-
lue) (MR 412, 01C, Vehicle bodywork specifica-
tions).
aThere are two options for adjusting the bonnet:
-using the bonnet bolts,
-using the bonnet hinge bolts. This operation requi-
res the removal of the front wheel arch liner (see
Front wheel arch liner: Removal - Refitting) (MR
412, 55A, Exterior protection).
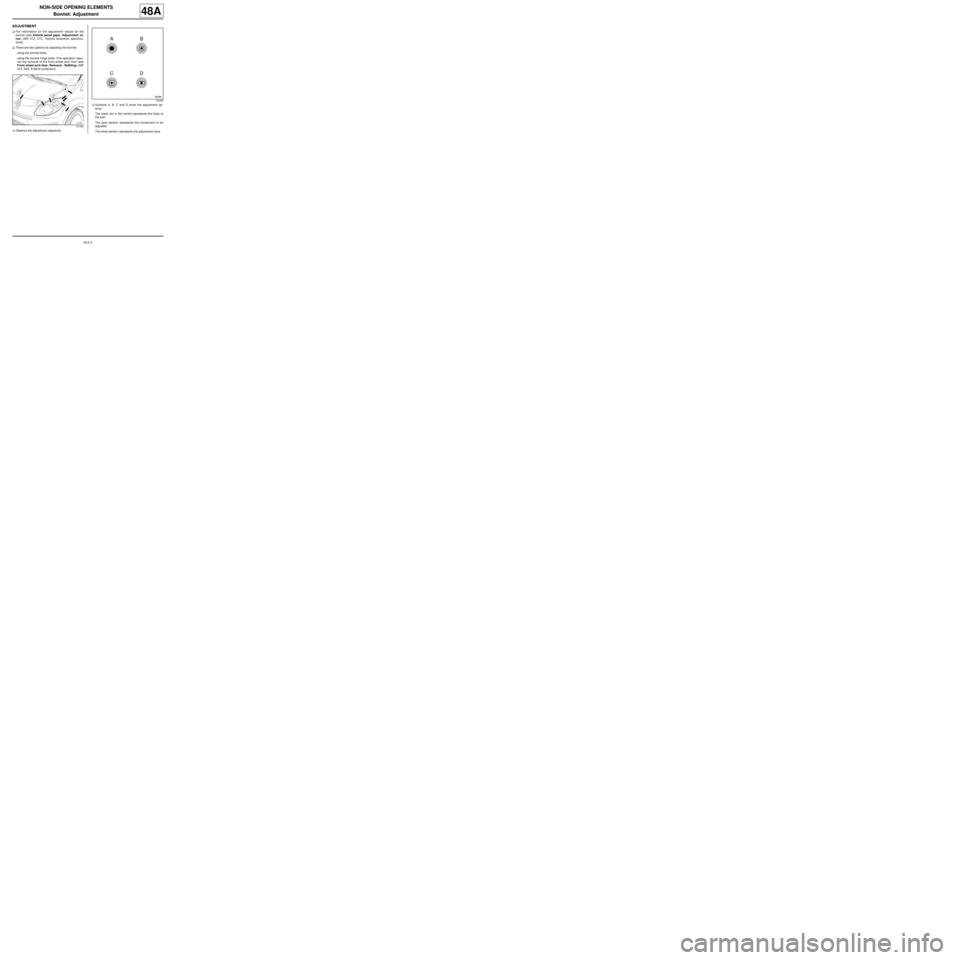
aObserve the adjustment sequence.aSymbols A, B, C and D show the adjustment op-
tions.
The black dot in the centre represents the body of
the bolt.
The grey section represents the component to be
adjusted.
The white section represents the adjustment area.
121253
109496
Page 204 of 209
48A-5
NON-SIDE OPENING ELEMENTS
Bonnet: Adjustment
48A
I - ADJUSTMENT BY MEANS OF THE BONNET
BOLTS
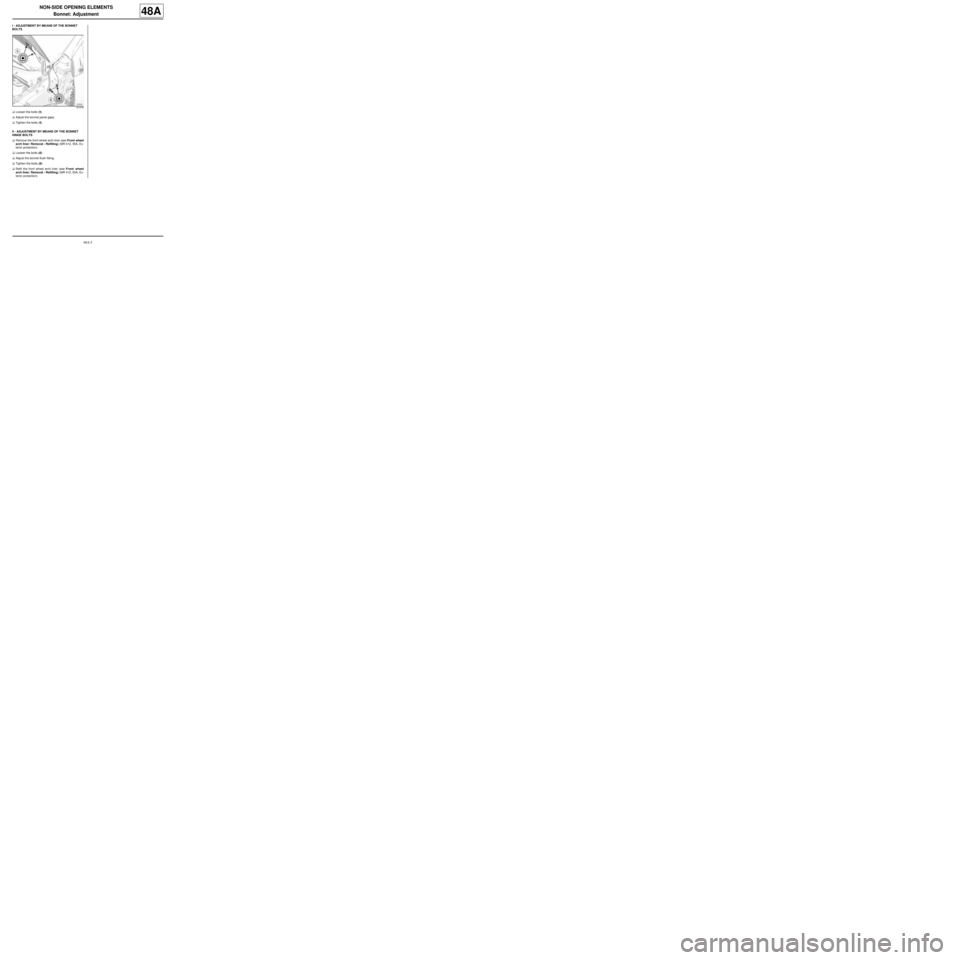
aLoosen the bolts (5) .
aAdjust the bonnet panel gaps.
aTighten the bolts (5) .
II - ADJUSTMENT BY MEANS OF THE BONNET
HINGE BOLTS
aRemove the front wheel arch liner (see Front wheel
arch liner: Removal - Refitting) (MR 412, 55A, Ex-
terior protection).
aLoosen the bolts (6) .
aAdjust the bonnet flush fitting.
aTighten the bolts (6) .
aRefit the front wheel arch liner (see Front wheel
arch liner: Removal - Refitting) (MR 412, 55A, Ex-
terior protection).
121818
Page 205 of 209
48A-6
NON-SIDE OPENING ELEMENTS
Tailgate: Removal - Refitting
48A
REMOVAL
I - REMOVAL PREPARATION OPERATION
aRemove:
-the tailgate trim (see Tailgate trim: Removal - Re-
fitting) (MR 412, 73A, Non-side opening elements
trim),
-the high level brake light (see 3rd brake light: Re-
moval - Refitting) (MR 411, 81A, Rear lighting).
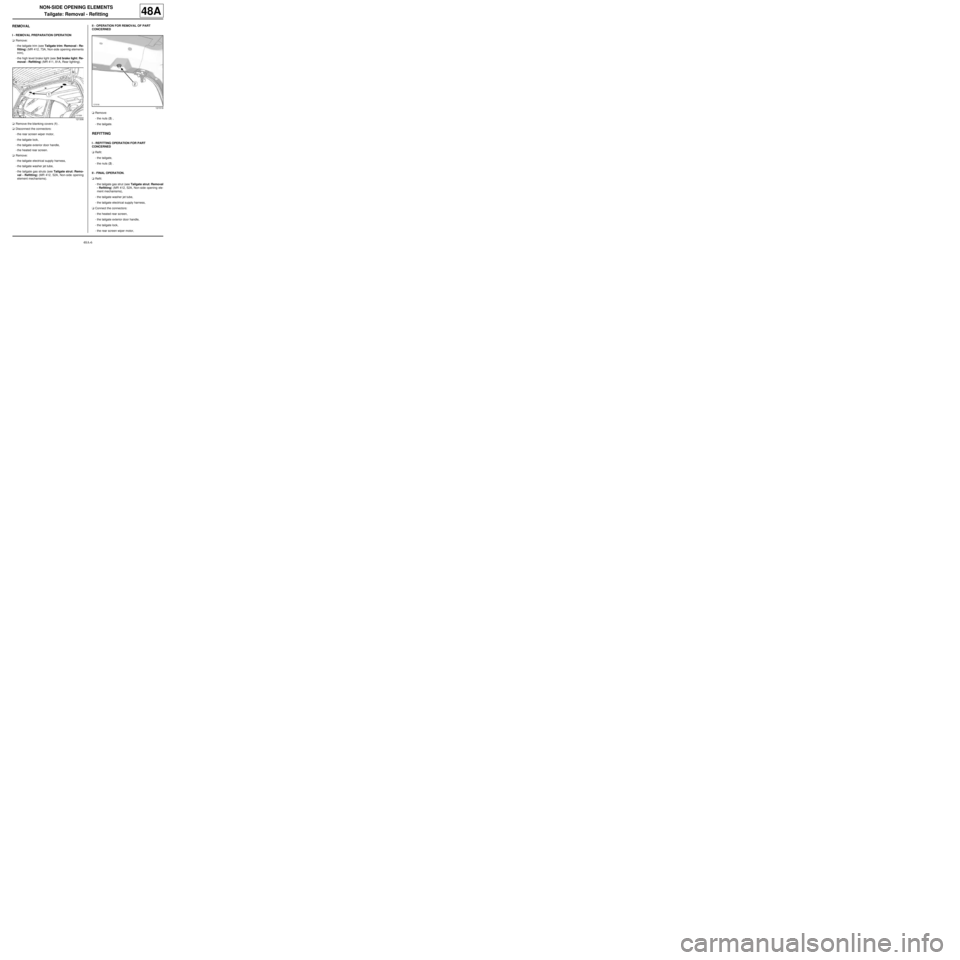
aRemove the blanking covers (1) .
aDisconnect the connectors:
-the rear screen wiper motor,
-the tailgate lock,
-the tailgate exterior door handle,
-the heated rear screen.
aRemove:
-the tailgate electrical supply harness,
-the tailgate washer jet tube,
-the tailgate gas struts (see Tailgate strut: Remo-
val - Refitting) (MR 412, 52A, Non-side opening
element mechanisms).II - OPERATION FOR REMOVAL OF PART
CONCERNED
aRemove:
-the nuts (2) ,
-the tailgate.
REFITTING
I - REFITTING OPERATION FOR PART
CONCERNED
aRefit:
-the tailgate,
-the nuts (2) .
II - FINAL OPERATION.
aRefit:
-the tailgate gas strut (see Tailgate strut: Removal
- Refitting) (MR 412, 52A, Non-side opening ele-
ment mechanisms),
-the tailgate washer jet tube,
-the tailgate electrical supply harness,
aConnect the connectors:
-the heated rear screen,
-the tailgate exterior door handle,
-the tailgate lock,
-the rear screen wiper motor,
121306
121518
Page 206 of 209
48A-7
NON-SIDE OPENING ELEMENTS
Tailgate: Removal - Refitting
48A
aRefit:
-the blanking covers (1) ,
-the high level brake light (see 3rd brake light: Re-
moval - Refitting) (MR 411, 81A, Rear lighting),
-the tailgate trim (see Tailgate trim: Removal - Re-
fitting) (MR 412, 73A, Non-side opening elements
trim).
Page 207 of 209
48A-8
NON-SIDE OPENING ELEMENTS
Tailgate: Stripping - Rebuilding
48A
STRIPPING
aDescribed below is a special sequence of operations
for tailgate replacement.
STRIPPING OPERATION FOR PART CONCERNED
aRemove:
-the rear screen wiper arm (see Rear screen wiper
arm: Removal - Refitting) (MR 411, 85A,
Washing - Wiping),
-the tailgate trim (see Tailgate trim: Removal - Re-
fitting) (MR 412, 73A, Non-side opening elements
trim),
-the rear screen wiper motor (see Rear screen wi-
per motor: Removal - Refitting) (MR 411, 85A,
Washing - wiping),
-the tailgate lock (see Tailgate lock: Removal - Re-
fitting) (MR 412, 52A, Non-side opening element
mechanisms),
-the tailgate exterior door handle (see Tailgate ex-
terior opening control: Removal - Refitting) (MR
412, 52A, Non-side opening element mecha-
nisms),
-the high level brake light (see 3rd brake light: Re-
moval - Refitting) (MR 411, 81A, Rear lighting),
-the rear screen (see Rear screen: Removal - Re-
fitting) (MR 412, 54A, Windows),
-the wiring harness,
-the different tailgate blanking covers,
-the tailgate washer jet tube.aRemove:
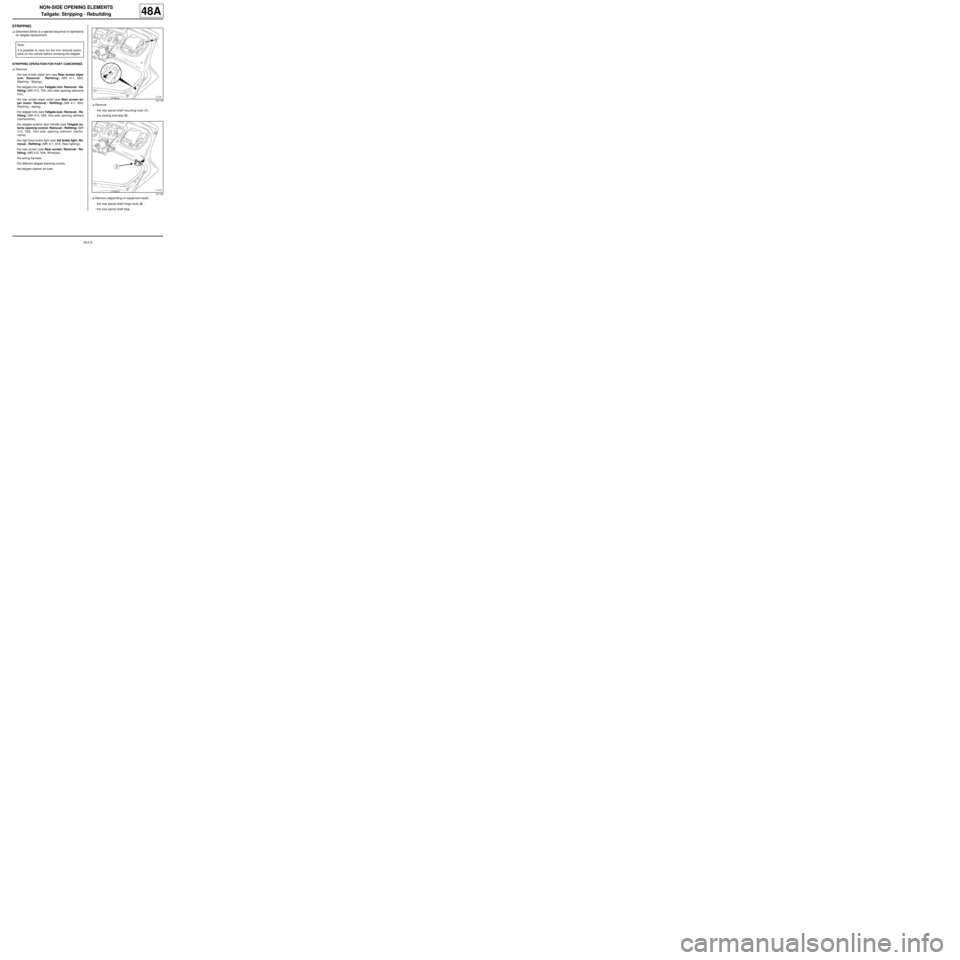
-the rear parcel shelf mounting hook (1) ,
-the closing end stop (2) .
aRemove (depending on equipment level):
-the rear parcel shelf hinge hook (3) ,
-the rear parcel shelf stop. Note:
It is possible to carry out the trim removal opera-
tions on the vehicle before removing the tailgate.
121149
121148
Page 208 of 209
48A-9
NON-SIDE OPENING ELEMENTS
Tailgate: Stripping - Rebuilding
48A
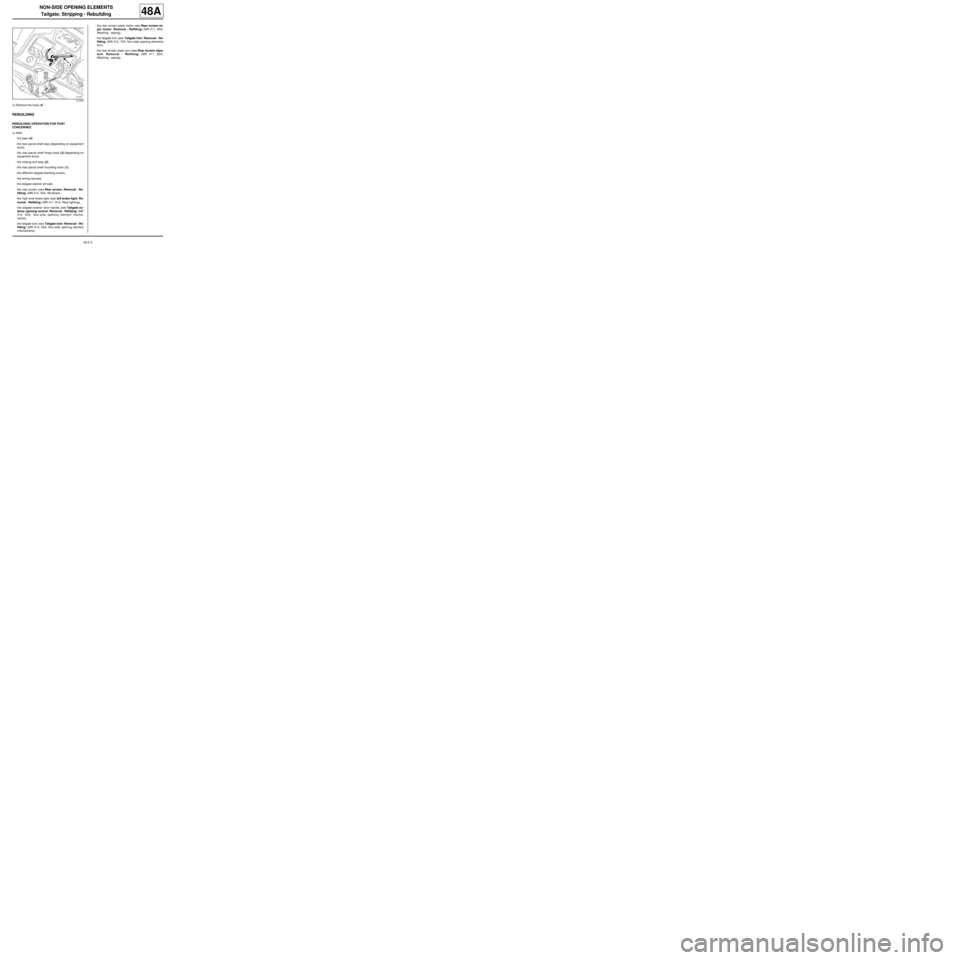
aRemove the hose (4) .
REBUILDING
REBUILDING OPERATION FOR PART
CONCERNED
aRefit:
-the pipe (4) ,
-the rear parcel shelf stop (depending on equipment
level),
-the rear parcel shelf hinge hook (3) (depending on
equipment level),
-the closing end stop (2) ,
-the rear parcel shelf mounting hook (1) ,
-the different tailgate blanking covers,
-the wiring harness,
-the tailgate washer jet tube,
-the rear screen (see Rear screen: Removal - Re-
fitting) (MR 412, 54A, Windows),
-the high level brake light (see 3rd brake light: Re-
moval - Refitting) (MR 411, 81A, Rear lighting),
-the tailgate exterior door handle (see Tailgate ex-
terior opening control: Removal - Refitting) (MR
412, 52A, Non-side opening element mecha-
nisms),
-the tailgate lock (see Tailgate lock: Removal - Re-
fitting) (MR 412, 52A, Non-side opening element
mechanisms),-the rear screen wiper motor (see Rear screen wi-
per motor: Removal - Refitting) (MR 411, 85A,
Washing - wiping),
-the tailgate trim (see Tailgate trim: Removal - Re-
fitting) (MR 412, 73A, Non-side opening elements
trim),
-the rear screen wiper arm (see Rear screen wiper
arm: Removal - Refitting) (MR 411, 85A,
Washing - wiping).
121220
Page 209 of 209
48A-10
NON-SIDE OPENING ELEMENTS
Tailgate: Adjustment
48A
ADJUSTMENT
aFor information on the adjustment values for the tail-
gate (see Vehicle panel gaps: Adjustment value)
(MR 412, 01C, Vehicle bodywork specifications).
aObserve the adjustment sequence.
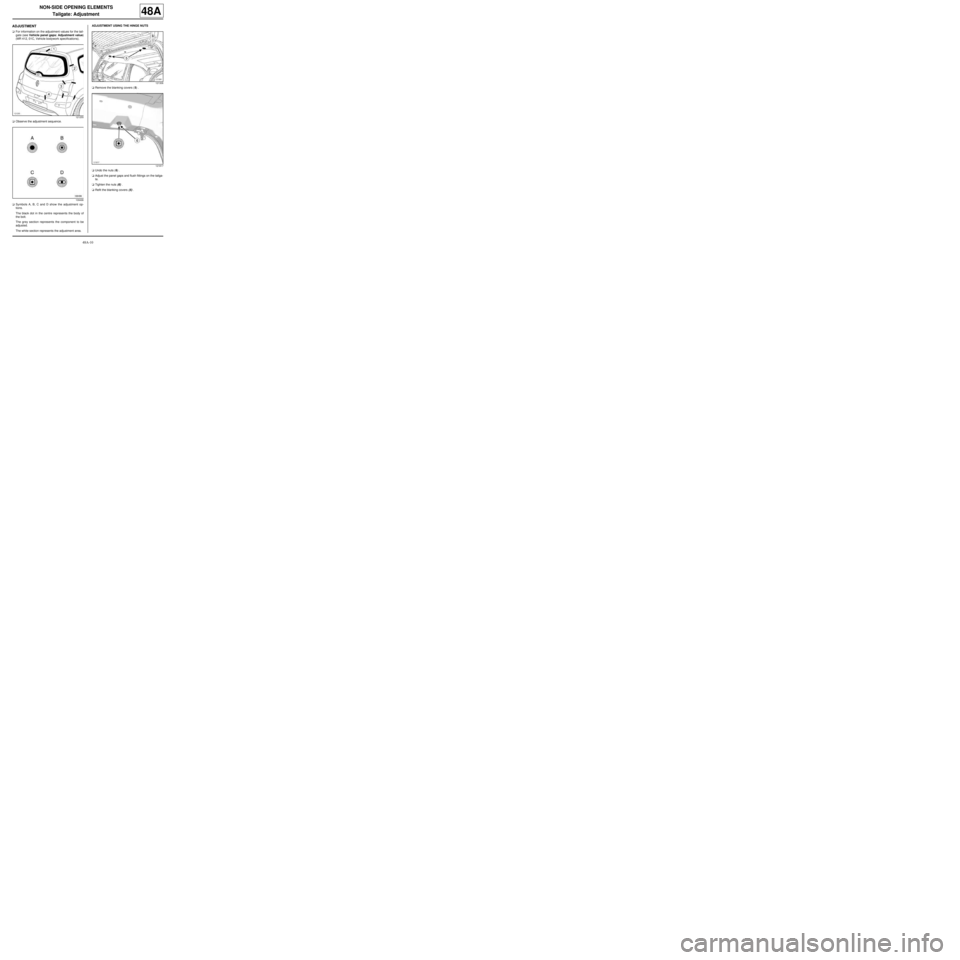
aSymbols A, B, C and D show the adjustment op-
tions.
The black dot in the centre represents the body of
the bolt.
The grey section represents the component to be
adjusted.
The white section represents the adjustment area.ADJUSTMENT USING THE HINGE NUTS
aRemove the blanking covers (5) .
aUndo the nuts (6) .
aAdjust the panel gaps and flush fittings on the tailga-
te.
aTighten the nuts (6) .
aRefit the blanking covers (5) .
121255
109496
121306
121817