wiring RENAULT TWINGO RS 2009 2.G Sequential Transmission Workshop Manual
[x] Cancel search | Manufacturer: RENAULT, Model Year: 2009, Model line: TWINGO RS, Model: RENAULT TWINGO RS 2009 2.GPages: 138
Page 2 of 138
21B-2
MR-413-X44-21B000$059.mif
V2
21B
SEQUENTIAL GEARBOX
Fault finding - Introduction
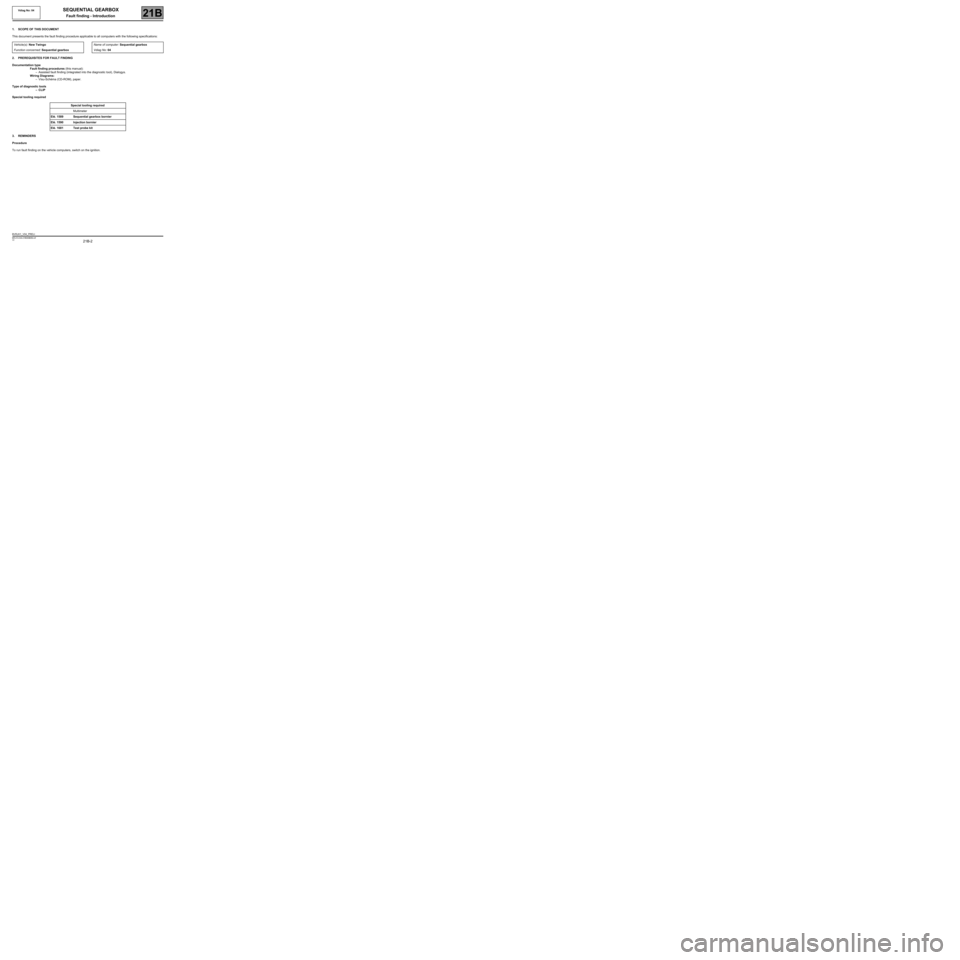
1. SCOPE OF THIS DOCUMENT
This document presents the fault finding procedure applicable to all computers with the following specifications:
2. PREREQUISITES FOR FAULT FINDING
Documentation type
Fault finding procedures (this manual):
–Assisted fault finding (integrated into the diagnostic tool), Dialogys.
Wiring Diagrams:
–Visu-Schéma (CD-ROM), paper.
Type of diagnostic tools
–CLIP
Special tooling required
3. REMINDERS
Procedure
To run fault finding on the vehicle computers, switch on the ignition.Vehicle(s): New Twingo
Function concerned: Sequential gearboxName of computer: Sequential gearbox
Vdiag No: 04
Special tooling required
Multimeter
Elé. 1589 Sequential gearbox bornier
Elé. 1590 Injection bornier
Elé. 1681 Test probe kit
BVRJH1_V04_PRELI
MR-413-X44-21B000$059.mif
Vdiag No: 04
Page 5 of 138
21B-5
MR-413-X44-21B000$059.mif
V2
Vdiag No: 04SEQUENTIAL GEARBOX
Fault finding - Introduction21B
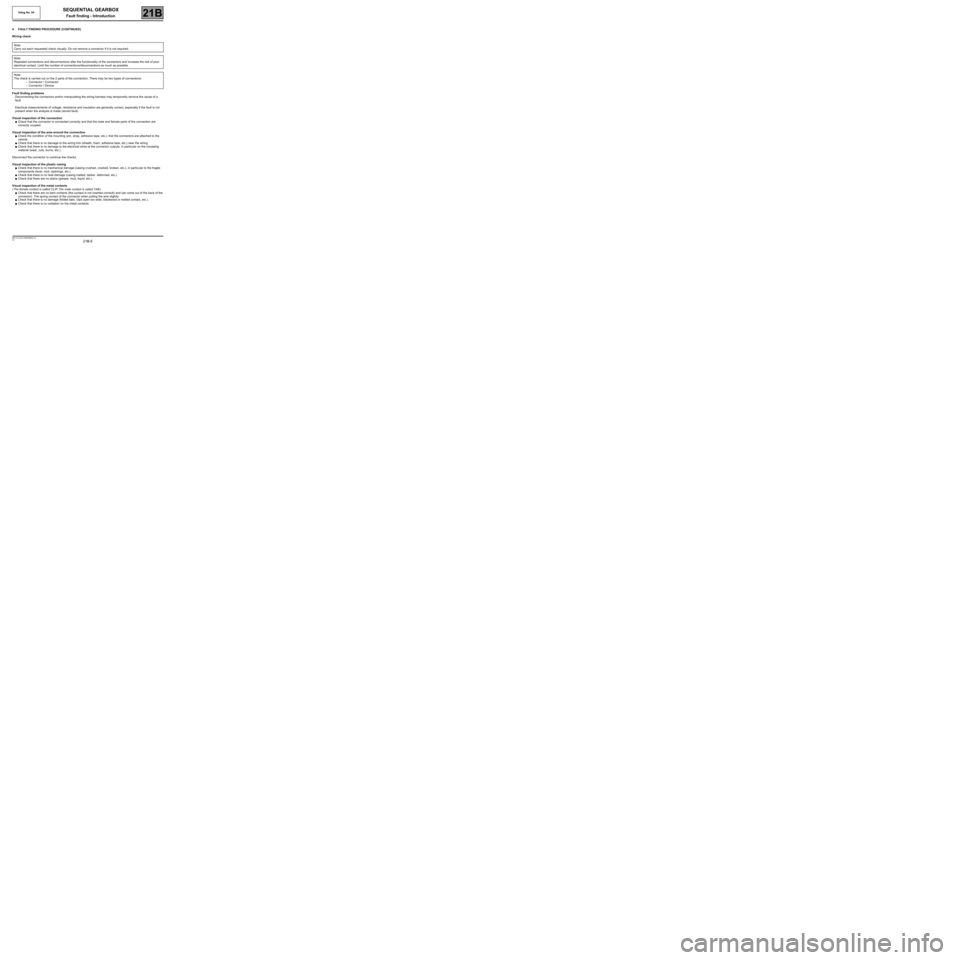
4. FAULT FINDING PROCEDURE (CONTINUED)
Wiring check
Fault finding problems
Disconnecting the connectors and/or manipulating the wiring harness may temporarily remove the cause of a
fault.
Electrical measurements of voltage, resistance and insulation are generally correct, especially if the fault is not
present when the analysis is made (stored fault).
Visual inspection of the connection
●Check that the connector is connected correctly and that the male and female parts of the connection are
correctly coupled.
Visual inspection of the area around the connection
●Check the condition of the mounting (pin, strap, adhesive tape, etc.), that the connectors are attached to the
vehicle.
●Check that there is no damage to the wiring trim (sheath, foam, adhesive tape, etc.) near the wiring.
●Check that there is no damage to the electrical wires at the connector outputs, in particular on the insulating
material (wear, cuts, burns, etc.).
Disconnect the connector to continue the checks.
Visual inspection of the plastic casing
●Check that there is no mechanical damage (casing crushed, cracked, broken, etc.), in particular to the fragile
components (lever, lock, openings, etc.).
●Check that there is no heat damage (casing melted, darker, deformed, etc.).
●Check that there are no stains (grease, mud, liquid, etc.).
Visual inspection of the metal contacts
(The female contact is called CLIP. The male contact is called TAB.)
●Check that there are no bent contacts (the contact is not inserted correctly and can come out of the back of the
connector). The spring contact of the connector when pulling the wire slightly.
●Check that there is no damage (folded tabs, clips open too wide, blackened or melted contact, etc.).
●Check that there is no oxidation on the metal contacts. Note:
Carry out each requested check visually. Do not remove a connector if it is not required.
Note:
Repeated connections and disconnections alter the functionality of the connectors and increase the risk of poor
electrical contact. Limit the number of connections/disconnections as much as possible.
Note:
The check is carried out on the 2 parts of the connection. There may be two types of connections:
–Connector / Connector
–Connector / Device
Page 6 of 138
21B-6
MR-413-X44-21B000$059.mif
V2
Vdiag No: 04SEQUENTIAL GEARBOX
Fault finding - Introduction21B
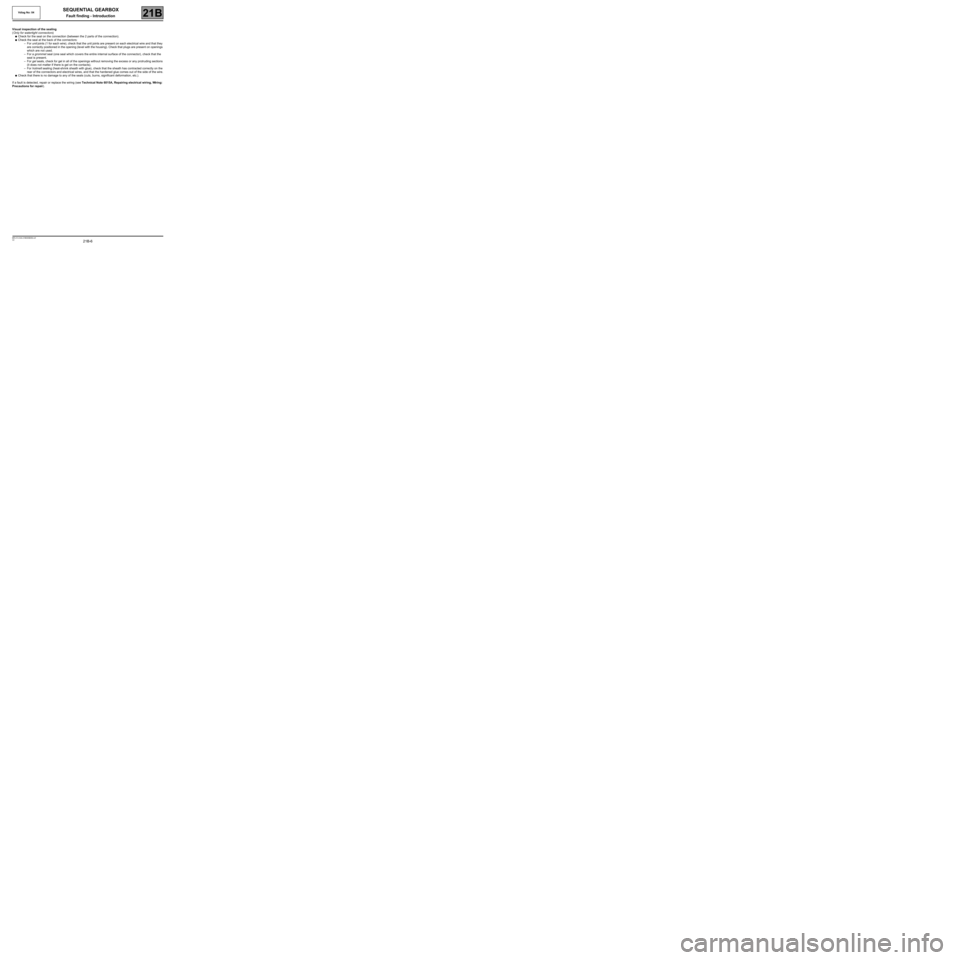
Visual inspection of the sealing
(Only for watertight connectors)
●Check for the seal on the connection (between the 2 parts of the connection).
●Check the seal at the back of the connectors:
–For unit joints (1 for each wire), check that the unit joints are present on each electrical wire and that they
are correctly positioned in the opening (level with the housing). Check that plugs are present on openings
which are not used.
–For a grommet seal (one seal which covers the entire internal surface of the connector), check that the
seal is present.
–For gel seals, check for gel in all of the openings without removing the excess or any protruding sections
(it does not matter if there is gel on the contacts).
–For hotmelt sealing (heat-shrink sheath with glue), check that the sheath has contracted correctly on the
rear of the connectors and electrical wires, and that the hardened glue comes out of the side of the wire.
●Check that there is no damage to any of the seals (cuts, burns, significant deformation, etc.).
If a fault is detected, repair or replace the wiring (see Technical Note 6015A, Repairing electrical wiring, Wiring:
Precautions for repair).
Page 24 of 138
21B-24
MR-413-X44-21B000$413.mif
V2
21B
SEQUENTIAL GEARBOX
Fault finding - Interpretation of faults
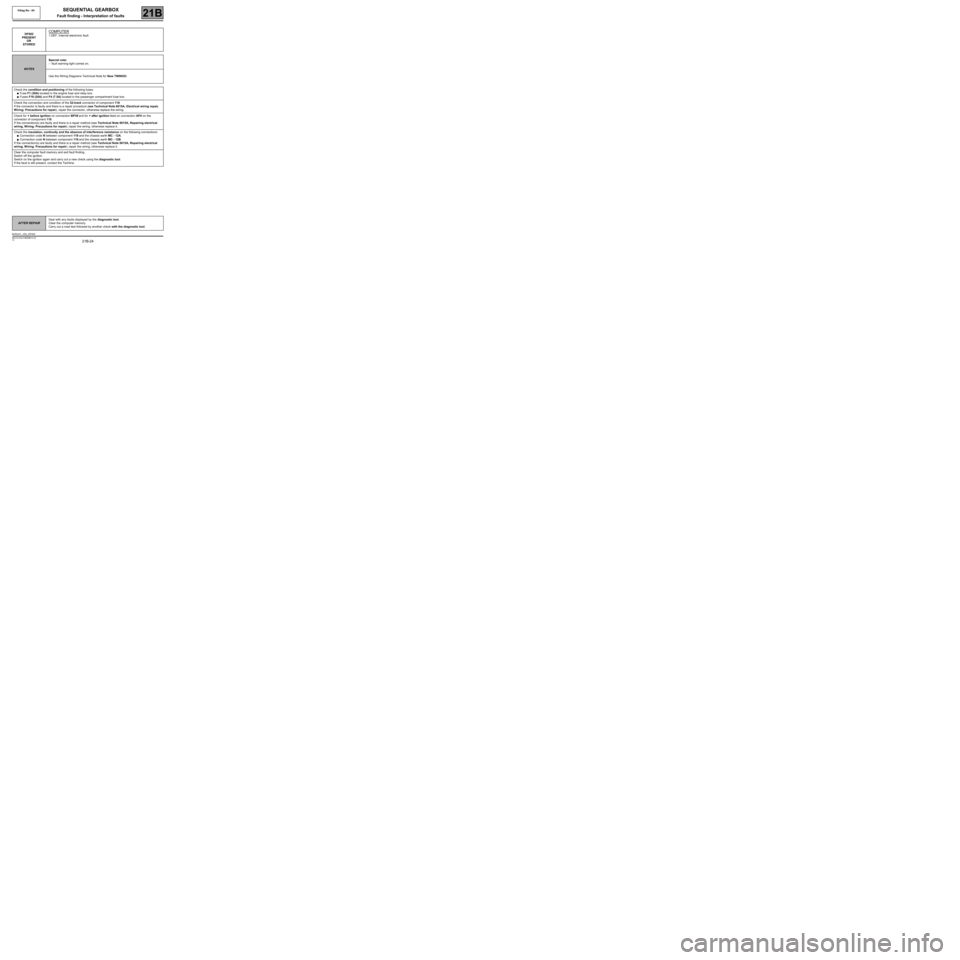
DF002
PRESENT
OR
STOREDCOMPUTER
1.DEF: Internal electronic fault
NOTESSpecial note:
–fault warning light comes on.
Use the Wiring Diagrams Technical Note for New TWINGO.
Check the condition and positioning of the following fuses:
●Fuse F1 (30A) located in the engine fuse and relay box.
●Fuses F16 (20A) and F4 (7.5A) located in the passenger compartment fuse box.
Check the connection and condition of the 52-track connector of component 119.
If the connector is faulty and there is a repair procedure (see Technical Note 6015A, Electrical wiring repair,
Wiring: Precautions for repair), repair the connector, otherwise replace the wiring.
Check for + before ignition on connection BP39 and for + after ignition feed on connection AP4 on the
connector of component 119.
If the connection(s) are faulty and there is a repair method (see Technical Note 6015A, Repairing electrical
wiring, W iring: Precautions for repair), repair the wiring, otherwise replace it.
Check the insulation, continuity and the absence of interference resistance on the following connections:
●Connection code N between component 119 and the chassis earth MC - 12A.
●Connection code N between component 119 and the chassis earth MC - 12B.
If the connection(s) are faulty and there is a repair method (see Technical Note 6015A, Repairing electrical
wiring, W iring: Precautions for repair), repair the wiring, otherwise replace it.
Clear the computer fault memory and exit fault finding.
Switch off the ignition.
Switch on the ignition again and carry out a new check using the diagnostic tool.
If the fault is still present, contact the Techline.
AFTER REPAIRDeal with any faults displayed by the diagnostic tool.
Clear the computer memory.
Carry out a road test followed by another check with the diagnostic tool.
BVRJH1_V04_DF002
MR-413-X44-21B000$413.mif
Vdiag No.: 04
Page 25 of 138
21B-25
MR-413-X44-21B000$413.mif
V2
SEQUENTIAL GEARBOX
Fault finding - Interpretation of faults
Vdiag No.: 04
21B
DF039
PRESENT
OR
STOREDENGINE SPEED SIGNAL
1.DEF: Signal incoherent
2.DEF: No signal
NOTESConditions for applying the fault finding procedure to stored faults:
The fault is declared present after the engine starts.
Special note:
Fault warning light comes on.
Use the Wiring Diagrams Technical Note for New TWINGO.
1.DEF
NOTESNone.
Engine running at idle speed and vehicle stopped, check the gearbox input engine speed sensor and the engine
speed sensor are operating correctly using the following parameters:
●PR006 Engine speed,
●PR014 "Gearbox input speed".
Check the mechanical condition of the clutch.
2.DEF
NOTESNone.
Check the connection and condition of the connectors of components 119 and 120.
If the connector(s) are faulty and if there is a repair method (see Technical Note 6015A, Repairing electrical
wiring, W iring: Precautions for repair), repair the connectors; otherwise, replace the wiring.
Check the insulation, continuity and absence of interference resistance on the following connection:
●Connection code H7 between components 119 and 120.
If the connection is faulty and if there is a repair procedure (see Technical Note 6015A, Electrical wiring repair,
Wiring: Precautions for repair), repair the wiring, otherwise replace the wiring.
Check the injection system (see 17B, Petrol injection) and deal with any faults.
If the fault is still present, contact the Techline.
AFTER REPAIRDeal with any faults displayed by the diagnostic tool.
Clear the computer memory.
Carry out a road test followed by another check with the diagnostic tool.
BVRJH1_V04_DF039
Page 26 of 138
21B-26
MR-413-X44-21B000$413.mif
V2
SEQUENTIAL GEARBOX
Fault finding - Interpretation of faults
Vdiag No.: 04
21B
DF043
PRESENT
OR
STOREDGEAR CHANGE CONSISTENCY
DEF: Inconsistency between gear read and gear engaged
NOTESConditions for applying the fault finding procedure to stored faults:
The fault is declared present after the engine starts.
Special note:
If the fault is present:●Fault warning light comes on.
●Impossible to start the engine.
●Impossible to change gear.
Use the Wiring Diagrams Technical Note for New TWINGO.
Check the condition and connection of the connectors of the gearbox computer, component code 119, of the
engagement position sensor, component code 1055 and of the selection position sensor, component code 1056
as well as the intermediate connector.
If the connector(s) are faulty and if there is a repair method (see Technical Note 6015A, Repairing electrical
wiring, W iring: Precautions for repair), repair the connectors; otherwise, replace the wiring.
The connector check must be accurately carried out before moving on to the next step.
Start the engine.
–Engage first gear and wait for the solenoid valves to be deactivated.
–Engage neutral, display the value of the parameters PR017 Engagement position and PR016 Selection
position and wait 10 seconds, checking that the values do not change.
–Switch off the engine and wait 15 seconds.
If, after waiting 15 seconds, it is impossible to push the vehicle, replace the engagement position sensor
(see MR 411 Mechanical, 21B, Sequential gearbox, Engagement sensor: Removal - Refitting).
–Start the engine.
–Engage second gear and wait for the solenoid valves to be deactivated.
–Engage neutral, display the value of the parameters PR017 and PR016 and wait 10 seconds, checking that
the values do not change.
–Switch off the engine and wait 15 seconds.
If, after waiting 15 seconds, it is impossible to push the vehicle, replace the engagement position sensor
(see MR 411 Mechanical, 21B, Sequential gearbox, Engagement sensor: Removal - Refitting).
AFTER REPAIRDeal with any faults displayed by the diagnostic tool.
Clear the computer memory.
Carry out a road test followed by another check with the diagnostic tool.
BVRJH1_V04_DF043
Page 27 of 138
21B-27
MR-413-X44-21B000$413.mif
V2
SEQUENTIAL GEARBOX
Fault finding - Interpretation of faults
Vdiag No.: 04
21B
DF046
PRESENT
OR
STOREDIDLING SETPOINT MULTIPLEX SIGNAL
1.DEF: Communication disrupted
NOTESConditions for applying the fault finding procedure to stored faults:
The fault is declared present after the computer fault memory has been cleared, the
ignition has been switched off and on again and the engine has been started.
If one of the gears engaged, accelerator pedal position or engine speed signals are
not available, a default value is used:
–Engine idle speed = 816 rpm.
Use the Wiring Diagrams Technical Note, New TWINGO.
Perform a multiplex network test (see 88B, Multiplex).
Check the connection and condition of the connectors of components 120 and 119.
If the connector(s) are faulty and if there is a repair method (see Technical Note 6015A, Repairing electrical
wiring, W iring: Precautions for repair), repair the connectors; otherwise, replace the wiring.
Check the insulation to + 12 V and to earth and check the continuity of the following connections:
●Connection code 3MT,
●Connection code 3MS,
between components 120 and 119.
If the connection(s) are faulty and there is a repair method (see Technical Note 6015A, Repairing electrical
wiring, W iring: Precautions for repair), repair the wiring, otherwise replace it.
If the fault is still present, check the injection system (see 17B, Petrol injection).
AFTER REPAIRDeal with any faults displayed by the diagnostic tool.
Clear the computer memory.
Carry out a road test followed by another check with the diagnostic tool.
BVRJH1_V04_DF046
Page 28 of 138
21B-28
MR-413-X44-21B000$413.mif
V2
SEQUENTIAL GEARBOX
Fault finding - Interpretation of faults
Vdiag No.: 04
21B
DF048
PRESENT
OR
STOREDVEHICLE SPEED SIGNAL
1.DEF: Signal incoherent
2.DEF: No signal
NOTESPriorities when dealing with a number of faults:
If fault DF062 Multiplex line fault is present or stored, deal with it first.
Conditions for applying fault finding procedures to stored faults:
The fault is declared present after a road test.
Use the Wiring Diagrams Technical Note for New TWINGO.
Carry out a road test.
Check the concordance between the speed indicated on the speedometer and parameter PR105 Vehicle speed.
Check the connection and condition of the connectors of components 119, 120 and 1094.
If the connector(s) are faulty and if there is a repair method (see Technical Note 6015A, Repairing electrical
wiring, W iring: Precautions for repair), repair the connectors; otherwise, replace the wiring.
Run a multiplex network test (see 88B, Multiplexing, Introduction).
If the fault is still present, run fault finding on the ABS/ESP system (see 38C, Anti-lock braking system).
AFTER REPAIRDeal with any faults displayed by the diagnostic tool.
Clear the computer memory.
Carry out a road test followed by another check with the diagnostic tool.
BVRJH1_V04_DF048
Page 29 of 138
21B-29
MR-413-X44-21B000$413.mif
V2
SEQUENTIAL GEARBOX
Fault finding - Interpretation of faults
Vdiag No.: 04
21B
DF059
PRESENT
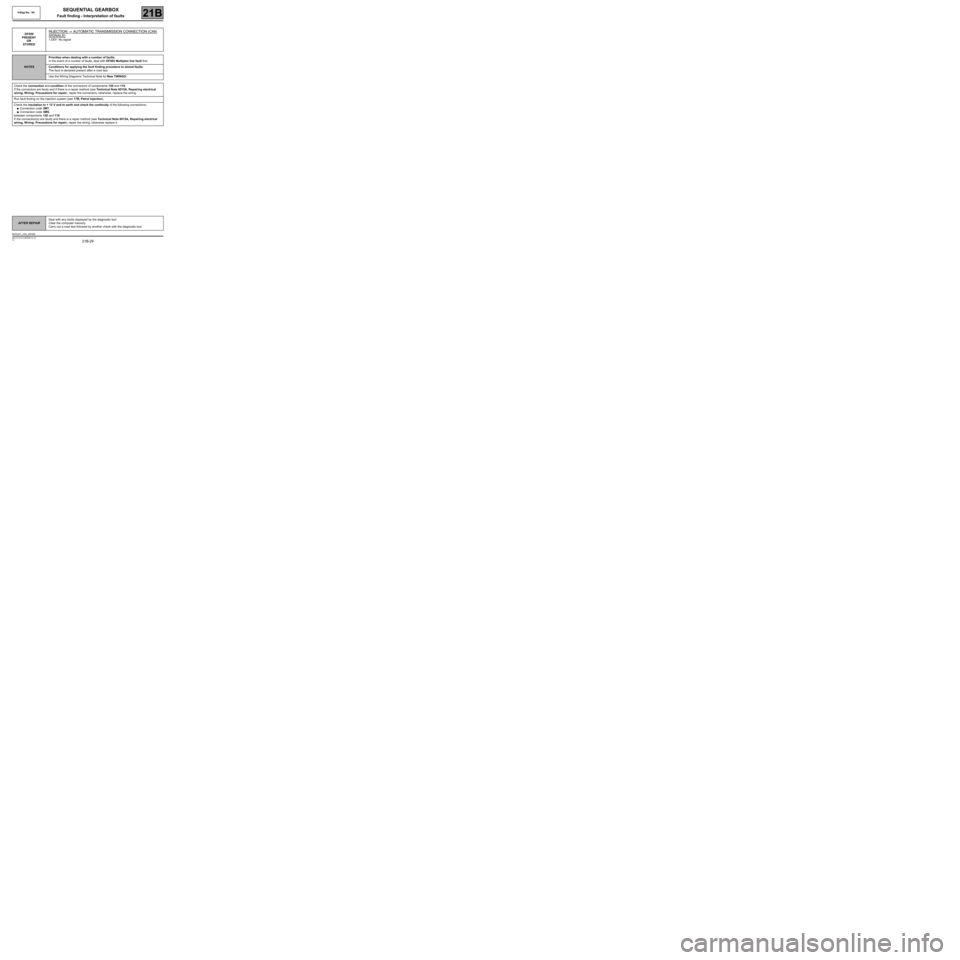
OR
STOREDINJECTION → AUTOMATIC TRANSMISSION CONNECTION (CAN
SIGNALS)
1.DEF: No signal
NOTESPriorities when dealing with a number of faults:
In the event of a number of faults, deal with DF062 Multiplex line fault first.
Conditions for applying the fault finding procedure to stored faults:
The fault is declared present after a road test.
Use the Wiring Diagrams Technical Note for New TWINGO.
Check the connection and condition of the connectors of components 120 and 119.
If the connectors are faulty and if there is a repair method (see Technical Note 6015A, Repairing electrical
wiring, W iring: Precautions for repair), repair the connectors; otherwise, replace the wiring.
Run fault finding on the injection system (see 17B, Petrol Injection).
Check the insulation to + 12 V and to earth and check the continuity of the following connections:
●Connection code 3MT,
●Connection code 3MS,
between components 120 and 119.
If the connection(s) are faulty and there is a repair method (see Technical Note 6015A, Repairing electrical
wiring, W iring: Precautions for repair), repair the wiring, otherwise replace it.
AFTER REPAIRDeal with any faults displayed by the diagnostic tool.
Clear the computer memory.
Carry out a road test followed by another check with the diagnostic tool.
BVRJH1_V04_DF059
Page 30 of 138
21B-30
MR-413-X44-21B000$413.mif
V2
SEQUENTIAL GEARBOX
Fault finding - Interpretation of faults
Vdiag No.: 04
21B
DF062
PRESENT
OR
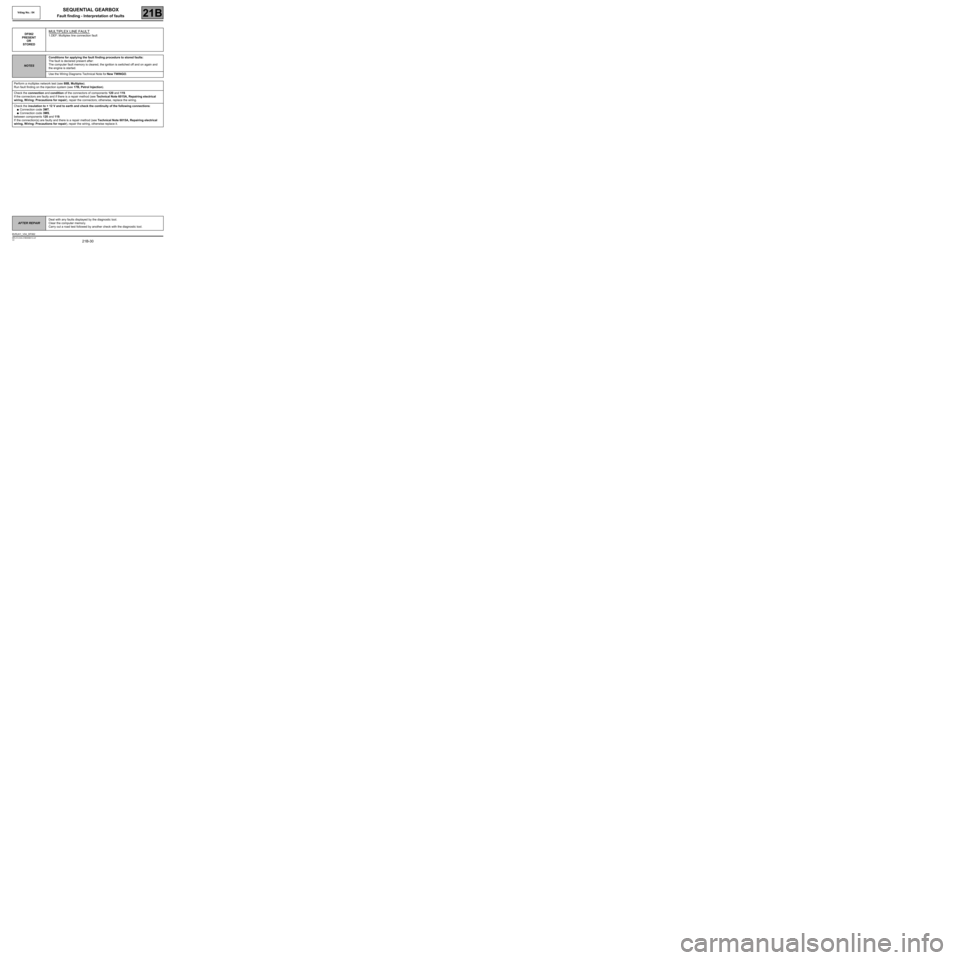
STOREDMULTIPLEX LINE FAULT
1.DEF: Multiplex line connection fault
NOTESConditions for applying the fault finding procedure to stored faults:
The fault is declared present after:
The computer fault memory is cleared, the ignition is switched off and on again and
the engine is started.
Use the Wiring Diagrams Technical Note for New TWINGO.
Perform a multiplex network test (see 88B, Multiplex).
Run fault finding on the injection system (see 17B, Petrol Injection).
Check the connection and condition of the connectors of components 120 and 119.
If the connectors are faulty and if there is a repair method (see Technical Note 6015A, Repairing electrical
wiring, W iring: Precautions for repair), repair the connectors; otherwise, replace the wiring.
Check the insulation to + 12 V and to earth and check the continuity of the following connections:
●Connection code 3MT,
●Connection code 3MS,
between components 120 and 119.
If the connection(s) are faulty and there is a repair method (see Technical Note 6015A, Repairing electrical
wiring, W iring: Precautions for repair), repair the wiring, otherwise replace it.
AFTER REPAIRDeal with any faults displayed by the diagnostic tool.
Clear the computer memory.
Carry out a road test followed by another check with the diagnostic tool.
BVRJH1_V04_DF062