RENAULT TWINGO RS 2009 2.G Transmission Service Manual
Manufacturer: RENAULT, Model Year: 2009, Model line: TWINGO RS, Model: RENAULT TWINGO RS 2009 2.GPages: 135
Page 41 of 135
21A-26
MANUAL GEARBOX
Manual gearbox: Removal - Refitting
K9K, and JH3 or JR5
21A
REFITTING
I - REFITTING OPERATION FOR PART
CONCERNED
aRefit:
-the gearbox using a component jack,
-the gearbox stud nuts,
-the gearbox lower bolts.
aTorque tighten:
-the lower gearbox bolts (44 N.m),
-the gearbox nuts and bolts (44 N.m).
aRefit the upper gearbox bolts.
aTorque tighten the gearbox upper bolts (44 N.m).
aRefit the earth strap bolt on the gearbox.
aConnect:
-the reverse gear switch connector,
-the speed and position sensor connector.
aClip the gearbox controls into place.
II - FINAL OPERATION
aRefit:
-the subframe (see Front axle subframe: Removal
- Refitting) (31A, Front axle components),
-the left-hand suspended engine mounting (see
Left-hand suspended engine mounting: Re-
moval - Refitting) (19D, Engine mounting).
aRemove the tool (Mot. 1453).
aRefit:
-the upstream strut of the catalytic converter by slid-
ing it upwards,
-the catalytic converter upstream strut bolt on the
catalytic converter.
aTighten the bolt and nut on the upstream strut of the
catalytic converter on the gearbox.
aRefit:
-the rear suspended engine mounting (see Lower
engine tie-bar: Removal - Refitting) (19D, En-
gine mounting),
-the hub carrier - front left-hand and front right-hand
driveshaft assemblies (see ) (31A, Front axle com-
ponents),
-the starter (see Starter: Removal - Refitting)
(16A, Starting - Charging),-the front left-hand wheel arch liner (see Front
wheel arch liner: Removal - Refitting) (55A, Ex-
terior protection),
-the front left-hand wheel (see Wheel: Removal -
Refitting) (35A, Wheels and tyres).
aClip:
-the union onto the hydraulic tappet slave cylinder,
-the hydraulic clutch control pipe,
-the gearbox breather.
aBleed the clutch (see Clutch circuit: Bleed) (37A,
Mechanical component controls).
aRefit the engine management computer mounting
fitted with the engine management computer.
aFit the engine management computer wiring har-
ness.
aRefit the engine management computer wiring har-
ness nut on the engine management computer
mounting.
aFit the engine management computer mounting.
aRefit:
-the engine management computer mounting bolts,
-the engine management computer mounting nuts.
aConnect the engine management computer connec-
tors.
aRefit:
-the scoop under the scuttle panel grille (see Scoop
under the scuttle panel grille: Removal - Refit-
ting) (56A, Exterior equipment),
-the scuttle panel grille (see Scuttle panel grille:
Removal - Refitting) (56A, Exterior equipment),
aFill up the gearbox oil (see 21A, Manual gearbox,
Manual gearbox oils: Draining - Filling, page
21A-2) .
aRefit:
-the battery tray (see Battery tray: Removal - Re-
fitting) (80A, Battery),
-the battery (see Battery: Removal - Refitting)
(80A, Battery).
Page 42 of 135
21A-27
MANUAL GEARBOX
Manual gearbox: Removal - Refitting
D4F, and JB1 – D7F, and JB1
21A
REMOVAL
I - REMOVAL PREPARATION OPERATION
aPosition the vehicle on a two-post lift (see Vehicle:
Towing and lifting) (MR 411, 02A, Lifting equip-
ment).
aRemove:
-the battery (see Battery: Removal - Refitting)
(MR 411, 80A, Battery),
-the battery tray (see Battery tray: Removal - Re-
fitting) (MR 411, 80A, Battery).
aRemove the air filter unit (see Air filter unit: Re-
moval - Refitting) (MR 411, 12A, Fuel mixture).
aRemove:
-the scuttle panel grille (see Scuttle panel grille:
Removal - Refitting) (MR 412, 56A, Exterior
equipment),
-the scoop under the scuttle panel grille (see Scoop
under the scuttle panel grille: Removal - Refit-
ting) (MR 412, 56A, Exterior equipment).aDisconnect the engine management computer con-
nectors.
aRemove:
-the engine management computer mounting bolts,
-the engine management computer mounting nuts.
aRemove the engine management computer mount-
ing.
aRemove the engine management computer wiring
harness nut from the engine management computer
mounting.
aRemove the engine management computer wiring
harness.
aRemove the engine management computer mount-
ing fitted with the engine management computer.
aUnclip:
-the clutch cable,
-the gearbox breather.
aRemove:
-the left-hand front wheel (see Wheel: Removal -
Refitting) (MR 411, 35A, Wheels and tyres),
-the front left-hand wheel arch liner (see Front
wheel arch liner: Removal - Refitting) (MR 412,
55A, Exterior protection).
aDrain the gearbox oil (see 21A, Manual gearbox,
Manual gearbox oils: Draining - Filling, page
21A-2) .
aRemove:
-the hub carrier - front left-hand and front right-hand
driveshaft assemblies (see ) (MR 411, 31A, Front
axle components),
-the rear suspended engine mounting (see Lower
engine tie-bar: Removal - Refitting) (MR 411,
19D, Engine mounting),
-the starter (see Starter: Removal - Refitting) (MR
411, 16A, Starting - Charging). Special tooling required
Mot. 1453Engine anchorage support
with m ultiple adjustments and
retaining str aps.
Equipment required
component jack
Tightening torquesm
gearbox mountings44 Nm
D4F
Page 43 of 135
21A-28
MANUAL GEARBOX
Manual gearbox: Removal - Refitting
D4F, and JB1 – D7F, and JB1
21A
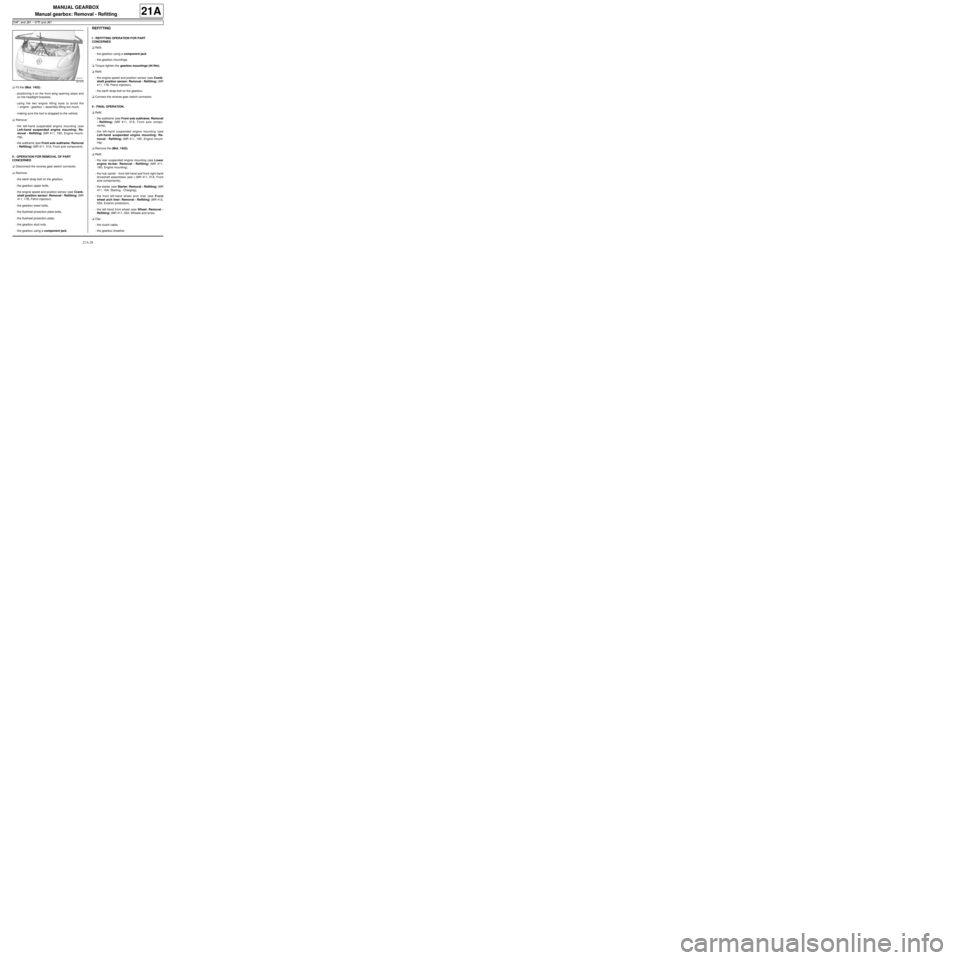
aFit the (Mot. 1453) :
-positioning it on the front wing opening stops and
on the headlight brackets,
-using the two engine lifting eyes to avoid the
« engine - gearbox » assembly tilting too much,
-making sure the tool is strapped to the vehicle.
aRemove:
-the left-hand suspended engine mounting (see
Left-hand suspended engine mounting: Re-
moval - Refitting) (MR 411, 19D, Engine mount-
ing),
-the subframe (see Front axle subframe: Removal
- Refitting) (MR 411, 31A, Front axle component).
II - OPERATION FOR REMOVAL OF PART
CONCERNED
aDisconnect the reverse gear switch connector.
aRemove:
-the earth strap bolt on the gearbox,
-the gearbox upper bolts,
-the engine speed and position sensor (see Crank-
shaft position sensor: Removal - Refitting) (MR
411, 17B, Petrol injection).
-the gearbox lower bolts,
-the flywheel protection plate bolts,
-the flywheel protection plate,
-the gearbox stud nuts,
-the gearbox using a component jack.
REFITTING
I - REFITTING OPERATION FOR PART
CONCERNED
aRefit:
-the gearbox using a component jack.
-the gearbox mountings.
aTorque tighten the gearbox mountings (44 Nm).
aRefit:
-the engine speed and position sensor (see Crank-
shaft position sensor: Removal - Refitting) (MR
411, 17B, Petrol injection),
-the earth strap bolt on the gearbox.
aConnect the reverse gear switch connector.
II - FINAL OPERATION.
aRefit:
-the subframe (see Front axle subframe: Removal
- Refitting) (MR 411, 31A, Front axle compo-
nents),
-the left-hand suspended engine mounting (see
Left-hand suspended engine mounting: Re-
moval - Refitting) (MR 411, 19D, Engine mount-
ing).
aRemove the (Mot. 1453).
aRefit:
-the rear suspended engine mounting (see Lower
engine tie-bar: Removal - Refitting) (MR 411,
19D, Engine mounting),
-the hub carrier - front left-hand and front right-hand
driveshaft assemblies (see ) (MR 411, 31A, Front
axle components),
-the starter (see Starter: Removal - Refitting) (MR
411, 16A, Starting - Charging),
-the front left-hand wheel arch liner (see Front
wheel arch liner: Removal - Refitting) (MR 412,
55A, Exterior protection),
-the left-hand front wheel (see Wheel: Removal -
Refitting) (MR 411, 35A, Wheels and tyres).
aClip:
-the clutch cable,
-the gearbox breather.
121415
Page 44 of 135
21A-29
MANUAL GEARBOX
Manual gearbox: Removal - Refitting
D4F, and JB1 – D7F, and JB1
21A
aRefit the engine management computer mounting
fitted with the engine management computer.
aFit the engine management computer wiring har-
ness.
aRefit the engine management computer wiring har-
ness nut on the engine management computer
mounting.
aFit the engine management computer mounting.
aRefit:
-the engine management computer mounting bolts,
-the engine management computer mounting nuts.
aConnect the engine management computer connec-
tors.
aRefit:
-the scoop under the scuttle panel grille (see Scoop
under the scuttle panel grille: Removal - Refit-
ting) (MR 412, 56A, Exterior equipment),
-the scuttle panel grille (see Scuttle panel grille:
Removal - Refitting) (MR 412, 56A, Exterior
equipment).
aRefit the air filter box (see Air filter unit: Removal -
Refitting) (MR 411, 12A, Fuel mixture).
aFill up the gearbox oil (see 21A, Manual gearbox,
Manual gearbox oils: Draining - Filling, page
21A-2) .
aRefit:
-the battery tray (see Battery tray: Removal - Re-
fitting) (MR 411, 80A, Battery),
-the battery (see Battery: Removal - Refitting)
(MR 411, 80A, Battery). D4F
Page 45 of 135
21A-30
MANUAL GEARBOX
Manual gearbox: Removal - Refitting
K4M, and JR5
21A
REMOVAL
I - REMOVAL PREPARATION OPERATION
aPosition the vehicle on a two-post lift (see Vehicle:
Towing and lifting) (02A, Lifting equipment).
aRemove:
-the engine undertray,
-the battery (see Battery: Removal - Refitting)
(80A, Battery),
-the air filter unit (see Air filter unit: Removal - Re-
fitting) (12A, Fuel mixture),
-the petrol injection computer (see Petrol injection
computer: Removal - Refitting) (17B, Petrol in-
jection),
-the battery tray (see Battery tray: Removal - Re-
fitting) (80A, Battery),
-the front wheels (see Wheel: Removal - Refitting)
(35A, Wheels and tyres),
-the front wheel arch liners (see Front wheel arch
liner: Removal - Refitting) (55A, Exterior protec-
tion),
-the front bumper (see Front bumper: Removal -
Refitting) (55A, Exterior protection).
aDrain:
-the gearbox (see 21A, Manual gearbox, Manual
gearbox oils: Draining - Filling, page 21A-2) ,
-the engine cooling system (see Cooling system:
Draining - Refilling) (19A, Cooling),
-the refrigerant circuit (see Refrigerant circuit:
Draining - Filling) (62A, Air conditioning).aRemove:
-the rear suspended engine mounting (see Lower
engine tie-bar: Removal - Refitting) (19D, En-
gine mounting),
-the front axle subframe (see Front axle subframe:
Removal - Refitting) (31A, Front axle compo-
nents),
-the front left-hand driveshaft (see 29A, Drive-
shafts, Front left-hand driveshaft: Removal -
Refitting, page 29A-2) ,
-the front right-hand driveshaft (see 29A, Drive-
shafts, Front right-hand driveshaft: Removal -
Refitting, page 29A-8) ,
-the differential output seals (see 21A, Manual
gearbox, Differential output seal: Removal - Re-
fitting, page 21A-38) (21A, Manual gearbox),
-the engine - gearbox assembly (see Engine -
gearbox assembly: Removal - Refitting) (10A,
Engine and peripherals).
II - OPERATION FOR REMOVAL OF PART
CONCERNED
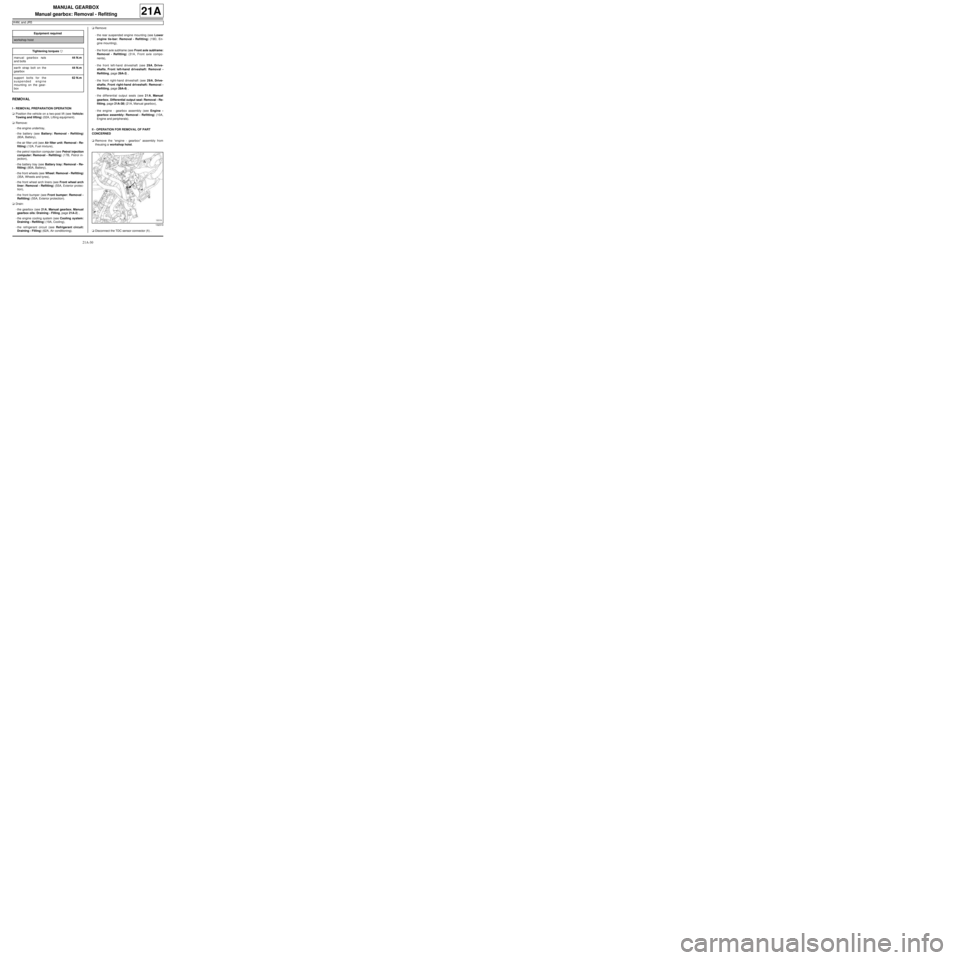
aRemove the “engine - gearbox” assembly from
theusing a workshop hoist.
aDisconnect the TDC sensor connector (1) . Equipment required
workshop hoist
Tightening torquesm
manual gearbox nuts
and bolts44 N.m
earth strap bolt on the
gearbox44 N.m
support bolts for the
suspended engine
mounting on the gear-
box62 N.m
132319
Page 46 of 135
21A-31
MANUAL GEARBOX
Manual gearbox: Removal - Refitting
K4M, and JR5
21A
aRemove:
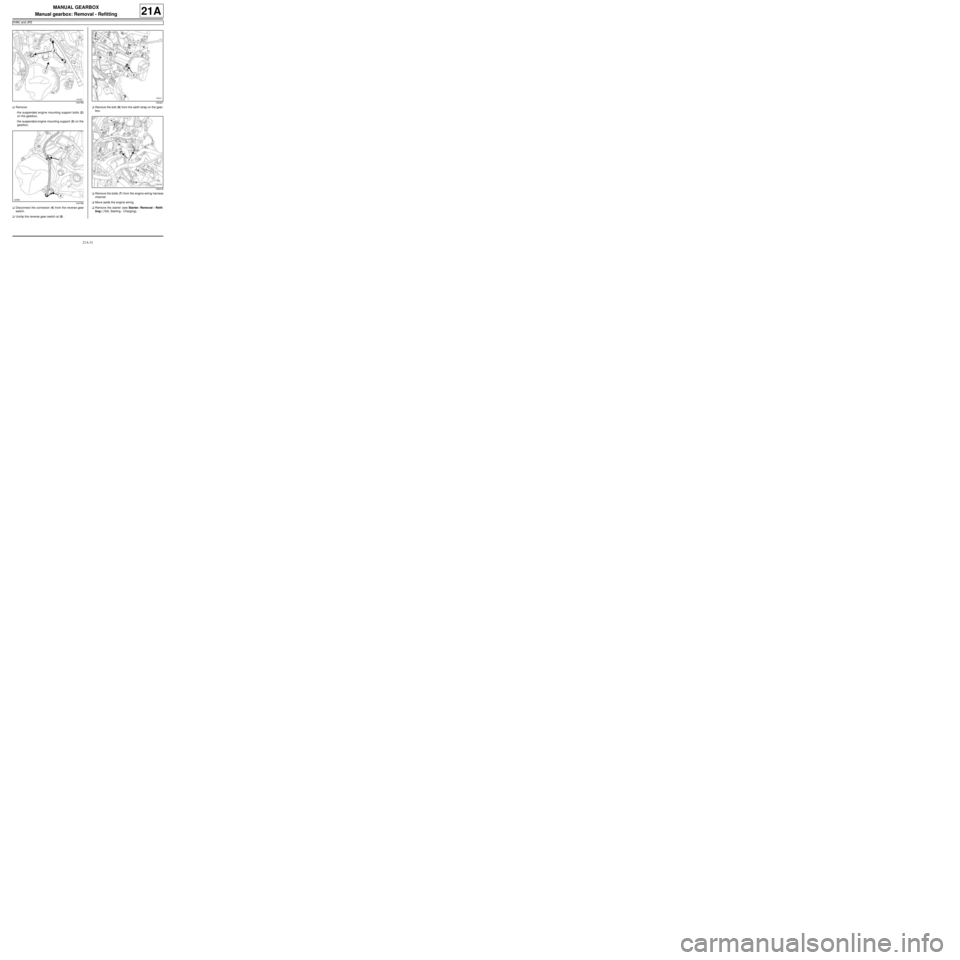
-the suspended engine mounting support bolts (2)
on the gearbox,
-the suspended engine mounting support (3) on the
gearbox.
aDisconnect the connector (4) from the reverse gear
switch.
aUnclip the reverse gear switch at (5) .aRemove the bolt (6) from the earth strap on the gear-
box.
aRemove the bolts (7) from the engine wiring harness
channel.
aMove aside the engine wiring.
aRemove the starter (see Starter: Removal - Refit-
ting) (16A, Starting - Charging).
144799
144798132321
132318
Page 47 of 135
21A-32
MANUAL GEARBOX
Manual gearbox: Removal - Refitting
K4M, and JR5
21A
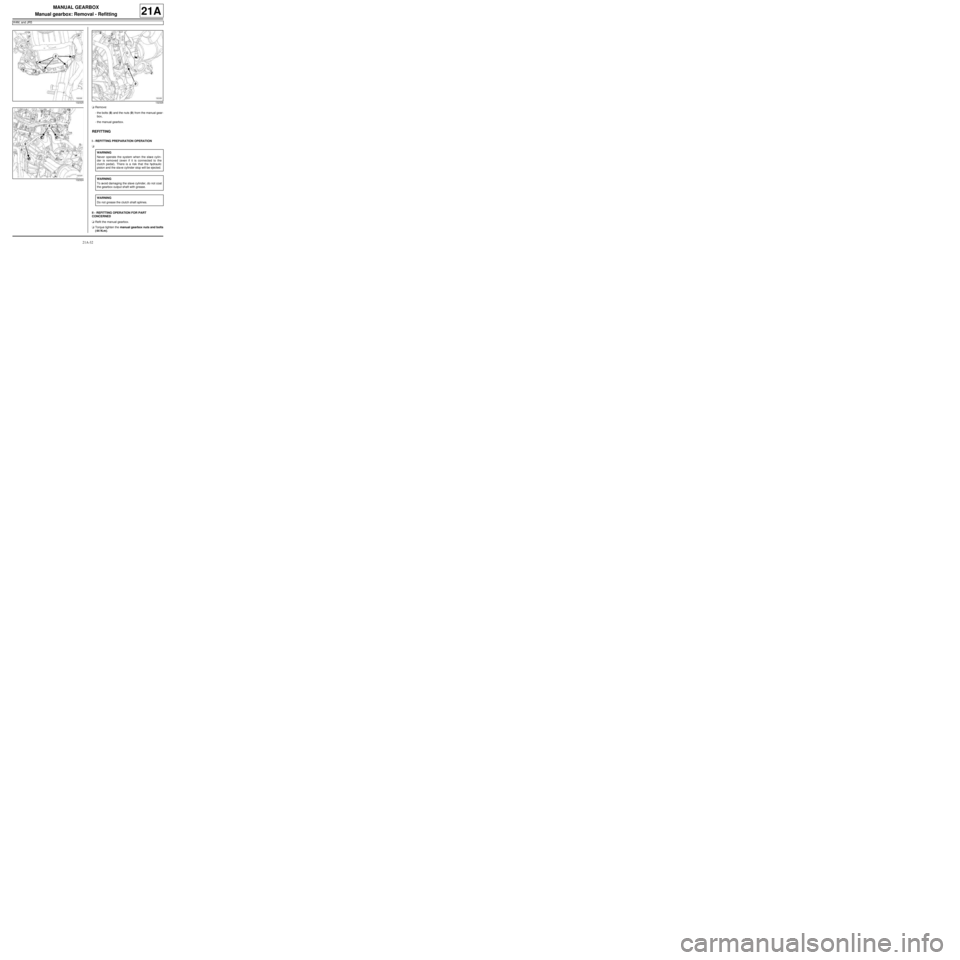
aRemove:
-the bolts (8) and the nuts (9) from the manual gear-
box,
-the manual gearbox.
REFITTING
I - REFITTING PREPARATION OPERATION
a
II - REFITTING OPERATION FOR PART
CONCERNED
aRefit the manual gearbox.
aTorque tighten the manual gearbox nuts and bolts
(44 N.m).
132325
132324132326
WARNING
Never operate the system when the slave cylin-
der is removed (even if it is connected to the
clutch pedal). There is a risk that the hydraulic
piston and the sla ve cylinder stop will be ejected.
WARNING
To avoid damaging the slave cylinder, do not coat
the gearbox output shaft with grease.
WARNING
Do not grease the clutch shaft splines.
Page 48 of 135
21A-33
MANUAL GEARBOX
Manual gearbox: Removal - Refitting
K4M, and JR5
21A
aFit the engine wiring.
aRefit:
-the starter (see Starter: Removal - Refitting)
(16A, Starting - Charging),
-the bolts of the engine wiring channel,
-the earth strap bolt on the gearbox.
aTorque tighten the earth strap bolt on the gearbox
(44 N.m).
aConnect the reverse gear switch connector.
aClip on the reverse gear switch.
aRefit the suspended engine mounting support on the
gearbox.
aTorque tighten the support bolts for the suspend-
ed engine mounting on the gearbox (62 N.m).
aConnect the TDC sensor connector.
aRefit the engine - gearbox assembly on the.
III - FINAL OPERATION
aRefit:
-the engine - gearbox assembly (see Engine -
gearbox assembly: Removal - Refitting) (10A,
Engine and peripherals),
-the differential output seals (see 21A, Manual
gearbox, Differential output seal: Removal - Re-
fitting, page 21A-38) (21A, Manual gearbox),
-the front right-hand driveshaft (see 29A, Drive-
shafts, Front right-hand driveshaft: Removal -
Refitting, page 29A-8) .
-the front left-hand driveshaft (see 29A, Drive-
shafts, Front left-hand driveshaft: Removal -
Refitting, page 29A-2) ,
-the front axle subframe (see Front axle subframe:
Removal - Refitting) (31A, Front axle compo-
nents),
-the rear suspended engine mounting (see Lower
engine tie-bar: Removal - Refitting) (19D, En-
gine mounting),
-the front bumper (see Front bumper: Removal -
Refitting) (55A, Exterior protection).
-the front wheel arch liners (see Front wheel arch
liner: Removal - Refitting) (55A, Exterior protec-
tion),
-the front wheels (see Wheel: Removal - Refitting)
(35A, Wheels and tyres),
-the battery tray (see Battery tray: Removal - Re-
fitting) (80A, Battery),-the petrol injection computer (see Petrol injection
computer: Removal - Refitting) (17B, Petrol in-
jection),
-the air filter unit (see Air filter unit: Removal - Re-
fitting) (12A, Fuel mixture),
-the battery (see Battery: Removal - Refitting)
(80A, Battery).
aRefill:
-the engine cooling system (see Cooling system:
Draining - Refilling) (19A, Cooling),
-the gearbox (see 21A, Manual gearbox, Manual
gearbox oils: Draining - Filling, page 21A-2) ,
-the refrigerant circuit (see Refrigerant circuit:
Draining - Filling) (62A, Air conditioning).
aRefit the engine undertray.
Page 49 of 135
21A-34
MANUAL GEARBOX
Manual gearbox: Repair
JB1
21A
REMOVAL
I - REPAIR PREPARATION OPERATION
aRemove the gearbox (see 21A, Manual gearbox,
Manual gearbox: Removal - Refitting, page 21A-
24) .
aPosition the gearbox on the component support (see
Gearbox support equipment: Use) .
II - REMOVAL OPERATION.
aRemove:
-the fifth gear housing (see 5th gear housing: Re-
moval - Refitting) ,
-the fifth gear synchroniser and pinions (see 5th
gear sprockets and synchronisers: Removal -
Refitting) ,
-the mechanism housing (see Mechanism hous-
ing: Removal - Refitting) ,
-the gearbox shafts (see Gearbox shaft: Removal
- Refitting) ,
-the differential (see Manual gearbox differential:
Removal - Refitting) .
III - REPAIR OPERATION
aStrip down the output shaft (see Output shaft:
Stripping - Rebuilding) .
aCheck the shafts (see Manual gearbox: Check) .
aRemove:
-the differential bearings (see Manual gearbox dif-
ferential bearing: Removal - Refitting) ,
-the bearings of the mechanism housing (see
Mechanism housing bearing: Removal - Refit-
ting) ,
-the bearings of the clutch housing (see Clutch
housing bearing: Removal - Refitting) ,
-the manual gearbox selector shaft (see Manual
gearbox selector shaft: Removal - Refitting) .
REFITTING
I - REFITTING PREPARATION OPERATION
aClean all the removed parts (see Manual gearbox:
Precautions for the repair) .
aReplace worn or damaged parts.
aParts always to be replaced:
-the lip seals,
-the O-rings,
-the clutch thrust bearing guide,
-the gear lock rings,
-the roll pins,
-the input and output shaft bearing circlips,
-the synchroniser hub springs,
-the removed bearings,
-the selector shaft rings,
-the spy seals,
-the hydraulic clutch thrust bearing (if equipped),
-the magnet.
II - REFITTING OPERATION
aRefit:
-the gearbox selector shaft (see Manual gearbox
selector shaft: Removal - Refitting) ,
-the bearings of the clutch housing (see Clutch
housing bearing: Removal - Refitting) ,
-the bearings of the mechanism housing (see
Mechanism housing bearing: Removal - Refit-
ting) ,
-the differential bearings (see Manual gearbox dif-
ferential bearing: Removal - Refitting) ,
-the differential (see Manual gearbox differential:
Removal - Refitting) .
aRebuild the output shaft (see Output shaft: Strip-
ping - Rebuilding) .
aRefit:
-the gearbox shafts (see Gearbox shaft: Removal
- Refitting) ,
-the mechanism housing (see Mechanism hous-
ing: Removal - Refitting) ,
-the fifth gear synchroniser and pinions (see 5th
gear sprockets and synchronisers: Removal -
Refitting) , IMPORTANT
To avoid all risk of damage to the systems, apply
the safety and cleanliness instructions and opera-
tion recommendations before carrying out any
repair (see Manual gearbox: Precautions for the
repair) .
Page 50 of 135
21A-35
MANUAL GEARBOX
Manual gearbox: Repair
JB1
21A
-the fifth gear housing (see 5th gear housing: Re-
moval - Refitting) .
III - FINAL OPERATION
aRemove the gearbox from the component support
(see Gearbox support equipment: Use) .
aRefit the gearbox (see 21A, Manual gearbox, Man-
ual gearbox: Removal - Refitting, page 21A-24) .