SAAB 9-7X 2007 Owners Manual
Manufacturer: SAAB, Model Year: 2007, Model line: 9-7X, Model: SAAB 9-7X 2007Pages: 498, PDF Size: 3.13 MB
Page 141 of 498
Luggage Carrier
{CAUTION:
If you try to carry something on top of
your vehicle that is longer or wider than
the luggage carrier — like paneling,
plywood, a mattress and so forth — the
wind can catch it as you drive along. This
can cause you to lose control. What you
are carrying could be violently torn off,
and this could cause you or other drivers
to have a collision, and of course damage
your vehicle. You may be able to carry
something like this inside. But, never
carry something longer or wider than the
luggage carrier on top of your vehicle.
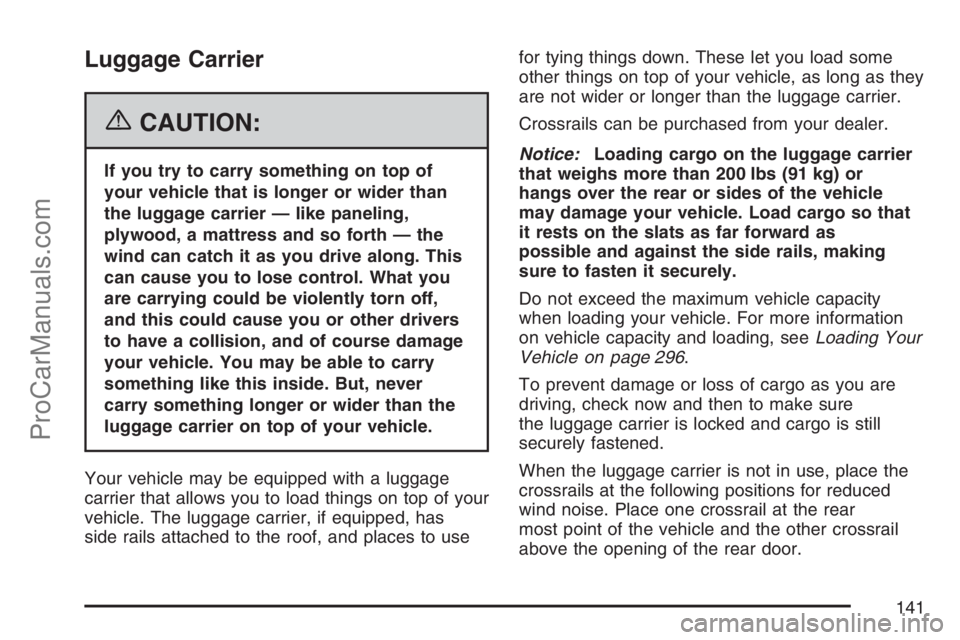
Your vehicle may be equipped with a luggage
carrier that allows you to load things on top of your
vehicle. The luggage carrier, if equipped, has
side rails attached to the roof, and places to usefor tying things down. These let you load some
other things on top of your vehicle, as long as they
are not wider or longer than the luggage carrier.
Crossrails can be purchased from your dealer.
Notice:Loading cargo on the luggage carrier
that weighs more than 200 lbs (91 kg) or
hangs over the rear or sides of the vehicle
may damage your vehicle. Load cargo so that
it rests on the slats as far forward as
possible and against the side rails, making
sure to fasten it securely.
Do not exceed the maximum vehicle capacity
when loading your vehicle. For more information
on vehicle capacity and loading, seeLoading Your
Vehicle on page 296.
To prevent damage or loss of cargo as you are
driving, check now and then to make sure
the luggage carrier is locked and cargo is still
securely fastened.
When the luggage carrier is not in use, place the
crossrails at the following positions for reduced
wind noise. Place one crossrail at the rear
most point of the vehicle and the other crossrail
above the opening of the rear door.
141
ProCarManuals.com
Page 142 of 498
Rear Floor Storage Lid
{CAUTION:
If any removable convenience item is not
secured properly, it can move around in a
collision or sudden stop. People in the
vehicle could be injured. Be sure to
secure any such item properly.
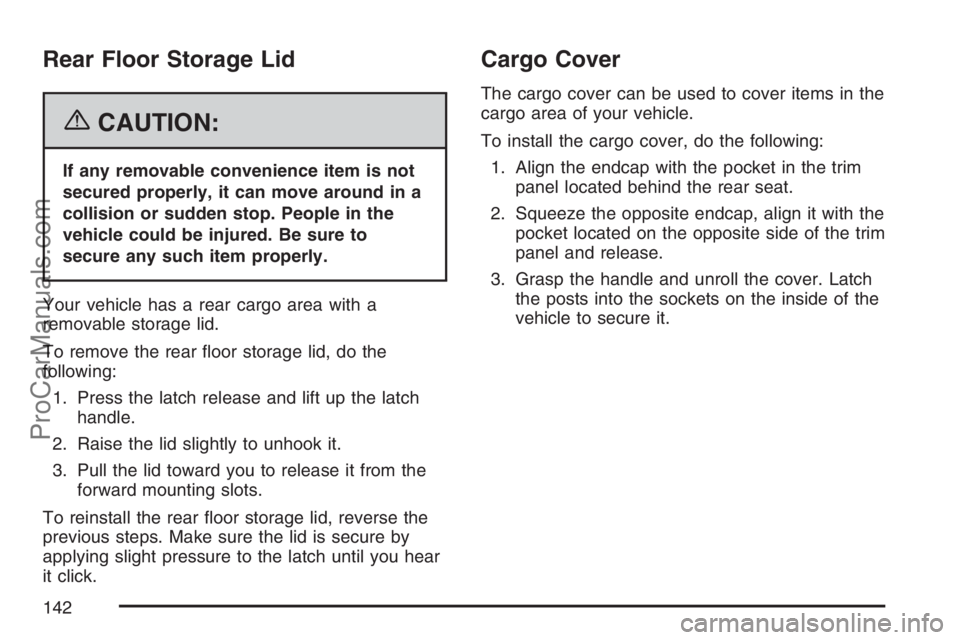
Your vehicle has a rear cargo area with a
removable storage lid.
To remove the rear �oor storage lid, do the
following:
1. Press the latch release and lift up the latch
handle.
2. Raise the lid slightly to unhook it.
3. Pull the lid toward you to release it from the
forward mounting slots.
To reinstall the rear �oor storage lid, reverse the
previous steps. Make sure the lid is secure by
applying slight pressure to the latch until you hear
it click.
Cargo Cover
The cargo cover can be used to cover items in the
cargo area of your vehicle.
To install the cargo cover, do the following:
1. Align the endcap with the pocket in the trim
panel located behind the rear seat.
2. Squeeze the opposite endcap, align it with the
pocket located on the opposite side of the trim
panel and release.
3. Grasp the handle and unroll the cover. Latch
the posts into the sockets on the inside of the
vehicle to secure it.
142
ProCarManuals.com
Page 143 of 498
To remove the cargo cover, do the following:
1. Release the cover from the latch posts and
carefully roll it back up.
2. Squeeze one endcap and remove it from the
pocket in the trim panel.
3. Remove the cargo cover from the other
endcap so that you can remove the shade
from the vehicle.
{CAUTION:
An improperly stored cargo cover could be
thrown about the vehicle during a collision
or sudden maneuver. You or others could
be injured. If you remove the cover, always
store it in the proper storage location.
When you put it back, always be sure that it
is securely reattached.
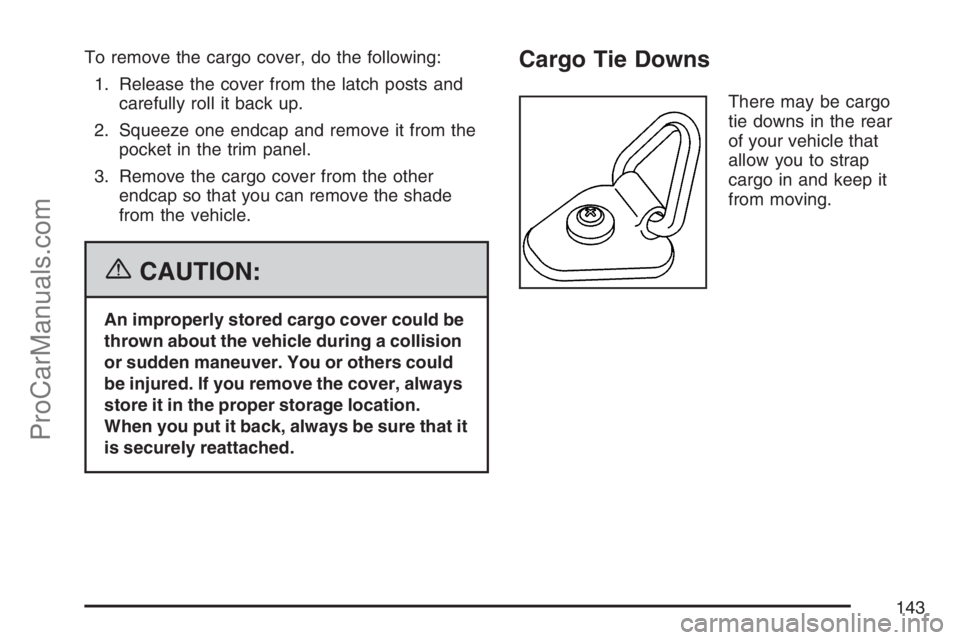
Cargo Tie Downs
There may be cargo
tie downs in the rear
of your vehicle that
allow you to strap
cargo in and keep it
from moving.
143
ProCarManuals.com
Page 144 of 498
Moonroof
The vehicle may be equipped with a power sliding
moonroof. The ignition must be turned to RUN,
ACC, or Retained Accessory Power (RAP)
must be active to operate it. SeeRetained
Accessory Power (RAP) on page 108.
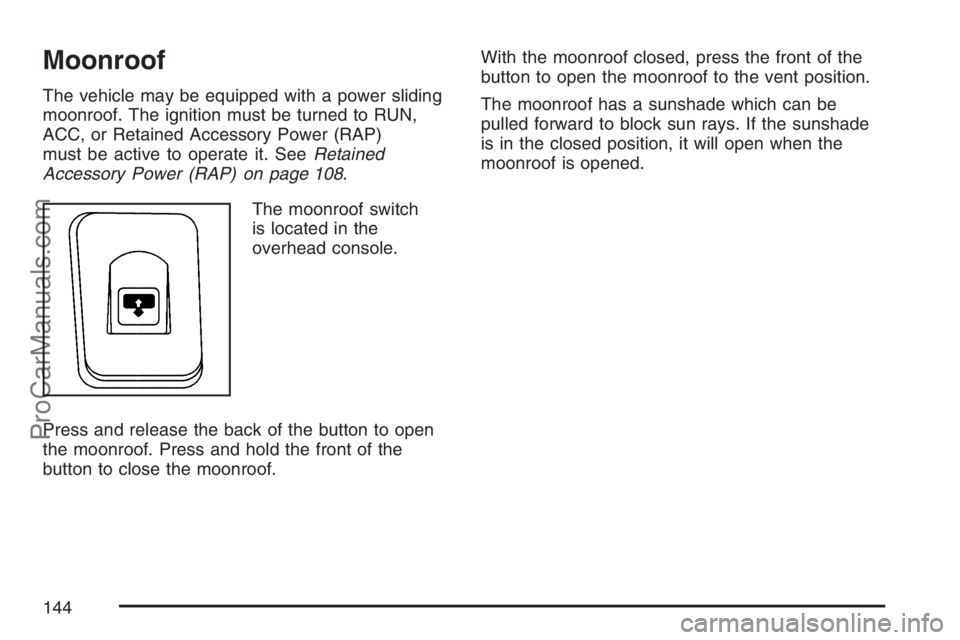
The moonroof switch
is located in the
overhead console.
Press and release the back of the button to open
the moonroof. Press and hold the front of the
button to close the moonroof.With the moonroof closed, press the front of the
button to open the moonroof to the vent position.
The moonroof has a sunshade which can be
pulled forward to block sun rays. If the sunshade
is in the closed position, it will open when the
moonroof is opened.
144
ProCarManuals.com
Page 145 of 498
Instrument Panel Overview........................ 148
Hazard Warning Flashers.......................... 150
Other Warning Devices............................. 150
Horn.......................................................... 150
Tilt Wheel.................................................. 151
Turn Signal/Multifunction Lever.................. 151
Turn and Lane-Change Signals................. 152
Headlamp High/Low-Beam Changer.......... 153
Flash-to-Pass............................................ 153
Windshield Wipers..................................... 154
Windshield Washer.................................... 155
Rear Window Wiper/Washer...................... 155
Headlamp Washer..................................... 156
Cruise Control........................................... 156
Headlamps................................................ 160
Headlamps on Reminder........................... 160
Daytime Running Lamps (DRL)................. 161
Automatic Headlamp System..................... 161
Fog Lamps................................................ 162
Instrument Panel Brightness...................... 163
Dome Lamps............................................. 163
Dome Lamp Override................................ 163
Entry Lighting............................................ 164
Exit Lighting.............................................. 164
Reading Lamps......................................... 164Electric Power Management...................... 164
Battery Run-Down Protection..................... 165
Accessory Power Outlet(s)........................ 166
Climate Controls......................................... 167
Dual Automatic Climate Control System....... 167
Outlet Adjustment...................................... 172
Rear Climate Control System.................... 173
Climate Controls Personalization................ 173
Warning Lights, Gages, and Indicators..... 174
Instrument Panel Cluster........................... 175
Speedometer and Odometer...................... 176
Trip Odometer........................................... 176
Tachometer............................................... 176
Safety Belt Reminder Light........................ 177
Passenger Safety Belt Reminder Light....... 177
Airbag Readiness Light............................. 178
Passenger Airbag Status Indicator............. 179
Charging System Light.............................. 182
Voltmeter Gage......................................... 182
Brake System Warning Light..................... 183
Anti-Lock Brake System Warning Light...... 184
StabiliTrak
®Service Light........................... 185
StabiliTrak®Indicator Light......................... 185
Engine Coolant Temperature Gage............ 186
Section 3 Instrument Panel
145
ProCarManuals.com
Page 146 of 498
Tire Pressure Light.................................... 186
Malfunction Indicator Lamp........................ 187
Oil Pressure Gage..................................... 190
Security Light............................................ 191
Cruise Control Light.................................. 191
Reduced Engine Power Light.................... 191
Highbeam On Light................................... 192
Service All-Wheel Drive Light.................... 192
Check Gages Warning Light...................... 192
Gate Ajar Light.......................................... 193
Fuel Gage................................................. 193
Low Fuel Warning Light............................ 194
Check Gas Cap Light................................ 194
Driver Information Center (DIC).................. 194
DIC Operation and Displays...................... 195
DIC Warnings and Messages.................... 199
DIC Vehicle Customization........................ 205Audio System(s)......................................... 212
Setting the Time........................................ 213
Radio with CD........................................... 214
Radio with Six-Disc CD............................. 222
Using an MP3........................................... 233
XM Radio Messages................................. 239
Navigation/Radio System........................... 243
Rear Seat Entertainment System............... 243
Rear Seat Audio (RSA)............................. 257
Theft-Deterrent Feature............................. 258
Audio Steering Wheel Controls.................. 259
Radio Reception........................................ 260
Care of Your CDs and DVDs.................... 261
Care of the CD and DVD Player............... 261
Fixed Mast Antenna.................................. 261
XM™ Satellite Radio Antenna System....... 261
Section 3 Instrument Panel
146
ProCarManuals.com
Page 147 of 498
✍NOTES
147
ProCarManuals.com
Page 148 of 498
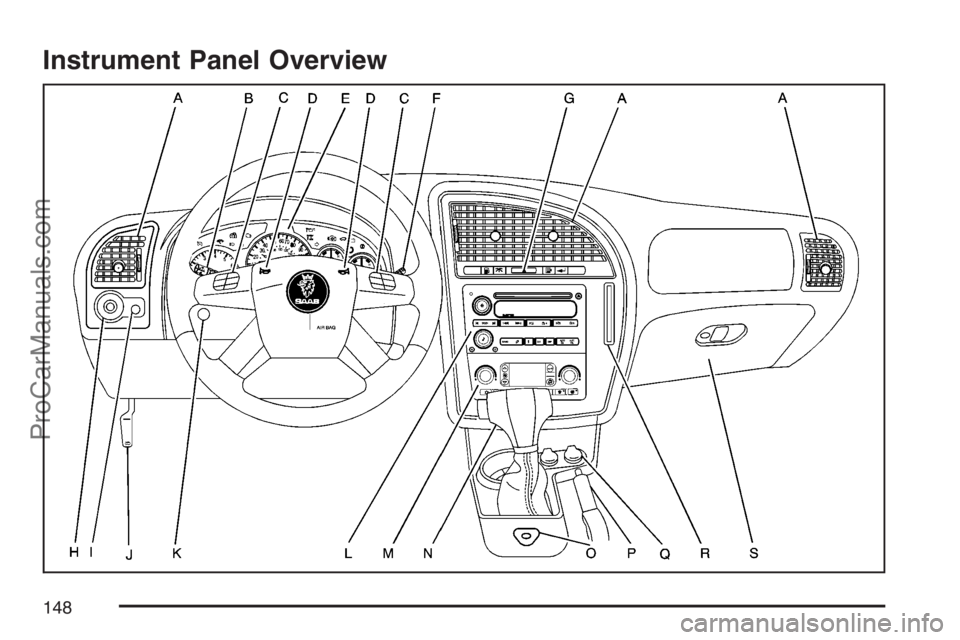
Instrument Panel Overview
148
ProCarManuals.com
Page 149 of 498
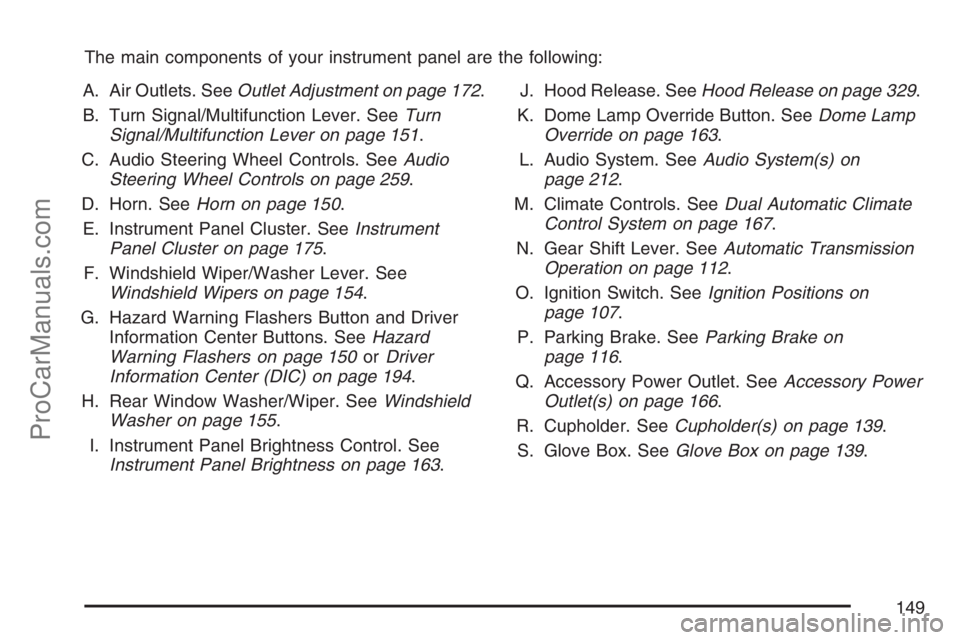
The main components of your instrument panel are the following:
A. Air Outlets. SeeOutlet Adjustment on page 172.
B. Turn Signal/Multifunction Lever. SeeTurn
Signal/Multifunction Lever on page 151.
C. Audio Steering Wheel Controls. SeeAudio
Steering Wheel Controls on page 259.
D. Horn. SeeHorn on page 150.
E. Instrument Panel Cluster. SeeInstrument
Panel Cluster on page 175.
F. Windshield Wiper/Washer Lever. See
Windshield Wipers on page 154.
G. Hazard Warning Flashers Button and Driver
Information Center Buttons. SeeHazard
Warning Flashers on page 150orDriver
Information Center (DIC) on page 194.
H. Rear Window Washer/Wiper. SeeWindshield
Washer on page 155.
I. Instrument Panel Brightness Control. See
Instrument Panel Brightness on page 163.J. Hood Release. SeeHood Release on page 329.
K. Dome Lamp Override Button. SeeDome Lamp
Override on page 163.
L. Audio System. SeeAudio System(s) on
page 212.
M. Climate Controls. SeeDual Automatic Climate
Control System on page 167.
N. Gear Shift Lever. SeeAutomatic Transmission
Operation on page 112.
O. Ignition Switch. SeeIgnition Positions on
page 107.
P. Parking Brake. SeeParking Brake on
page 116.
Q. Accessory Power Outlet. SeeAccessory Power
Outlet(s) on page 166.
R. Cupholder. SeeCupholder(s) on page 139.
S. Glove Box. SeeGlove Box on page 139.
149
ProCarManuals.com
Page 150 of 498
Hazard Warning Flashers
Your hazard warning �ashers let you warn others.
They also let police know you have a problem.
Your front and rear turn signal lamps will �ash on
and off.
The hazard warning
�asher button is located
in the center of the
instrument panel.
Your hazard warning �ashers work no matter what
position your key is in, and even if the key is
not in the ignition switch.Press the button to make the front and rear turn
signal lamps �ash on and off. Press the button
again to turn the �ashers off.
When the hazard warning �ashers are on, your
turn signals will not work.
Other Warning Devices
If you carry re�ective triangles, you can set them up
at the side of the road about 300 feet (100 m)
behind your vehicle.
Horn
To sound the horn, press the horn symbols on the
steering wheel pad.
150
ProCarManuals.com