fuel consumption Seat Alhambra 2012 Owner's Manual
[x] Cancel search | Manufacturer: SEAT, Model Year: 2012, Model line: Alhambra, Model: Seat Alhambra 2012Pages: 388, PDF Size: 6.72 MB
Page 6 of 388
Engine coolant . . . . . . . . . . . . . . . . . . . . . . . . . . . 287
Vehicle battery . . . . . . . . . . . . . . . . . . . . . . . . . . . 292
Wheels and tyres . . . . . . . . . . . . . . . . . . . . . . . . . . 297
Wheels . . . . . . . . . . . . . . . . . . . . . . . . . . . . . . . . . . 297
Wheel trims* . . . . . . . . . . . . . . . . . . . . . . . . . . . . . 308
Changing a wheel* . . . . . . . . . . . . . . . . . . . . . . . . 309
If and when . . . . . . . . . . . . . . . . . . . . . . . . . . . . . . . 316
In case of emergency . . . . . . . . . . . . . . . . . . . . . . 316
Emergency locking and unlocking . . . . . . . . . . . . 318
Tools* . . . . . . . . . . . . . . . . . . . . . . . . . . . . . . . . . . . 324
Fuses . . . . . . . . . . . . . . . . . . . . . . . . . . . . . . . . . . . 326
Changing bulbs . . . . . . . . . . . . . . . . . . . . . . . . . . . 330
Starting assistance . . . . . . . . . . . . . . . . . . . . . . . . 341
Towing and tow starting . . . . . . . . . . . . . . . . . . . . 344
Technical Specifications . . . . . . . . . . . 348
Description of specifications . . . . . . . . . . . . . . . 348
Important information . . . . . . . . . . . . . . . . . . . . . 348
Information on fuel consumption . . . . . . . . . . . . 350
Towing a trailer . . . . . . . . . . . . . . . . . . . . . . . . . . . 351
Wheels . . . . . . . . . . . . . . . . . . . . . . . . . . . . . . . . . . 351
Technical specifications . . . . . . . . . . . . . . . . . . . . 352
Checking fluid levels . . . . . . . . . . . . . . . . . . . . . . . 352
Petrol engine 1.4 110 kW (150 PS) . . . . . . . . . . . 353
Petrol engine 1.4 110 kW (150 PS) Automatic . . 354
Petrol engine 2.0 147 kW (200 PS) Automatic . . 355
Diesel engine 2.0 TDI CR 85 kW (115 PS) . . . . . . 357
Diesel engine 2.0 TDI CR 100 kW (136 PS) . . . . . 358
Diesel engine 2.0 TDI CR 100 kW (136 PS)
Automatic . . . . . . . . . . . . . . . . . . . . . . . . . . . . . . . 359
Diesel engine 2.0 TDI CR 103 kW (140 PS) . . . . . 360
Diesel engine 2.0 TDI CR 103 kW (140 PS)
Automatic . . . . . . . . . . . . . . . . . . . . . . . . . . . . . . . 362
Diesel engine 2.0 TDI CR 103 kW (140 PS) All-
wheel drive . . . . . . . . . . . . . . . . . . . . . . . . . . . . . . 363
Diesel engine 2.0 TDI CR 125 kW (170 PS) . . . . . 364 Diesel engine 2.0 TDI CR 125 kW (170 PS)
Automatic . . . . . . . . . . . . . . . . . . . . . . . . . . . . . . . 365
Dimensions and capacities . . . . . . . . . . . . . . . . . 367
Index . . . . . . . . . . . . . . . . . . . . . . . . . . . . . . . . . . . 369
4Table of Contents
Page 60 of 388
58Cockpit
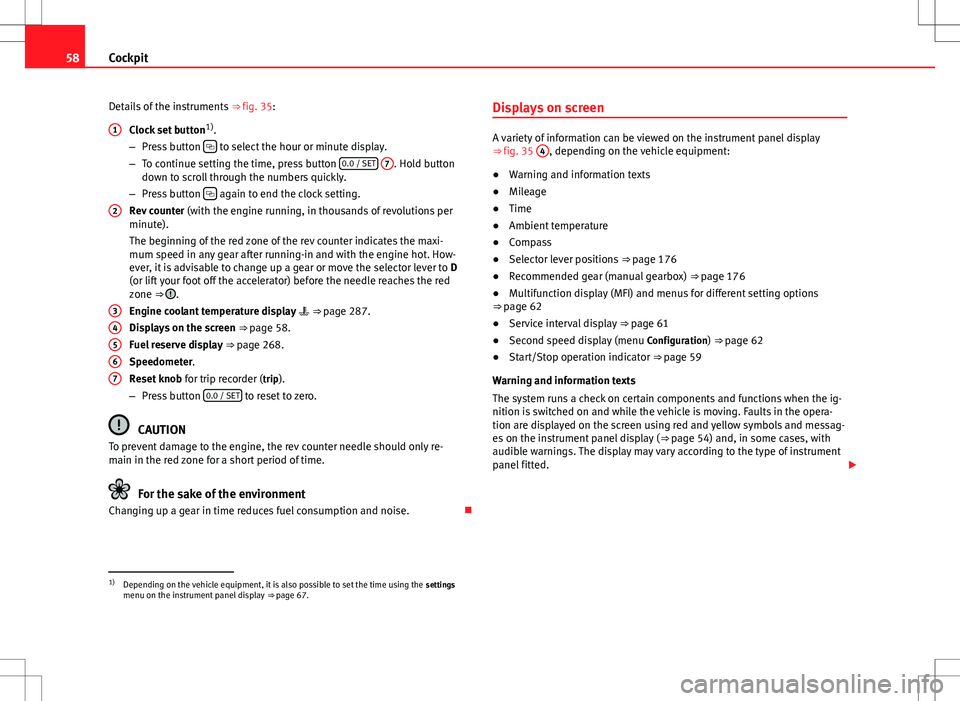
Details of the instruments ⇒ fig. 35:
Clock set button 1)
.
– Press button
to select the hour or minute display.
– To continue setting the time, press button 0.0 / SET
7. Hold button
down to scroll through the numbers quickly.
– Press button
again to end the clock setting.
Rev counter (with the engine running, in thousands of revolutions per
minute).
The beginning of the red zone of the rev counter indicates the maxi-
mum speed in any gear after running-in and with the engine hot. How-
ever, it is advisable to change up a gear or move the selector lever to D
(or lift your foot off the accelerator) before the needle reaches the red
zone ⇒
.
Engine coolant temperature display ⇒ page 287.
Displays on the screen ⇒ page 58.
Fuel reserve display ⇒ page 268.
Speedometer.
Reset knob for trip recorder (trip).
– Press button 0.0 / SET
to reset to zero.
CAUTION
To prevent damage to the engine, the rev counter needle should only re-
main in the red zone for a short period of time.
For the sake of the environment
Changing up a gear in time reduces fuel consumption and noise.
1
2
34567
Displays on screen
A variety of information can be viewed on the instrument panel display
⇒
fig. 35 4, depending on the vehicle equipment:
● Warning and information texts
● Mileage
● Time
● Ambient temperature
● Compass
● Selector lever positions ⇒ page 176
● Recommended gear (manual gearbox) ⇒ page 176
● Multifunction display (MFI) and menus for different setting options
⇒ page 62
● Service interval display ⇒ page 61
● Second speed display (menu Configuration) ⇒ page 62
● Start/Stop operation indicator ⇒ page 59
Warning and information texts
The system runs a check on certain components and functions when the ig-
nition is switched on and while the vehicle is moving. Faults in the opera-
tion are displayed on the screen using red and yellow symbols and messag-
es on the instrument panel display ( ⇒ page 54) and, in some cases, with
audible warnings. The display may vary according to the type of instrument
panel fitted.
1)
Depending on the vehicle equipment, it is also possible to set the time using the settings
menu on the instrument panel display ⇒ page 67.
Page 65 of 388
63
Cockpit
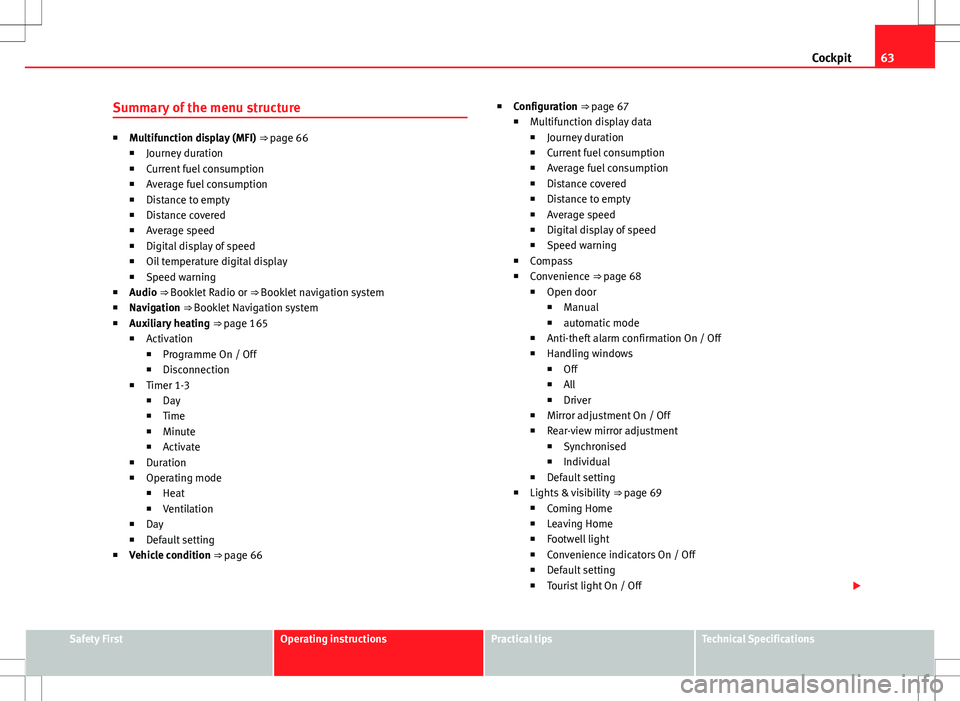
Summary of the menu structure
■ Multifunction display (MFI) ⇒ page 66
■ Journey duration
■ Current fuel consumption
■ Average fuel consumption
■ Distance to empty
■ Distance covered
■ Average speed
■ Digital display of speed
■ Oil temperature digital display
■ Speed warning
■ Audio ⇒ Booklet Radio or ⇒ Booklet navigation system
■ Navigation ⇒ Booklet Navigation system
■ Auxiliary heating ⇒ page 165
■ Activation
■ Programme On / Off
■ Disconnection
■ Timer 1-3
■ Day
■ Time
■ Minute
■ Activate
■ Duration
■ Operating mode
■ Heat
■ Ventilation
■ Day
■ Default setting
■ Vehicle condition ⇒ page 66 ■
Configuration ⇒ page 67
■ Multifunction display data
■ Journey duration
■ Current fuel consumption
■ Average fuel consumption
■ Distance covered
■ Distance to empty
■ Average speed
■ Digital display of speed
■ Speed warning
■ Compass
■ Convenience ⇒ page 68
■ Open door
■ Manual
■ automatic mode
■ Anti-theft alarm confirmation On / Off
■ Handling windows
■ Off
■ All
■ Driver
■ Mirror adjustment On / Off
■ Rear-view mirror adjustment
■ Synchronised
■ Individual
■ Default setting
■ Lights & visibility ⇒ page 69
■ Coming Home
■ Leaving Home
■ Footwell light
■ Convenience indicators On / Off
■ Default setting
■ Tourist light On / Off
Safety FirstOperating instructionsPractical tipsTechnical Specifications
Page 68 of 388
66Cockpit
Main menu
MenuFunctionSeeMFIInformation and possible configurations of
the multifunction display (MFI).⇒ page 66
AudioIf the radio is on, the station is displayed.
In CD mode, the current CD is played.⇒ Booklet Ra-
dio or ⇒ Book- let navigation system
NavigationNavigation system information:
when the navigation to destination is on,
change of direction arrows and a proximity
bar are displayed. These symbols are similar
to those used in the navigation system.
If navigation to destination is not on, the di-
rection of travel (compass) and the name of
the street on which you are driving are dis-
played.⇒ Book-
let Navigation system
Parking
heatingInformation and configurations of the park-
ing heating:
switching the parking heating on or off. Se-
lect the operating mode and duration.⇒ page 165
Vehicle con-
ditionCurrent warning or information texts.
This option only appears when one of the
following texts is available. The number of
available messages is displayed. Example
1/1 or 2/2.⇒ page 57
SettingsDifferent setting options, for example, the
Convenience, Lighting & Visibility menus,
and the time, speed warning with winter
tyres, language, units of measurement, or
“Display off”.⇒ page 67
MFI (multifunction display) menu
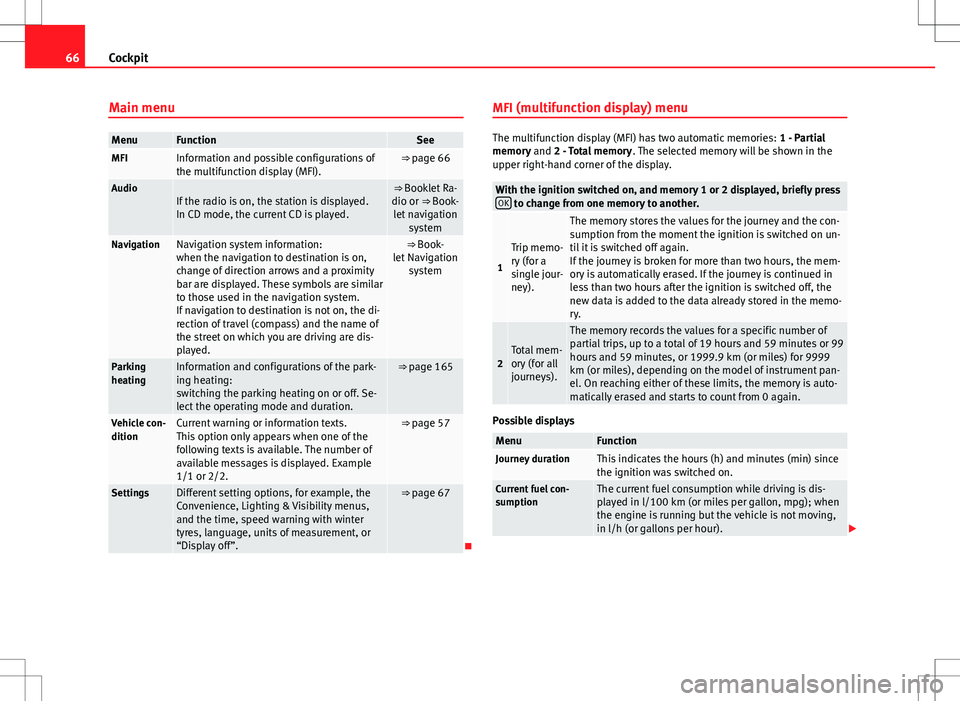
The multifunction display (MFI) has two automatic memories:
1 - Partial
memory and 2 - Total memory . The selected memory will be shown in the
upper right-hand corner of the display.
With the ignition switched on, and memory 1 or 2 displayed, briefly press OK to change from one memory to another.
1
Trip memo-
ry (for a
single jour-
ney).
The memory stores the values for the journey and the con-
sumption from the moment the ignition is switched on un-
til it is switched off again.
If the journey is broken for more than two hours, the mem-
ory is automatically erased. If the journey is continued in
less than two hours after the ignition is switched off, the
new data is added to the data already stored in the memo-
ry.
2Total mem-
ory (for all
journeys).
The memory records the values for a specific number of
partial trips, up to a total of 19 hours and 59 minutes or 99
hours and 59 minutes, or 1999.9 km (or miles) for 9999
km (or miles), depending on the model of instrument pan-
el. On reaching either of these limits, the memory is auto-
matically erased and starts to count from 0 again.
Possible displays
MenuFunctionJourney durationThis indicates the hours (h) and minutes (min) since
the ignition was switched on.
Current fuel con-
sumptionThe current fuel consumption while driving is dis-
played in l/100 km (or miles per gallon, mpg); when
the engine is running but the vehicle is not moving,
in l/h (or gallons per hour).
Page 69 of 388
67
Cockpit
MenuFunctionAverage fuel con-
sumptionWhen the ignition is switched on, the average con-
sumption (in l/100 km or in mpg) is displayed after
the vehicle has moved approximately 100 metres
(328 feet). Otherwise horizontal lines are displayed.
The value shown is updated approximately every 5
seconds.
Distance to emptyApproximate distance in km (or miles) that can still
be travelled with the fuel remaining in the tank, as-
suming the same style of driving is maintained. This
is calculated using the current fuel consumption.
Distance coveredDistance travelled, after ignition is switched on, in
km (or miles).
Average speedAfter the ignition is switched on, the average speed
will be shown after a distance of approximately 100
metres (328 feet) has been travelled. Otherwise hori-
zontal lines are displayed. The value shown is upda-
ted approximately every 5 seconds.
Digital display of
speedCurrent speed displayed digitally.
Oil temperature digi-
tal displayUpdated engine oil temperature digital display
Speed warning to ---
km/hIf the stored speed is exceeded (between 30 -
250 km/h, or 18 - 155 mph), an audible warning is
given together with a visual warning.
Changing between display modes
● In vehicles without multifunction steering wheel: press the lever.
● Vehicles with a multifunction steering wheel: press
or .
Storing a speed for the speed warning
● Select the display Speed warning at --- km/h .
● Press OK
to store the current speed and switch off the warning. ●
In addition, set the required speed by pressing the rocker switch on the
windscreen wiper lever or buttons
or on the multifunction steering
wheel for 5 seconds. Next, press OK again or wait a few seconds. The
speed is stored and the warning activated.
● To switch off , press OK
. The stored speed is deleted.
Manually erasing memory 1 or 2
● Select the memory to be erased.
● Press and hold OK
for approximately two seconds.
Personalising the displays
It is possible to select which of the displays in the multifunction display you
wish to see on the instrument panel in the settings menu. The units of
measurement can also be modified ⇒ page 67.
Configuration Menu
Configuration MenuFunction
Multifunction
display dataConfiguration of the multifunction display data that you
wish to see on the instrument panel display ⇒ page 66.
CompassChanging the magnetic region and calibration of the com-
pass. To calibrate the compass, please follow the instruc-
tions given on the instrument panel display.
ConvenienceChanging vehicle convenience functions ⇒ page 68.Lights & visi-
bilityConfiguration of vehicle lighting ⇒ page 69.
TimeChanging the hours and minutes of the clock and the navi-
gation system. The time can be set here and the choice
can be made between the 24 hour and 12 hour display.
The S in the upper part of the display indicates that the
clock is set to summer time.
Safety FirstOperating instructionsPractical tipsTechnical Specifications
Page 177 of 388
175
Driving
WARNING
Cold start sprays could explode or cause a sudden increase in the engine
speed.
● Never use start boosters.
CAUTION
● An attempt to start the engine while driving or starting the engine imme-
diately after turning it off can cause damage to the engine or starter motor.
● When the engine is cold, avoid high revs and heavy acceleration and do
not make the engine work hard.
● Do not push or tow start the engine. Sunburnt fuel could damage the
catalytic converter.
For the sake of the environment
Do not warm the engine at idle speed; start driving immediately if the visi-
bility is OK. This helps the engine reach operating temperature faster and
reduces emissions.
Note
● For example, if the key battery is very worn or flat, the engine cannot be
started with the starter button. In this case, remove the ignition button from
the lock and insert the key.
● Electrical components with a high power consumption are switched off
temporarily when the engine starts.
● When the engine is started cold, there may be strong vibrations for a few
moments for technical reasons. This is quite normal, and no cause for con-
cern.
● At temperatures below +5 °C (+41 °F), smoke may be given off below the
vehicle when the additional heater is connected. Stopping the engine
Complete operations only in the sequence given:
Step 1.Stopping the vehicle completely
⇒ .
2.Press the brake pedal and keep pressed until step 4 has been
completed.
3.In automatic gearboxes, put the selector lever in position P.4.Connect the electronic parking brake ⇒ page 185.5.Turn the key in the ignition lock to position ⇒ fig. 128 0.6.With a manual gearbox, put the vehicle in first or reverse gear.
WARNING
Never switch off the engine while the vehicle is moving. You may lose
control of the vehicle and there is a risk of serious accident.
● The airbags and belt tensioners do not work when the ignition is
switched off.
● The brake servo does not work with the engine off. To stop, the brake
pedal must be pressed with more force.
● As the power steering does not work if the engine is not running, you
will need more strength to steer than normally.
● If the key is removed from the ignition, the steering may lock and it
will not be possible to steer the vehicle.
CAUTION
If the engine has been driven at high speed for a prolonged period of time,
it may overheat when turned off. To avoid engine damage, allow the engine
to run for approximately two minutes in neutral before switching it off.
Safety FirstOperating instructionsPractical tipsTechnical Specifications
Page 186 of 388
184Driving
Recommended gear display
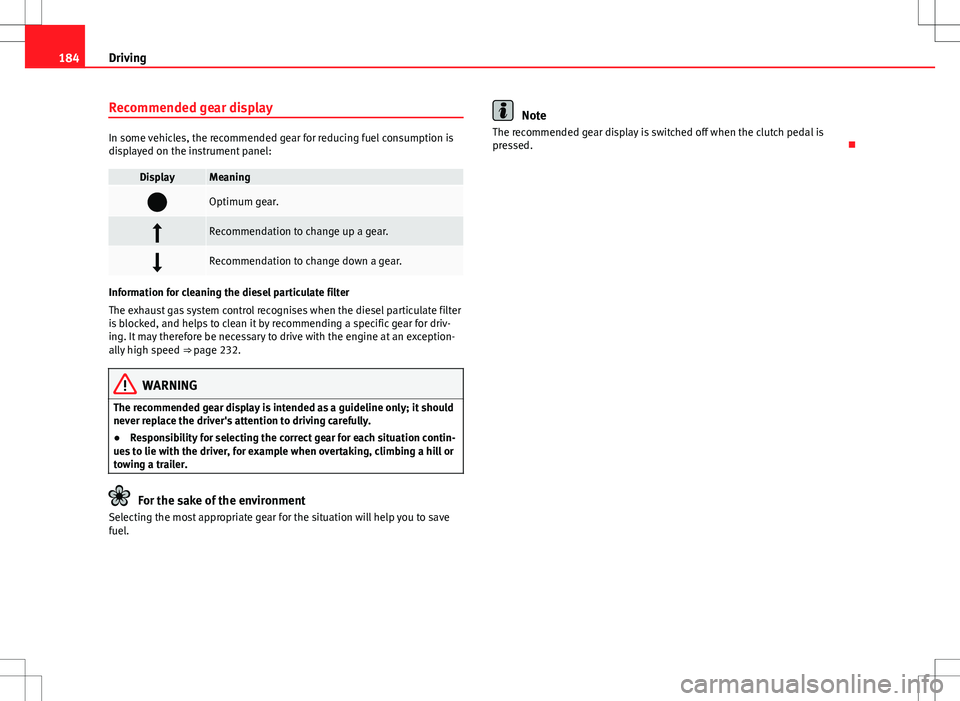
In some vehicles, the recommended gear for reducing fuel consumption is
displayed on the instrument panel:
DisplayMeaning
Optimum gear.
Recommendation to change up a gear.
Recommendation to change down a gear.
Information for cleaning the diesel particulate filter
The exhaust gas system control recognises when the diesel particulate filter
is blocked, and helps to clean it by recommending a specific gear for driv-
ing. It may therefore be necessary to drive with the engine at an exception-
ally high speed ⇒ page 232.
WARNING
The recommended gear display is intended as a guideline only; it should
never replace the driver's attention to driving carefully.
● Responsibility for selecting the correct gear for each situation contin-
ues to lie with the driver, for example when overtaking, climbing a hill or
towing a trailer.
For the sake of the environment
Selecting the most appropriate gear for the situation will help you to save
fuel.
Note
The recommended gear display is switched off when the clutch pedal is
pressed.
Page 227 of 388
225
Driving
Tyre monitoring systems Introduction
The tyre monitor indicator monitors the tyre pressure of each wheel during
driving using the ABS sensors. The ABS sensors monitor the tyre tread pe-
rimeter and vibrations of each tire. The tyre monitor indicator warns the driv-
er if it detects a considerable drop in tyre pressure of one or several tyres
while driving. Loss of tyre pressure will be indicated by the indicator as
well as a sound and sometimes a text message on the screen of the instru-
ment panel. When you open the driver's door, you will find a label indicat-
ing the tyre pressure recommended by the manufacturer for the maximum
vehicle load for each tyre approved for the vehicle in question. By pressing
the adjustment button on the tyre monitoring indicator, you may change the
reference pressure for the tyres so that the tyre pressure to be monitored co-
incides with actual tyre pressure ⇒ page 227.
Suitable use of the adjustment button ⇒ page 227.
Additional information and warnings:
● Transporting ⇒ page 13
● Braking, stopping and parking ⇒ page 185
● Caring for and cleaning the vehicle exterior ⇒ page 246
● Wheels and tyres ⇒ page 297
● Accessories, parts replacement, repairs and modifications ⇒ page 261
WARNING
Unsuitable handling of the wheels and tyres may lead to sudden tyre
pressure losses, to tread separation or even to a blow-out.
● Check tyre pressures regularly and ensure they are maintained at the
pressures indicated. If the tyre pressure is too low, the tyres could over-
heat, resulting in tread detachment or even burst tyres.
● Tyre pressure should be that indicated on the label when the tyres are
cold at all times ⇒ page 301.
● Regularly check the cold inflation pressure of the tyres. If necessary,
change the tyre pressure of the vehicle tyres while they are cold.
● Regularly check your tyres for damage and wear.
● Never exceed the maximum permitted speed or loads specified for the
type of tyre fitted on your vehicle.
WARNING
Incorrect use of the tyre monitoring indicator button could result in the
indicator giving erroneous messages or prevented from indicating the
danger caused by a defective tyre ⇒ page 227.
CAUTION
● The tyre valves may be damaged if the cap is not in place. Check that the
caps are identical to the standard caps and have been correctly tightened.
Do not use metal caps ⇒ page 227.
● Do not damage the valves when changing the tyres ⇒ page 227.
For the sake of the environment
Under-inflated tyres lead to increased fuel consumption and tyre wear.
Safety FirstOperating instructionsPractical tipsTechnical Specifications
Page 231 of 388
229
Driving and the environment
Practical tips Driving and the environment
Running-in
Please observe the instructions for running-in new components.
Running-in the engine
The engine needs to be run-in over the first 1500 km (1000 miles). During
its first few hours of running, the internal friction in the engine is greater
than later on when all the moving parts have bedded down.
How the vehicle is driven for the first 1500 km (1000 miles) influences the
future engine performance. Throughout the life of the vehicle, it should be
driven at a moderate speed – especially when the engine is cold – this will
reduce engine wear and increase its useful life. Never drive at extremely low
engine speeds. Always engage a lower gear when the engine works “irregu-
larly”. For the first 1000 km or 600 miles, please note:
● Do not use full throttle.
● Do not force the engine above two thirds of its maximum speed.
● Do not tow a trailer.
Between 1000 and 1500 kilometres (600 to 1000 miles), gradually in-
crease power until reaching the maximum speed and high engine speeds.
Running in new tyres and brake pads
● Replacement of new tyres and wheel rims ⇒ page 297
● Notes on the brakes ⇒ page 189
For the sake of the environment
If the engine is run in gently, the life of the engine will be increased and the
engine oil consumption reduced.
Ecological driving Introduction
Fuel consumption, environmental impact and engine, brake and tyre wear
depend largely on three factors:
● Personal driving style.
● Conditions of use (weather, road surface).
● Technical requirements.
Savings of up to 25% in fuel consumption are possible with an appropriate
driving style and the adoption of certain simple tips.
WARNING
Always adapt your speed and the distance to the vehicles ahead in line
with visibility, weather conditions, the condition of the road and the traf-
fic situation.
Safety FirstOperating instructionsPractical tipsTechnical Specifications
Page 232 of 388
230Driving and the environment
Economic driving style
Changing gear early
General instructions: The highest gear is always the most economical gear.
As a guideline, for the majority of vehicles: At a speed of 30 km/h, drive in
third gear, at 40 km/h in fourth gear and at 50 km/h in fifth gear.
In addition, skipping gears when shifting up helps to save fuel, weather and
traffic conditions permitting.
Do not wait until the last moment before changing gear. Only use first gear
when you move off and change to second gear quickly. Avoid the kick-down
function in vehicles with automatic gearbox.
Vehicles with a gear display help to achieve an economical driving style as
the display indicates the best moment to change gear.
Let the vehicle roll
If you take your foot off the accelerator, the fuel supply is stopped and con-
sumption is reduced.
Allow the vehicle to roll without accelerating, for example when approach-
ing a red traffic light. However, if the vehicle is rolling too slowly or the dis-
tance is too long, the clutch pedal should be pressed to declutch. The en-
gine will then operate at idle speed.
If the vehicle is going to be at a standstill for a period of time, switch off the
engine; for example, while waiting at a level crossing. In vehicles which
have the Start-Stop function on, the engine switches off automatically when
the vehicle is not moving.
Think ahead and “flow” with the traffic
Frequent acceleration and braking considerably increase fuel consumption.
If you think ahead as you drive and keep a safe distance from the vehicle in
front, it is possible to slow down by simply lifting your foot off the accelera-
tor. This eliminates the need for constant braking and acceleration. Calm and steady driving
Constancy is more important than speed: The more you drive at a constant
speed, the lower the fuel consumption.
When driving on the motorway, it is more efficient to drive at a constant and
more moderate speed than to be continuously accelerating and braking. As
a general rule, you will reach your destination just as quickly when you drive
at a constant speed.
The cruise control function helps you to achieve a constant style of driving.
Moderate use of additional electrical appliances
It is important to travel in comfort, but convenience systems should be used
in an ecological manner.
Some equipment, when connected, increase fuel consumption considera-
bly, for example:
●
Air conditioning cooling system: If the air conditioning system is re-
quired to cool to significantly lower temperatures than the true outside tem-
perature, it will require a large quantity of energy from the engine. There-
fore, we recommend that the selected temperature for the vehicle is not too
different to the outside temperature. It is a good idea to open all the win-
dows of the car before starting your journey, and to drive a short distance
with all the windows open to allow the vehicle to cool down slightly. Only
then should you close all the windows and switch on the air conditioning.
Keep windows closed when travelling at high speeds. Driving with the win-
dows open increases fuel consumption.
● Switch off the seat heating when the seats have warmed up.
● Switch off the heated rear window and the windscreen heating when the
windows have demisted and are free of ice.
● Do not leave the auxiliary heater switched on when the vehicle is mov-
ing ⇒ page 165.