wheel Seat Leon 5D 2006 Maintenance programme
[x] Cancel search | Manufacturer: SEAT, Model Year: 2006, Model line: Leon 5D, Model: Seat Leon 5D 2006Pages: 292, PDF Size: 8.86 MB
Page 57 of 292

Cockpit55
Safety First
Operating instructions
Tips and Maintenance
Te c h n i c a l D a t a
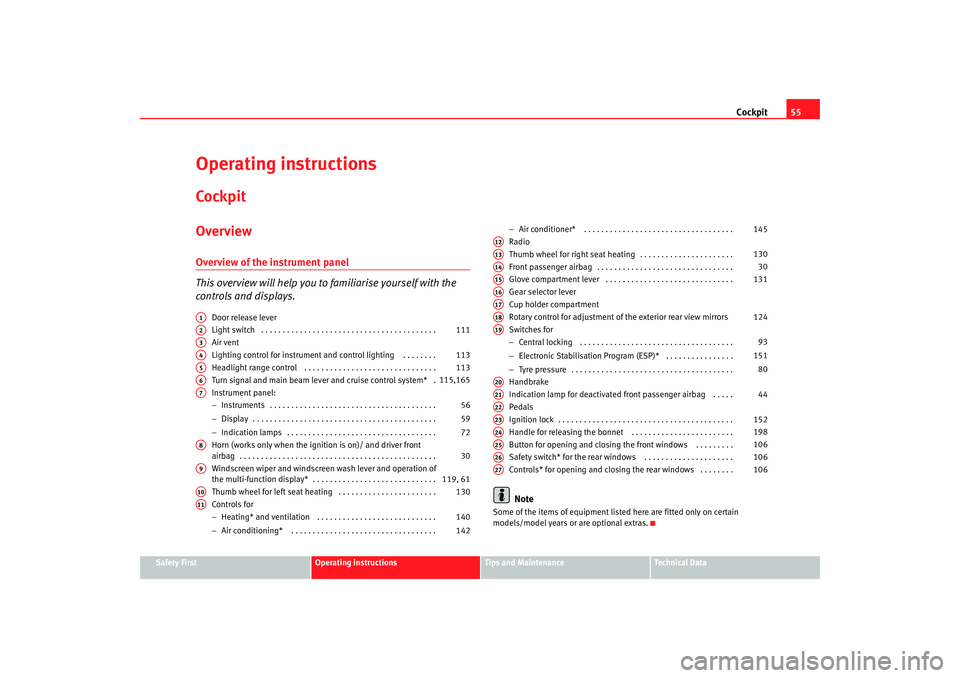
Operating instructionsCockpitOverviewOverview of the instrument panel
This overview will help you to familiarise yourself with the
controls and displays.
Door release lever
Light switch . . . . . . . . . . . . . . . . . . . . . . . . . . . . . . . . . . . . . . . . .
Air vent
Lighting control for instrument and control lighting . . . . . . . .
Headlight range control . . . . . . . . . . . . . . . . . . . . . . . . . . . . . . .
Turn signal and main beam lever and cruise control system* .
Instrument panel:
− Instruments . . . . . . . . . . . . . . . . . . . . . . . . . . . . . . . . . . . . . . .
− Display . . . . . . . . . . . . . . . . . . . . . . . . . . . . . . . . . . . . . . . . . . .
− Indication lamps . . . . . . . . . . . . . . . . . . . . . . . . . . . . . . . . . . .
Horn (works only when the igni tion is on)/ and driver front
airbag . . . . . . . . . . . . . . . . . . . . . . . . . . . . . . . . . . . . . . . . . . . . . .
Windscreen wiper and windscreen wash lever and operation of
the multi-function display* . . . . . . . . . . . . . . . . . . . . . . . . . . . . .
Thumb wheel for left seat heating . . . . . . . . . . . . . . . . . . . . . . .
Controls for
− Heating* and ventilation . . . . . . . . . . . . . . . . . . . . . . . . . . . .
− Air conditioning* . . . . . . . . . . . . . . . . . . . . . . . . . . . . . . . . . . −
Air conditioner* . . . . . . . . . . . . . . . . . . . . . . . . . . . . . . . . . . .
Radio
Thumb wheel for right seat heating . . . . . . . . . . . . . . . . . . . . . .
Front passenger airbag . . . . . . . . . . . . . . . . . . . . . . . . . . . . . . . .
Glove compartment lever . . . . . . . . . . . . . . . . . . . . . . . . . . . . . .
Gear selector lever
Cup holder compartment
Rotary control for adjustment of the exterior rear view mirrors
Switches for
− Central locking . . . . . . . . . . . . . . . . . . . . . . . . . . . . . . . . . . . .
− Electronic Stabilisation Program (ESP)* . . . . . . . . . . . . . . . .
− Tyre pressure . . . . . . . . . . . . . . . . . . . . . . . . . . . . . . . . . . . . . .
Handbrake
Indication lamp for deactivated front passenger airbag . . . . .
Pedals
Ignition lock . . . . . . . . . . . . . . . . . . . . . . . . . . . . . . . . . . . . . . . . .
Handle for releasing the bonnet . . . . . . . . . . . . . . . . . . . . . . . .
Button for opening and closing the front windows . . . . . . . . .
Safety switch* for the rear windows . . . . . . . . . . . . . . . . . . . . .
Controls* for opening and closing the rear windows . . . . . . . .
Note
Some of the items of equipment listed here are fitted only on certain
models/model years or are optional extras.
A1A2
111
A3A4
113
A5
113
A6
115,165
A7
56
59
72
A8
30
A9
119, 61
A10
130
A11
140
142 145
A12A13
130
A14
30
A15
131
A16A17A18
124
A19
93
151 80
A20A21
44
A22A23
152
A24
198
A25
106
A26
106
A27
106
leon_ingles Seite 55 Donner stag, 24. August 2006 1:56 13
Page 71 of 292

Cockpit69
Safety First
Operating instructions
Tips and Maintenance
Te c h n i c a l D a t a
Vehicle status menu
This menu shows warning or information textsOpen Vehicle Condition menu
– Choose option Vehicle condition from main menu: “Main menu”
and press the button on the windscreen wiper lever.
Priority 2 warning messages and inform ation texts: “Warning and information
texts on the screen” automatically di sappear after a certain time and are
saved in the menu “Vehicle condition”.
The warning and information texts may be viewed in this menu. If there are no
messages, ok appears on the display. If there are several messages, each one
is shown for four seconds.
Configuration menu
This menu is used to make the settings for the vehicle functions.Open Configuration menu
– Choose the Configuration option from main menu “Main menu” and press the button on the windscreen wiper lever.
Example of use of menus: “E xample of use of menus”.
Configuration Function
Time The hours and minutes of the clock and the navigation system can be changed. Both 12- and 24-hour
formats are available and the time may be changed to summer time (an S appears in the upper part of
the screen)
Winter tyres The menu allows the setting of a speed at which an optical and acoustic warning will be given by the
system. You can use this function, for example, if you have fitted winter tyres which are not suited for the
top speed of your vehicle . See chapter “Wheels” in owner's manual
Settings: Language The display texts and the navigation system texts can be seen in seven different languages
Units This option allows you to select the units for displaying temperature, fuel consumption values and dis-
tances.
Comfort and Convenience From this menu it is possible to alter the Comfort function settings.
leon_ingles Seite 69 Donnerstag, 24. August 2006 1:56 13
Page 79 of 292

Cockpit77
Safety First
Operating instructions
Tips and Maintenance
Te c h n i c a l D a t a
Cruise control system*
The warning lamp comes on when the cruise control system
is switched on.The warning lamp
lights up when the cruise control system is switched on.
Further notes on the cruise control system ⇒page 165.
Washer fluid
This warning lamp lights up to indicate that the windscreen
washer level is too low.This serves as a reminder to fill up the reservoir at the earliest opportunity
⇒page 208.
The information text displayed in the instrument panel display is
12): REFILL
WASHER FLUID
Brake system* / handbrake
The warning lamp lights up if the handbrake is applied, if the
brake fluid level falls too low or if there is a fault in the brake
system.
This warning lamp
lights up if
•
If the handbrake is on If you drive faster than 6 km/h with the handbrake on, the following message
will appear in the combi-instrument display
13):
HANDBRAKE ON. Also, an
audible warning is given.
•
If the brake fluid level is too low ⇒page 211.
The following text is displayed in the instrument panel display
13): STOP
BRAKE FLUID INSTRUCTIONS MANUAL .
•
If there is a fault in the brake system
The following text is displayed in the instrument panel display
13): BRAKE
FAULT INSTRUCTIONS MANUAL .
This warning lamp can light up together with the anti-lock brake system
warning lamp.
WARNING
•
Before opening the bonnet, read and observe the warnings on
⇒ page 198, “Working in the engine compartment”.
•
If the brake warning lamp does not go out, or if it lights up when
driving, the brake fluid level ⇒page 211, “Brake fluid” in the reservoir is
too low. Risk of accident. Stop the vehicle and do not drive on. Obtain tech-
nical assistance.
•
If the brake warning lamp
lights up together with the ABS warning
lamp
, the control function of the ABS could be out of action. This could
cause the rear wheels to lock quickly when you brake. This could cause the
rear to break away. Risk of skidding. Drive carefully to the nearest qualified
workshop and have the fault corrected.
11)Depending on the model version12)Depending on the model version.
13)Depending on the model version.
leon_ingles Seite 77 Donner stag, 24. August 2006 1:56 13
Page 80 of 292

Cockpit
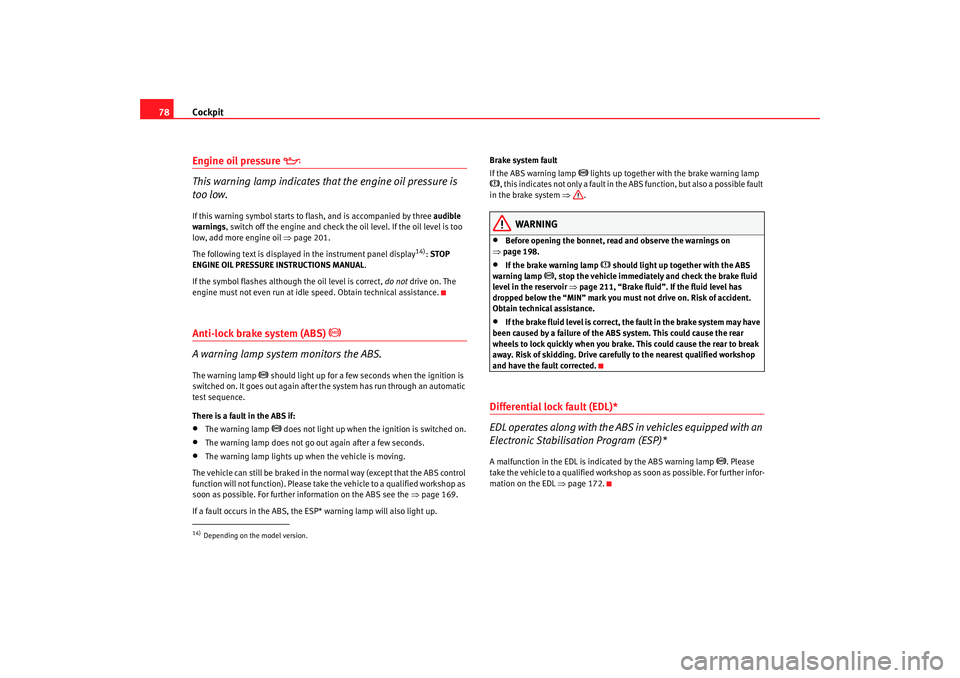
78Engine oil pressure
This warning lamp indicates that the engine oil pressure is
too low.If this warning symbol starts to flash, and is accompanied by three audible
warnings, switch off the engine and check the oil level. If the oil level is too
low, add more engine oil ⇒page 201.
The following text is displayed in the instrument panel display
14): STOP
ENGINE OIL PRESSURE INSTRUCTIONS MANUAL .
If the symbol flashes although the oil level is correct, do not drive on. The
engine must not even run at idle speed. Obtain technical assistance.
Anti-lock brake system (ABS)
A warning lamp system monitors the ABS.
The warning lamp
should light up for a few seconds when the ignition is
switched on. It goes out again after the system has run through an automatic
test sequence.
There is a fault in the ABS if:
•
The warning lamp
does not light up when the ignition is switched on.
•
The warning lamp does not go out again after a few seconds.
•
The warning lamp lights up when the vehicle is moving.
The vehicle can still be braked in the normal way (except that the ABS control
function will not function). Please take the vehicle to a qualified workshop as
soon as possible. For further information on the ABS see the ⇒page 169.
If a fault occurs in the ABS, the ESP* warning lamp will also light up. Brake system fault
If the ABS warning lamp
lights up together with the brake warning lamp
, this indicates not only a fault in the ABS function, but also a possible fault
in the brake system ⇒.
WARNING
•
Before opening the bonnet, read and observe the warnings on
⇒ page 198.
•
If the brake warning lamp
should light up together with the ABS
warning lamp
, stop the vehicle immediately and check the brake fluid
level in the reservoir ⇒page 211, “Brake fluid”. If the fluid level has
dropped below the “MIN” mark you must not drive on. Risk of accident.
Obtain technical assistance.
•
If the brake fluid level is correct, the fault in the brake system may have
been caused by a failure of the ABS system. This could cause the rear
wheels to lock quickly when you brake. This could cause the rear to break
away. Risk of skidding. Drive carefully to the nearest qualified workshop
and have the fault corrected.
Differential lock fault (EDL)*
EDL operates along with the ABS in vehicles equipped with an
Electronic Stabilisation Program (ESP)*A malfunction in the EDL is indicated by the ABS warning lamp
. Please
take the vehicle to a qualified workshop as soon as possible. For further infor-
mation on the EDL ⇒page 172.
14)Depending on the model version.
leon_ingles Seite 78 Donner stag, 24. August 2006 1:56 13
Page 81 of 292

Cockpit79
Safety First
Operating instructions
Tips and Maintenance
Te c h n i c a l D a t a
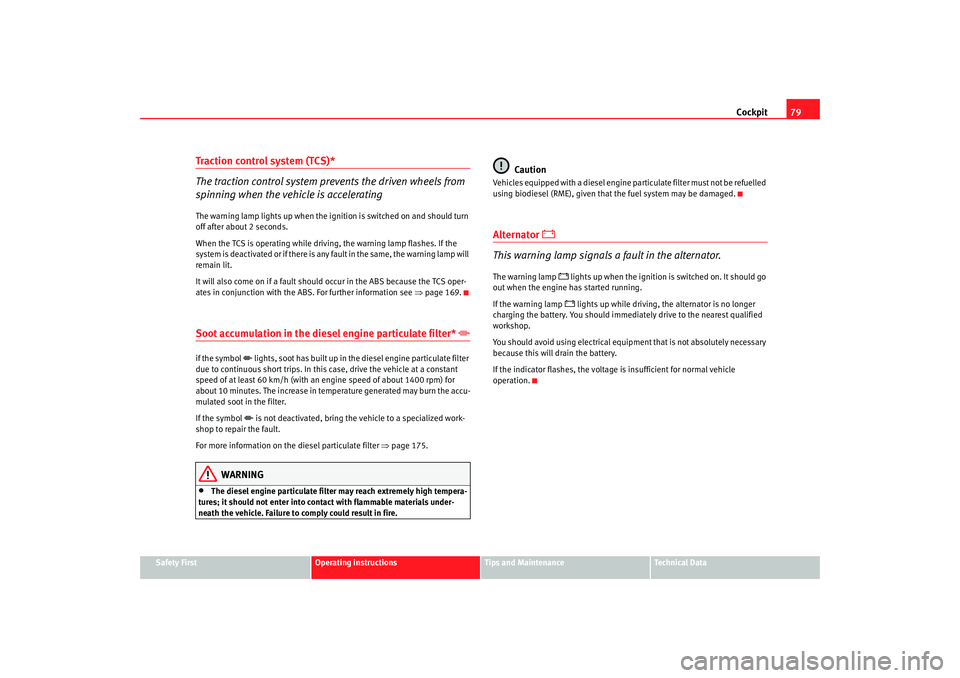
Traction control system (TCS)*
The traction control system prevents the driven wheels from
spinning when the vehicle is acceleratingThe warning lamp lights up when the ignition is switched on and should turn
off after about 2 seconds.
When the TCS is operating while driving, the warning lamp flashes. If the
system is deactivated or if there is any fault in the same, the warning lamp will
remain lit.
It will also come on if a fault should occur in the ABS because the TCS oper-
ates in conjunction with the ABS. For further information see ⇒page 169.Soot accumulation in the dies el engine particulate filter*
if the symbol
lights, soot has built up in the diesel engine particulate filter
due to continuous short trips. In this case, drive the vehicle at a constant
speed of at least 60 km/h (with an engine speed of about 1400 rpm) for
about 10 minutes. The increase in temperature generated may burn the accu-
mulated soot in the filter.
If the symbol is not deactivated, bring the vehicle to a specialized work-
shop to repair the fault.
For more information on the diesel particulate filter ⇒page 175.
WARNING
•
The diesel engine particulate filter may reach extremely high tempera-
tures; it should not enter into contact with flammable materials under-
neath the vehicle. Failure to comply could result in fire.
Caution
Vehicles equipped with a diesel engine particulate filter must not be refuelled
using biodiesel (RME), given that the fuel system may be damaged.Alternator
This warning lamp signals a fault in the alternator.
The warning lamp
lights up when the ignition is switched on. It should go
out when the engine has started running.
If the warning lamp lights up while driving, th e alternator is no longer
charging the battery. You should immediately drive to the nearest qualified
workshop.
You should avoid using electrical equipment that is not absolutely necessary
because this will drain the battery.
If the indicator flashes, the voltage is insufficient for normal vehicle
operation.
leon_ingles Seite 79 Donner stag, 24. August 2006 1:56 13
Page 82 of 292

Cockpit
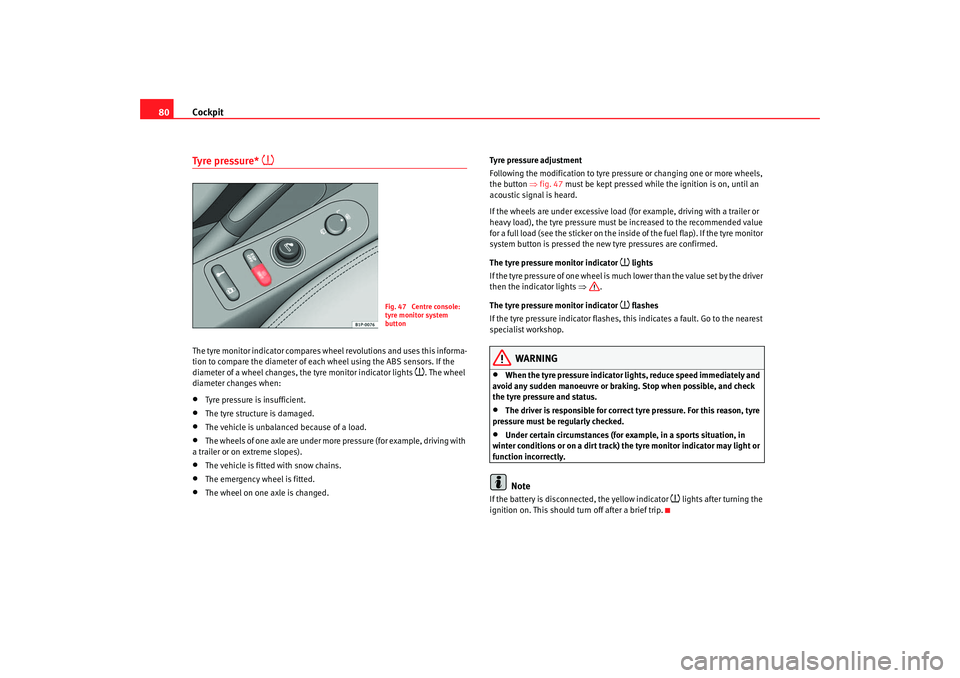
80Tyre pressure*
The tyre monitor indicator compares wheel revolutions and uses this informa-
tion to compare the diameter of each wheel using the ABS sensors. If the
diameter of a wheel changes, the tyre monitor indicator lights
. The wheel
diameter changes when:
•
Tyre pressure is insufficient.
•
The tyre structure is damaged.
•
The vehicle is unbalanced because of a load.
•
The wheels of one axle are under more pressure (for example, driving with
a trailer or on extreme slopes).
•
The vehicle is fitted with snow chains.
•
The emergency wheel is fitted.
•
The wheel on one axle is changed. Tyre pressure adjustment
Following the modification to tyre pressure or changing one or more wheels,
the button
⇒fig. 47 must be kept pressed while the ignition is on, until an
acoustic signal is heard.
If the wheels are under excessive load (for example, driving with a trailer or
heavy load), the tyre pressure must be increased to the recommended value
for a full load (see the sticker on the inside of the fuel flap). If the tyre monitor
system button is pressed the new tyre pressures are confirmed.
The tyre pressure monitor indicator
lights
If the tyre pressure of one wheel is much lower than the value set by the driver
then the indicator lights ⇒.
The tyre pressure monitor indicator flashes
If the tyre pressure indicator flashes, this indicates a fault. Go to the nearest
specialist workshop.
WARNING
•
When the tyre pressure indicator lights, reduce speed immediately and
avoid any sudden manoeuvre or braking. Stop when possible, and check
the tyre pressure and status.
•
The driver is responsible for correct tyre pressure. For this reason, tyre
pressure must be regularly checked.
•
Under certain circumstances (for example, in a sports situation, in
winter conditions or on a dirt track) the tyre monitor indicator may light or
function incorrectly.Note
If the battery is disconnected, the yellow indicator
lights after turning the
ignition on. This should turn off after a brief trip.
Fig. 47 Centre console:
tyre monitor system
button
leon_ingles Seite 80 Donner stag, 24. August 2006 1:56 13
Page 86 of 292

Steering wheel controls
84Steering wheel controlsUsing these instructionsThe vehicle includes a multifunction modu le from where it is possible to
control the audio, telephone and radio / navigation functions and the auto-
matic gearbox* without needing to distract the driver.
There are three versions of the multifunction module:
•
Audio version, to control the available audio functions from the steering
wheel.
•
Audio + Telephone version, to control the available audio functions and
the telephone system from the steering wheel.
Both versions may be used to control the Audio system (Radio, CD Audio, CD
mp3, CD Changer) and the radio / navigation System, in which case they also
control the Navigation system.
•
Automatic gearbox version* ⇒page 161.
Audio systemSteering wheel audio version controls
Fig. 48 Controls on the
steering wheel
Fig. 49 Controls on the
steering wheel
leon_ingles Seite 84 Donner stag, 24. August 2006 1:56 13
Page 87 of 292

Steering wheel controls85
Safety First
Operating instructions
Tips and Maintenance
Te c h n i c a l D a t a
Button
Short press
Long press
Radio CD Audio CD mp3
a)
a)Only for mp3 compatible radio.*
CDCRadio CD Audio
CD mp3
a)
CDC
Volume up Continue volume up
Volume down Continue volume down
Station search. Higher fre-quency. Following track Station search.
Higher fre-quency. Fast forward
Station search. Lower
frequency Previous track Station search.
Lower
frequency Rewind
Cyclic source control
FM - AM - CD - CDC - FM... No specified function
Silence Pause No specified function
Next preset No function Change folder
(forward) Change CD
(forward) No specified function
Previous preset No function Change folder
(back) Change CD
(Back) No specified function
AAABACADAEAFAGAH
leon_ingles Seite 85 Donner
stag, 24. August 2006 1:56 13
Page 88 of 292

Steering wheel controls
86Steering wheel Audio + Telephone version controls
Fig. 50 Controls on the
steering wheel
Fig. 51 Controls on the
steering wheel
Button Short press
Long press
Radio CD Audio CD mp3
a)
CDCRadio CD Audio
CD mp3
a)
CDC
Volume up Continue volume up
Volume down Continue volume down
Station search. Higher fre-quency. Following track Station search.
Higher fre-quency. Fast forward
Change folder
(forward) Fast forward
Station search. Lower
frequency Previous track Station search.
Lower
frequency Rewind
Change folder
(Back) Rewind
AAABACAD
leon_ingles Seite 86 Donner
stag, 24. August 2006 1:56 13
Page 89 of 292

Steering wheel controls87
Safety First
Operating instructions
Tips and Maintenance
Te c h n i c a l D a t a
Cyclic source control
FM - AM - CD - CDC - FM... No specified function
Voice recognition activation Press to speak No specified function
Make a call or
Direct access to the phone book
or
Accept a call No specified function
Terminate call or
Refuse call or
Quit telephone menu No specified function
a)Only for mp3 compatible radio.*AEAFAGAH
leon_ingles Seite 87 Donner
stag, 24. August 2006 1:56 13