reset Seat Leon 5D 2011 SOUND SYSTEM 2.0
[x] Cancel search | Manufacturer: SEAT, Model Year: 2011, Model line: Leon 5D, Model: Seat Leon 5D 2011Pages: 44, PDF Size: 0.9 MB
Page 12 of 44
11
Introduction
Adjusting the base volume
FunctionActivationIncrease the vol-
ume.Turn the volume control clockwise
or press the button on the multifunction steering
wheel.
Lower the volume.Turn the volume control anti-clockwise
or press the button on the multifunction steering
wheel.
At 0 the unit is muted (display: ) and any media source currently being
played will be stopped.
Changes to the volume are indicated by a bar on the screen.
It is possible to preset certain volume settings and adjustments
⇒ page 35.
CAUTION
If the volume is too high or the sound is distorted, the vehicle speakers may
be damaged.
Note
If the base volume has been considerably increased on the radio system to
play a certain audio source (e.g. due to very quiet audio output from an ex-
ternal audio source), lower the volume again before switching audio source. Names of controls
Overview
●
Rotary/push knobs
● Labelled unit buttons (hard keys).
● Function buttons (soft keys).
Rotary/push knobs
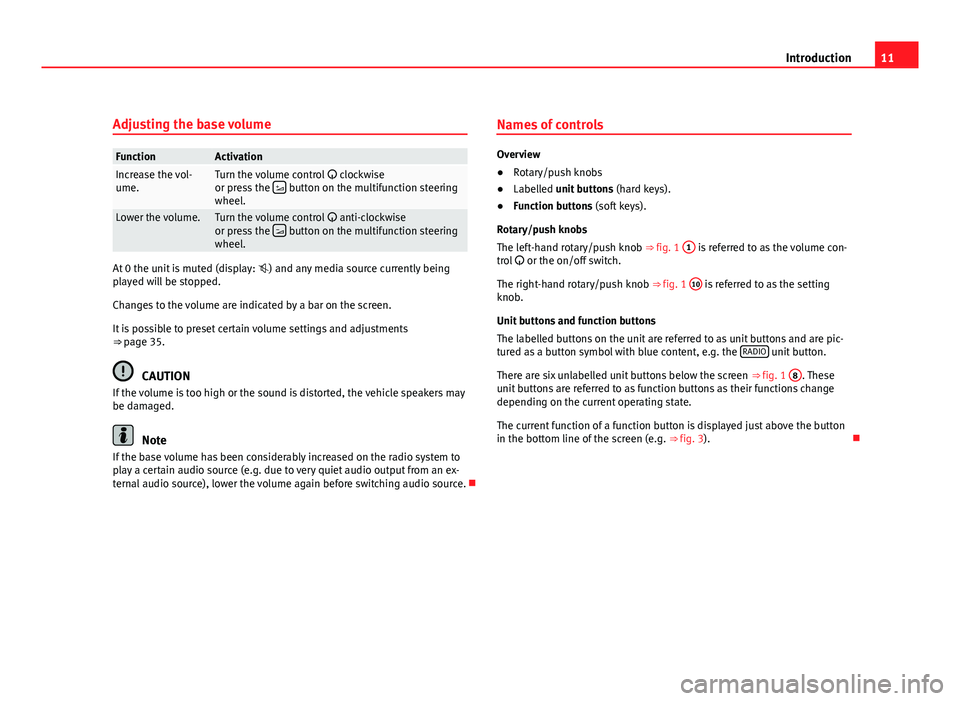
The left-hand rotary/push knob ⇒ fig. 1 1
is referred to as the volume con-
trol or the on/off switch.
The right-hand rotary/push knob ⇒ fig. 1 10
is referred to as the setting
knob.
Unit buttons and function buttons
The labelled buttons on the unit are referred to as unit buttons and are pic-
tured as a button symbol with blue content, e.g. the RADIO
unit button.
There are six unlabelled unit buttons below the screen ⇒ fig. 1 8
. These
unit buttons are referred to as function buttons as their functions change
depending on the current operating state.
The current function of a function button is displayed just above the button
in the bottom line of the screen (e.g. ⇒ fig. 3).
Page 15 of 44
14Audio mode
Depending on the setting selected for the search mode (SEEK MODE ), the
unit either switches between all available stations or stored stations only
(SETUP: see page 35).
● Briefly press the rocker switch ⇒ fig. 1 SEEK / ...
to the left or right.
StatusResultRadio mode with ... dis-
played in the centre line of the
screen ⇒ fig. 4.Switches to the next available station on
the current frequency band.
As you go through the stations, the adja-
cent stations are displayed ⇒ fig. 4.
Radio mode with ... dis-
played in the centre line of the
screen and TP indication.Switches to the next available traffic news
station (TP function: see page 16).
Radio mode with ... dis-
played in the bottom line of
the screen ⇒ fig. 5.Switches to the next stored station (stor-
ing stations: see page 15 onwards).
AM mode: quickly browsing the frequency band
In AM mode it is possible to skip stations.
●Press and hold the SEEK / ...
rocker switch.
● When you release the SEEK / ...
rocker switch, the unit tunes to the
next station it can receive.
Tuning to a station frequency manually
● Select the desired frequency band ⇒ page 12.
● Turn the setting knob ⇒ fig. 1 10
until the desired station frequency
(e.g. 89.9 MHz) is displayed on the screen. Scan function (SCAN)
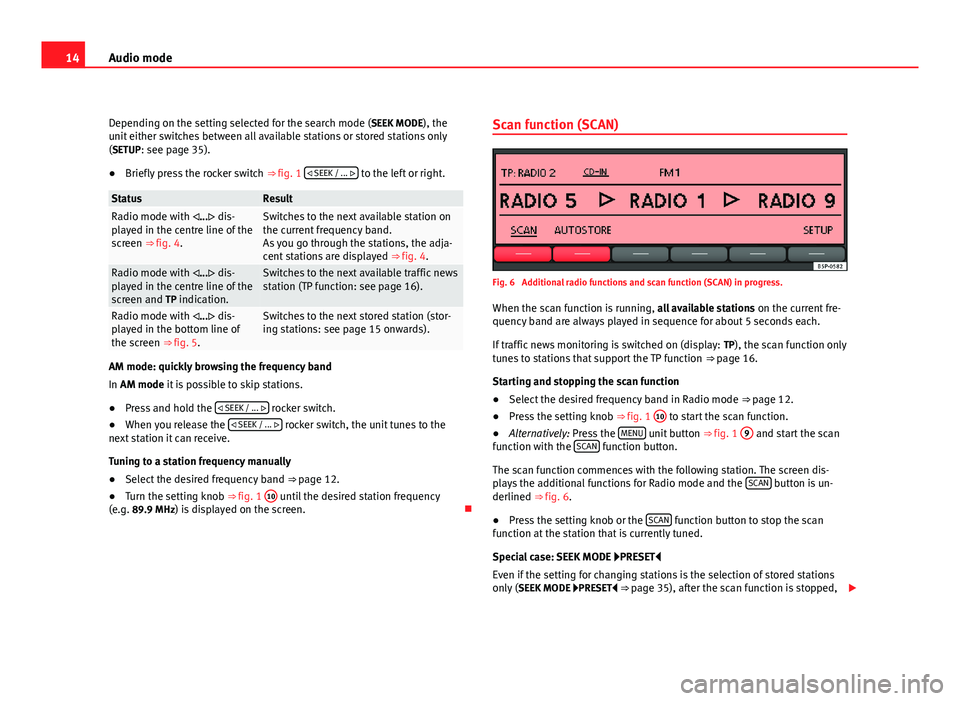
Fig. 6 Additional radio functions and scan function (SCAN) in progress.
When the scan function is running, all available stations on the current fre-
quency band are always played in sequence for about 5 seconds each.
If traffic news monitoring is switched on (display: TP), the scan function only
tunes to stations that support the TP function ⇒ page 16.
Starting and stopping the scan function
● Select the desired frequency band in Radio mode ⇒ page 12.
● Press the setting knob ⇒ fig. 1 10
to start the scan function.
● Alternatively: Press the MENU unit button
⇒ fig. 1 9 and start the scan
function with the SCAN function button.
The scan function commences with the following station. The screen dis-
plays the additional functions for Radio mode and the SCAN
button is un-
derlined ⇒ fig. 6.
● Press the setting knob or the SCAN
function button to stop the scan
function at the station that is currently tuned.
Special case: SEEK MODE PRESET
Even if the setting for changing stations is the selection of stored stations
only ( SEEK MODE PRESET ⇒ page 35), after the scan function is stopped,
Page 18 of 44
17
Audio mode
Traffic news monitoring with the TP function is only possible if the TP station
is available.
Some stations that do not have their own traffic news support the TP func-
tion by broadcasting traffic announcements from other stations (EON). Traf-
fic announcements broadcast by the linked traffic stations interrupt the cur-
rent Audio mode.
Switching the TP function on and off
● Press the TP
button ⇒ fig. 1 12.
● If the station that is currently selected in FM mode does not support the
TP function, the unit will automatically search for a TP station (display: TP
SEEK).
● The TP function is switched off by pressing the TP
unit button.
TP function activated
While traffic news monitoring is switched on and active, TP is displayed at
the top left of the screen ⇒ fig. 9.
In FM mode, the selected station must support the TP function. If a station
selected via the station buttons or manual tuning does not support the TP
function, traffic news monitoring is not possible (display: NO TP).
If the currently selected traffic news station can no longer be received,
NO TP is also displayed and you will need to start a manual station search
using the rocker switch SEEK / ...
⇒ page 13.
During a station search with the arrow buttons or the scan function (SCAN),
the unit will only tune to stations that support the TP function.
In AM mode or Media mode or while the unit is muted, the unit will always
automatically tune to a traffic news station in the background, provided the
reception of said station is good. This may take some time depending on
the situation. In AM mode or Media mode the currently selected traffic news
station is displayed next to TP ⇒ fig. 10. Incoming traffic announcement (INFO)
An incoming traffic announcement (display:
TP-INFO) will interrupt the active
Audio mode.
● If required, the radio is switched to the traffic news station (EON) for the
duration of the traffic announcement.
● The Media mode will be paused and the volume will be adjusted to the
preset level.
● During a traffic announcement, the traffic announcement volume setting
can be adjusted with the volume control . The adjusted setting will be ap-
plied to subsequent announcements.
● Interruption by a traffic announcement can be stopped by pressing the
TP
unit button. The TP function remains active and the next traffic an-
nouncement will again interrupt the current Audio mode.
Page 36 of 44
35
Settings menus
SETUP menu (system settings)
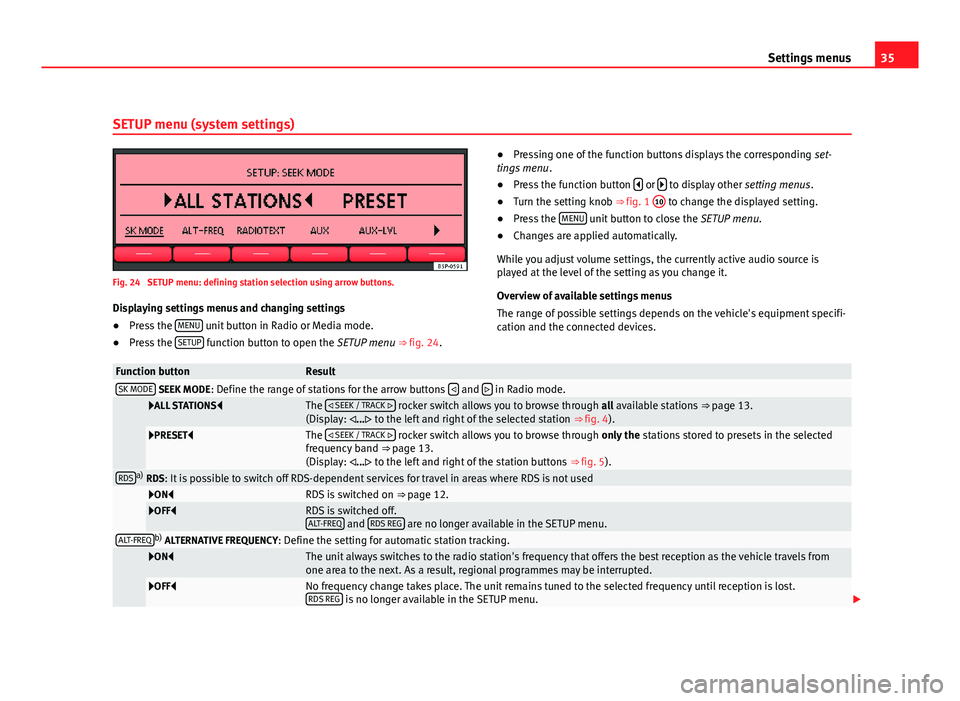
Fig. 24 SETUP menu: defining station selection using arrow buttons. Displaying settings menus and changing settings
● Press the MENU
unit button in Radio or Media mode.
● Press the SETUP function button to open the SETUP menu ⇒ fig. 24. ●
Pressing one of the function buttons displays the corresponding set-
tings menu .
● Press the function button
or to display other
setting menus.
● Turn the setting knob ⇒ fig. 1 10 to change the displayed setting.
● Press the MENU unit button to close the
SETUP menu.
● Changes are applied automatically.
While you adjust volume settings, the currently active audio source is
played at the level of the setting as you change it.
Overview of available settings menus
The range of possible settings depends on the vehicle's equipment specifi-
cation and the connected devices.
Function buttonResultSK MODE SEEK MODE : Define the range of stations for the arrow buttons and in Radio mode.
ALL STATIONS
The
SEEK / TRACK rocker switch allows you to browse through all available stations ⇒ page 13.
(Display: ... to the left and right of the selected station ⇒ fig. 4).
PRESETThe
SEEK / TRACK rocker switch allows you to browse through only the stations stored to presets in the selected
frequency band ⇒ page 13.
(Display: ... to the left and right of the station buttons ⇒ fig. 5).
RDSa)
RDS: It is possible to switch off RDS-dependent services for travel in areas where RDS is not used
ONRDS is switched on ⇒ page 12.OFFRDS is switched off.
ALT-FREQ and RDS REG are no longer available in the SETUP menu.ALT-FREQb)
ALTERNATIVE FREQUENCY : Define the setting for automatic station tracking.
ONThe unit always switches to the radio station's frequency that offers the best reception as the vehicle travels from
one area to the next. As a result, regional programmes may be interrupted.
OFFNo frequency change takes place. The unit remains tuned to the selected frequency until reception is lost.
RDS REG is no longer available in the SETUP menu.
Page 37 of 44
36Settings menus
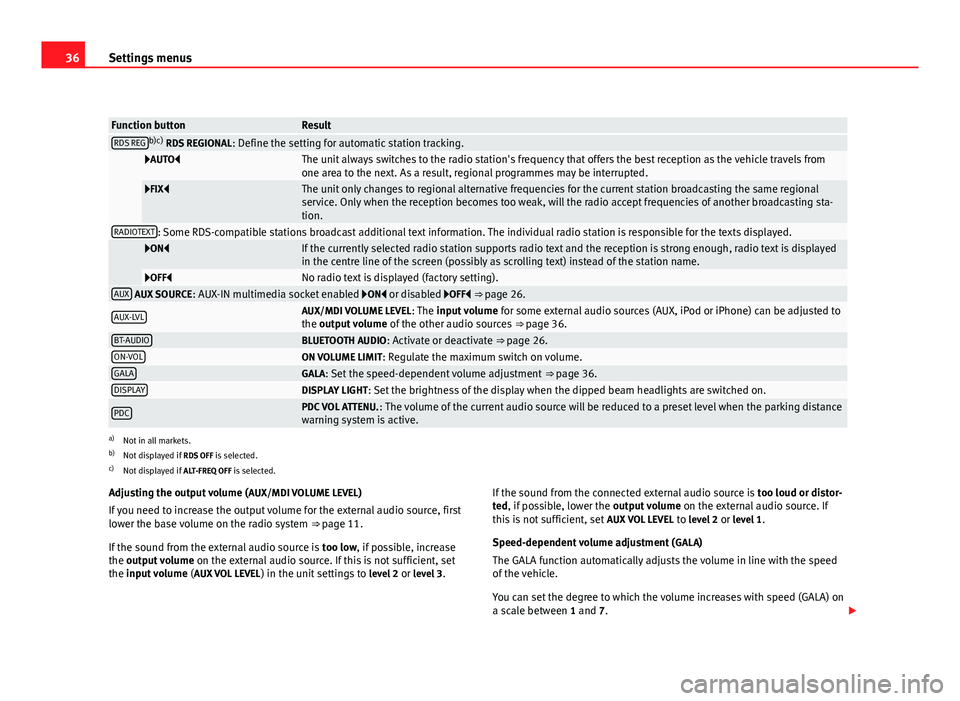
Function buttonResultRDS REGb)c)
RDS REGIONAL : Define the setting for automatic station tracking.
AUTOThe unit always switches to the radio station's frequency that offers the best reception as the vehicle travels from
one area to the next. As a result, regional programmes may be interrupted.
FIXThe unit only changes to regional alternative frequencies for the current station broadcasting the same regional
service. Only when the reception becomes too weak, will the radio accept frequencies of another broadcasting sta-
tion.
RADIOTEXT: Some RDS-compatible stations broadcast additional text information. The individual radio station is responsible for the texts displayed.
ONIf the currently selected radio station supports radio text and the reception is strong enough, radio text is displayed
in the centre line of the screen (possibly as scrolling text) instead of the station name.
OFFNo radio text is displayed (factory setting).AUX AUX SOURCE: AUX-IN multimedia socket enabled ON or disabled OFF ⇒ page 26.
AUX-LVLAUX/MDI VOLUME LEVEL : The input volume for some external audio sources (AUX, iPod or iPhone) can be adjusted to
the output volume of the other audio sources ⇒ page 36.
BT-AUDIOBLUETOOTH AUDIO: Activate or deactivate ⇒ page 26.ON-VOLON VOLUME LIMIT: Regulate the maximum switch on volume.GALAGALA: Set the speed-dependent volume adjustment ⇒ page 36.DISPLAYDISPLAY LIGHT: Set the brightness of the display when the dipped beam headlights are switched on.
PDCPDC VOL ATTENU. : The volume of the current audio source will be reduced to a preset level when the parking distance
warning system is active.
a) Not in all markets.
b) Not displayed if RDS OFF is selected.
c) Not displayed if ALT-FREQ OFF is selected.
Adjusting the output volume ( AUX/MDI VOLUME LEVEL)
If you need to increase the output volume for the external audio source, first
lower the base volume on the radio system ⇒ page 11.
If the sound from the external audio source is too low, if possible, increase
the output volume on the external audio source. If this is not sufficient, set
the input volume (AUX VOL LEVEL) in the unit settings to level 2 or level 3 . If the sound from the connected external audio source is
too loud or distor-
ted, if possible, lower the output volume on the external audio source. If
this is not sufficient, set AUX VOL LEVEL to level 2 or level 1 .
Speed-dependent volume adjustment ( GALA)
The GALA function automatically adjusts the volume in line with the speed
of the vehicle.
You can set the degree to which the volume increases with speed (GALA) on
a scale between 1 and 7.