warning light Seat Leon 5D 2012 Owner's Guide
[x] Cancel search | Manufacturer: SEAT, Model Year: 2012, Model line: Leon 5D, Model: Seat Leon 5D 2012Pages: 289, PDF Size: 3.81 MB
Page 83 of 289
82Introduction to the Easy Connect system*
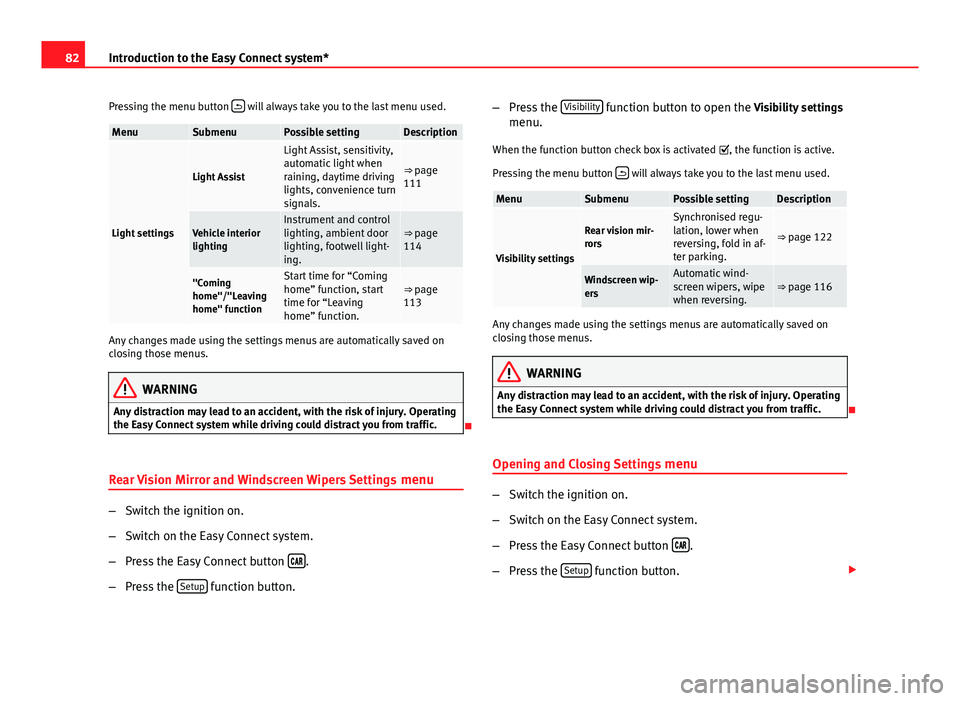
Pressing the menu button
will always take you to the last menu used.
MenuSubmenuPossible settingDescription
Light settings
Light Assist
Light Assist, sensitivity,
automatic light when
raining, daytime driving
lights, convenience turn
signals.
⇒ page
111
Vehicle interior
lightingInstrument and control
lighting, ambient door
lighting, footwell light-
ing.⇒ page
114
"Coming
home"/"Leaving
home" functionStart time for “Coming
home” function, start
time for “Leaving
home” function.⇒ page
113
Any changes made using the settings menus are automatically saved on
closing those menus.
WARNING
Any distraction may lead to an accident, with the risk of injury. Operating
the Easy Connect system while driving could distract you from traffic.
Rear Vision Mirror and Windscreen Wipers Settings menu
–Switch the ignition on.
– Switch on the Easy Connect system.
– Press the Easy Connect button
.
– Press the Setup
function button. –
Press the Visibility
function button to open the Visibility settings
menu.
When the function button check box is activated , the function is active.
Pressing the menu button
will always take you to the last menu used.
MenuSubmenuPossible settingDescription
Visibility settings
Rear vision mir-
rorsSynchronised regu-
lation, lower when
reversing, fold in af-
ter parking.
⇒ page 122
Windscreen wip-
ersAutomatic wind-
screen wipers, wipe
when reversing.⇒ page 116
Any changes made using the settings menus are automatically saved on
closing those menus.
WARNING
Any distraction may lead to an accident, with the risk of injury. Operating
the Easy Connect system while driving could distract you from traffic.
Opening and Closing Settings menu
–Switch the ignition on.
– Switch on the Easy Connect system.
– Press the Easy Connect button
.
– Press the Setup
function button.
Page 86 of 289
85
Introduction to the Easy Connect system*
Service information
– Switch the ignition on.
– Switch on the Easy Connect system.
– Press the Easy Connect button
.
– Press the Setup
function button.
– Press the Service
function button to display the information
about service inspections.
Pressing the menu button
will always take you to the last menu used.
MenuSubmenuPossible settingDescription
Service–
Chassis number,
date of next SEAT
service inspection,
date of next oil
change service.
⇒ page 61
WARNING
Any distraction may lead to an accident, with the risk of injury. Operating
the Easy Connect system while driving could distract you from traffic.
Restoring default settings
– Switch the ignition on.
– Switch on the Easy Connect system.
– Press the Easy Connect button
. –
Press the Setup
function button.
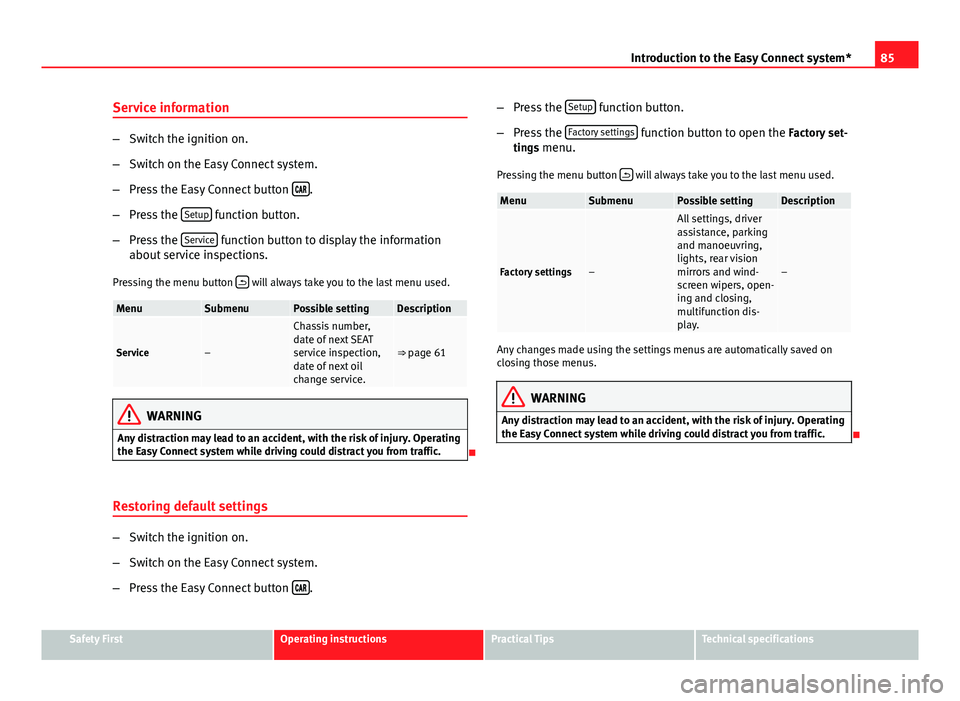
– Press the Factory settings
function button to open the Factory set-
tings menu.
Pressing the menu button
will always take you to the last menu used.
MenuSubmenuPossible settingDescription
Factory settings–
All settings, driver
assistance, parking
and manoeuvring,
lights, rear vision
mirrors and wind-
screen wipers, open-
ing and closing,
multifunction dis-
play.
–
Any changes made using the settings menus are automatically saved on
closing those menus.
WARNING
Any distraction may lead to an accident, with the risk of injury. Operating
the Easy Connect system while driving could distract you from traffic.
Safety FirstOperating instructionsPractical TipsTechnical specifications
Page 88 of 289
87
Opening and closing
To deactivate the alarm, press the button
on the remote control key, or
switch on the ignition. After a certain time, the alarm will automatically
switch off.
Switch off the vehicle interior monitoring and tow-away protection if you
wish to prevent the alarm from being triggered accidentally ⇒ page 95.
Turn signals
The turn signals will flash twice when the vehicle is unlocked and once
when the vehicle is locked.
If the signals do not flash, this indicates that one of the doors, the rear lid or
the bonnet is not closed correctly.
Accidental lock-out
The central locking system prevents you from being locked out of the vehi-
cle in the following situations:
● If the driver door is open, the vehicle cannot be locked with the central
locking switch ⇒ page 93.
Lock the vehicle with the remote control key, when all the doors and the rear
lid have been closed. This prevents the accidental locking of the vehicle.
WARNING
Do not leave anyone (especially children) in the vehicle if it is locked from
the outside and the anti-theft security system* is enabled, as the doors
and windows cannot then be opened from the inside. Locked doors could
delay assistance in an emergency, potentially putting lives at risk.
Note
● Never leave any valuable items in the vehicle unattended. Even a locked
vehicle is not a safe.
● If the diode on the driver door sill lights up for about 30 seconds when
the vehicle is locked, the central locking system or anti-theft alarm* is not
working properly. You should have the fault repaired at a SEAT Official Serv-
ice or specialised workshop.
● The vehicle interior monitoring of the anti-theft alarm* system will only
function as intended if the windows and the sunroof* are closed.
Safety FirstOperating instructionsPractical TipsTechnical specifications
Page 94 of 289

93
Opening and closing
Central locking switch
Fig. 50 Driver door: cen-
tral locking switch
– To lock the vehicle, press the
button ⇒ .
– To unlock the vehicle, press the
button ⇒ Fig. 50.
Please note the following when using the central locking switch to lock your
vehicle:
● It is not possible to open the doors or the rear lid from the outside (for
safety reasons, e.g. when stopped at traffic lights).
● The LED in the central locking switch lights up when all the doors are
closed and locked.
● You can open the doors individually from the inside by pulling the inside
door handle.
● In the event of an accident in which the airbags inflate, doors locked
from the inside will be automatically unlocked to facilitate access and assis-
tance.
WARNING
● The central locking switch also operates when the ignition is switch-
ed off and automatically locks all the vehicle doors when the button
is
pressed.
● The central locking switch does not operate if the vehicle is locked
from the outside and the anti-theft security system is switched on.
● Locked doors could delay assistance in an emergency, potentially
putting lives at risk. Do not leave anyone (especially children) in the vehi-
cle.
Note
The doors and the rear lid are locked automatically when the vehicle rea-
ches a speed of about 15 km/h (10 mph) (Auto Lock) ⇒ page 86. You can
unlock the vehicle again using button
on the central locking switch.
Anti-theft alarm system
Description
The anti-theft alarm makes it more difficult to break into the vehicle or steal
it.
The anti-theft alarm is automatically turned on when the vehicle is locked
with the key.
When does the system trigger an alarm?
The anti-theft alarm siren will be triggered for about 30 seconds accompa-
nied by optical warning signals for about five minutes when the vehicle is
locked and the following unauthorised actions are taken:
Safety FirstOperating instructionsPractical TipsTechnical specifications
Page 96 of 289
95
Opening and closing
The vehicle interior monitoring and anti-tow sensor (tilt sensor) are auto-
matically switched on when the anti-theft alarm is switched on. In order to
activate it, all the doors and the rear lid must be closed.
If you wish to switch off the vehicle interior monitoring and the anti-tow sys-
tem, it must be done each time that the vehicle is locked; if not, they will be
automatically switched on.
The vehicle interior monitoring and the anti-tow system should be switched
off if animals are left inside the locked vehicle (otherwise, their movements
will trigger the alarm) or when, for example, the vehicle is transported or
has to be towed with only one axle on the ground.
False alarms
The interior monitoring only operates correctly if the vehicle is completely
closed. Please observe legal requirements when doing so.
The following cases may cause a false alarm:
● opened windows (partially or fully)
● panoramic/tilting sunroof open (partially or completely).
● movement of objects inside the vehicle, such as loose papers, items
hanging from the rear vision mirror (air fresheners), etc.
Note
● If the vehicle is relocked and the alarm is activated without the volumet-
ric sensor function, relocking will activate the alarm with all its functions,
except the volumetric sensor. This function is reactivated when the alarm is
switched on again, unless it is deliberately switched off.
● If the alarm has been triggered by the volumetric sensor, this will be in-
dicated by a flashing of the warning lamp on the driver door when the vehi-
cle is opened. The flash is different to the flash indicating the alarm is acti-
vated. ●
The vibration of a mobile phone left inside the vehicle may cause the ve-
hicle interior monitoring alarm to trigger, as both sensors react to move-
ments and shakes inside the vehicle.
● If on activating the alarm, any door or the rear lid is open, only the alarm
will be activated. The vehicle interior monitoring and the anti-tow system
will only be activated once all the doors are closed (including the rear lid).
Deactivating the vehicle interior monitoring and tow-away
protection 1)
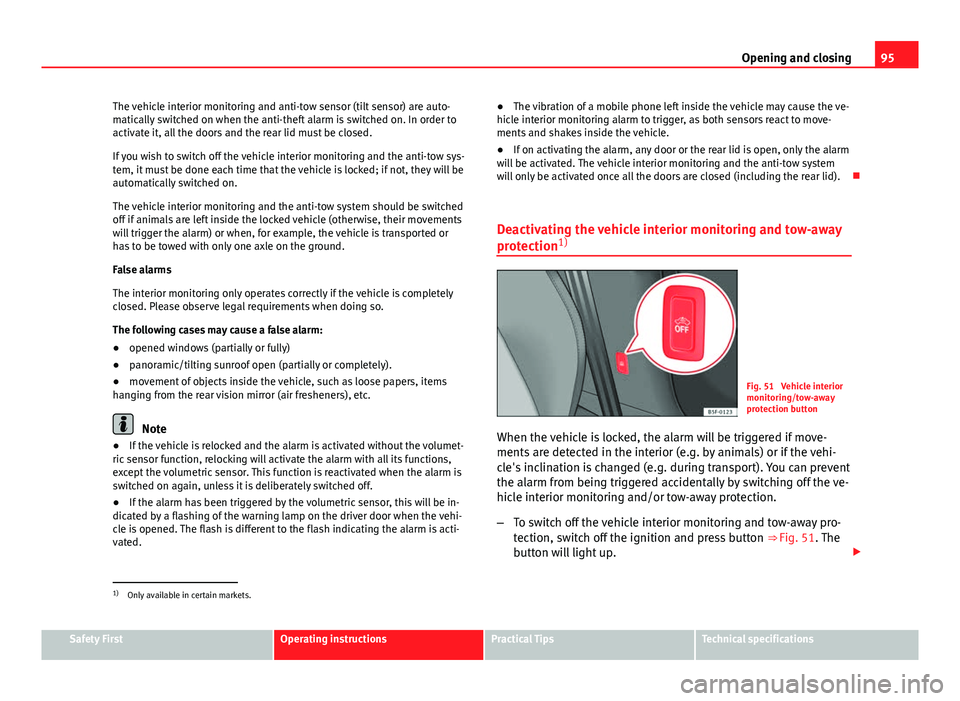
Fig. 51 Vehicle interior
monitoring/tow-away
protection button
When the vehicle is locked, the alarm will be triggered if move-
ments are detected in the interior (e.g. by animals) or if the vehi-
cle's inclination is changed (e.g. during transport). You can prevent
the alarm from being triggered accidentally by switching off the ve-
hicle interior monitoring and/or tow-away protection.
– To switch off the vehicle interior monitoring and tow-away pro-
tection, switch off the ignition and press button ⇒ Fig. 51. The
button will light up.
1)
Only available in certain markets.
Safety FirstOperating instructionsPractical TipsTechnical specifications
Page 99 of 289
98Opening and closing
A mechanical locking device (only visible when the door is open) is
provided on the front passenger door.
–Pull the cap out of the opening.
– Insert the key in the inside slot and turn it to the right as far as
it will go (if the door is on the right side) or to the left (if the
door is on the left side).
Once the door has been closed it can no longer be opened from the outside.
Pull the interior door handle once to unlock and open the door.
Rear lid (luggage compartment)
Rear lid
The rear lid opening system operates electrically. It is activa-
ted by using the handle on the rear lid.
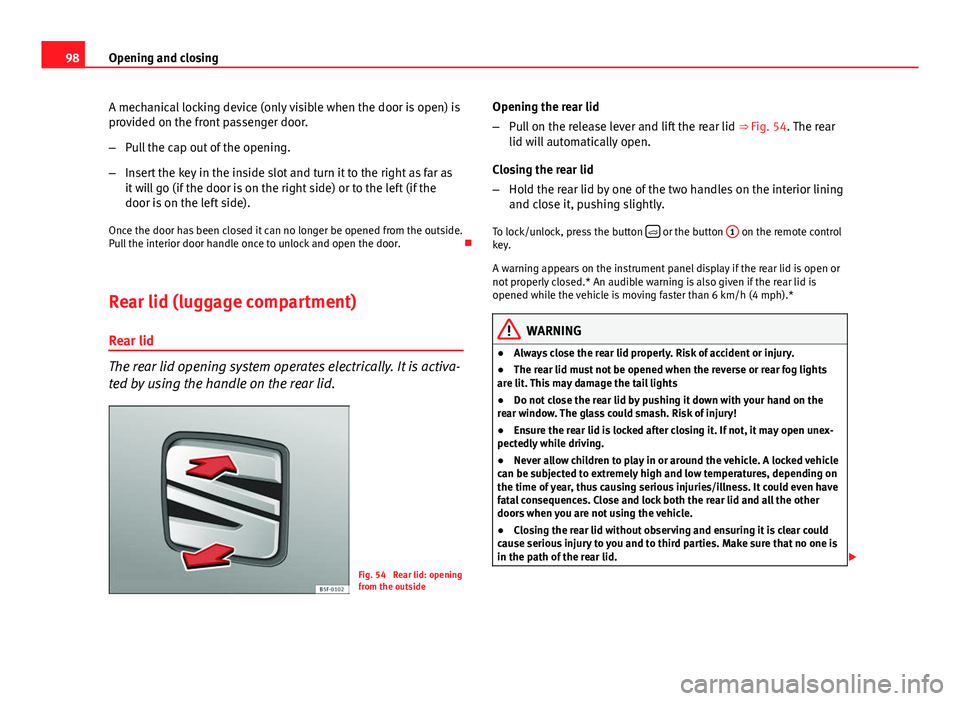
Fig. 54 Rear lid: opening
from the outside Opening the rear lid
–
Pull on the release lever and lift the rear lid ⇒ Fig. 54. The rear
lid will automatically open.
Closing the rear lid
– Hold the rear lid by one of the two handles on the interior lining
and close it, pushing slightly.
To lock/unlock, press the button
or the button
1 on the remote control
key.
A warning appears on the instrument panel display if the rear lid is open or
not properly closed.* An audible warning is also given if the rear lid is
opened while the vehicle is moving faster than 6 km/h (4 mph).*
WARNING
● Always close the rear lid properly. Risk of accident or injury.
● The rear lid must not be opened when the reverse or rear fog lights
are lit. This may damage the tail lights
● Do not close the rear lid by pushing it down with your hand on the
rear window. The glass could smash. Risk of injury!
● Ensure the rear lid is locked after closing it. If not, it may open unex-
pectedly while driving.
● Never allow children to play in or around the vehicle. A locked vehicle
can be subjected to extremely high and low temperatures, depending on
the time of year, thus causing serious injuries/illness. It could even have
fatal consequences. Close and lock both the rear lid and all the other
doors when you are not using the vehicle.
● Closing the rear lid without observing and ensuring it is clear could
cause serious injury to you and to third parties. Make sure that no one is
in the path of the rear lid.
Page 101 of 289
100Opening and closing
Electric windows
Electronic control of windows*
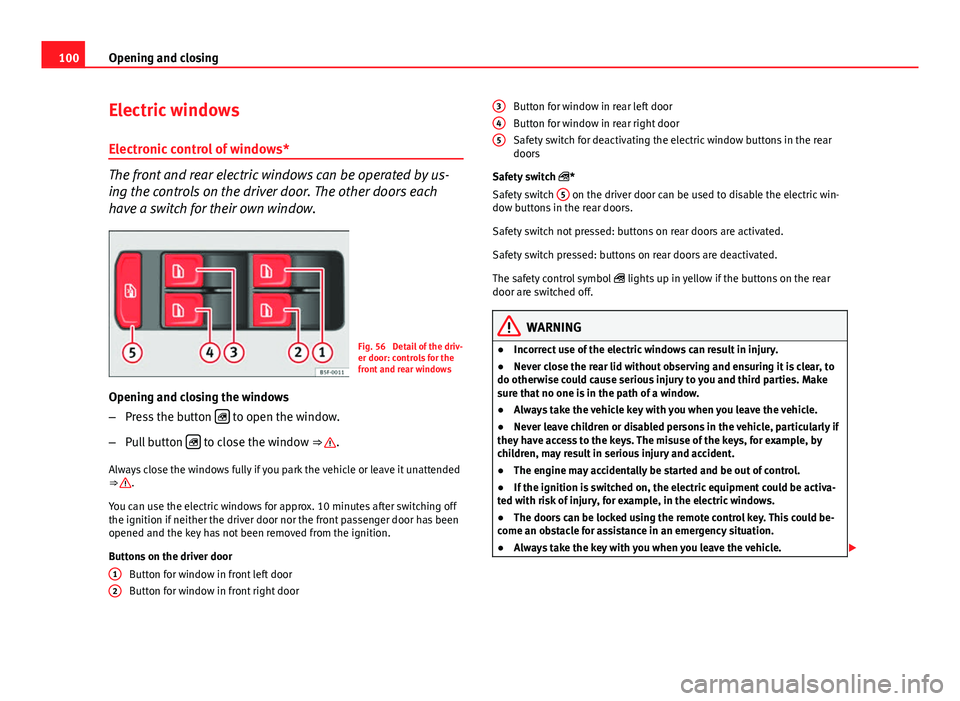
The front and rear electric windows can be operated by us-
ing the controls on the driver door. The other doors each
have a switch for their own window.
Fig. 56 Detail of the driv-
er door: controls for the
front and rear windows
Opening and closing the windows
– Press the button
to open the window.
– Pull button
to close the window ⇒ .
Always close the windows fully if you park the vehicle or leave it unattended
⇒
.
You can use the electric windows for approx. 10 minutes after switching off
the ignition if neither the driver door nor the front passenger door has been
opened and the key has not been removed from the ignition.
Buttons on the driver door Button for window in front left door
Button for window in front right door
1
2
Button for window in rear left door
Button for window in rear right door
Safety switch for deactivating the electric window buttons in the rear
doors
Safety switch *
Safety switch 5
on the driver door can be used to disable the electric win-
dow buttons in the rear doors.
Safety switch not pressed: buttons on rear doors are activated.
Safety switch pressed: buttons on rear doors are deactivated.
The safety control symbol lights up in yellow if the buttons on the rear
door are switched off.
WARNING
● Incorrect use of the electric windows can result in injury.
● Never close the rear lid without observing and ensuring it is clear, to
do otherwise could cause serious injury to you and third parties. Make
sure that no one is in the path of a window.
● Always take the vehicle key with you when you leave the vehicle.
● Never leave children or disabled persons in the vehicle, particularly if
they have access to the keys. The misuse of the keys, for example, by
children, may result in serious injury and accident.
● The engine may accidentally be started and be out of control.
● If the ignition is switched on, the electric equipment could be activa-
ted with risk of injury, for example, in the electric windows.
● The doors can be locked using the remote control key. This could be-
come an obstacle for assistance in an emergency situation.
● Always take the key with you when you leave the vehicle.
345
Page 107 of 289

106Lights and visibility
Lights and visibility
Lights Introduction
The legal requirements regarding the use of vehicle lights in each country
must be observed.
The driver is personally responsible for the correct use and adjustment of
the lights in all situations.
Additional information and warnings:
● Information system ⇒ page 73
● Changing bulbs ⇒ page 252
WARNING
If the headlights are regulated too high and the main beam is not used
correctly, there is a risk of dazzling or distracting other road users. This
could result in a serious accident.
● Always make sure that the headlights are correctly adjusted.
● Never use the main beam or headlight flasher when it can dazzle oth-
er drivers.
Control lamps
lights upPossible causeSolution
Driving light totally or partially
faulty.
Replace the corresponding
bulb ⇒ page 252.
If all the bulbs are OK, the vehi-
cle should be taken to a speci-
alised workshop if necessary.
Rear fog light switched on.⇒ page 108.
Fog lights switched on
Left or right turn signal.
The control lamp flashes twice
as fast when a vehicle or trailer
turn signal is faulty.If necessary, check the vehicle
and trailer lighting.
Main beam on or flasher on.⇒ page 107.
Light Assist on.⇒ page 109.
Several warning and control lamps should light up for a few seconds when
the ignition is switched on, signalling that the function is being verified.
They will switch off after a few seconds.
Page 108 of 289

107
Lights and visibility
WARNING
If the warning lamps and messages are ignored, the vehicle may stall in
traffic, or may cause accidents and severe injuries.
● Never ignore the warning lamps or text messages.
● Stop the vehicle safely as soon as possible.
● Park the vehicle at a suitable distance away from the traffic ensuring
that the exhaust system is not in contact with inflammable material, for
example, dry grass, fuel, oil, etc.
● A faulty vehicle represents a risk of accident for the driver and for oth-
er road users. If necessary, switch on the hazard warning lamps and put
out the warning triangle to advise other drivers.
CAUTION
Failure to heed the control lamps and text messages when they appear may
result in faults in the vehicle.
Turn signal and main beam lever*
Fig. 59 Turn signal and
main beam lever
Move the lever to the required position: Right turn signal. Right-hand parking light (ignition switched off)
⇒ page 109.
Left turn signal. Left-hand parking light (ignition switched off)
⇒ page 109.
Main beam switched on ⇒
. The control lamp
will light up on the
instrument panel.
Flashing the headlights. The flashed beam comes on if the lever is
pressed. The control lamp will light up.
Push the lever all the way down to turn off the corresponding function.
Convenience turn signals
For the convenience turn signals, move the lever as far as possible upwards
or downwards and release the lever. The turn signal will flash three times.
The convenience turn signals are activated and deactivated in the Easy Con-
nect system via the
key and the Setup function button ⇒ page 79.
In vehicles that do not have the corresponding menu, this function can be
deactivated in a specialised workshop.
WARNING
Improper or lack of use of the turn signals, or forgetting to deactivate
them can confuse other road users. This could result in a serious acci-
dent.
● Always give warning when you are going to change lane, overtake or
when turning, activating the turn signal in good time.
● As soon as you have finished changing lane, overtaking or turning,
switch the turn signal off.
WARNING
Incorrect use of the headlights may cause accidents and serious injury,
as the main beam may distract or dazzle other drivers.
1
2
3
4
Safety FirstOperating instructionsPractical TipsTechnical specifications
Page 109 of 289

108Lights and visibility
Note
● The turn signal only works when the ignition is switched on. The hazard
warning lights also work when the ignition is switched off.
● If a trailer turn signal malfunctions, the control lamp will stop flashing
(trailer turn signals) and the vehicle turn signal will flash at double speed.
● The main beam headlights can only be switched on if the dipped beam
headlights are already on.
Turning lights on and off
Fig. 60 Dash panel:
Light switch
The legal requirements regarding the use of vehicle lights in each country
must be observed.
Turn the light switch to the required position ⇒ Fig. 60:
Symbolif the ignition is switched offwhen the ignition is on
Fog lights, dipped beam and
side lights off.Light off, or daytime driving light
on.
The “Coming home” and
“Leaving home” guide lights
may be switched on.Automatic control of dipped
beam and daytime driving light.
Symbolif the ignition is switched offwhen the ignition is on
Side light on.Side light on.
Dipped beam off; if necessa-
ry, the side light comes on for
a time.Dipped beam switched on.
Fog lights
The control lamps
or also show, on the light switch or instrument pan-
el, when the fog lights are on.
● Switching on the fog lights : pull the light switch to the first stop, from
positions , or .
● Switching on the rear fog light : pull the light switch completely from
position , or .
● To switch off the fog lights, press the light switch or turn it to position .
Audible warnings to advise the driver that the lights have not been
switched off
If the key is not in the ignition and the driver door is open, an audible warn-
ing signal is heard in the following cases: This is a reminder to turn off the
lights.
● When the parking light is on ⇒ page 107.
● When the light switch is in position or .
WARNING
The side lights or daytime driving lights are not bright enough to illumi-
nate the road ahead and to ensure that other road users are able to see
you.
● Always use your dipped beam head lights if it is raining or if visibility
is poor.