display Seat Leon 5D 2013 MEDIA SYSTEM PLUS - NAVI SYSTEM
[x] Cancel search | Manufacturer: SEAT, Model Year: 2013, Model line: Leon 5D, Model: Seat Leon 5D 2013Pages: 72, PDF Size: 3 MB
Page 3 of 72
2General informationGeneral informationThis manual contains information, recommendations, advice and warningsrelated to your radio system. The other publications in the vehicle documen-tation contain further information of which you should be aware for yourown safety and for that of your passengers.
Ensure that the onboard documentation is kept in the vehicle at all times.This is especially important when lending or selling the vehicle to anotherperson.
This manual contains a description of the equipment supplied with the ve-hicle at the time of press. Some of the units described herein will not beavailable until a later date or is only available in certain markets.
The illustrations are intended as a general guide and may vary from theequipment fitted in your vehicle in some details.
The screen colour and the colour of the information displayed on it can varyaccording to vehicle model.
Directions and positions of components (e.g. right, left, front, rear) are al-ways relative to the direction of travel of the vehicle unless otherwise sta-ted.
The equipment marked with an asterisk is only supplied as standard incertain model versions, is optional in others or is only available in spe-cific countries.
Registered trademarks are marked ®. The absence of this symbol doesnot constitute a waiver of the rights concerning any proprietary name.
The section is continued on the following page.
Marks the end of a section.
®WARNINGTexts preceded by this symbol contain information on safety. They warnyou about possible dangers of accident or injury.
CAUTION
Texts with this symbol draw your attention to potential sources of damageto your vehicle.
For the sake of the environment
Texts preceded by this symbol contain relevant information concerning envi-ronmental protection.
Note
Texts preceded by this symbol contain additional information.
Page 6 of 72
5IntroductionWARNINGAn armrest may obstruct the driver's arm movements, which could causeaccidents and severe injuries.●
Always keep the armrest closed while the vehicle is in motion.
WARNINGOpening the housing of a CD player can cause injury due to invisible la-ser radiation.●
CD players should only be repaired by a qualified workshop.
WARNINGThe recommendations and traffic signs shown by the navigation systemmay differ from the true traffic conditions.●
Traffic signs and traffic regulations have priority over the recommen-dations and displays provided by the navigation system.
●
Adjust your speed and driving style to visibility, road, traffic andweather conditions.
Note
Not inserting the data medium correctly, or inserting unsuitable data media,may damage the unit.●
When inserting the memory card, make sure it is in the correct position⇒ page 28.
●
If you push too hard, you could damage the lock on the memory cardslot.
●Only use suitable memory cards.●
The CD slot is equipped with a lock function. Do not force CDs into theslot.
●
Only have the CD player repaired by a specialised workshop.
●
If you insert a CD while another is already inside or is being ejected, thiscould damage the CD player unit. Always wait until the data medium hasbeen fully ejected!
Note
The CD drive can be damaged by any foreign objects attached to a data me-dium and by irregularly shaped data media.●
Only use standard 12 cm CDs!
●
Do not stick stickers or other items to the data media. Stickers may peeloff and damage the drive.
●
Do not use printable data media. Covers and stickers may peel off anddamage the drive.
●
Do not insert CD or DVD “singles” (8 cm) or CDs that are not round(“shape-CDS”).
●
Do not insert DVD Plus discs, dual discs or flip discs, as these are thickerthan normal CDs.
Note
Playing media at a very high or distorted volume can damage the speakersof the vehicle.
Page 9 of 72
8IntroductionGeneral information on operating the unit
Introduction
Note
●Lightly pressing the buttons or briefly pressing the touchscreen is suffi-cient to operate the unit.●
It is possible that not all the functions and function buttons are availa-ble as the software of the unit responds to the specific characteristics ofeach market. If a function button is missing on the display this is not due toan error in the unit.
●
Due to country-specific legislation, certain functions cannot be selectedon the screen when the vehicle is travelling above a certain speed.
●
Using a mobile phone inside the vehicle can cause noise in the speak-ers.
●
There may be restrictions on the use of Bluetooth devices in some coun-tries. Information is available from the local authorities.
●
In some vehicles equipped with a parking distance warning system, thevolume of the audio source is automatically lowered when the gear is en-gaged.
Rotary push knobs and buttons
Rotary/push knob
The left rotary push knob ⇒ Fig. 1
1
is referred to as the volume control or the on/off button.
The right rotary push knob ⇒ Fig. 1
4
is referred to as the setting button.
Infotainment buttons
The unit buttons are represented in this manual with the word “infotain-ment button” and their function is shown inside a rectangle (for example:MEDIA infotainment button ⇒ Fig. 1.
The infotainment buttons are operated by pressing them or holding themdown.
Switching on and off
To switch the unit on or off manually, briefly press the rotary push knob ⇒ Fig. 1
1
.
When you connect the system it will play at the volume at which it was lastset, provided it does not exceed the maximum permitted volume⇒ page 64.
The unit will switch off automatically when the vehicle key is removed. If youturn the unit back on after the engine has been switched off, it will turn offautomatically after approximately 30 minutes (delayed switch-off).
Note
●The unit is linked to the vehicle. It cannot be used in any other vehicle.●
When the vehicle battery is disconnected, you must turn ignition on be-fore switching the unit on again.
Page 10 of 72
9IntroductionAdjusting the base volumeeffectuseIncrease the vol-ume.Turn the volume control clockwise or turn the rightroller upwards on the multifunction steering wheel⇒ Booklet Instruction manual.
Lower the vol-ume.Turn the volume control anticlockwise or turn the rightthumbwheel downwards on the multifunction steeringwheel.
The volume modification is shown on the screen with a bar. During this timethe unit cannot be operated.
It is possible to preset certain volume settings and adjustments⇒ page 64.
Silence the unit
●
Turn the volume control anticlockwise until you see .
●
OR: Press the MUTE infotainment button.
Note
If the basic playback volume of an audio source has been increased sub-stantially, lower the volume before changing to another audio source.
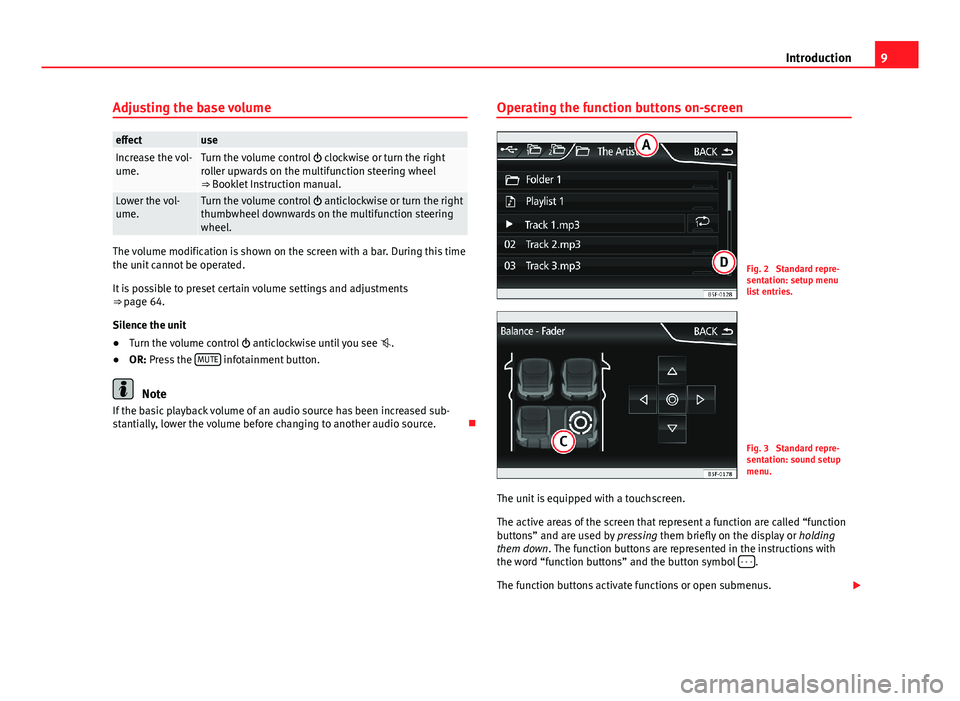
Operating the function buttons on-screenFig. 2
Standard repre-sentation: setup menulist entries.
Fig. 3
Standard repre-sentation: sound setupmenu.
The unit is equipped with a touchscreen.
The active areas of the screen that represent a function are called “functionbuttons” and are used by pressing them briefly on the display or holdingthem down. The function buttons are represented in the instructions withthe word “function buttons” and the button symbol - - -.
The function buttons activate functions or open submenus.
Page 12 of 72
11IntroductionAdditional information and display options
The information on the screen can vary depending on the settings and maydiffer from the descriptions shown here.
The main screens show the current time and outdoor temperature. They alsoshow information such as the TP status, signal and battery.
All information is displayed just after fully starting up the infotainment sys-tem.
Page 14 of 72
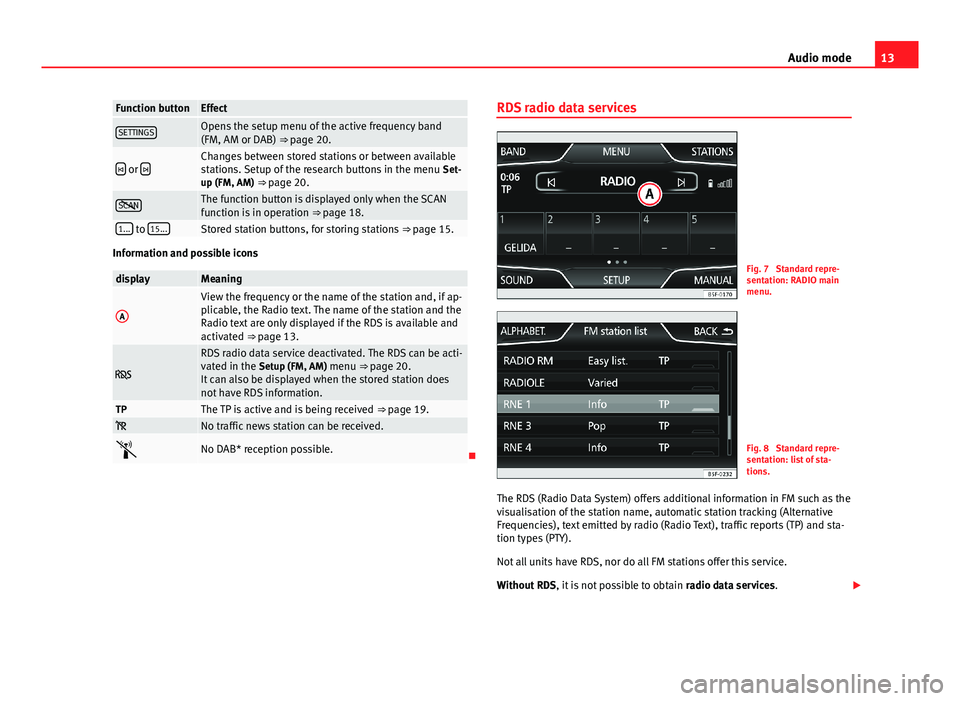
13Audio modeFunction buttonEffectSETTINGSOpens the setup menu of the active frequency band(FM, AM or DAB) ⇒ page 20. or Changes between stored stations or between availablestations. Setup of the research buttons in the menu Set-up (FM, AM) ⇒ page 20.
SCANThe function button is displayed only when the SCANfunction is in operation ⇒ page 18.1... to 15...Stored station buttons, for storing stations ⇒ page 15.
Information and possible icons
displayMeaningAView the frequency or the name of the station and, if ap-plicable, the Radio text. The name of the station and theRadio text are only displayed if the RDS is available andactivated ⇒ page 13.
RDS radio data service deactivated. The RDS can be acti-vated in the Setup (FM, AM) menu ⇒ page 20.It can also be displayed when the stored station doesnot have RDS information.
TPThe TP is active and is being received ⇒ page 19. No traffic news station can be received.No DAB* reception possible.
RDS radio data servicesFig. 7
Standard repre-sentation: RADIO mainmenu.
Fig. 8
Standard repre-sentation: list of sta-tions.
The RDS (Radio Data System) offers additional information in FM such as thevisualisation of the station name, automatic station tracking (AlternativeFrequencies), text emitted by radio (Radio Text), traffic reports (TP) and sta-tion types (PTY).
Not all units have RDS, nor do all FM stations offer this service.
Without RDS, it is not possible to obtain radio data services.
Page 15 of 72
14Audio modeName of the station and automatic station tracking
When the RDS is available, you can view the station names in the RADIOmain menu and in the list of FM stations.
The FM stations send different content under one name (for example, Radio2) in various regional frequencies, provisionally or permanently.
When driving, the automatic station tracking automatically changes to thefrequency that provides the best reception of the currently-selected station.As a result, you may lose the regional programme you are listening to.
The automatic change of frequencies and automatic station tracking can belinked through the FM setup ⇒ page 20.
Radio text
Some RDS-compatible stations also broadcast additional text informationknown as radio text.
The radio text is displayed in the top half of the screen, above the storedstation buttons.
The radio text display can be linked through the FM setup ⇒ page 20.
Note
●The radio stations are responsible for the content broadcast.●
Due to infrastructure issues, RDS functions may be limited in certaincountries, and you may not be able to use traffic reports, automatic stationtracking (AF) or programme types (PTY).
●
In some cases the name of the station is too long. This text may beblocked/unblocked by pressing on the station name for 3 seconds (a dotwill appear on the left and right of the station name).
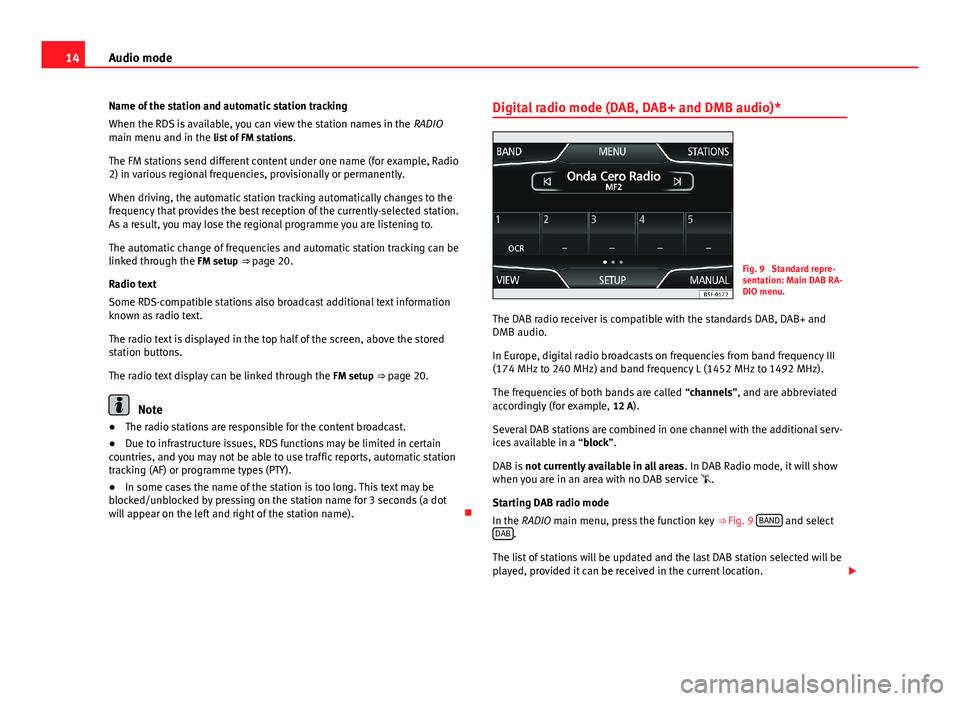
Digital radio mode (DAB, DAB+ and DMB audio)*Fig. 9
Standard repre-sentation: Main DAB RA-DIO menu.
The DAB radio receiver is compatible with the standards DAB, DAB+ andDMB audio.
In Europe, digital radio broadcasts on frequencies from band frequency III(174 MHz to 240 MHz) and band frequency L (1452 MHz to 1492 MHz).
The frequencies of both bands are called “channels”, and are abbreviatedaccordingly (for example, 12 A).
Several DAB stations are combined in one channel with the additional serv-ices available in a “block”.
DAB is not currently available in all areas. In DAB Radio mode, it will showwhen you are in an area with no DAB service .
Starting DAB radio mode
In the RADIO main menu, press the function key ⇒ Fig. 9 BAND and selectDAB.
The list of stations will be updated and the last DAB station selected will beplayed, provided it can be received in the current location.
Page 16 of 72
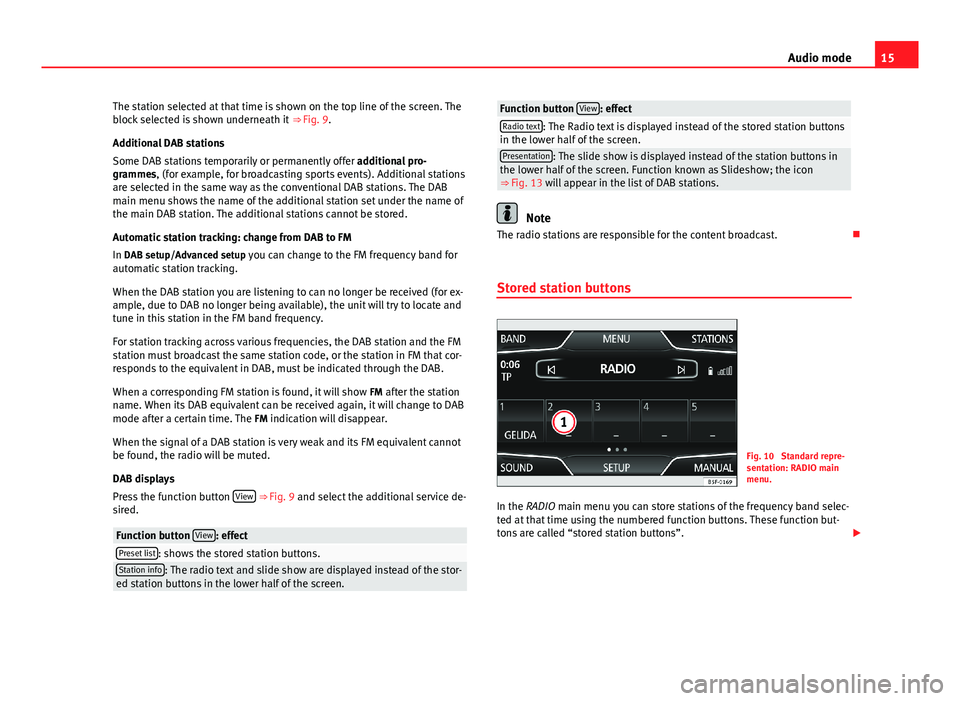
15Audio modeThe station selected at that time is shown on the top line of the screen. Theblock selected is shown underneath it ⇒ Fig. 9.
Additional DAB stations
Some DAB stations temporarily or permanently offer additional pro-grammes, (for example, for broadcasting sports events). Additional stationsare selected in the same way as the conventional DAB stations. The DABmain menu shows the name of the additional station set under the name ofthe main DAB station. The additional stations cannot be stored.
Automatic station tracking: change from DAB to FM
In DAB setup/Advanced setup you can change to the FM frequency band forautomatic station tracking.
When the DAB station you are listening to can no longer be received (for ex-ample, due to DAB no longer being available), the unit will try to locate andtune in this station in the FM band frequency.
For station tracking across various frequencies, the DAB station and the FMstation must broadcast the same station code, or the station in FM that cor-responds to the equivalent in DAB, must be indicated through the DAB.
When a corresponding FM station is found, it will show FM after the stationname. When its DAB equivalent can be received again, it will change to DABmode after a certain time. The FM indication will disappear.
When the signal of a DAB station is very weak and its FM equivalent cannotbe found, the radio will be muted.
DAB displays
Press the function button View ⇒ Fig. 9 and select the additional service de-sired.
Function button View: effectPreset list: shows the stored station buttons.Station info: The radio text and slide show are displayed instead of the stor-ed station buttons in the lower half of the screen.Function button View: effectRadio text: The Radio text is displayed instead of the stored station buttonsin the lower half of the screen.Presentation: The slide show is displayed instead of the station buttons inthe lower half of the screen. Function known as Slideshow; the icon⇒ Fig. 13 will appear in the list of DAB stations.
Note
The radio stations are responsible for the content broadcast.
Stored station buttons
Fig. 10
Standard repre-sentation: RADIO mainmenu.
In the RADIO main menu you can store stations of the frequency band selec-ted at that time using the numbered function buttons. These function but-tons are called “stored station buttons”.
Page 18 of 72
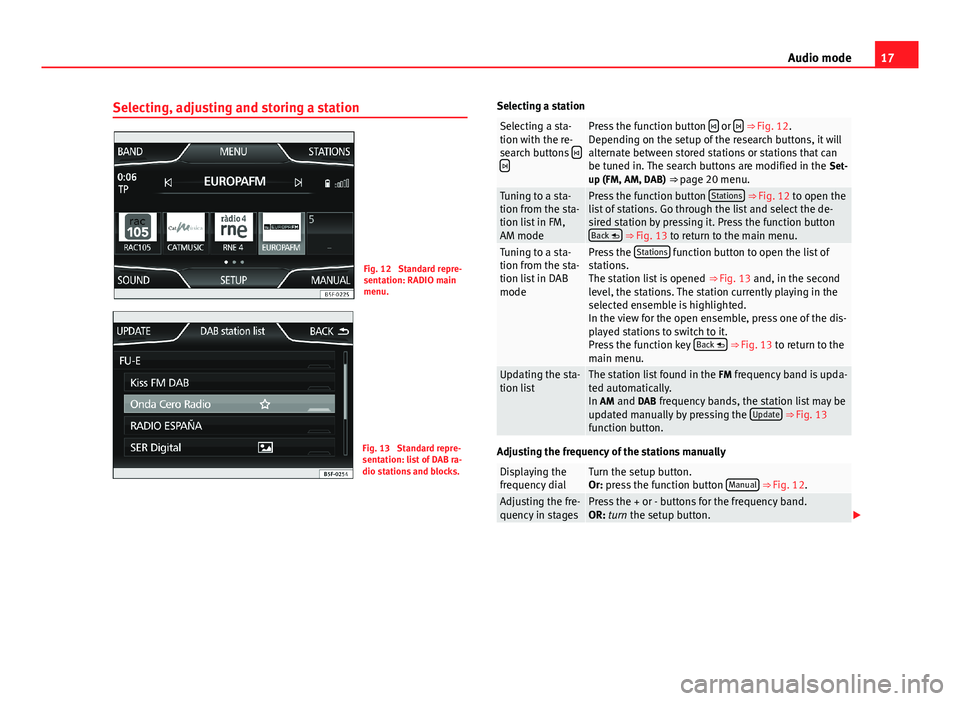
17Audio modeSelecting, adjusting and storing a stationFig. 12
Standard repre-sentation: RADIO mainmenu.
Fig. 13
Standard repre-sentation: list of DAB ra-dio stations and blocks.
Selecting a stationSelecting a sta-tion with the re-search buttons
Press the function button or ⇒ Fig. 12.Depending on the setup of the research buttons, it willalternate between stored stations or stations that canbe tuned in. The search buttons are modified in the Set-up (FM, AM, DAB) ⇒ page 20 menu.
Tuning to a sta-tion from the sta-tion list in FM,AM mode
Press the function button Stations ⇒ Fig. 12 to open thelist of stations. Go through the list and select the de-sired station by pressing it. Press the function buttonBack ⇒ Fig. 13 to return to the main menu.
Tuning to a sta-tion from the sta-tion list in DABmode
Press the Stations function button to open the list ofstations.The station list is opened ⇒ Fig. 13 and, in the secondlevel, the stations. The station currently playing in theselected ensemble is highlighted.In the view for the open ensemble, press one of the dis-played stations to switch to it.Press the function key Back ⇒ Fig. 13 to return to themain menu.
Updating the sta-tion listThe station list found in the FM frequency band is upda-ted automatically.In AM and DAB frequency bands, the station list may beupdated manually by pressing the Update ⇒ Fig. 13function button.
Adjusting the frequency of the stations manually
Displaying thefrequency dialTurn the setup button.Or: press the function button Manual ⇒ Fig. 12.Adjusting the fre-quency in stagesPress the + or - buttons for the frequency band.OR: turn the setup button.
Page 20 of 72
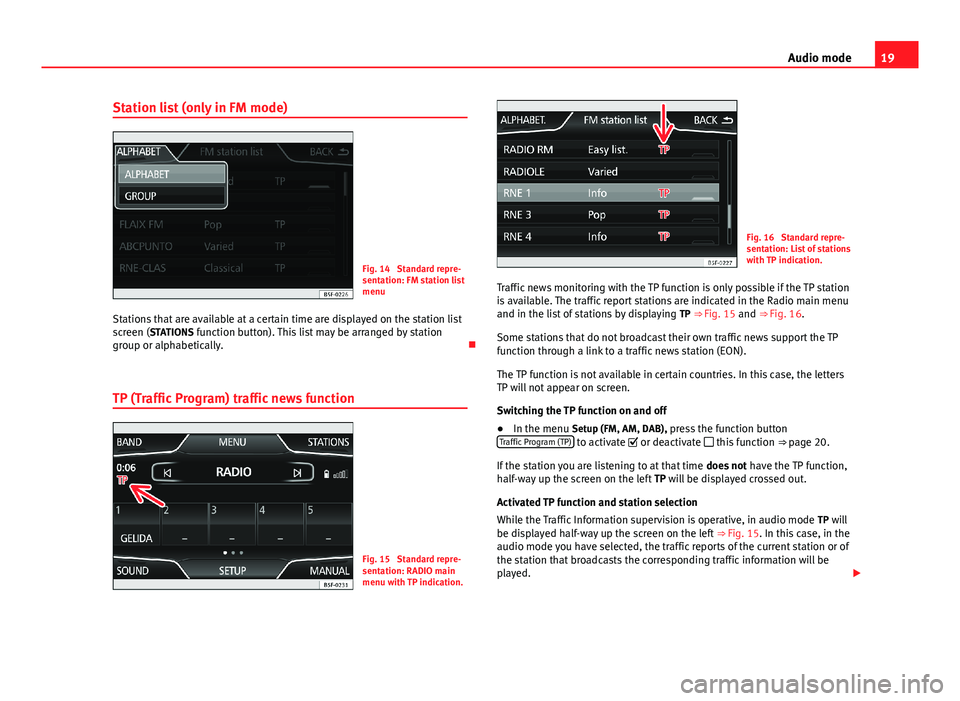
19Audio modeStation list (only in FM mode)Fig. 14
Standard repre-sentation: FM station listmenu
Stations that are available at a certain time are displayed on the station listscreen (STATIONS function button). This list may be arranged by stationgroup or alphabetically.
TP (Traffic Program) traffic news function
Fig. 15
Standard repre-sentation: RADIO mainmenu with TP indication.
Fig. 16
Standard repre-sentation: List of stationswith TP indication.
Traffic news monitoring with the TP function is only possible if the TP stationis available. The traffic report stations are indicated in the Radio main menuand in the list of stations by displaying TP ⇒ Fig. 15 and ⇒ Fig. 16.
Some stations that do not broadcast their own traffic news support the TPfunction through a link to a traffic news station (EON).
The TP function is not available in certain countries. In this case, the lettersTP will not appear on screen.
Switching the TP function on and off
●
In the menu Setup (FM, AM, DAB), press the function buttonTraffic Program (TP) to activate or deactivate this function ⇒ page 20.
If the station you are listening to at that time does not have the TP function,half-way up the screen on the left TP will be displayed crossed out.
Activated TP function and station selection
While the Traffic Information supervision is operative, in audio mode TP willbe displayed half-way up the screen on the left ⇒ Fig. 15. In this case, in theaudio mode you have selected, the traffic reports of the current station or ofthe station that broadcasts the corresponding traffic information will beplayed.