key Seat Toledo 2008 RADIO-NAVIGATION
[x] Cancel search | Manufacturer: SEAT, Model Year: 2008, Model line: Toledo, Model: Seat Toledo 2008Pages: 96, PDF Size: 3.72 MB
Page 6 of 96
Quick Reference Guide5
Caution
•
Inserting a new CD while an inserted CD is being ejected can destroy the
CD drive in the unit. You must wait until the CD is ejected before trying to
insert a new CD.
•
Do not press buttons or keys forcefully, otherwise an imperfection may
occur. Light pressure is sufficient to operate the unit. The rotary/push knobs
have breaking points to reduce the risk of injury in the event of an accident.
•
Do not use pointed or sharp objects on the touch screen. Lightly pressing
with your finger is enough. The screen indication that it cannot be activated
by pressing with your finger is not available.
•
Please not that a defective navigation data medium can serious impair
the speed and functions of the navigation system ⇒ page 49.
•
Refer to the notes on requirements for data media, folders and playlists
⇒ page 25.Note
•
The unit can play audio files fr om various different data media
⇒ page 25.
•
The navigation system takes a few seconds to process complicated oper-
ations. During this time, the unit may appear not to respond to further opera-
tion of the controls. When this occur s, do not continue to operate the
controls, as the unit “remembers” any commands and will “work through”
them in the order they were given when the current processes have been
completed.
•
Interference noise may be heard when using a mobile telephone in the
vehicle.
•
In vehicles with a window aerial, the reception could be impaired if foil or
metal-coated stickers are attached to the windows.
•
In some vehicles with a parking distance warning system*, the volume of
the audio source currently playing is automatically reduced when the vehicle is put into reverse gear so that the driver can hear the acoustic signals given
by the parking distance warning system.
•
In vehicles with an optical parking system*, a visualisation of the detec-
tion range of the parking distance warning system is also shown on the
screen.
•
If changes have already been made to the basic settings, you may find
that some aspects of the unit's operation differ from the descriptions given in
this manual ⇒page 11, “Resetting the unit to the factory settings”.
media_system_ingles.book Seite 5 Donnerstag, 5. Februar 2009 3:31 15
Page 7 of 96
Quick Reference Guide
6Operation whilst the vehicle is in motion Travelling on today's roads requires the driver's full attention at all times.
WARNING
It is fundamental that you are suffic iently alert while driving. Any distrac-
tion may lead to an accident, with the risk of injury.•
Never lose sight of the road while using the equipment.
•
Use the equipment only when the state of the road, the weather and
traffic conditions permit.
•
When adjusting the volume, keep in mind that signals from outside the
vehicle, such as a police or fire brigade horn, must be audible at all times.Note
Depending on the country, some functions of the radio and navigation
system may not be available on the screen above a certain speed. This is not
an error, but rather compliance with the legal requirements of the country.Switching on or off– Briefly press the on/off switch ⇒page 3, fig. 1 to switch on
the unit. The system will initialise and the latest settings will
load. The most recently used audio source is activated.
– To turn off the equipment, briefly press the on/off button again.
When the unit is switched on, the last audio source used is activated at the
most recent volume setting, provided th is does not exceed the pre-selected
“ switch-on volume ” ⇒ page 12.
Switch-off delay
When you remove the key from the ignition lock, the unit is switched off. You
can then switch the unit on again. The equipment automatically switches off
after 30 minutes, so as to not drain the vehicle's battery.
Convenience radio coding
If the equipment has been removed and then reinstalled in the vehicle, or if
the battery has been disconnected, it is no longer necessary to manually
deactivate the antitheft codification, since the code remains in the vehicle
memory after entering it the first time.
If the code numbers do not match, however, e.g. because the unit has been
installed in another vehicle, the electron ic lock must be released manually
⇒ page 88, “Entering the PIN”.
A1
media_system_ingles.book Seite 6 Donnerstag, 5. Februar 2009 3:31 15
Page 11 of 96
Quick Reference Guide
10Turn the setting knob to move a selection box ⇒page 9, fig. 4 within the
list. When the selection box is moved to the end of the list, the list view
“jumps” to the next set of menu items.
Press the setting knob to open the item (track/station) marked within the
selection box.
Moving the scroll marker on the screen
If there are more items available than can be displayed on the screen, this is
indicated by a form of “scroll bar” on the left of the screen. The coloured semi-
circle indicates the size of the overall list and the “ scroll marker” ⇒ page 9,
fig. 4 shows the position of the section of the list currently displayed. The
size of the scroll marker corresponds to the size of the current section of the
list relative to the list as a whole. The smaller the scroll marker, the longer the
overall list (see ⇒page 15, fig. 9 ).
To view the list page by page, briefly press the screen above or below the
scroll marker.
To quickly move through the list, you can also “drag” the scroll marker
manually. To do so, place your finger on the scroll marker and move your
finger downwards across the screen without losing contact.
The scroll marker follows your moveme nts, but only along the pre-defined
line (semi-circle). When it is in the co rrect position, lift your finger from the
screen.
Closing a submenu or a list view
Press the button at the bottom of the unit ⇒page 3, fig. 1 to move
from any submenu to the next menu up. You can go back as far as the respec-
tive main menu.
Vehicles with multi-function steering wheel
4)
Some actions (e.g. adjusting the volume, changing track) can also be carried
out with the controls on the multi-func tion steering wheel. See your vehicle owner's manual for instructions on
operation using the multi-function
steering wheel.
About this operating manualTo facilitate your comprehension, we have included a brief
description of the operations an d functions contained in this
manual.If changes have already been made to the basic settings, you may find that
some aspects of the unit's operation diff er from the descriptions given in this
manual ⇒page 11, “Resetting the unit to the factory settings”.
Unit buttons, function select ion buttons and function buttons
In the text of this instruction manual, there is a distinction made between the
hardkeys and the “function buttons” (softkeys) that appear on the screen.
The printed unit buttons (e.g. the function selection buttons ⇒page 3, fig. 1
) are always accompanied by the word “button”. For example, then, the
phrase in the manual would be: “Briefly press the function selection
button.” If the manual is talking about a “button” or a “main menu button”
along with a symbol of a button , you will always find this button on the
equipment and not on the screen. You will find an overview and brief descrip-
tion of the unit buttons at the beginning of the manual ⇒page 3, fig. 1 .
The function buttons are shown in the text with the words “function button”
and the symbol of the button or perhaps only with the symbol of the
button .
The first time a function button is referenced in an illustration, a reference to
the illustration is added to the symbol of the button. The reference of a figure
can be found at the beginning of the de scription of the figure. When the text
refers to another illustration, a new re ference will be added to the illustration.
4)Optional equipment!
AC
AH
AH
A8
A2
RADIO
......
...
media_system_ingles.book Seite 10 Donnerstag, 5. Februar 2009 3:31 15
Page 12 of 96
Quick Reference Guide11
Structure of the operating manual
The unit overview is at the beginning of the operating manual. Here the unit
buttons (hard keys) and additional control elements are explained in a brief
overview.
In the following manual, when the position of the control is described in
detail, a reference to the equipment overview and the number used to distin-
guish it will be used. In the followi ng figures of the manual, only the the
content of the screens will be shown.
At the beginning of each main chapter, there is an overview with a brief expla-
nation of the functions available. An explanation of the individual steps can
be found in the following chapters.
Altered display appearance
The unit's software may have been mod ified with vehicle-specific updates
since the publication of this operating manual. if this is the case, the names
of certain function button and the display colours may differ from the descrip-
tions given in this operating manual.Resetting the unit to the factory settingsIt is possible to reset the radio-navigation system to its orig-
inal state as described in this manual.If changes have already been made to the basic settings, you may
find that some aspects of the unit's operation differ from the
descriptions given in this manual. We therefore recommend that you
reset the unit to the factory settings if you are operating it for the first
time.
– Press the function selection button on the right of the unit ⇒page 3, fig. 1 . – Press the function button on the screen.
– This opens the system settings menu. Now press the
function button.
– You are then asked to confirm the command. Press the func- tion button at the bottom left of the screen to confirm.
Note
Please not that resetting to the fact ory settings will erase all previously
entered data and settings. Any destinations you have saved or navigated to
will also be deleted!
SETUP
A2
System
Factory settings
Ye s
media_system_ingles.book Seite 11 Donnerstag, 5. Februar 2009 3:31 15
Page 30 of 96
MEDIA function selection button29
completely filled. The elapsed playing time is displayed at the bottom left and
the remaining playing time at the bottom right of the screen in
minutes/seconds. The remaining playi ng time cannot be displayed for files
with variable bit rate (VBR).
Unit buttons (hard keys) for controlling the media sources
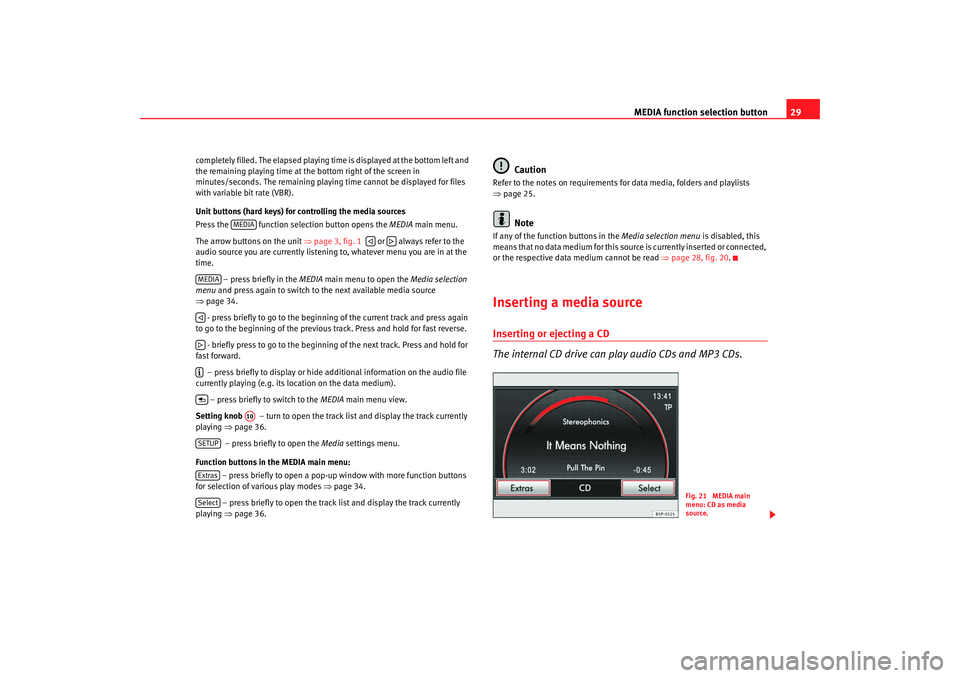
Press the function selec tion button opens the MEDIA main menu.
The arrow buttons on the unit ⇒page 3, fig. 1 or always refer to the
audio source you are currently listening to, whatever menu you are in at the
time.
– press briefly in the MEDIA main menu to open the Media selection
menu and press again to switch to the next available media source
⇒ page 34.
- press briefly to go to the beginni ng of the current track and press again
to go to the beginning of the previous track. Press and hold for fast reverse.
- briefly press to go to the beginning of the next track. Press and hold for
fast forward.
– press briefly to display or hide additional information on the audio file
currently playing (e.g. its loc ation on the data medium).
– press briefly to switch to the MEDIA main menu view.
Setting knob – turn to open the track list and display the track currently
playing ⇒page 36.
– press briefly to open the Media settings menu.
Function buttons in the MEDIA main menu: – press briefly to open a pop-up window with more function buttons
for selection of various play modes ⇒page 34.
– press briefly to open the track list and display the track currently
playing ⇒page 36.
Caution
Refer to the notes on requirements for data media, folders and playlists
⇒page 25.
Note
If any of the function buttons in the Media selection menu is disabled, this
means that no data medium for this sour ce is currently inserted or connected,
or the respective data medium cannot be read ⇒page 28, fig. 20 .Inserting a media sourceInserting or ejecting a CD
The internal CD drive can play audio CDs and MP3 CDs.
MEDIA
MEDIA
A10
SETUPExtrasSelect
Fig. 21 MEDIA main
menu: CD as media
source.
media_system_ingles.book Seite 29 Donnerstag, 5. Februar 2009 3:31 15
Page 55 of 96
NAV (navigation system) function selection button
54Input windowsOverview
The following chapters explain how to use the on-screen
keyboards. The on-screen keyboards are used, for example,
to select a destination address or to enter an entry name.
The other chapters of this manual do not contain additional expla-
nations on the use of keyboards. Where appropriate, cross-refer-
ence to these chapters are given.
Changing the layout of the on-screen keyboard
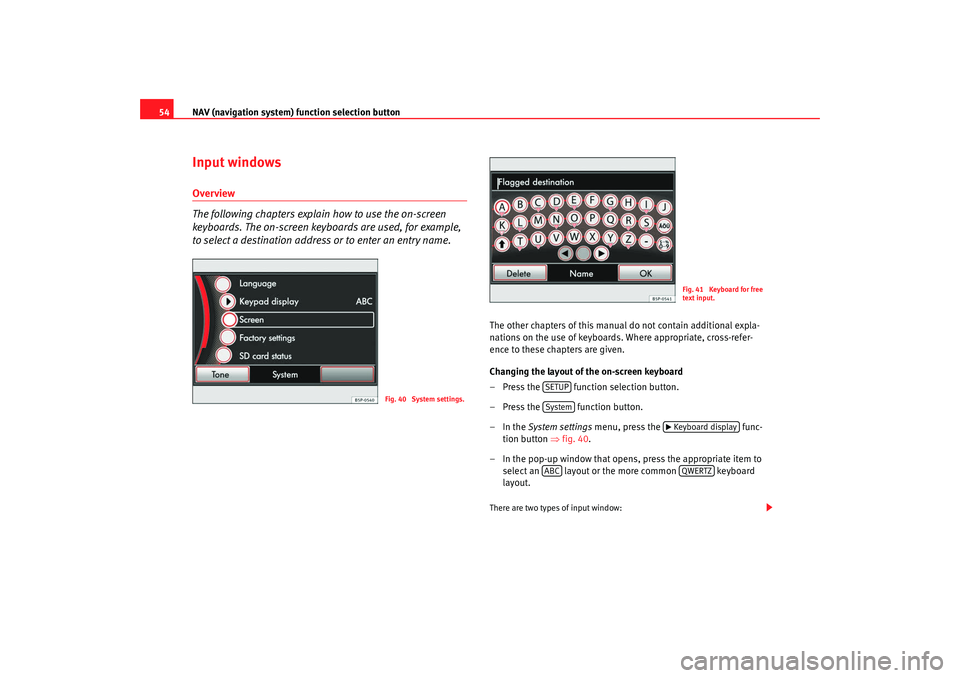
– Press the function selection button.
– Press the function button.
–In the System settings menu, press the func-
tion button ⇒fig. 40.
– In the pop-up window that opens, press the appropriate item to select an layout or the more common keyboard
layout.There are two types of input window:
Fig. 40 System settings.
Fig. 41 Keyboard for free
text input.
SETUPSystem
Keyboard display
ABC
QWERTZ
media_system_ingles.book Seite 54 Donnerstag, 5. Februar 2009 3:31 15
Page 56 of 96
NAV (navigation system) function selection button 55
Input windows for “free text”
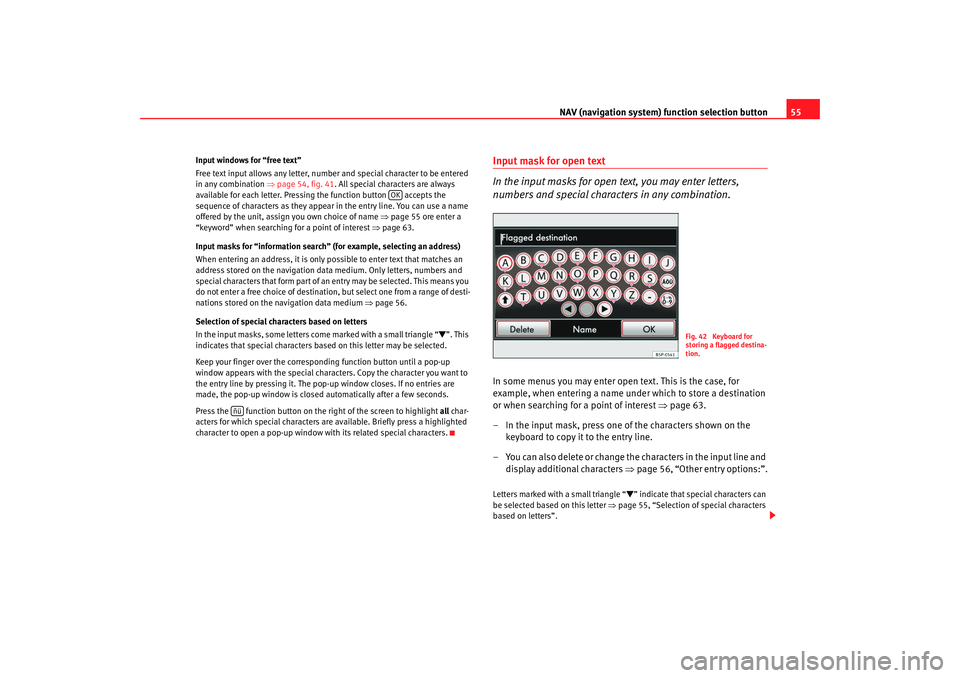
Free text input allows any letter, number and special character to be entered
in any combination ⇒page 54, fig. 41 . All special characters are always
available for each letter. Pressing the function button accepts the
sequence of characters as they appear in the entry line. You can use a name
offered by the unit, assign you own choice of name ⇒page 55 ore enter a
“keyword” when searching for a point of interest ⇒page 63.
Input masks for “information search” (for example, selecting an address)
When entering an address, it is only possible to enter text that matches an
address stored on the navigation data medium. Only letters, numbers and
special characters that form part of an entry may be selected. This means you
do not enter a free choice of destinatio n, but select one from a range of desti-
nations stored on the navigation data medium ⇒page 56.
Selection of special characters based on letters
In the input masks, some letters come marked with a small triangle “
”. This
indicates that special characters based on this letter may be selected.
Keep your finger over the correspon ding function button until a pop-up
window appears with the special characters. Copy the character you want to
the entry line by pressing it. The pop-up window closes. If no entries are
made, the pop-up window is closed automatically after a few seconds.
Press the function button on the right of the screen to highlight all char-
acters for which special characters are available. Briefly press a highlighted
character to open a pop-up window with its related special characters.
Input mask for open text
In the input masks for open text, you may enter letters,
numbers and special characters in any combination.In some menus you may enter open text. This is the case, for
example, when entering a name under which to store a destination
or when searching for a point of interest ⇒page 63.
– In the input mask, press one of the characters shown on the keyboard to copy it to the entry line.
– Yo u ca n a l s o d e l e t e o r ch a n g e t h e ch a r a c t e r s i n t h e i n p u t l i n e a n d display additional characters ⇒page 56, “Other entry options:”.Letters marked with a small triangle “
” indicate that special characters can
be selected based on this letter ⇒page 55, “Selection of special characters
based on letters”.
OK
ñü
Fig. 42 Keyboard for
storing a flagged destina-
tion.
media_system_ingles.book Seite 55 Donnerstag, 5. Februar 2009 3:31 15
Page 57 of 96
NAV (navigation system) function selection button
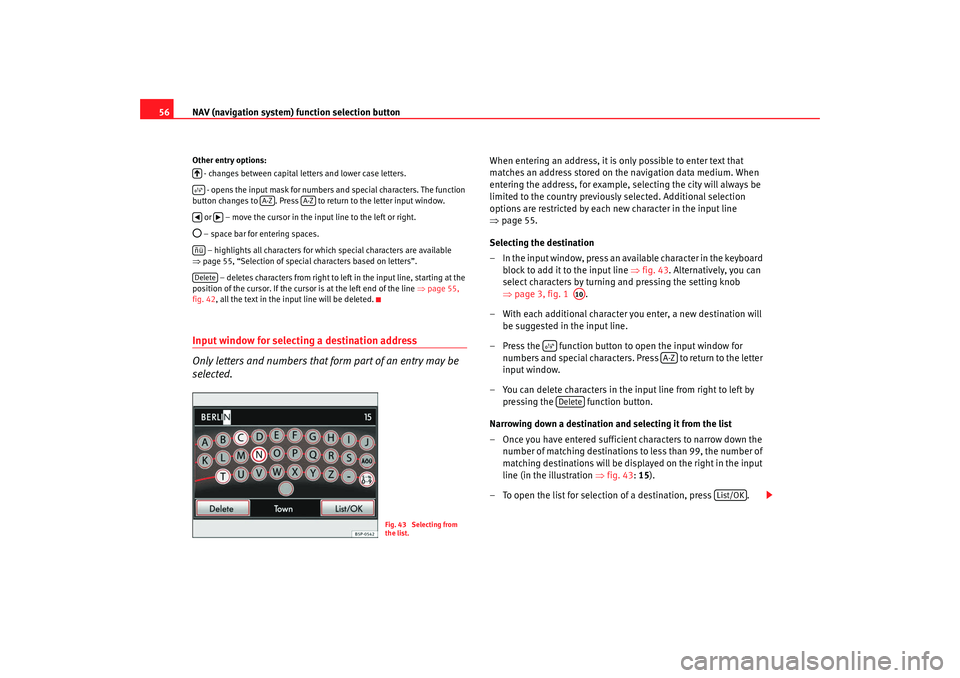
56Other entry options:
- changes between capital letters and lower case letters.
- opens the input mask for numbers and special characters. The function
button changes to . Press to return to the letter input window.
or – move the cursor in the input line to the left or right. – space bar for entering spaces. – highlights all characters for which special characters are available
⇒ page 55, “Selection of special characters based on letters”.
– deletes characters from right to left in the input line, starting at the
position of the cursor. If the curso r is at the left end of the line ⇒page 55,
fig. 42 , all the text in the input line will be deleted.Input window for selecting a destination address
Only letters and numbers that form part of an entry may be
selected.
When entering an address, it is only possible to enter text that
matches an address stored on the navigation data medium. When
entering the address, for example, selecting the city will always be
limited to the country previously selected. Additional selection
options are restricted by each new character in the input line
⇒ page 55.
Selecting the destination
– In the input window, press an available character in the keyboard block to add it to the input line ⇒fig. 43 . Alternatively, you can
select characters by turning and pressing the setting knob
⇒ page 3, fig. 1 .
– With each additional character you enter, a new destination will be suggested in the input line.
– Press the function button to open the input window for numbers and special characters. Press to return to the letter
input window.
– You can delete characters in the input line from right to left by pressing the function button.
Narrowing down a destination and selecting it from the list
– Once you have entered sufficient characters to narrow down the number of matching destinations to less than 99, the number of
matching destinations will be displayed on the right in the input
line (in the illustration ⇒fig. 43: 15).
– To open the list for selection of a destination, press .
A-Z
A-Z
ñüDelete
Fig. 43 Selecting from
the list.
A10
A-Z
Delete
List/OK
media_system_ingles.book Seite 56 Donnerstag, 5. Februar 2009 3:31 15
Page 64 of 96
NAV (navigation system) function selection button 63
Selecting points of interest as destinations
Search for points of interest by entering a “keyword”. A
keyword is a word or a combination of digits and letters that
occurs in the name or the deta iled information of the desired
point of interest.
Open the Navigation main menu ⇒ page 60, fig. 47 .
Setting the search area centre
– If you press the function button, a pop-up window opens.
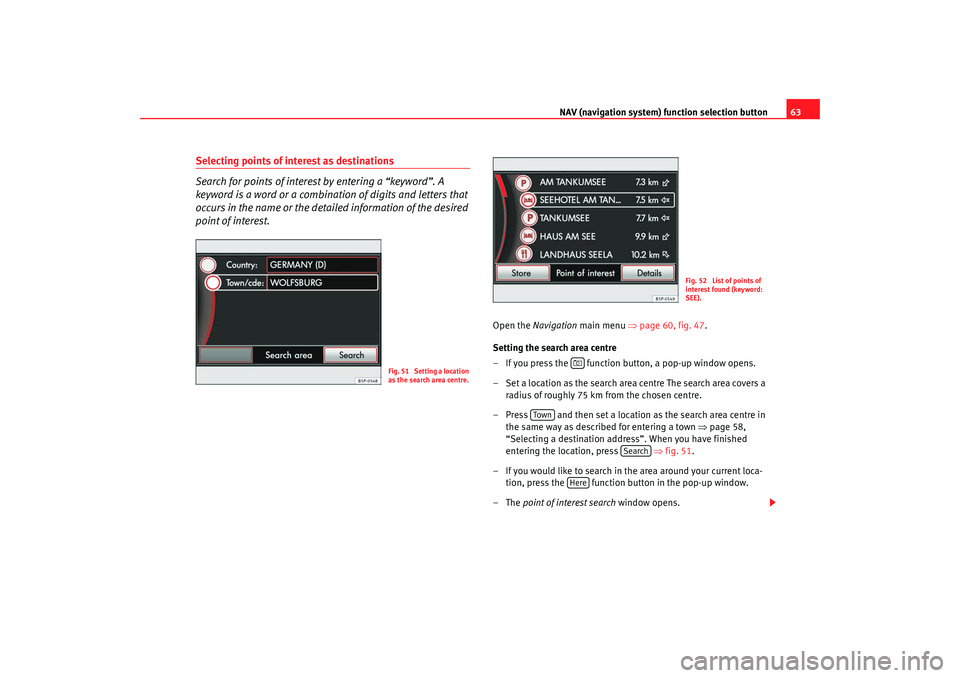
– Set a location as the search area centre The search area covers a radius of roughly 75 km from the chosen centre.
– Press and then set a location as the search area centre in the same way as described for entering a town ⇒page 58,
“Selecting a destination address”. When you have finished
entering the location, press ⇒fig. 51 .
– If you would like to search in the area around your current loca- tion, press the function button in the pop-up window.
–The point of interest search window opens.
Fig. 51 Setting a location
as the search area centre.
Fig. 52 List of points of
interest found (keyword:
SEE).
Tow n
Search
Here
media_system_ingles.book Seite 63 Donnerstag, 5. Februar 2009 3:31 15
Page 65 of 96
NAV (navigation system) function selection button
64
Entering a keyword
– The point of interest search window allows free text input ⇒page 55. Make sure the keyword you enter is spelt correctly.
– For example, you can enter part of a name as the keyword (e.g. “Eagle”).
– Starting from the defined search area centre, the navigation data medium is then searched for matching destinations. Matching
destinations are those which have the keyword in the name of
the point of interest (e.g. Spread Eagle Hotel) or in its address
(e.g. Eagle Avenue).
– Press to start searching with the keyword you have entered.
Starting the search
– The search radius is displayed and gradually enlarged.
– Any matching points of interest found are displayed in a list.
– The search is continued up to a maximum radius of roughly
75 km from the defined search area centre. Pressing ends
the search at the displayed radius.
– When the search is ended, the function button changes to ⇒ page 63, fig. 52 .
– A message appears to inform the user if no matching point of interest was found.
Selecting a point of interest from the list
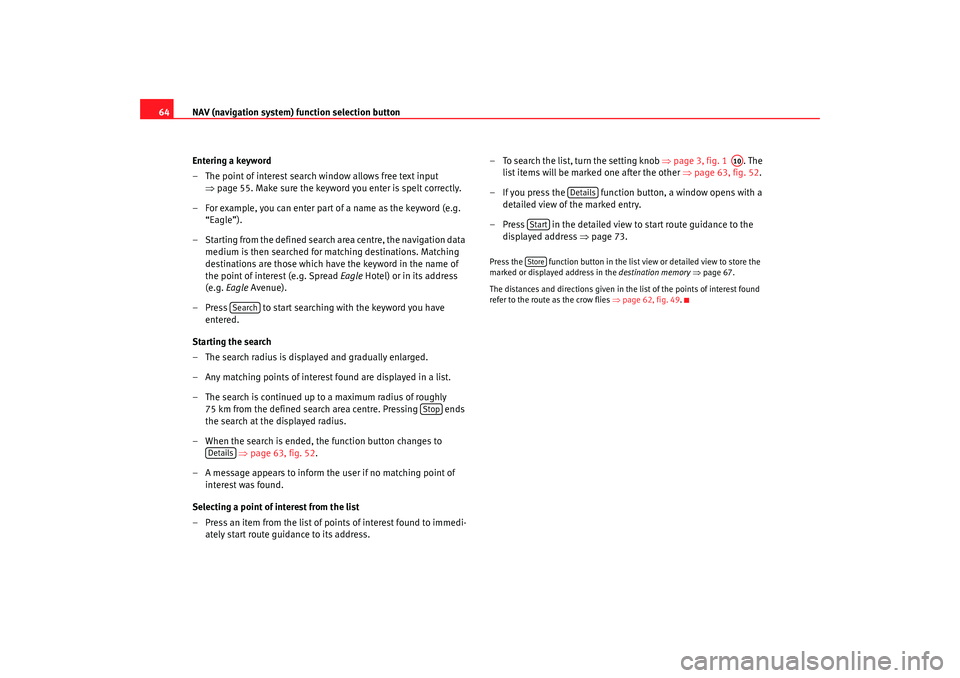
– Press an item from the list of points of interest found to immedi- ately start route guidance to its address. – To search the list, turn the setting knob
⇒page 3, fig. 1 . The
list items will be marked one after the other ⇒page 63, fig. 52 .
– If you press the function button, a window opens with a detailed view of the marked entry.
– Press in the detailed view to start route guidance to the displayed address ⇒ page 73.
Press the function button in the list view or detailed view to store the
marked or displayed address in the destination memory ⇒page 67.
The distances and directions given in the list of the points of interest found
refer to the route as the crow flies ⇒page 62, fig. 49 .
Search
Stop
Details
A10
Details
StartStore
media_system_ingles.book Seite 64 Donnerstag, 5. Februar 2009 3:31 15