key SKODA FABIA 2005 1.G / 6Y Sat Compass Navigation System Manual
[x] Cancel search | Manufacturer: SKODA, Model Year: 2005, Model line: FABIA, Model: SKODA FABIA 2005 1.G / 6YPages: 71, PDF Size: 2.81 MB
Page 5 of 71
4RADIO NAVIGATION SYSTEM
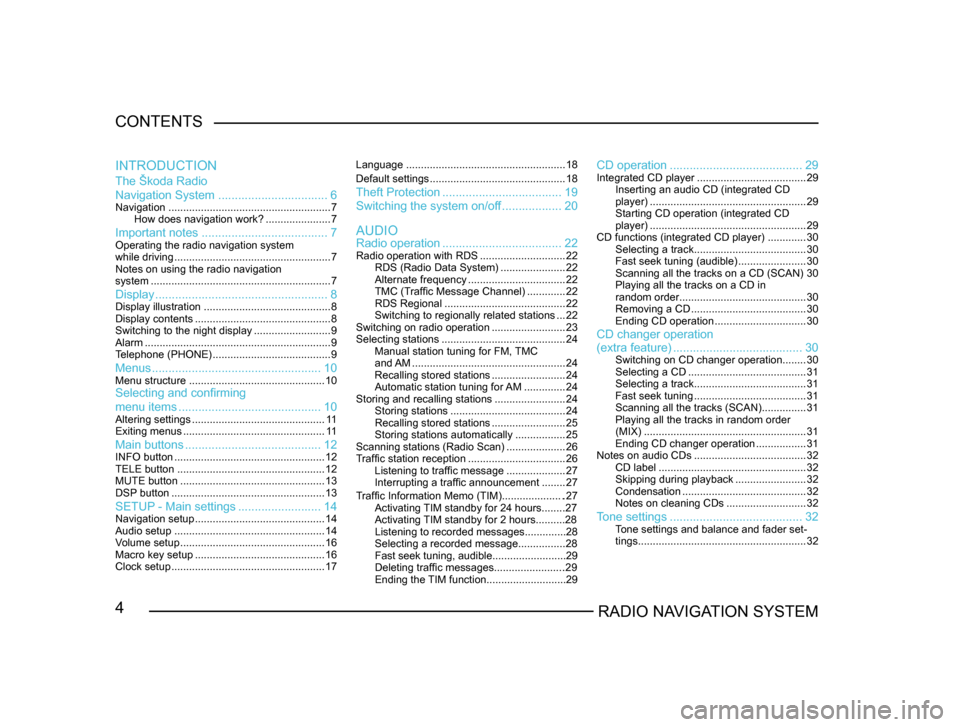
CONTENTS
The Škoda Radio
Navigation System
................................. 6
Navigation....................................................... 7
How does navigation work? ......................7
Important notes ...................................... 7Operating the radio navigation system
while driving..................................................... 7
Notes on using the radio navigation
system ............................................................. 7
Display.................................................... 8Display illustration........................................... 8
Display contents .............................................. 8
Switching to the night display ..........................9
Alarm ............................................................... 9
T
elephone (PHONE) ........................................ 9
Menus................................................... 10Menu structure.............................................. 10Selecting and confirming
menu items........................................... 10
Altering settings............................................. 1 1
Exiting menus ................................................ 1 1
Main buttons......................................... 12INFO button................................................... 12
TELE button .................................................. 12
MUTE button ................................................. 13
DSP
button .................................................... 13
SETUP - Main settings.........................14Navigation setup ............................................ 14
Audio setup ................................................... 14
V
olume setup ................................................. 16
Macro key setup ............................................ 16
Clock setup .................................................... 17Language
...................................................... 18
Default settings .............................................. 18
Theft Protection.................................... 19
Switching the system on/of
f .................. 20
Radio operation .................................... 22
Radio operation with RDS .............................22
RDS (Radio Data System) ......................22
Alternate frequency ................................. 22
TMC (T
raffic Message Channel) .............22
RDS Regional ......................................... 22
Switching to regionally related sta
tions ...22
Switching on radio operation .........................23
Selecting stations .......................................... 24
Manual station tuning for FM,
TMC
and AM .................................................... 24
Recalling stored stations .........................24
Automatic station tuning for
AM .............. 24
Storing and recalling stations ........................24
Storing stations ....................................... 24
Recalling stored stations .........................25
Storing stations automatically .................25
Scanning stations (Radio Scan) ....................26
T
raffic station reception .................................26
Listening to traffic message ....................27
Interrupting a traffic announcement ........27
AUDIO
INTRODUCTION
CD operation
........................................ 29Integrated CD player.....................................29
Inserting an audio CD (integrated CD
player) ..................................................... 29
Starting CD operation (integrated CD
player) ..................................................... 29
CD functions (integrated CD player) .............30
Selecting a track ...................................... 30
Fast seek tuning (audible) .......................30
Scanning all the tracks on a CD (SCAN) 30
Playing all the tracks on a CD in
random order ........................................... 30
Removing a CD ....................................... 30
Ending CD operation ...............................30
CD changer operation
Traffic Information Memo (TIM).....................27
Activating TIM standby for 24 hours........27
Activating TIM standby for 2 hours..........28
Listening to recorded messages..............28
Selecting a recorded message...............
.28
Fast seek tuning, audible.........................29
Deleting traffic messages.......................
.29
Ending the TIM function...........................29
(extra feature) ....................................... 30Switching on CD changer operation ........30
Selecting a CD ........................................ 31
Selecting a track ...................................... 31
Fast seek tuning ...................................... 31
Scanning all the tracks (SCAN) ...............31
Playing all the tracks in random order
(MIX) ....................................................... 31
Ending CD changer operation .................31
Notes on audio CDs ...................................... 32
CD label .................................................. 32
Skipping during playback ........................32
Condensation .......................................... 32
Notes on cleaning CDs ...........................32
Tone settings........................................ 32Tone settings and balance and fader set -
tings ......................................................... 32
Page 17 of 71
16RADIO NAVIGATION SYSTEM
INTRODUCTION
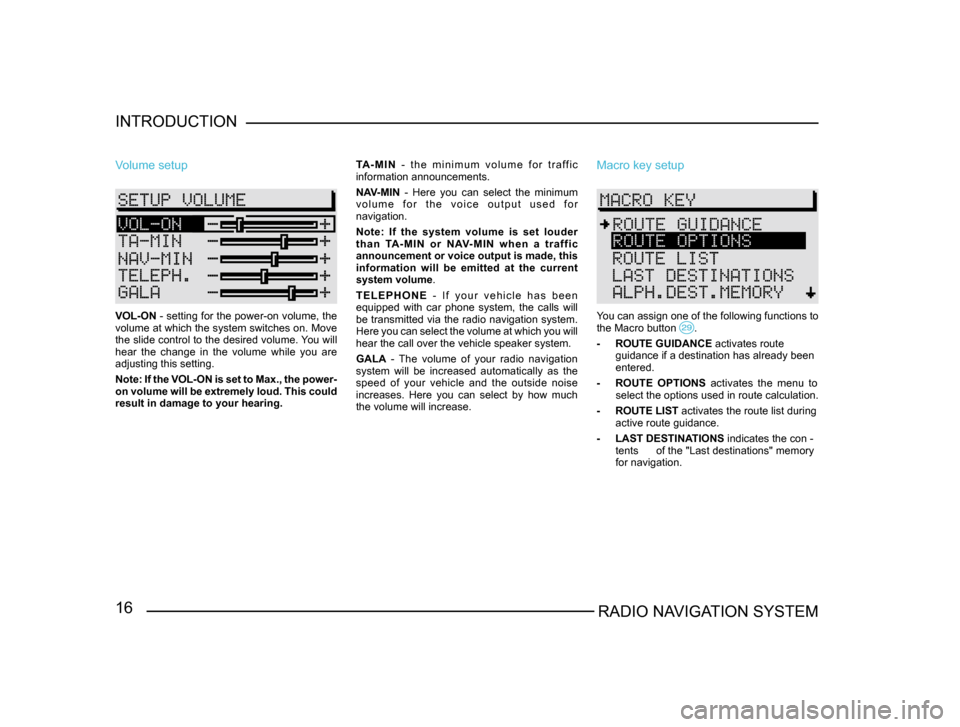
Volume setup
VOL-ON - setting for the power-on volume, the
volume at which the system switches on. Move
the slide control to the desired volume. You will
hear the change in the volume while you are
adjusting this setting.
Note: If the VOL-ON is set to Max., the power-
on volume will be extremely loud. This could
result in damage to your hearing.
TA - M I N
- t h e m i n i m u m v o l u m e f o r t r a ff i c
information announcements.
NAV-MIN - Here you can select the minimum
v o l u m e f o r t h e v o i c e o u t p u t u s e d f o r
navigation.
Note: If the system volume is set louder
t h a n TA - M I N o r N AV- M I N w h e n a t r a f f i c
announcement or voice output is made, this
information will be emitted at the current
system volume .
T E L E P H O N E - I f y o u r v e h i c l e h a s b e e n
equipped with car phone system, the calls will
be transmitted via the radio navigation system.
Here you can select the volume at which you will
hear the call over the vehicle speaker system.
GALA - The volume of your radio navigation
system will be increased automatically as the
speed of your vehicle and the outside noise
increases. Here you can select by how much
the volume will increase.
Macro key setup
You can assign one of the following functions to
the Macro button .
- ROUTE GUIDANCE activates route
guidance if a destination has already been
entered.
- R
OUTE OPTIONS activates the menu to
select the options used in route calculation.
- ROUTE LIST activates the route list during
active route guidance.
- LAST DESTINA
TIONS indicates the con -
tents of the "Last destinations" memory
for navigation.
Page 21 of 71
20RADIO NAVIGATION SYSTEM
INTRODUCTION
Entering the incorrect code number
If you inadvertently enter and confirm an inco
-
rrect code number, SAFE will appear again in
the display. First flashing and then permanently.
The following message will appear in the status
line of the display:
WRONG TRIES : 1
Now you can enter the code number again.
If you enter the code number incorrectly a second
time, the system will be blocked for one hour.
Once the hour waiting period has elapsed, it will
be possible to enter the code again. During the
waiting period, you must leave the system swit-
ched on with the ignition key in the ignition.
After an hour has elapsed you can enter the code
number once again. If an incorrect code number
is entered twice, the system will be blocked again
for one hour.
Note: If you have lost your equipment card
with the code, please contact your Škoda
Service Centre.
Switching the system on/off
The audio source or navigation status (if the last
route guidance was no longer than 30 minutes
ago) used last before the system was switched
off will be activated.
If the ignition key has been removed, it is possible
to switch on the system for approx. one hour by
pressing the left-hand rotary/push button .
To prevent the battery from running down, the
system will switch off again automatically. You
can repeat this process as often as desired.
When the system has been switched off and the
ignition key removed, a LED will begin to flash
after a short pause to indicate that the system is
protected by anti-theft coding.
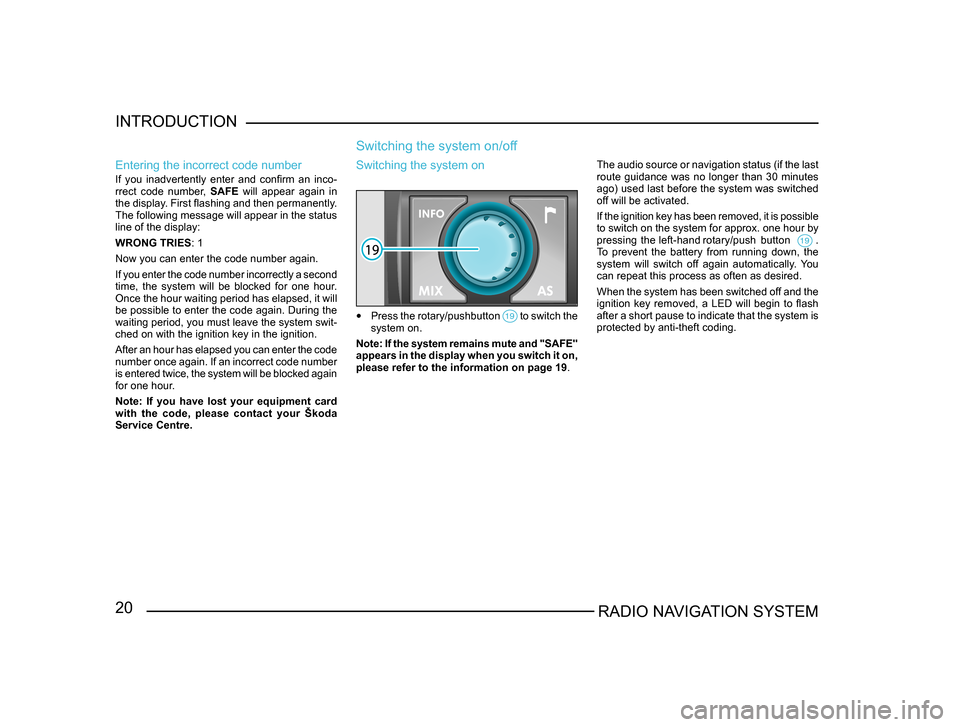
Switching the system on
• Press the rotary/pushbutton to switch the system on.
Note: If the system remains mute and "SAFE"
appears in the display when you switch it on,
please refer to the information on page 19 .
Page 22 of 71
21RADIO NAVIGATION SYSTEMINTRODUCTION
Switching the system off
Press the left-hand rotary/push button .
The active audio source and navigation status
will be stored.
If the key is removed from the ignition while the
system is switched on, the system will switch off
automatically.
Adjusting the volume
Turn the left-hand rotary/push button to alter the volume of the audio source that is currently
active.
It is possible to alter the volume of the navigation
voice output during a traffic announcement by
turning the left-hand rotary/push button
.
Note: Press the INFO button to repeat the voice output to adjust the volume.
Page 28 of 71
27RADIO NAVIGATION SYSTEMAUDIO OPERATION
Listening to traffic messages
If your radio navigation system has been set to
traffic information standby, the traffic messages
will interrupt other programming, i.e. CD playback
will be interrupted and you will hear the traffic
message.
Note: Traffic information standby will not
be active unless the TA function has been
switched on in the AUDIO SETUP menu (see
page 15).
At the same time, the message will be stored
in the Traffic Info Memo (TIM). Once the traffic
message has ended, the system will switch back
to the previous audio source.
The traffic announcement is emitted at a pre
-
-set minimum volume: TA-MIN. This volume
can be set in the VOLUME SETUP menu, see
page 16.
You can also turn the left-hand rotary/push button
knob
at any time during the announcement to alter the volume.
Interrupting a traffic announcement
• Press FM briefly during the announcement to interrupt it. Traffic information standby will
remain in effect for any following traffic an -
nouncements.
Traffic Information Memo (TIM)
Your radio navigation system is able to record
traffic information for a period of time from 2
to 24 hours. Up to nine messages with a total
recording time of four minutes will be recorded
automatically.
When the system is in operation, traffic infor-
mation from TP stations is always recorded, even
if the FM button has been pressed to interrupt the
message. The actual recording of the message
will only be interrupted if you have tuned into an
EON station, such as “NDR 4”.
If the system has been switched off, traffic infor-
mation will still be recorded if the TIM function
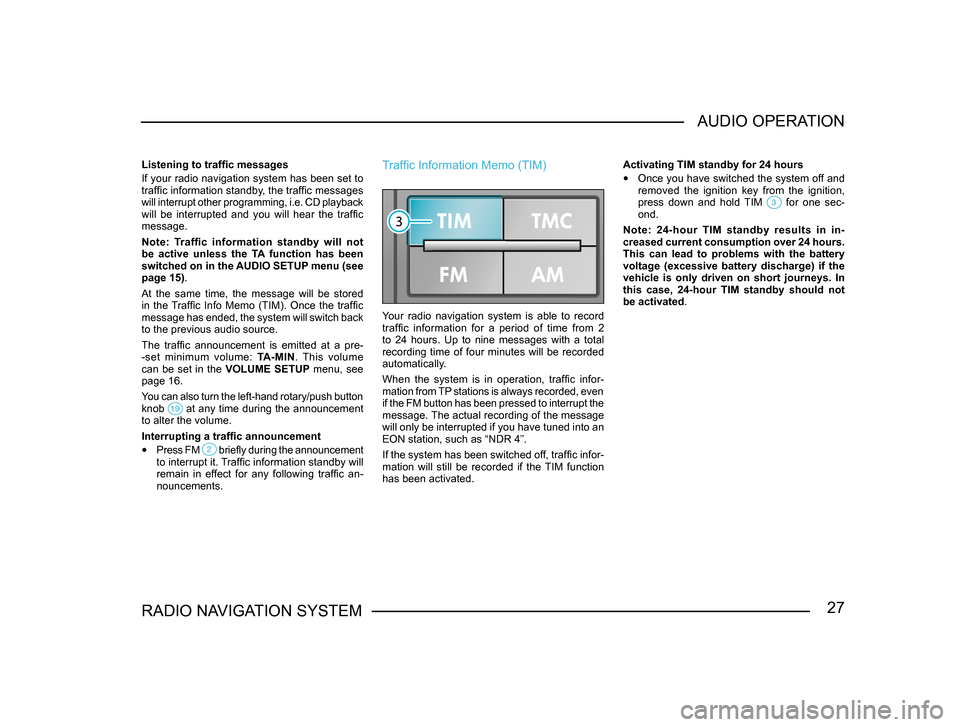
has been activated. Activating TIM standby for 24 hours
• Once you have switched the system off and
removed the ignition key from the ignition,
press down and hold TIM
for one sec-ond.
Note: 24-hour TIM standby results in in -
creased current consumption over 24 hours.
This can lead to problems with the battery
voltage (excessive battery discharge) if the
vehicle is only driven on short journeys. In
this case, 24-hour TIM standby should not
be activated.
Page 29 of 71
28RADIO NAVIGATION SYSTEM
AUDIO OPERATION
Activating TIM standby for 2 hours
•
Park your vehicle, leave the system switched
on and turn off and remove the ignition key
from the ignition.
This standby mode will be deactivated as soon
as you switch the system back on again.
Note: Once the memory is filled to capacity,
the oldest message will be overwritten. If a
message is longer than four minutes in total,
the beginning will be overwritten. Listening to recorded messages
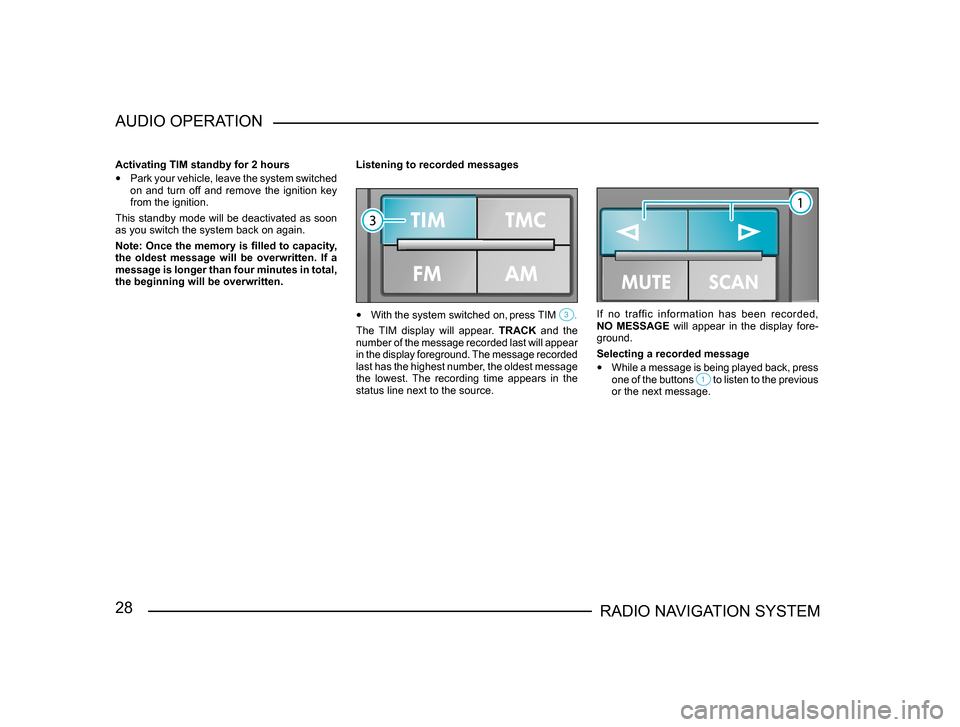
•
With the system switched on, press TIM .
The TIM display will appear. TRACK and the
number of the message recorded last will appear
in the display foreground. The message recorded
last has the highest number, the oldest message
the lowest. The recording time appears in the
status line next to the source.
If no traffic information has been recorded,
NO MESSAGE will appear in the display fore-
ground.
Selecting a recorded message
• While a message is being played back, press
one of the buttons to listen to the previous or the next message.