clock setting SKODA OCTAVIA 2013 3.G / (5E) Columbus Navigation System Manual
[x] Cancel search | Manufacturer: SKODA, Model Year: 2013, Model line: OCTAVIA, Model: SKODA OCTAVIA 2013 3.G / (5E)Pages: 90, PDF Size: 5.21 MB
Page 23 of 90

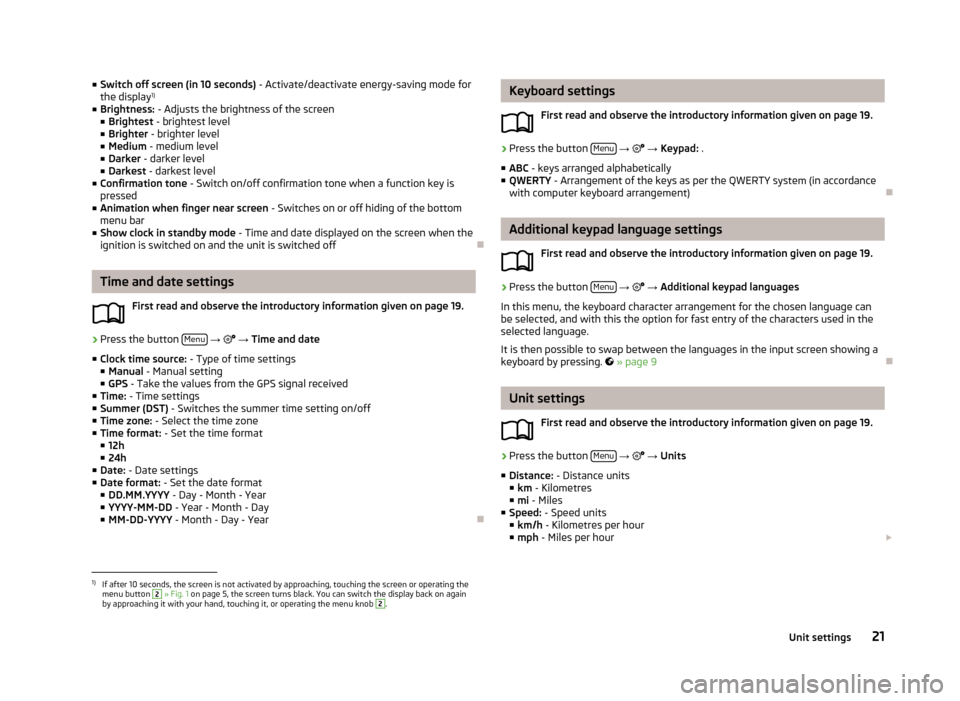
■Switch off screen (in 10 seconds) - Activate/deactivate energy-saving mode for
the display 1)
■ Brightness: - Adjusts the brightness of the screen
■ Brightest - brightest level
■ Brighter - brighter level
■ Medium - medium level
■ Darker - darker level
■ Darkest - darkest level
■ Confirmation tone - Switch on/off confirmation tone when a function key is
pressed
■ Animation when finger near screen - Switches on or off hiding of the bottom
menu bar
■ Show clock in standby mode - Time and date displayed on the screen when the
ignition is switched on and the unit is switched off
Time and date settings
First read and observe the introductory information given on page 19.
›
Press the button Menu
→
→ Time and date
■ Clock time source: - Type of time settings
■ Manual - Manual setting
■ GPS - Take the values from the GPS signal received
■ Time: - Time settings
■ Summer (DST) - Switches the summer time setting on/off
■ Time zone: - Select the time zone
■ Time format: - Set the time format
■ 12h
■ 24h
■ Date: - Date settings
■ Date format: - Set the date format
■ DD.MM.YYYY - Day - Month - Year
■ YYYY-MM-DD - Year - Month - Day
■ MM-DD-YYYY - Month - Day - Year
Keyboard settings
First read and observe the introductory information given on page 19.›
Press the button Menu
→ → Keypad: .
■ ABC - keys arranged alphabetically
■ QWERTY - Arrangement of the keys as per the QWERTY system (in accordance
with computer keyboard arrangement)
Additional keypad language settings
First read and observe the introductory information given on page 19.
›
Press the button Menu
→
→ Additional keypad languages
In this menu, the keyboard character arrangement for the chosen language can
be selected, and with this the option for fast entry of the characters used in the
selected language.
It is then possible to swap between the languages in the input screen showing a keyboard by pressing.
» page 9
Unit settings
First read and observe the introductory information given on page 19.
›
Press the button Menu
→
→ Units
■ Distance: - Distance units
■ km - Kilometres
■ mi - Miles
■ Speed: - Speed units
■ km/h - Kilometres per hour
■ mph - Miles per hour
1)
If after 10 seconds, the screen is not activated by approaching, touching the screen or operating the
menu button
2
» Fig. 1 on page 5, the screen turns black. You can switch the display back on again
by approaching it with your hand, touching it, or operating the menu knob
2
.
21Unit settings
Page 42 of 90

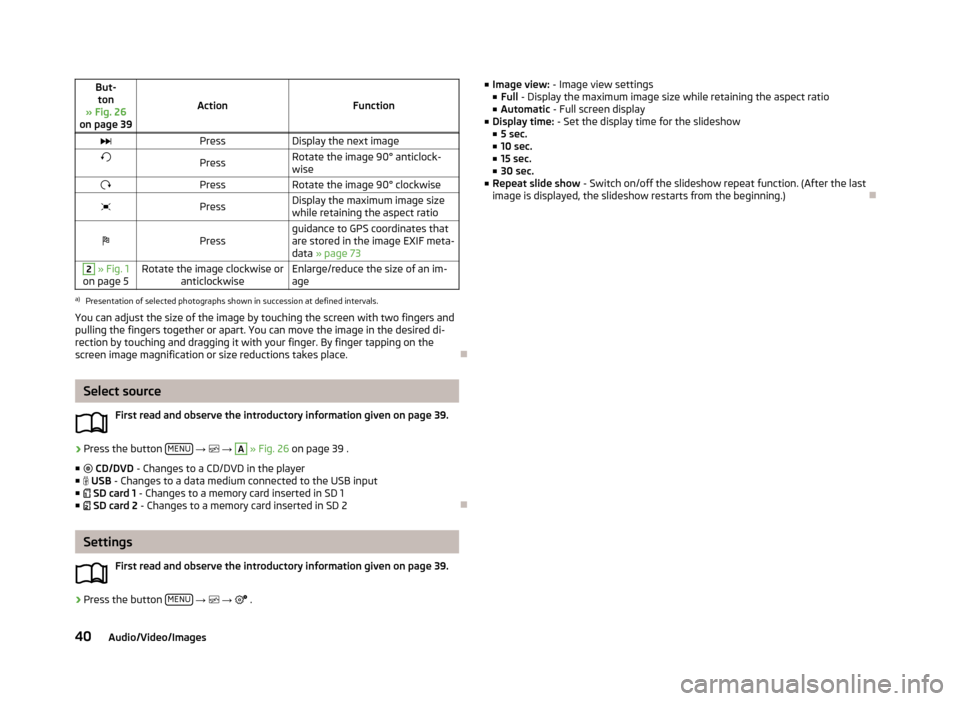
But-ton
» Fig. 26
on page 39
ActionFunction
PressDisplay the next imagePressRotate the image 90° anticlock-
wisePressRotate the image 90° clockwisePressDisplay the maximum image size
while retaining the aspect ratioPressguidance to GPS coordinates that
are stored in the image EXIF meta-
data » page 732 » Fig. 1
on page 5Rotate the image clockwise or anticlockwiseEnlarge/reduce the size of an im-
agea)
Presentation of selected photographs shown in succession at defined intervals.
You can adjust the size of the image by touching the screen with two fingers and
pulling the fingers together or apart. You can move the image in the desired di-
rection by touching and dragging it with your finger. By finger tapping on the
screen image magnification or size reductions takes place.
Select source
First read and observe the introductory information given on page 39.
›
Press the button MENU
→
→
A
» Fig. 26 on page 39 .
■ CD/DVD - Changes to a CD/DVD in the player
■ USB - Changes to a data medium connected to the USB input
■ SD card 1 - Changes to a memory card inserted in SD 1
■ SD card 2 - Changes to a memory card inserted in SD 2
Settings
First read and observe the introductory information given on page 39.
›
Press the button MENU
→
→
.
■
Image view: - Image view settings
■ Full - Display the maximum image size while retaining the aspect ratio
■ Automatic - Full screen display
■ Display time: - Set the display time for the slideshow
■ 5 sec.
■ 10 sec.
■ 15 sec.
■ 30 sec.
■ Repeat slide show - Switch on/off the slideshow repeat function. (After the last
image is displayed, the slideshow restarts from the beginning.)
40Audio/Video/Images