tire SUZUKI GRAND VITARA 2017 Owners Manual
[x] Cancel search | Manufacturer: SUZUKI, Model Year: 2017, Model line: GRAND VITARA, Model: SUZUKI GRAND VITARA 2017Pages: 482, PDF Size: 21 MB
Page 6 of 482
54P00-01E
SERVICE STATION GUIDE
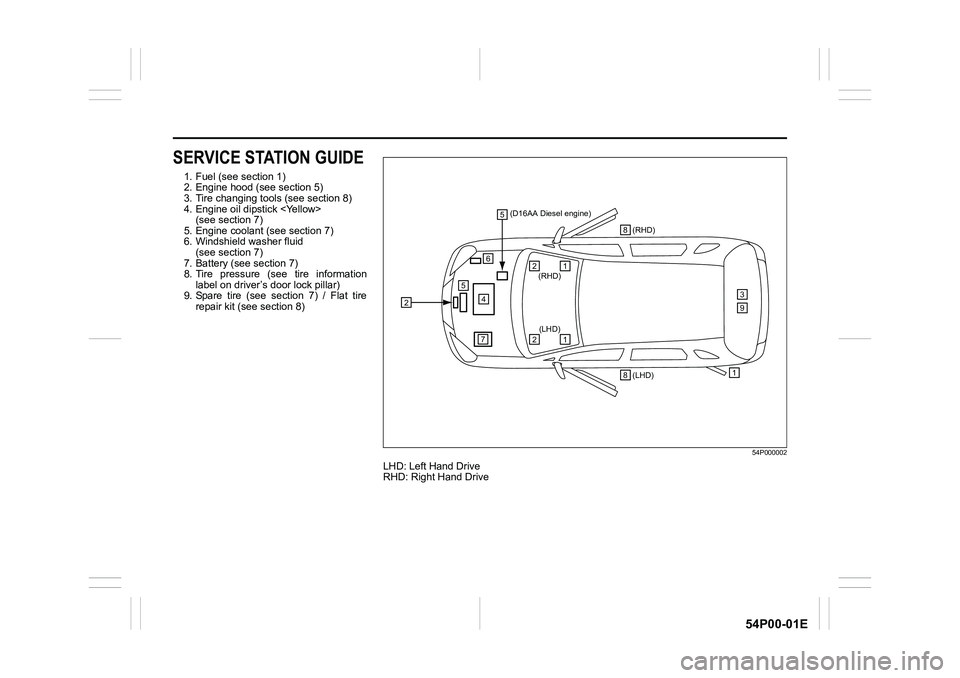
1. Fuel (see section 1)
2. Engine hood (see section 5)
3. Tire changing tools (see section 8)
4. Engine oil dipstick
(see section 7)
5. Engine coolant (see section 7)
6. Windshield washer fluid
(see section 7)
7. Battery (see section 7)
8. Tire pressure (see tire information
label on driver’s door lock pillar)
9. Spare tire (see section 7) / Flat tire
repair kit (see section 8)
54P000002
LHD: Left Hand Drive
RHD: Right Hand Drive
24
7
6
(LHD)1
9
(RHD)
3
8 8
55
1(RHD) 2
1(LHD)
2
(D16AA Diesel engine)
Page 16 of 482
ILLUSTRATED TABLE OF CONTENTS
54P00-01E
LUGGAGE
COMPARTMENT
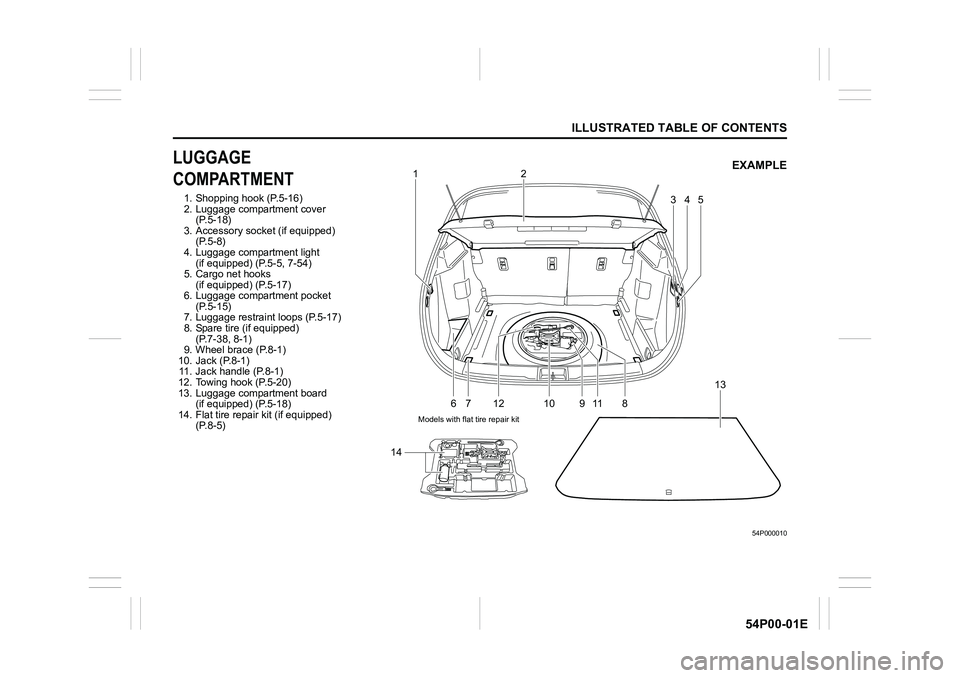
1. Shopping hook (P.5-16)
2. Luggage compartment cover
(P.5-18)
3. Accessory socket (if equipped)
(P.5-8)
4. Luggage compartment light
(if equipped) (P.5-5, 7-54)
5. Cargo net hooks
(if equipped) (P.5-17)
6. Luggage compartment pocket
(P.5-15)
7. Luggage restraint loops (P.5-17)
8. Spare tire (if equipped)
(P.7-38, 8-1)
9. Wheel brace (P.8-1)
10. Jack (P.8-1)
11. Jack handle (P.8-1)
12. Towing hook (P.5-20)
13. Luggage compartment board
(if equipped) (P.5-18)
14. Flat tire repair kit (if equipped)
(P.8-5)
54P000010
1
6
75
8 9 10 11 1213
142
34EXAMPLE
Models with flat tire repair kit
Page 46 of 482
2-24
BEFORE DRIVING
54P00-01E
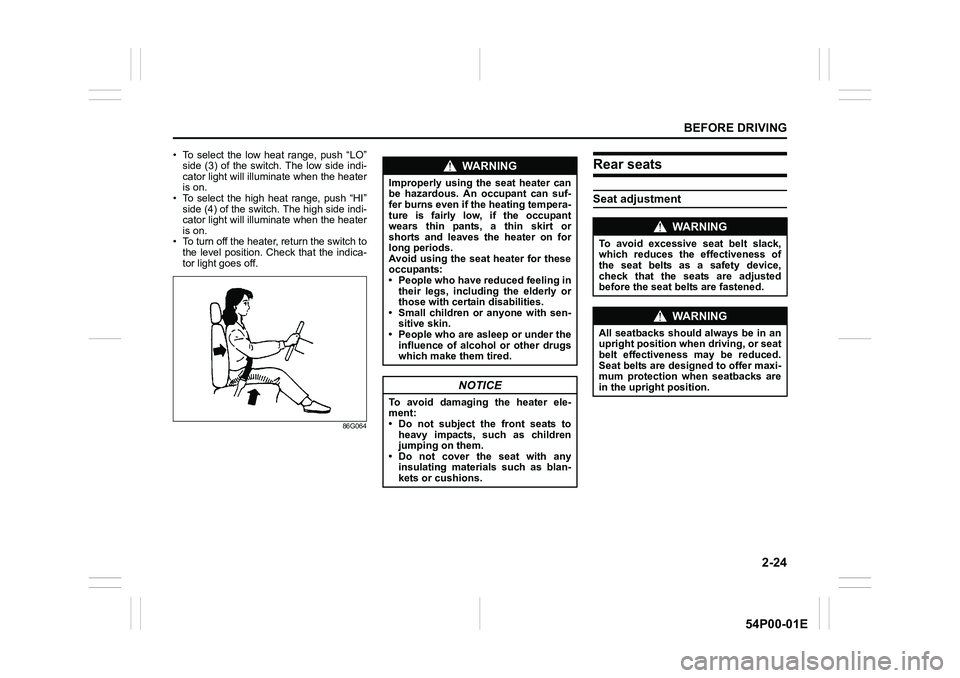
• To select the low heat range, push “LO”
side (3) of the switch. The low side indi-
cator light will illuminate when the heater
is on.
• To select the high heat range, push “HI”
side (4) of the switch. The high side indi-
cator light will illuminate when the heater
is on.
• To turn off the heater, return the switch to
the level position. Check that the indica-
tor light goes off.
86G064
Rear seats
Seat adjustment
WA R N I N G
Improperly using the seat heater can
be hazardous. An occupant can suf-
fer burns even if the heating tempera-
ture is fairly low, if the occupant
wears thin pants, a thin skirt or
shorts and leaves the heater on for
long periods.
Avoid using the seat heater for these
occupants:
• People who have reduced feeling in
their legs, including the elderly or
those with certain disabilities.
• Small children or anyone with sen-
sitive skin.
• People who are asleep or under the
influence of alcohol or other drugs
which make them tired.
NOTICE
To avoid damaging the heater ele-
ment:
• Do not subject the front seats to
heavy impacts, such as children
jumping on them.
• Do not cover the seat with any
insulating materials such as blan-
kets or cushions.
WA R N I N G
To avoid excessive seat belt slack,
which reduces the effectiveness of
the seat belts as a safety device,
check that the seats are adjusted
before the seat belts are fastened.
WA R N I N G
All seatbacks should always be in an
upright position when driving, or seat
belt effectiveness may be reduced.
Seat belts are designed to offer maxi-
mum protection when seatbacks are
in the upright position.
Page 51 of 482
2-29
BEFORE DRIVING
54P00-01E
65D199
WA R N I N G
(Continued)
• Pregnant women should use seat
belts, although specific recommen-
dations about driving should be
made by the woman’s medical advi-
sor. Remember that the lap portion
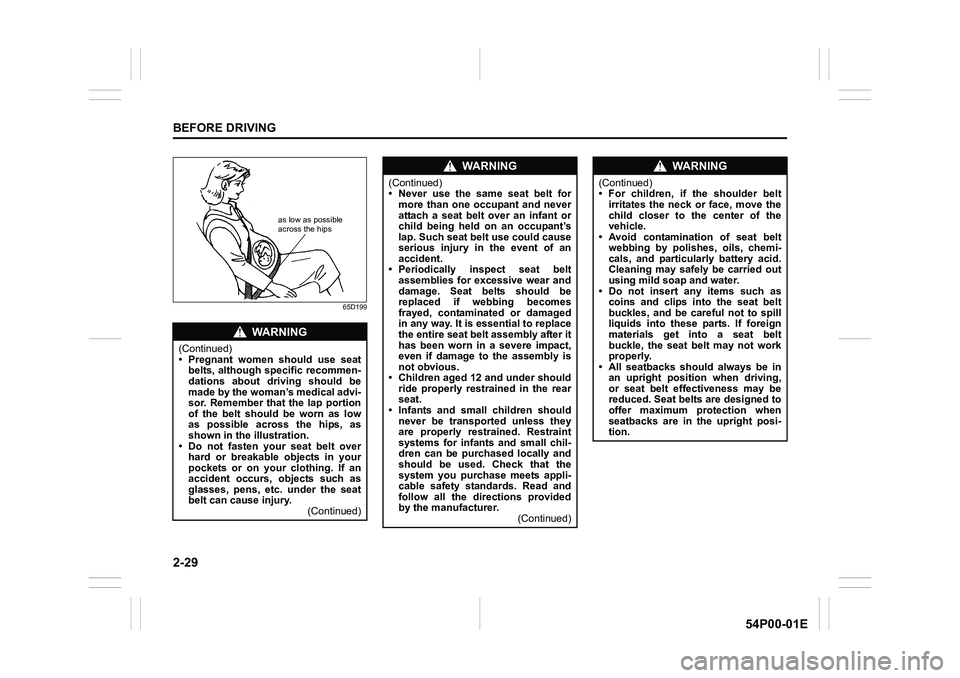
of the belt should be worn as low
as possible across the hips, as
shown in the illustration.
• Do not fasten your seat belt over
hard or breakable objects in your
pockets or on your clothing. If an
accident occurs, objects such as
glasses, pens, etc. under the seat
belt can cause injury.
(Continued)
as low as possible
across the hips
WA R N I N G
(Continued)
• Never use the same seat belt for
more than one occupant and never
attach a seat belt over an infant or
child being held on an occupant’s
lap. Such seat belt use could cause
serious injury in the event of an
accident.
• Periodically inspect seat belt
assemblies for excessive wear and
damage. Seat belts should be
replaced if webbing becomes
frayed, contaminated or damaged
in any way. It is essential to replace
the entire seat belt assembly after it
has been worn in a severe impact,
even if damage to the assembly is
not obvious.
• Children aged 12 and under should
ride properly restrained in the rear
seat.
• Infants and small children should
never be transported unless they
are properly restrained. Restraint
systems for infants and small chil-
dren can be purchased locally and
should be used. Check that the
system you purchase meets appli-
cable safety standards. Read and
follow all the directions provided
by the manufacturer.
(Continued)
WA R N I N G
(Continued)
• For children, if the shoulder belt
irritates the neck or face, move the
child closer to the center of the
vehicle.
• Avoid contamination of seat belt
webbing by polishes, oils, chemi-
cals, and particularly battery acid.
Cleaning may safely be carried out
using mild soap and water.
• Do not insert any items such as
coins and clips into the seat belt
buckles, and be careful not to spill
liquids into these parts. If foreign
materials get into a seat belt
buckle, the seat belt may not work
properly.
• All seatbacks should always be in
an upright position when driving,
or seat belt effectiveness may be
reduced. Seat belts are designed to
offer maximum protection when
seatbacks are in the upright posi-
tion.
Page 95 of 482
2-73
BEFORE DRIVING
54P00-01E
Door lock (Door lock setting)
You can choose either once or twice oper-
ation(s) to unlock all doors (including the
tailgate) or release the dead lock system (if
equipped) by turning the key, or operating
the keyless entry system transmitter, key-
less push start system remote controller or
request switch.
You can also turn off or on the buzzer
sound when the door(s) is(are) locked or
unlocked.
Lights (Light setting)
(Footwell light setting) (if equipped)
The footwell lights can be programmed for
interlocked operation with either lighting
control or door operation and for no light-
ing.
Lane change (Turn signal light setting)
The turn signal and its indicator can be set
whether they flash three times even if you
return the turn signal control lever immedi-
ately after moving it.Antitheft (Theft deterrent alarm system
setting) (if equipped)
You can switch the theft deterrent alarm
system from the enabled state to the dis-
abled state, and vice versa.
The state of the theft deterrent alarm sys-
tem is shown on the information display as
follows:
• Mode A: Disabled state
• Mode D: Enabled state
NOTE:
For the theft deterrent alarm system of
Mexico and South Africa models, refer to
“For European countries, Mexico and
South Africa” in “SUPPLEMENT” section.Oil change (Oil life monitoring system
reset setting) (if equipped for gasoline
engine model)
The oil life monitoring system must be
reset after changing the engine oil and oil
filter.
TPMS (Tire pressure monitoring system
setting) (if equipped)
• You can check the current tire inflation
pressure on the information display.
• You can set one of the initial values of
tire pressure below that are indicated on
the tire information label.
– Comfort Mode
–Eco Mode
– Load Mode
Refer to “Tire pressure monitoring system
(TPMS) (if equipped)” in “OPERATING
YOUR VEHICLE” section for details.
Page 110 of 482
2-88
BEFORE DRIVING
54P00-01E
Warning and indicator lights
NOTE:
If warning and indicator lights blink or
come on, the corresponding messages
may be shown on the information display.
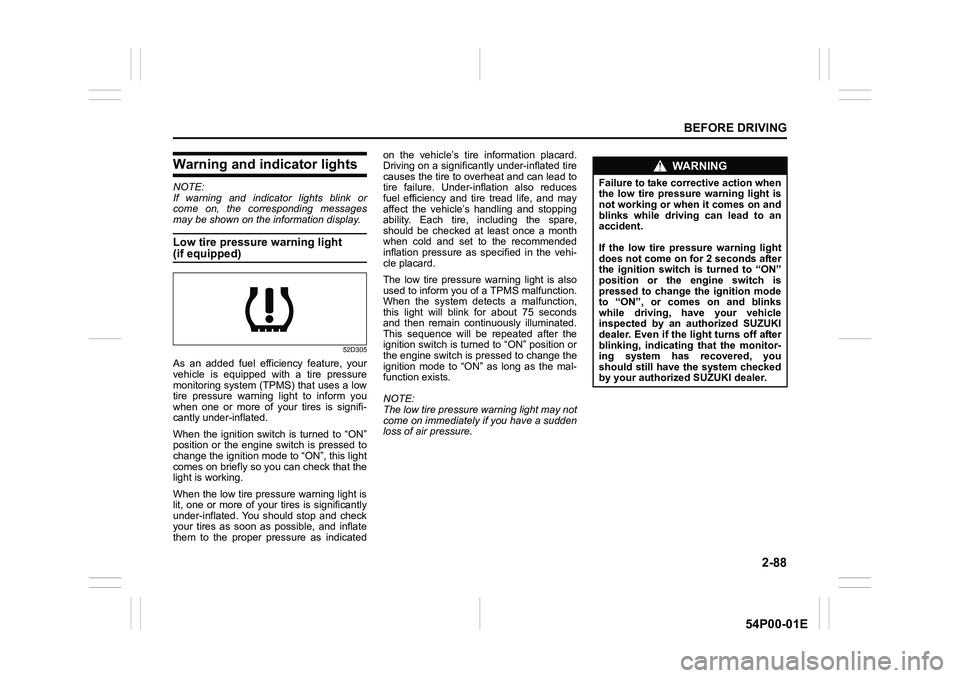
Low tire pressure warning light
(if equipped)
52D305
As an added fuel efficiency feature, your
vehicle is equipped with a tire pressure
monitoring system (TPMS) that uses a low
tire pressure warning light to inform you
when one or more of your tires is signifi-
cantly under-inflated.
When the ignition switch is turned to “ON”
position or the engine switch is pressed to
change the ignition mode to “ON”, this light
comes on briefly so you can check that the
light is working.
When the low tire pressure warning light is
lit, one or more of your tires is significantly
under-inflated. You should stop and check
your tires as soon as possible, and inflate
them to the proper pressure as indicatedon the vehicle’s tire information placard.
Driving on a significantly under-inflated tire
causes the tire to overheat and can lead to
tire failure. Under-inflation also reduces
fuel efficiency and tire tread life, and may
affect the vehicle’s handling and stopping
ability. Each tire, including the spare,
should be checked at least once a month
when cold and set to the recommended
inflation pressure as specified in the vehi-
cle placard.
The low tire pressure warning light is also
used to inform you of a TPMS malfunction.
When the system detects a malfunction,
this light will blink for about 75 seconds
and then remain continuously illuminated.
This sequence will be repeated after the
ignition switch is turned to “ON” position or
the engine switch is pressed to change the
ignition mode to “ON” as long as the mal-
function exists.
NOTE:
The low tire pressure warning light may not
come on immediately if you have a sudden
loss of air pressure.
WA R N I N G
Failure to take corrective action when
the low tire pressure warning light is
not working or when it comes on and
blinks while driving can lead to an
accident.
If the low tire pressure warning light
does not come on for 2 seconds after
the ignition switch is turned to “ON”
position or the engine switch is
pressed to change the ignition mode
to “ON”, or comes on and blinks
while driving, have your vehicle
inspected by an authorized SUZUKI
dealer. Even if the light turns off after
blinking, indicating that the monitor-
ing system has recovered, you
should still have the system checked
by your authorized SUZUKI dealer.
Page 111 of 482
2-89
BEFORE DRIVING
54P00-01E
Refer to “Tire pressure monitoring system
(TPMS) (if equipped)” in “OPERATING
YOUR VEHICLE” section for additional
details on the tire pressure monitoring sys-
tem. Refer to “Tires” in “INSPECTION AND
MAINTENANCE” section for information
on maintaining proper tire pressure.
WA R N I N G
The load-carrying capacity of your
tires is reduced at lower inflation
pressures. If your tires are even mod-
erately under-inflated, the load on the
tires may exceed the load-carrying
capacity of the tires, which could lead
to tire failure. The low tire pressure
warning light will not alert you to this
condition, because it only comes on
when one or more of your tires
becomes significantly under-inflated.
Check and adjust your tire inflation
pressure at least once a month. Refer
to “Tires” in “INSPECTION AND
MAINTENANCE” section.
WA R N I N G
Continuing to drive with the low tire
pressure warning light on can lead to
an accident, resulting in severe injury
or death.
If the low tire pressure warning light
comes on and stays on, reduce your
speed and avoid abrupt steering and
braking. Be aware that driving on a
significantly under-inflated tire can
cause the tire to overheat and can
lead to tire failure, and may affect
steering control and brake effective-
ness. Stop the vehicle in a safe place
as soon as possible and check your
tires.
• If you have a flat tire, replace it with
the spare tire (if equipped). Refer to
“Jacking instructions” in “EMER-
GENCY SERVICE” section for the
tire replacement method. Also refer
to “Replacing tires and/or wheels”
for instructions on how to restore
normal operation of the TPMS after
you have had a flat tire.
(Continued)
WA R N I N G
(Continued)
• If your vehicle is equipped with a
flat tire repair kit instead of a spare
tire, refer to “Flat tire repair kit (if
equipped)” in “EMERGENCY SER-
VICE” section for instructions on
how to perform an emergency
repair of a flat tire.
• If one or more of your tires is
under-inflated, adjust the inflation
pressure of all tires to the recom-
mended inflation pressure as soon
as possible.
Page 140 of 482
OPERATING YOUR VEHICLE
3
54P00-01E
60G408
OPERATING YOUR VEHICLE
Exhaust gas warning .......................................................... 3-1
Daily inspection checklist .................................................. 3-1
Engine oil consumption ..................................................... 3-2
Ignition switch
(vehicle without keyless push start system) .................... 3-3
Engine switch
(vehicle with keyless push start system) .......................... 3-5
Keyless push start system (if equipped) .......................... 3-6
Parking brake lever ............................................................. 3-10
Pedal ..................................................................................... 3-11
Starting engine
(vehicle without keyless push start system) .................... 3-12
Starting engine
(vehicle with keyless push start system) .......................... 3-14
Using transaxle ................................................................... 3-19
Gearshift indicator .............................................................. 3-21
Four-mode 4WD system (if equipped) .............................. 3-23
ENG A-STOP system
(engine auto stop start system) (if equipped) .................. 3-29
Adaptive cruise control system (if equipped) .................. 3-32
Cruise control (if equipped) ............................................... 3-42
Speed limiter (if equipped) ................................................. 3-45
Radar brake support system (if equipped) ....................... 3-47
Emergency stop signal (ESS) (if equipped) ...................... 3-63
Parking sensors (if equipped) ............................................ 3-64
Rearview camera (if equipped) .......................................... 3-71
Braking ................................................................................. 3-74
Electronic stability program (ESP®) ................................. 3-76
Tire pressure monitoring system (TPMS) (if equipped) .. 3-83
Page 141 of 482
3-1
OPERATING YOUR VEHICLE
54P00-01E
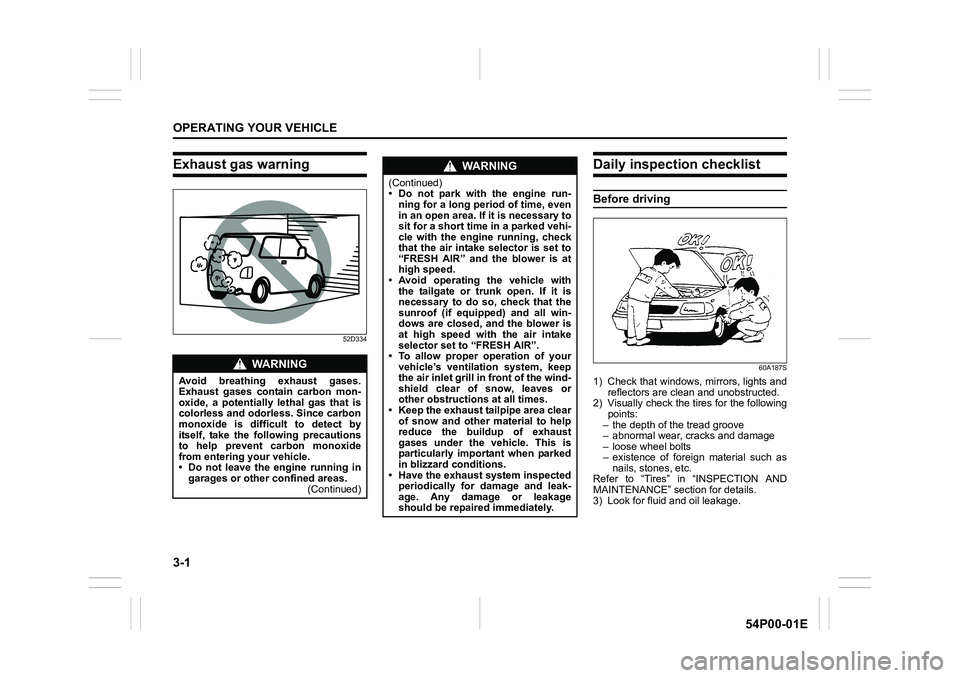
Exhaust gas warning
52D334
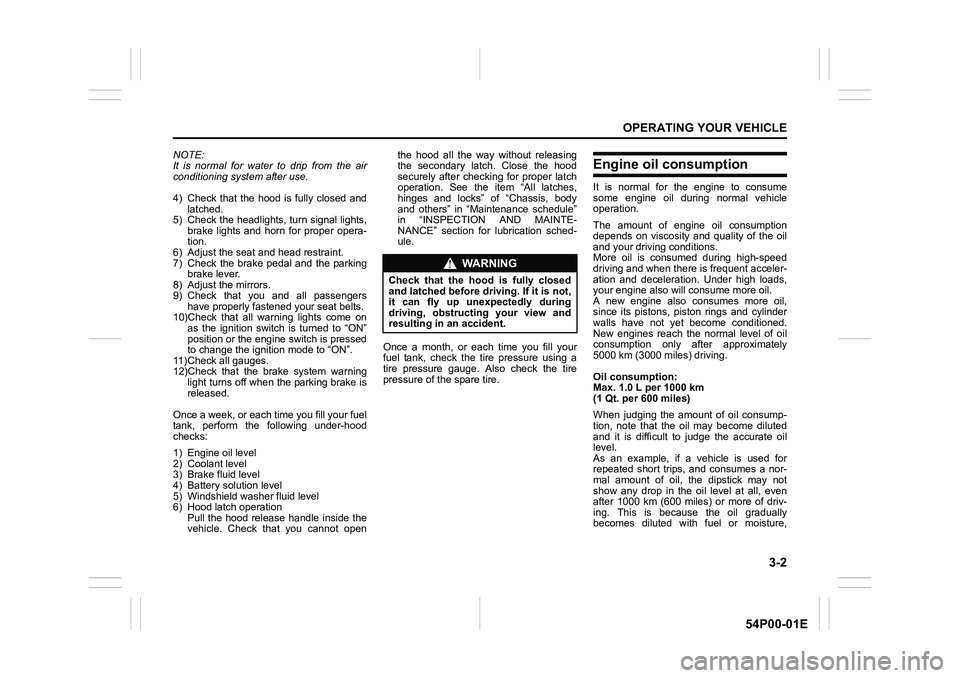
Daily inspection checklist
Before driving
60A187S
1) Check that windows, mirrors, lights and
reflectors are clean and unobstructed.
2) Visually check the tires for the following
points:
– the depth of the tread groove
– abnormal wear, cracks and damage
– loose wheel bolts
– existence of foreign material such as
nails, stones, etc.
Refer to “Tires” in “INSPECTION AND
MAINTENANCE” section for details.
3) Look for fluid and oil leakage.
WA R N I N G
Avoid breathing exhaust gases.
Exhaust gases contain carbon mon-
oxide, a potentially lethal gas that is
colorless and odorless. Since carbon
monoxide is difficult to detect by
itself, take the following precautions
to help prevent carbon monoxide
from entering your vehicle.
• Do not leave the engine running in
garages or other confined areas.
(Continued)
WA R N I N G
(Continued)
• Do not park with the engine run-
ning for a long period of time, even
in an open area. If it is necessary to
sit for a short time in a parked vehi-
cle with the engine running, check
that the air intake selector is set to
“FRESH AIR” and the blower is at
high speed.
• Avoid operating the vehicle with
the tailgate or trunk open. If it is
necessary to do so, check that the
sunroof (if equipped) and all win-
dows are closed, and the blower is
at high speed with the air intake
selector set to “FRESH AIR”.
• To allow proper operation of your
vehicle’s ventilation system, keep
the air inlet grill in front of the wind-
shield clear of snow, leaves or
other obstructions at all times.
• Keep the exhaust tailpipe area clear
of snow and other material to help
reduce the buildup of exhaust
gases under the vehicle. This is
particularly important when parked
in blizzard conditions.
• Have the exhaust system inspected
periodically for damage and leak-
age. Any damage or leakage
should be repaired immediately.
Page 142 of 482
3-2
OPERATING YOUR VEHICLE
54P00-01E
NOTE:
It is normal for water to drip from the air
conditioning system after use.
4) Check that the hood is fully closed and
latched.
5) Check the headlights, turn signal lights,
brake lights and horn for proper opera-
tion.
6) Adjust the seat and head restraint.
7) Check the brake pedal and the parking
brake lever.
8) Adjust the mirrors.
9) Check that you and all passengers
have properly fastened your seat belts.
10)Check that all warning lights come on
as the ignition switch is turned to “ON”
position or the engine switch is pressed
to change the ignition mode to “ON”.
11)Check all gauges.
12)Check that the brake system warning
light turns off when the parking brake is
released.
Once a week, or each time you fill your fuel
tank, perform the following under-hood
checks:
1) Engine oil level
2) Coolant level
3) Brake fluid level
4) Battery solution level
5) Windshield washer fluid level
6) Hood latch operation
Pull the hood release handle inside the
vehicle. Check that you cannot openthe hood all the way without releasing
the secondary latch. Close the hood
securely after checking for proper latch
operation. See the item “All latches,
hinges and locks” of “Chassis, body
and others” in “Maintenance schedule”
in “INSPECTION AND MAINTE-
NANCE” section for lubrication sched-
ule.
Once a month, or each time you fill your
fuel tank, check the tire pressure using a
tire pressure gauge. Also check the tire
pressure of the spare tire.Engine oil consumption
It is normal for the engine to consume
some engine oil during normal vehicle
operation.
The amount of engine oil consumption
depends on viscosity and quality of the oil
and your driving conditions.
More oil is consumed during high-speed
driving and when there is frequent acceler-
ation and deceleration. Under high loads,
your engine also will consume more oil.
A new engine also consumes more oil,
since its pistons, piston rings and cylinder
walls have not yet become conditioned.
New engines reach the normal level of oil
consumption only after approximately
5000 km (3000 miles) driving.
Oil consumption:
Max. 1.0 L per 1000 km
(1 Qt. per 600 miles)
When judging the amount of oil consump-
tion, note that the oil may become diluted
and it is difficult to judge the accurate oil
level.
As an example, if a vehicle is used for
repeated short trips, and consumes a nor-
mal amount of oil, the dipstick may not
show any drop in the oil level at all, even
after 1000 km (600 miles) or more of driv-
ing. This is because the oil gradually
becomes diluted with fuel or moisture,
WA R N I N G
Check that the hood is fully closed
and latched before driving. If it is not,
it can fly up unexpectedly during
driving, obstructing your view and
resulting in an accident.