remove SUZUKI GRAND VITARA 2022 Owner's Manual
[x] Cancel search | Manufacturer: SUZUKI, Model Year: 2022, Model line: GRAND VITARA, Model: SUZUKI GRAND VITARA 2022Pages: 482, PDF Size: 21 MB
Page 236 of 482
4-2
DRIVING TIPS
54P00-01E
heat damage to the catalytic converter and
other vehicle components.
54G584S
Improving fuel economy
The following instructions will help you
improve fuel economy.
Avoid excessive idling
If you park your vehicle for more than one
minute, stop the engine and start it again
later. When warming up a cold engine,
allow the engine to idle until the tempera-
ture gauge pointer comes up to “C” posi-
tion (if the idling is not prohibited). In this
position, the engine is sufficiently warm for
starting off.
Avoid fast starts
Fast starts away from lights or stop signs
will consume fuel unnecessarily and
shorten engine life. Start off slowly.
Avoid unnecessary stops
Avoid unnecessary deceleration and stop-
ping. Try to maintain a slow, steady speed
whenever possible. Slowing down and
then accelerating again uses more fuel.
Keep a steady cruising speed
Drive at a constant speed that road and
traffic conditions will permit.NOTICE
To minimize the possibility of cata-
lytic converter or other vehicle dam-
age:
• Maintain the engine in the proper
operating condition.
• In the event of an engine malfunc-
tion, particularly one involving
engine misfire or other apparent
loss of performance, have the vehi-
cle serviced promptly.
• Do not turn off the engine or inter-
rupt the ignition when the transaxle
is in gear and the vehicle is in
motion.
• Do not try to start the engine by
pushing or towing the vehicle, or
coasting down a hill.
• Do not idle the engine with any
spark plug wires disconnected or
removed, such as during diagnos-
tic testing.
• Do not idle the vehicle for pro-
longed periods if idling seems
rough or there are other malfunc-
tions.
• Do not allow the fuel tank to get
near the empty level.
WA R N I N G
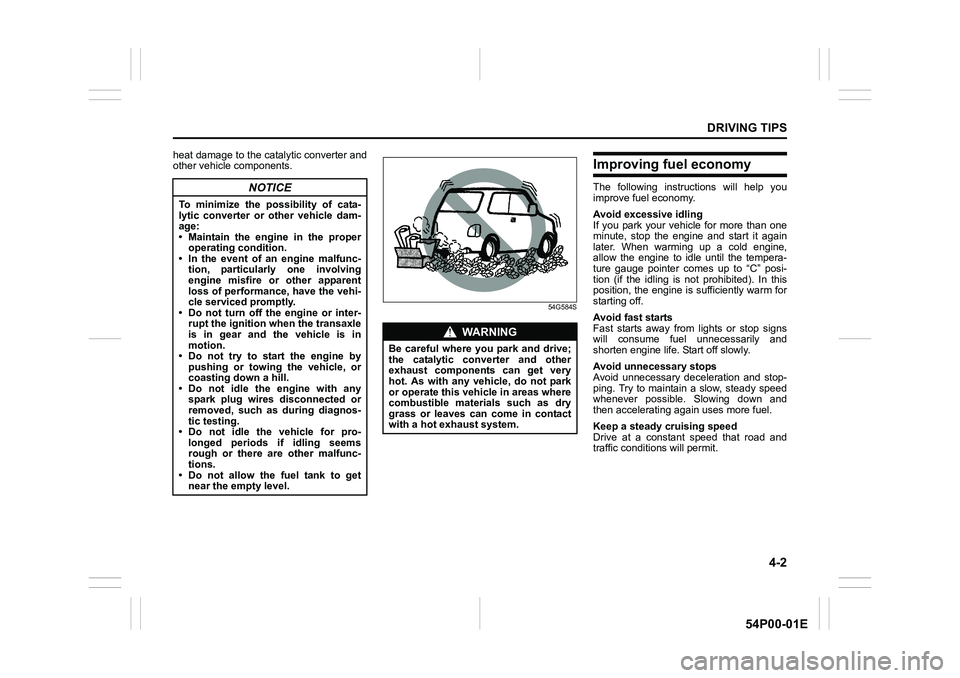
Be careful where you park and drive;
the catalytic converter and other
exhaust components can get very
hot. As with any vehicle, do not park
or operate this vehicle in areas where
combustible materials such as dry
grass or leaves can come in contact
with a hot exhaust system.
Page 238 of 482
4-4
DRIVING TIPS
54P00-01E
Driving on slippery roads
60G089S
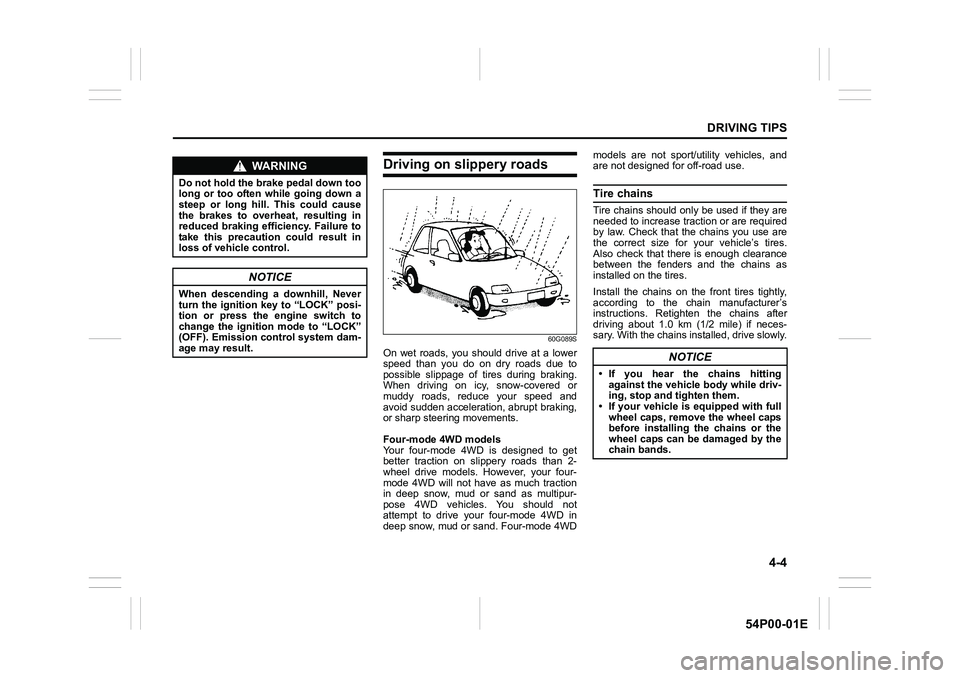
On wet roads, you should drive at a lower
speed than you do on dry roads due to
possible slippage of tires during braking.
When driving on icy, snow-covered or
muddy roads, reduce your speed and
avoid sudden acceleration, abrupt braking,
or sharp steering movements.
Four-mode 4WD models
Your four-mode 4WD is designed to get
better traction on slippery roads than 2-
wheel drive models. However, your four-
mode 4WD will not have as much traction
in deep snow, mud or sand as multipur-
pose 4WD vehicles. You should not
attempt to drive your four-mode 4WD in
deep snow, mud or sand. Four-mode 4WDmodels are not sport/utility vehicles, and
are not designed for off-road use.
Tire chains
Tire chains should only be used if they are
needed to increase traction or are required
by law. Check that the chains you use are
the correct size for your vehicle’s tires.
Also check that there is enough clearance
between the fenders and the chains as
installed on the tires.
Install the chains on the front tires tightly,
according to the chain manufacturer’s
instructions. Retighten the chains after
driving about 1.0 km (1/2 mile) if neces-
sary. With the chains installed, drive slowly.
WA R N I N G
Do not hold the brake pedal down too
long or too often while going down a
steep or long hill. This could cause
the brakes to overheat, resulting in
reduced braking efficiency. Failure to
take this precaution could result in
loss of vehicle control.
NOTICE
When descending a downhill, Never
turn the ignition key to “LOCK” posi-
tion or press the engine switch to
change the ignition mode to “LOCK”
(OFF). Emission control system dam-
age may result.
NOTICE
• If you hear the chains hitting
against the vehicle body while driv-
ing, stop and tighten them.
• If your vehicle is equipped with full
wheel caps, remove the wheel caps
before installing the chains or the
wheel caps can be damaged by the
chain bands.
Page 239 of 482
4-5
DRIVING TIPS
54P00-01E
Stuck vehicle
If your vehicle gets stuck in snow, mud or
sand, follow the directions below:
1) Shift the transaxle back and forth
between a forward range (or first gear
for manual transaxle) and reverse. This
will create a rocking motion which may
give you enough momentum to free the
vehicle. Press gently on the accelerator
to keep wheel spinning to a minimum
wheel rpm. Remove your foot from the
accelerator while shifting.
Do not race the engine. Excessive
wheel spin will cause the tires to dig
deeper, making it more difficult to free
the vehicle.
NOTE:
If your vehicle is equipped with the ESP
®,
you may have to turn the ESP® system off
in order to spin the wheels.
2) If your vehicle remains stuck after a few
minutes of rocking, we recommend you
to consult your SUZUKI dealer or a
roadside assistance service. If a towing
service is not available in an emer-
gency, your vehicle may be temporarily
towed by a towing cable or chain
secured to the towing hook either on
the front of the vehicle or on the rear of
the vehicle. Refer to “Frame hooks” in
“OTHER CONTROLS AND EQUIP-
MENT” section.
54G638S
WA R N I N G
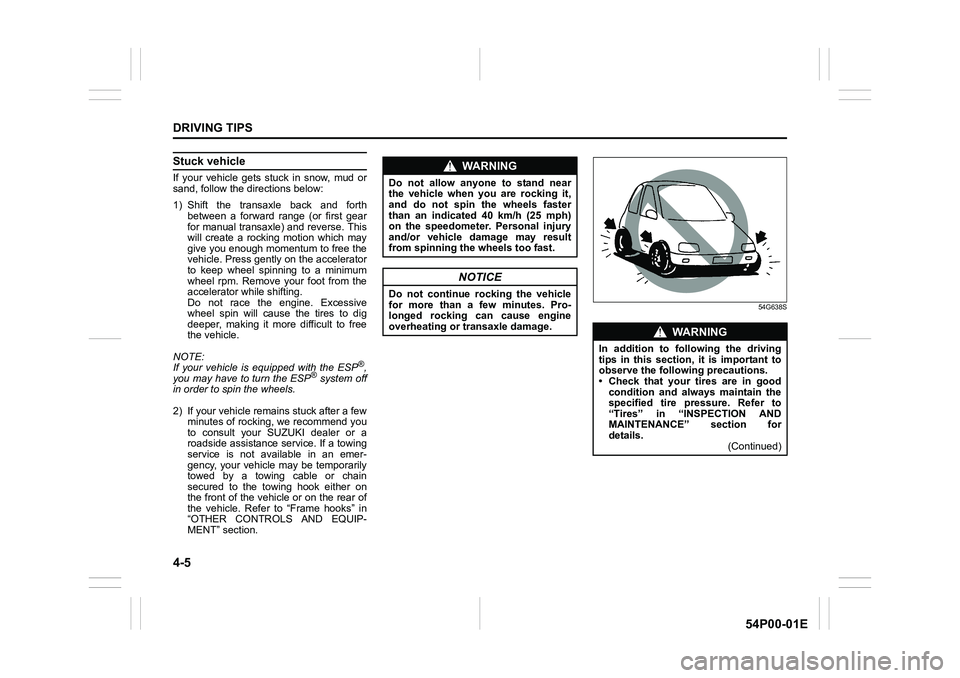
Do not allow anyone to stand near
the vehicle when you are rocking it,
and do not spin the wheels faster
than an indicated 40 km/h (25 mph)
on the speedometer. Personal injury
and/or vehicle damage may result
from spinning the wheels too fast.
NOTICE
Do not continue rocking the vehicle
for more than a few minutes. Pro-
longed rocking can cause engine
overheating or transaxle damage.
WA R N I N G
In addition to following the driving
tips in this section, it is important to
observe the following precautions.
• Check that your tires are in good
condition and always maintain the
specified tire pressure. Refer to
“Tires” in “INSPECTION AND
MAINTENANCE” section for
details.
(Continued)
Page 243 of 482
5-1
OTHER CONTROLS AND EQUIPMENT
54P00-01E
Fuel filler cap
54P000501
62J058
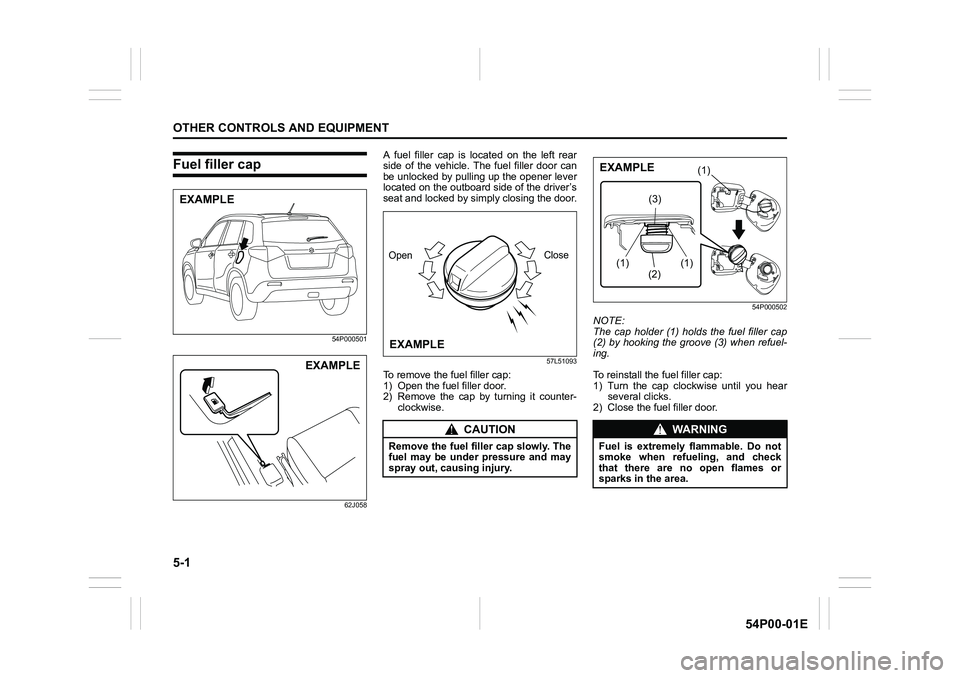
A fuel filler cap is located on the left rear
side of the vehicle. The fuel filler door can
be unlocked by pulling up the opener lever
located on the outboard side of the driver’s
seat and locked by simply closing the door.
57L51093
To remove the fuel filler cap:
1) Open the fuel filler door.
2) Remove the cap by turning it counter-
clockwise.
54P000502
NOTE:
The cap holder (1) holds the fuel filler cap
(2) by hooking the groove (3) when refuel-
ing.
To reinstall the fuel filler cap:
1) Turn the cap clockwise until you hear
several clicks.
2) Close the fuel filler door.
EXAMPLE
EXAMPLE
CAUTION
Remove the fuel filler cap slowly. The
fuel may be under pressure and may
spray out, causing injury.
OpenClose
EXAMPLE
WA R N I N G
Fuel is extremely flammable. Do not
smoke when refueling, and check
that there are no open flames or
sparks in the area.
(1)(1)
(2)(3)(1)
EXAMPLE
Page 245 of 482
5-3
OTHER CONTROLS AND EQUIPMENT
54P00-01E
54P000505
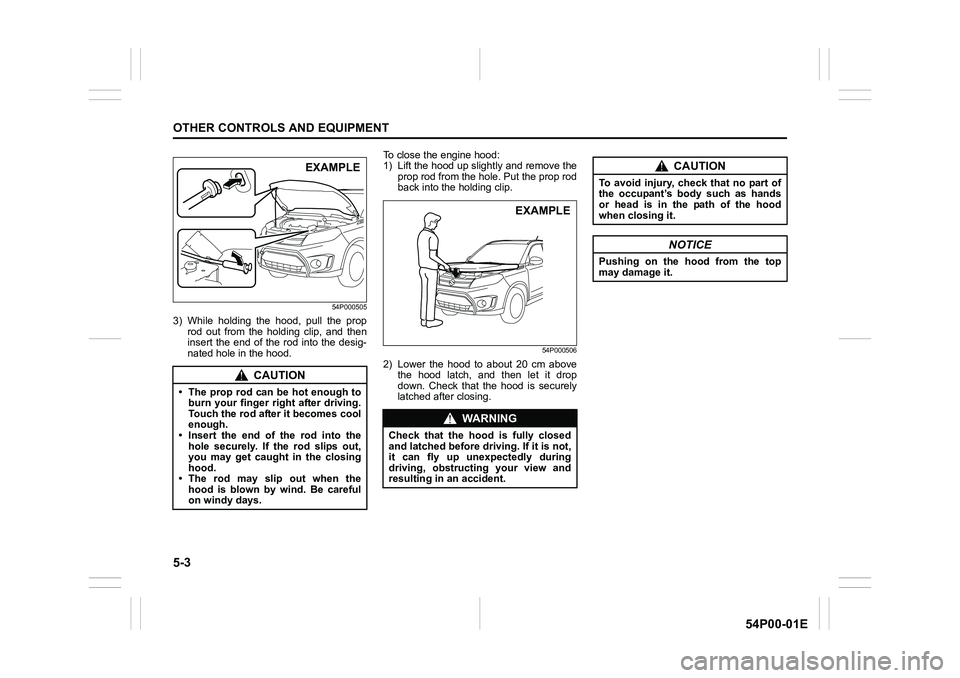
3) While holding the hood, pull the prop
rod out from the holding clip, and then
insert the end of the rod into the desig-
nated hole in the hood.To close the engine hood:
1) Lift the hood up slightly and remove the
prop rod from the hole. Put the prop rod
back into the holding clip.
54P000506
2) Lower the hood to about 20 cm above
the hood latch, and then let it drop
down. Check that the hood is securely
latched after closing.
CAUTION
• The prop rod can be hot enough to
burn your finger right after driving.
Touch the rod after it becomes cool
enough.
• Insert the end of the rod into the
hole securely. If the rod slips out,
you may get caught in the closing
hood.
• The rod may slip out when the
hood is blown by wind. Be careful
on windy days.
EXAMPLE
WA R N I N G
Check that the hood is fully closed
and latched before driving. If it is not,
it can fly up unexpectedly during
driving, obstructing your view and
resulting in an accident.
EXAMPLE
CAUTION
To avoid injury, check that no part of
the occupant’s body such as hands
or head is in the path of the hood
when closing it.
NOTICE
Pushing on the hood from the top
may damage it.
Page 251 of 482
5-9
OTHER CONTROLS AND EQUIPMENT
54P00-01E
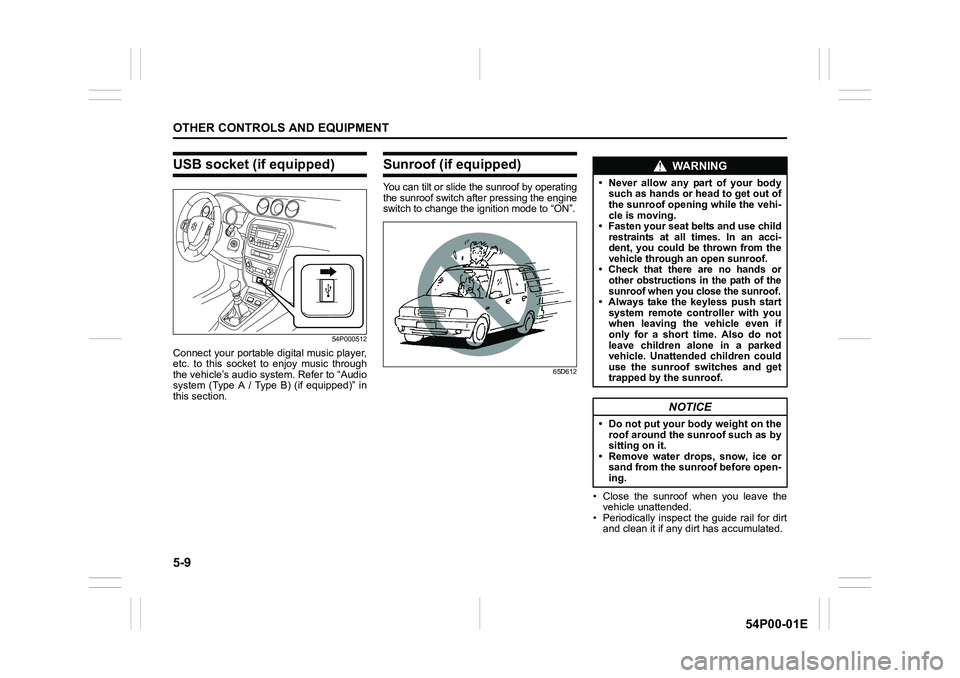
USB socket (if equipped)
54P000512
Connect your portable digital music player,
etc. to this socket to enjoy music through
the vehicle’s audio system. Refer to “Audio
system (Type A / Type B) (if equipped)” in
this section.
Sunroof (if equipped)
You can tilt or slide the sunroof by operating
the sunroof switch after pressing the engine
switch to change the ignition mode to “ON”.
65D612
• Close the sunroof when you leave the
vehicle unattended.
• Periodically inspect the guide rail for dirt
and clean it if any dirt has accumulated.
WA R N I N G
• Never allow any part of your body
such as hands or head to get out of
the sunroof opening while the vehi-
cle is moving.
• Fasten your seat belts and use child
restraints at all times. In an acci-
dent, you could be thrown from the
vehicle through an open sunroof.
• Check that there are no hands or
other obstructions in the path of the
sunroof when you close the sunroof.
• Always take the keyless push start
system remote controller with you
when leaving the vehicle even if
only for a short time. Also do not
leave children alone in a parked
vehicle. Unattended children could
use the sunroof switches and get
trapped by the sunroof.
NOTICE
• Do not put your body weight on the
roof around the sunroof such as by
sitting on it.
• Remove water drops, snow, ice or
sand from the sunroof before open-
ing.
Page 257 of 482
5-15
OTHER CONTROLS AND EQUIPMENT
54P00-01E
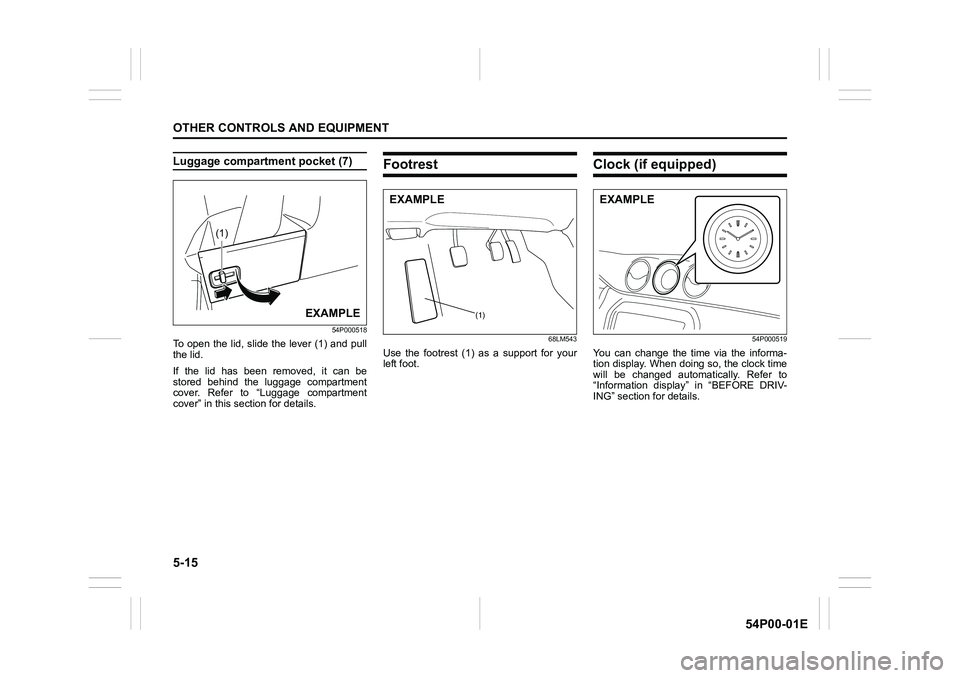
Luggage compartment pocket (7)
54P000518
To open the lid, slide the lever (1) and pull
the lid.
If the lid has been removed, it can be
stored behind the luggage compartment
cover. Refer to “Luggage compartment
cover” in this section for details.
Footrest
68LM543
Use the footrest (1) as a support for your
left foot.
Clock (if equipped)
54P000519
You can change the time via the informa-
tion display. When doing so, the clock time
will be changed automatically. Refer to
“Information display” in “BEFORE DRIV-
ING” section for details.
(1)
EXAMPLE(1)
EXAMPLEEXAMPLE
Page 258 of 482
5-16
OTHER CONTROLS AND EQUIPMENT
54P00-01E
Floor mats (if equipped)
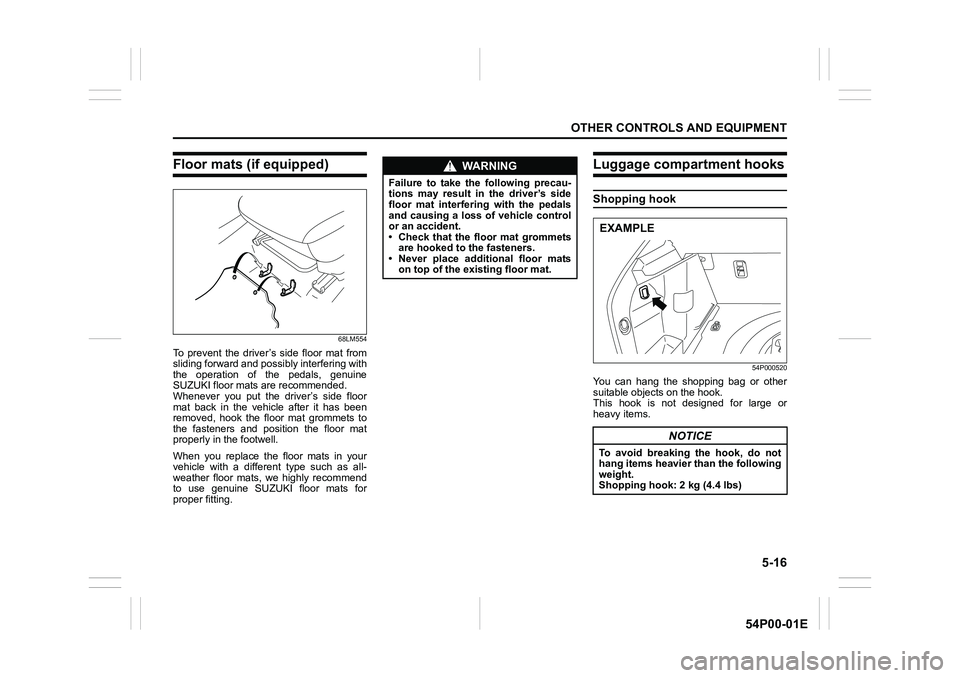
68LM554
To prevent the driver’s side floor mat from
sliding forward and possibly interfering with
the operation of the pedals, genuine
SUZUKI floor mats are recommended.
Whenever you put the driver’s side floor
mat back in the vehicle after it has been
removed, hook the floor mat grommets to
the fasteners and position the floor mat
properly in the footwell.
When you replace the floor mats in your
vehicle with a different type such as all-
weather floor mats, we highly recommend
to use genuine SUZUKI floor mats for
proper fitting.
Luggage compartment hooks
Shopping hook
54P000520
You can hang the shopping bag or other
suitable objects on the hook.
This hook is not designed for large or
heavy items.
WA R N I N G
Failure to take the following precau-
tions may result in the driver’s side
floor mat interfering with the pedals
and causing a loss of vehicle control
or an accident.
• Check that the floor mat grommets
are hooked to the fasteners.
• Never place additional floor mats
on top of the existing floor mat.
NOTICE
To avoid breaking the hook, do not
hang items heavier than the following
weight.
Shopping hook: 2 kg (4.4 lbs)
EXAMPLE
Page 260 of 482
5-18
OTHER CONTROLS AND EQUIPMENT
54P00-01E
Luggage compartment cover
54P000523
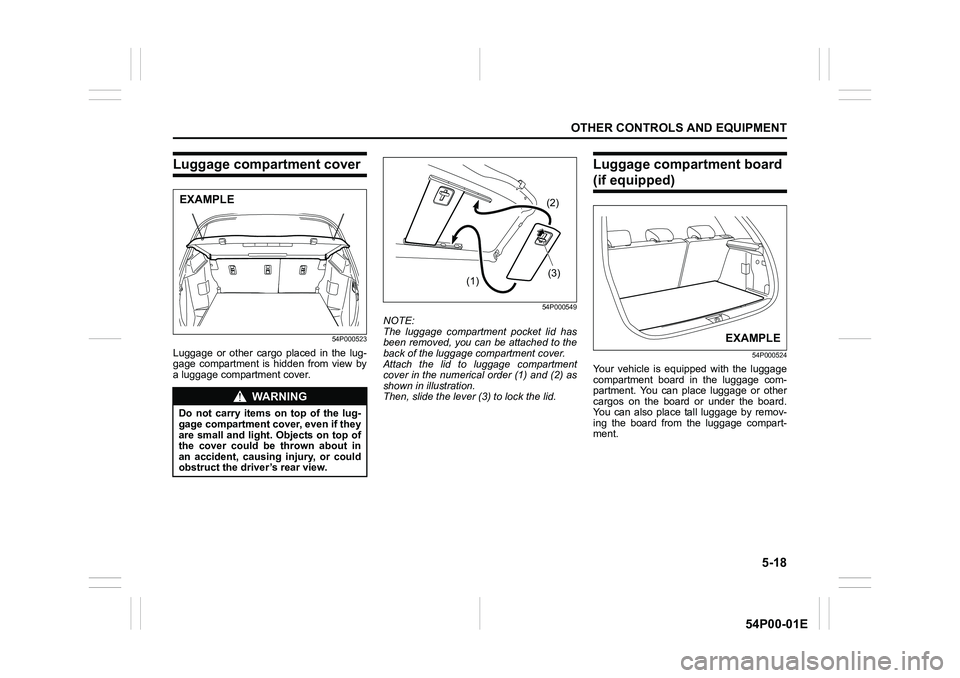
Luggage or other cargo placed in the lug-
gage compartment is hidden from view by
a luggage compartment cover.
54P000549
NOTE:
The luggage compartment pocket lid has
been removed, you can be attached to the
back of the luggage compartment cover.
Attach the lid to luggage compartment
cover in the numerical order (1) and (2) as
shown in illustration.
Then, slide the lever (3) to lock the lid.
Luggage compartment board
(if equipped)
54P000524
Your vehicle is equipped with the luggage
compartment board in the luggage com-
partment. You can place luggage or other
cargos on the board or under the board.
You can also place tall luggage by remov-
ing the board from the luggage compart-
ment.
WA R N I N G
Do not carry items on top of the lug-
gage compartment cover, even if they
are small and light. Objects on top of
the cover could be thrown about in
an accident, causing injury, or could
obstruct the driver’s rear view.
EXAMPLE
(3)(1)(2)
EXAMPLE
Page 263 of 482
5-21
OTHER CONTROLS AND EQUIPMENT
54P00-01E
Front
54P000527
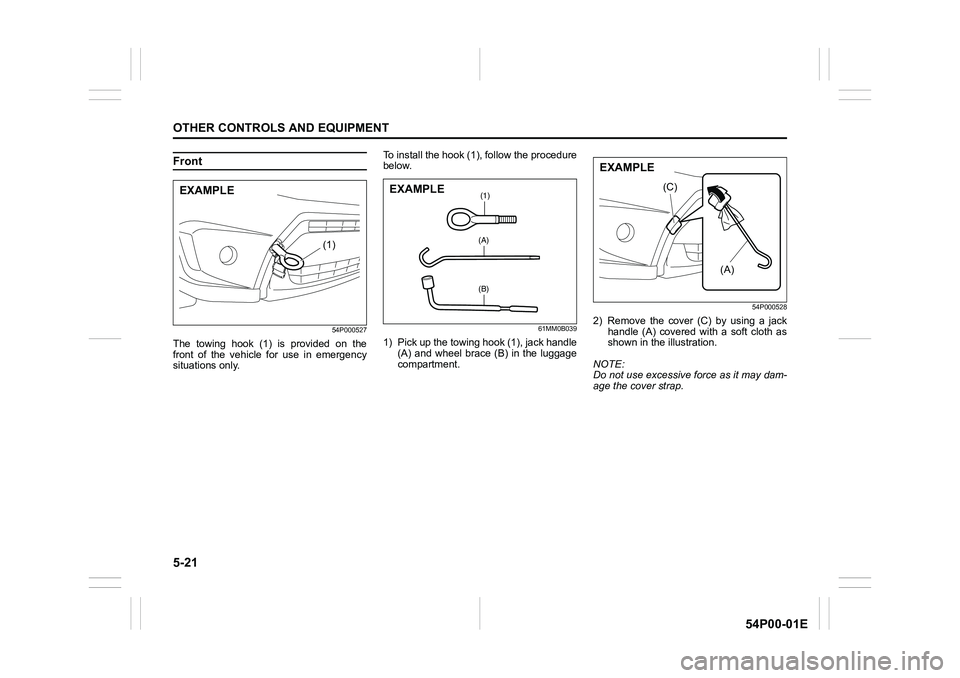
The towing hook (1) is provided on the
front of the vehicle for use in emergency
situations only.To install the hook (1), follow the procedure
below.
61MM0B039
1) Pick up the towing hook (1), jack handle
(A) and wheel brace (B) in the luggage
compartment.
54P000528
2) Remove the cover (C) by using a jack
handle (A) covered with a soft cloth as
shown in the illustration.
NOTE:
Do not use excessive force as it may dam-
age the cover strap.
(1)
EXAMPLE(1)
(A)
(B)
EXAMPLE
(A)
(C)
EXAMPLE