engine SUZUKI IGNIS 2021 Owners Manual
[x] Cancel search | Manufacturer: SUZUKI, Model Year: 2021, Model line: IGNIS, Model: SUZUKI IGNIS 2021Pages: 505, PDF Size: 8.36 MB
Page 248 of 505
4-1DRIVING TIPS
75RM4-01E
52D078S
Running-in
Catalytic converter
80G106
The purpose of the catalytic converter is to
minimize the amount of harmful pollutants
in your vehicle’s exhaust. Use of leaded
fuel in vehicles equipped with catalytic
converters is prohibited, because lead
deactivates the pollutant-reducing compo-
nents of the catalyst system.
The converter is designed to last the life of
the vehicle under normal usage and when
unleaded fuel is used. No special mainte-
nance is required on the converter. How-
ever, it is very important to keep the engine
properly tuned. Engine misfiring, which can
result from an improperly tuned engine,
may cause overheating of the catalytic
converter. This may result in permanent
WA R N I N G
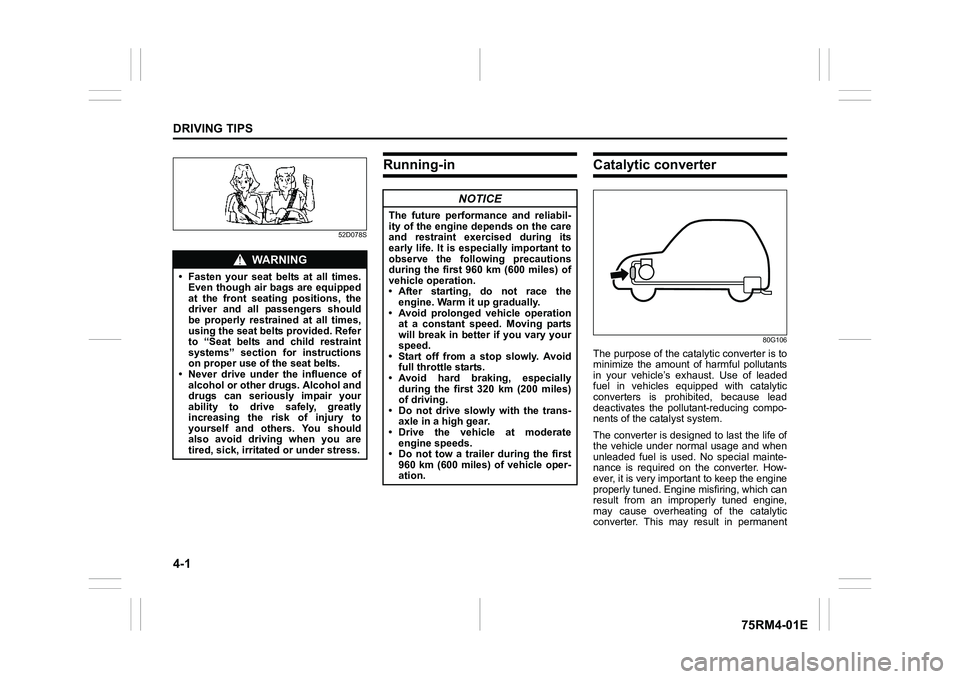
• Fasten your seat belts at all times.Even though air bags are equipped
at the front seating positions, the
driver and all passengers should
be properly restrained at all times,
using the seat belts provided. Refer
to “Seat belts and child restraint
systems” section for instructions
on proper use of the seat belts.
• Never drive under the influence of
alcohol or other drugs. Alcohol and
drugs can seriously impair your
ability to drive safely, greatly
increasing the risk of injury to
yourself and others. You should
also avoid driving when you are
tired, sick, irritated or under stress.
NOTICE
The future performance and reliabil-
ity of the engine depends on the care
and restraint exercised during its
early life. It is especially important to
observe the following precautions
during the first 960 km (600 miles) of
vehicle operation.
•After starting, do not race theengine. Warm it up gradually.
• Avoid prolonged vehicle operation at a constant speed. Moving parts
will break in better if you vary your
speed.
• Start off from a stop slowly. Avoid full throttle starts.
• Avoid hard braking, especially during the first 320 km (200 miles)
of driving.
• Do not drive slowly with the trans- axle in a high gear.
• Drive the vehicle at moderate
engine speeds.
• Do not tow a trailer during the first 960 km (600 miles) of vehicle oper-
ation.
Page 249 of 505
4-2
DRIVING TIPS
75RM4-01E
heat damage to the catalytic converter and
other vehicle components.
54G584S
Improving fuel economyThe following instructions will help you
improve fuel economy.
Avoid excessive idling
If you are to wait for more than a minute
while you are parked, stop the engine and
start it again later. When warming up a
cold engine, do not allow the engine to idle
or apply full throttle until the engine has
reached operating temperature. Allow the
engine to warm up by driving.
Avoid fast starts
Fast starts away from lights or stop signs
will consume fuel unnecessarily and
shorten engine life. Start off slowly.
Avoid unnecessary stops
Avoid unnecessary deceleration and stop-
ping. Try to maintain a slow, steady speed
whenever possible. Slowing down and
then accelerating aga in uses more fuel.
Keep a steady cruising speed
Drive at a constant speed that road and
traffic conditions will permit.
NOTICE
To minimize the possibility of cata-
lytic converter or other vehicle dam-
age:
• Maintain the engine in the proper operating condition.
• In the event of an engine malfunc-
tion, particularly one involving
engine misfire or other apparent
loss of performance, have the vehi-
cle serviced promptly.
• Do not turn off the engine or inter-
rupt the ignition when the transaxle
is in gear and the vehicle is in
motion.
• Do not try to start the engine by pushing or towing the vehicle, or
coasting down a hill.
• Do not idle the engine with any spark plug wires disconnected or
removed, such as during diagnos-
tic testing.
• Do not idle the vehicle for pro- longed periods if idling seems
rough or there are other malfunc-
tions.
• Do not allow the fuel tank to get
near the empty level.
WA R N I N G
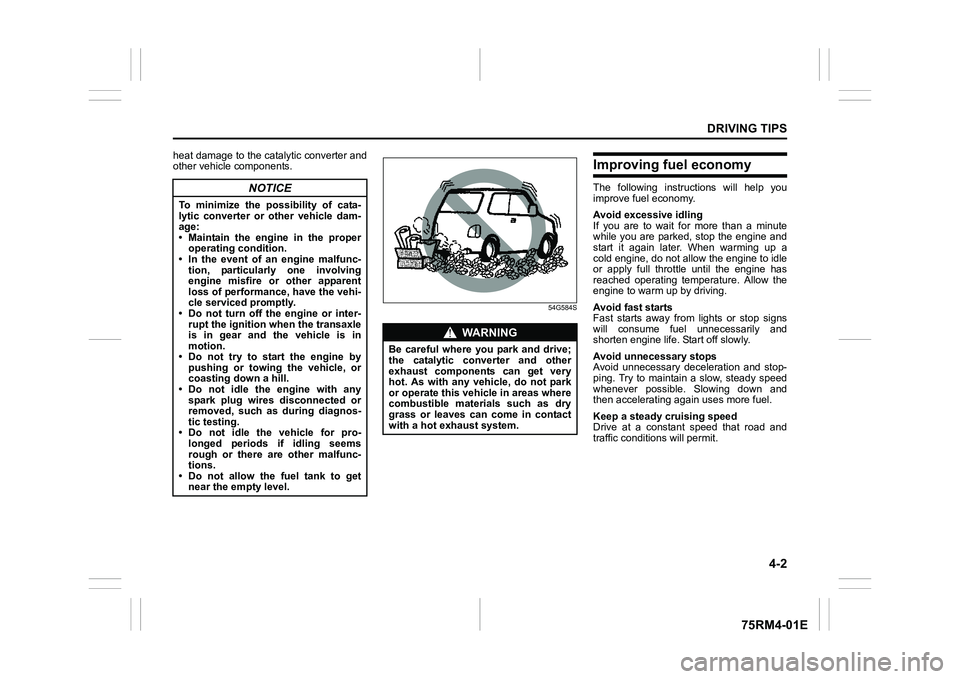
Be careful where you park and drive;
the catalytic converter and other
exhaust components can get very
hot. As with any vehicle, do not park
or operate this vehicle in areas where
combustible materials such as dry
grass or leaves can come in contact
with a hot exhaust system.
Page 251 of 505
4-4
DRIVING TIPS
75RM4-01E
CVT
75RM296
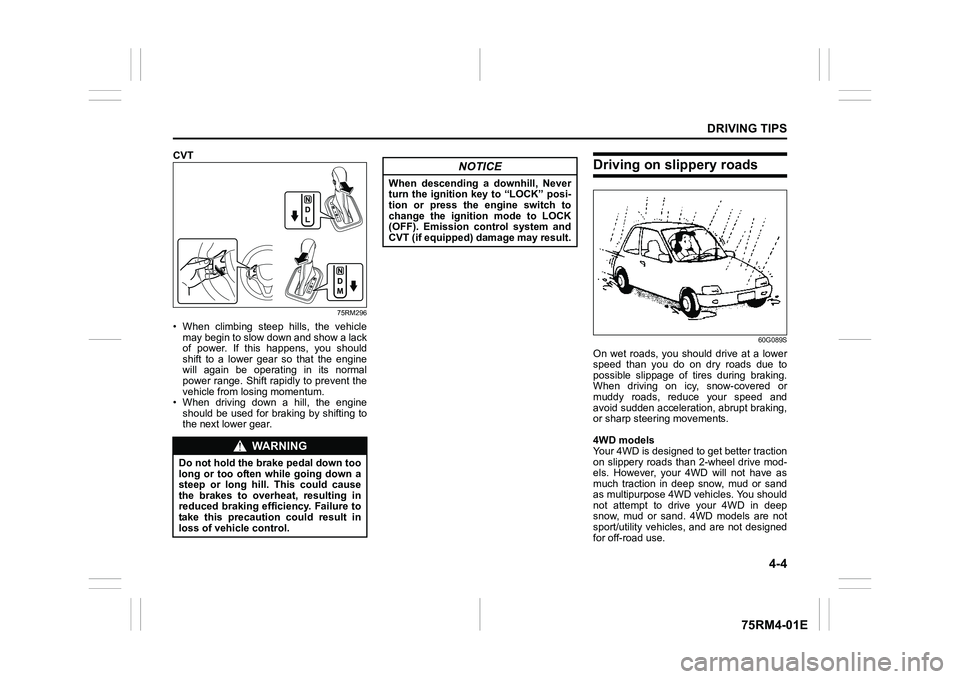
• When climbing steep hills, the vehiclemay begin to slow down and show a lack
of power. If this happens, you should
shift to a lower gear so that the engine
will again be operating in its normal
power range. Shift rapidly to prevent the
vehicle from losing momentum.
• When driving down a hill, the engine
should be used for braking by shifting to
the next lower gear.
Driving on slippery roads
60G089S
On wet roads, you shou ld drive at a lower
speed than you do on dry roads due to
possible slippage of tires during braking.
When driving on icy, snow-covered or
muddy roads, reduce your speed and
avoid sudden acceleration, abrupt braking,
or sharp steering movements.
4WD models
Your 4WD is designed to get better traction
on slippery roads than 2-wheel drive mod-
els. However, your 4WD will not have as
much traction in deep snow, mud or sand
as multipurpose 4WD vehicles. You should
not attempt to drive your 4WD in deep
snow, mud or sand. 4WD models are not
sport/utility vehicles, and are not designed
for off-road use.
WA R N I N G
Do not hold the brake pedal down too
long or too often while going down a
steep or long hill. This could cause
the brakes to overheat, resulting in
reduced braking efficiency. Failure to
take this precaution could result in
loss of vehicle control.
NOTICE
When descending a downhill, Never
turn the ignition key to “LOCK” posi-
tion or press the engine switch to
change the ignition mode to LOCK
(OFF). Emission control system and
CVT (if equipped) damage may result.
Page 252 of 505
4-5DRIVING TIPS
75RM4-01E
Tire chainsTire chains should only be used if they are
needed to increase traction or are required
by law. Check that the chains you use are
the correct size for your vehicle’s tires.
Also check that there is enough clearance
between the fenders and the chains as
installed on the tires.
Install the chains on the front tires tightly,
according to the chain manufacturer’s
instructions. Retighten the chains after
driving about 1.0 km (1/2 mile) if neces-
sary. With the chains installed, drive slowly.
Stuck vehicleIf your vehicle gets stuck in snow, mud or
sand, follow the directions below:
1) Shift the transaxle back and forthbetween a forward range (or first gear
for manual transaxle/Auto Gear Shift)
and reverse. This will create a rocking
motion which may give you enough
momentum to free the vehicle. Press
gently on the accelerator to keep wheel
spinning to a minimum wheel rpm.
Remove your foot from the accelerator
while shifting.
Do not race the engine. Excessive
wheel spin will cause the tires to dig
deeper, making it more difficult to free
the vehicle.
NOTE:
If your vehicle is equipped with the ESP
®
and/or grip control system, you may have
to turn the systems off in order to spin the
wheels. 2) If your vehicle rema
ins stuck after a few
minutes of rocking, we recommend you
to consult your SUZUKI dealer or a road-
side assistance service. If a towing ser-
vice is not available in an emergency,
your vehicle may be temporarily towed by
a towing cable or chain secured to the
towing hook either on the front of the
vehicle or on the rear of the vehicle. Refer
to “Frame hooks” in the “OTHER CON-
TROLS AND EQUIPMENT” section.
NOTICE
• If you hear the chains hitting against the vehicle body while driv-
ing, stop and tighten them.
• If your vehicle is equipped with full wheel caps, remove the wheel caps
before installing the chains or the
wheel caps can be damaged by the
chain bands.
WA R N I N G
Do not allow anyone to stand near
the vehicle when you are rocking it,
and do not spin the wheels faster
than an indicated 40 km/h (25 mph)
on the speedometer. Personal injury
and/or vehicle damage may result
from spinning the wheels too fast.
NOTICE
Do not continue rocking the vehicle
for more than a few minutes. Pro-
longed rocking can cause engine
overheating or transaxle damage.
Page 255 of 505
OTHER CONTROLS AND EQUIPMENT
5
75RM4-01E
60G407
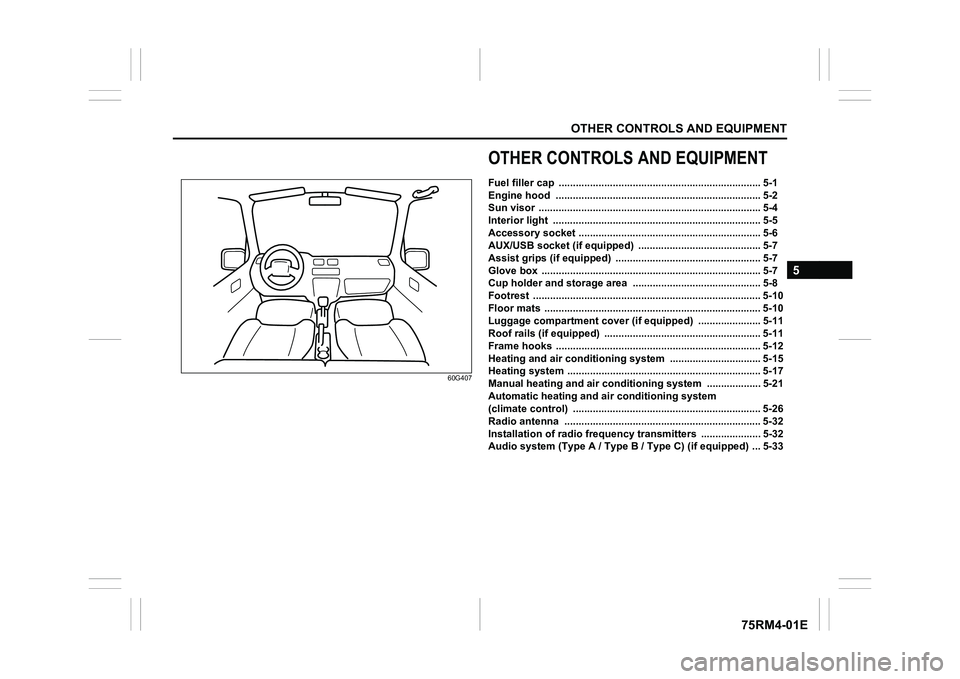
OTHER CONTROLS AND EQUIPMENTFuel filler cap ....................................................................... 5-1
Engine hood ................................................... ..................... 5-2
Sun visor ..................................................... ......................... 5-4
Interior light ................................................ ......................... 5-5
Accessory socket .............. ....................... ........................... 5-6
AUX/USB socket (if equipped) . .......................................... 5-7
Assist grips (if equipped) .................................... ............... 5-7
Glove box ..................................................... ........................ 5-7
Cup holder and storage area ................................... .......... 5-8
Footrest ...................................................... .......................... 5-10
Floor mats .................................................... ........................ 5-10
Luggage compartment cover (if equipped) ...................... 5 -11
Roof rails (if equipped) ...................................... ................. 5-11
Frame hooks ................................................... ..................... 5-12
Heating and air conditioning system ........................... ..... 5-15
Heating system ................................................ .................... 5-17
Manual heating and a ir conditioning system ................... 5 -21
Automatic heating and ai r conditioning system
(climate control) ........... ....................................................... 5-26
Radio antenna ................................................. .................... 5-32
Installation of radi o frequency transmi tters ..................... 5-32
Audio system (Type A / Type B / Type C) (if equipped) ... 5-33
Page 257 of 505
5-2
OTHER CONTROLS AND EQUIPMENT
75RM4-01E
To reinstall the fuel filler cap:
1) Turn the cap clockwise until you hearseveral clicks.
2) Close the fuel filler door.
Engine hood
75RM131
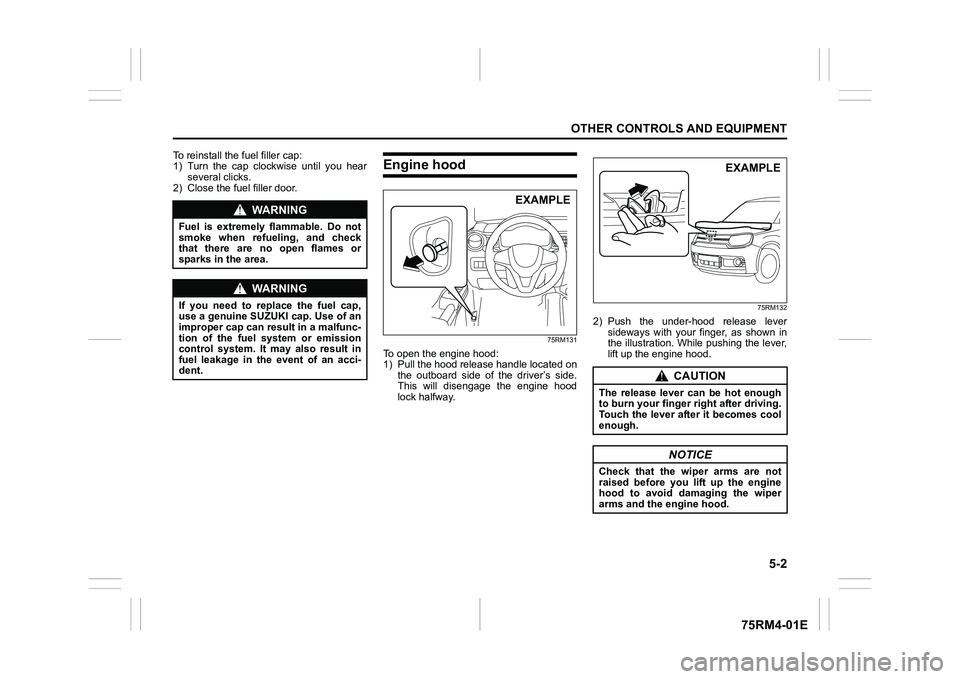
To open the engine hood:
1) Pull the hood release handle located on the outboard side of the driver’s side.
This will disengage the engine hood
lock halfway.
75RM132
2) Push the under-hood release leversideways with your finger, as shown in
the illustration. While pushing the lever,
lift up the engine hood.
WA R N I N G
Fuel is extremely flammable. Do not
smoke when refueling, and check
that there are no open flames or
sparks in the area.
WA R N I N G
If you need to replace the fuel cap,
use a genuine SUZUKI cap. Use of an
improper cap can result in a malfunc-
tion of the fuel system or emission
control system. It may also result in
fuel leakage in the event of an acci-
dent.
EXAMPLE
CAUTION
The release lever can be hot enough
to burn your finger right after driving.
Touch the lever after it becomes cool
enough.
NOTICE
Check that the wiper arms are not
raised before you lift up the engine
hood to avoid damaging the wiper
arms and the engine hood.
EXAMPLE
Page 258 of 505

5-3OTHER CONTROLS AND EQUIPMENT
75RM4-01E
75RM133
3) While holding the hood, pull the proprod out from the holding clip, and then
insert the end of the rod into the desig-
nated hole in the hood. To close the engine hood:
1) Lift the hood up slightly and remove the
prop rod from the hole. Put the prop rod
back into the holding clip.
62R0074
2) Lower the hood to about 20 cm above
the hood latch, and then let it drop
down. Check that the hood is securely
latched after closing.
CAUTION
• The prop rod can be hot enough toburn your finger right after driving.
Touch the rod after it becomes cool
enough.
• Insert the end of the rod into the hole securely. If the rod slips out,
you may get caught in the closing
hood.
• The rod may slip out when the
hood is blown by wind. Be careful
on windy days.
EXAMPLE
WA R N I N G
Check that the hood is fully closed
and latched before d riving. If it is not,
it can fly up unexpectedly during
driving, obstructing your view and
resulting in an accident.
EXAMPLE
CAUTION
To avoid injury, check that no part of
the occupant’s body such as hands
or head is in the path of the hood
when closing it.
NOTICE
Pushing on the hood from the top
may damage it.
Page 260 of 505
5-5OTHER CONTROLS AND EQUIPMENT
75RM4-01E
Interior lightFront
62R0294
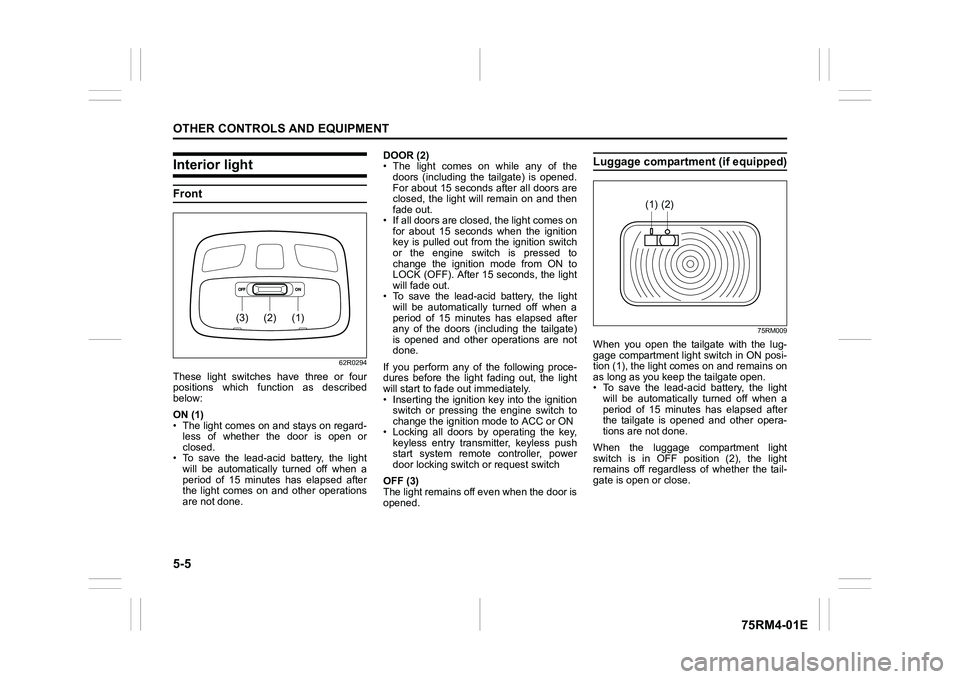
These light switches have three or four
positions which function as described
below:
ON (1)
• The light comes on and stays on regard-less of whether the door is open or
closed.
• To save the lead-acid battery, the light
will be automatically turned off when a
period of 15 minutes has elapsed after
the light comes on and other operations
are not done. DOOR (2)
• The light comes on while any of the
doors (including the tailgate) is opened.
For about 15 seconds after all doors are
closed, the light will remain on and then
fade out.
• If all doors are closed, the light comes on for about 15 seconds when the ignition
key is pulled out from the ignition switch
or the engine switch is pressed to
change the ignition mode from ON to
LOCK (OFF). After 15 seconds, the light
will fade out.
• To save the lead-acid battery, the light will be automatically turned off when a
period of 15 minutes has elapsed after
any of the doors (including the tailgate)
is opened and other operations are not
done.
If you perform any of the following proce-
dures before the light fading out, the light
will start to fade out immediately.
• Inserting the ignition key into the ignition switch or pressing the engine switch to
change the ignition mode to ACC or ON
• Locking all doors by operating the key, keyless entry transmitter, keyless push
start system remote controller, power
door locking switc h or request switch
OFF (3)
The light remains off even when the door is
opened.
Luggage compartment (if equipped)
75RM009
When you open the tailgate with the lug-
gage compartment light switch in ON posi-
tion (1), the light com es on and remains on
as long as you keep the tailgate open.
• To save the lead-acid battery, the light
will be automatically turned off when a
period of 15 minutes has elapsed after
the tailgate is opened and other opera-
tions are not done.
When the luggage compartment light
switch is in OFF position (2), the light
remains off regardless of whether the tail-
gate is open or close.
(1)
(2)
(3)
(2)
(1)
Page 275 of 505
5-20
OTHER CONTROLS AND EQUIPMENT
75RM4-01E
75RM357
NOTE:
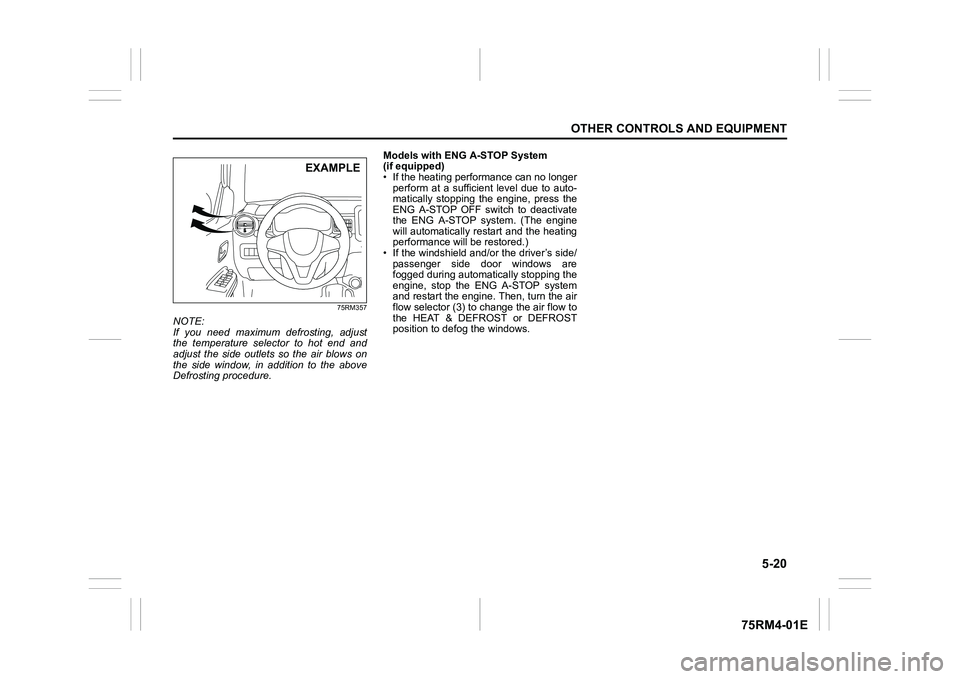
If you need maximum defrosting, adjust
the temperature selector to hot end and
adjust the side outlets so the air blows on
the side window, in addition to the above
Defrosting procedure.Models with ENG A-STOP System
(if equipped)
• If the heating performance can no longer
perform at a sufficient level due to auto-
matically stopping the engine, press the
ENG A-STOP OFF switch to deactivate
the ENG A-STOP system. (The engine
will automatically restart and the heating
performance will be restored.)
• If the windshield and/or the driver’s side/ passenger side door windows are
fogged during automatic ally stopping the
engine, stop the ENG A-STOP system
and restart the engine. Then, turn the air
flow selector (3) to c hange the air flow to
the HEAT & DEFROST or DEFROST
position to defog the windows.
EXAMPLE
Page 278 of 505
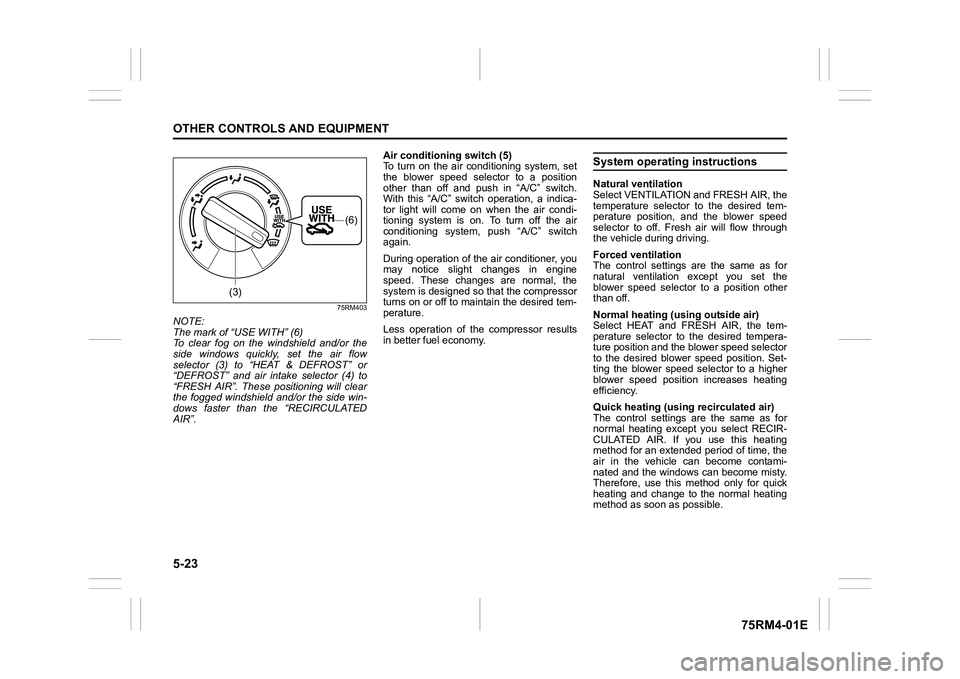
5-23OTHER CONTROLS AND EQUIPMENT
75RM4-01E
75RM403
NOTE:
The mark of “USE WITH” (6)
To clear fog on the windshield and/or the
side windows quickly, set the air flow
selector (3) to “HEAT & DEFROST” or
“DEFROST” and air intake selector (4) to
“FRESH AIR”. These positioning will clear
the fogged windshield and/or the side win-
dows faster than the “RECIRCULATED
AIR”. Air conditioning switch (5)
To turn on the air conditioning system, set
the blower speed selector to a position
other than off and push in “A/C” switch.
With this “A/C” switch operation, a indica-
tor light will come on when the air condi-
tioning system is on. To turn off the air
conditioning system,
push “A/C” switch
again.
During operation of the air conditioner, you
may notice slight changes in engine
speed. These changes are normal, the
system is designed so that the compressor
turns on or off to maintain the desired tem-
perature.
Less operation of the compressor results
in better fuel economy.
System operating instructionsNatural ventilation
Select VENTILATION and FRESH AIR, the
temperature selector to the desired tem-
perature position, and the blower speed
selector to off. Fresh air will flow through
the vehicle during driving.
Forced ventilation
The control settings are the same as for
natural ventilation except you set the
blower speed selector to a position other
than off.
Normal heating (using outside air)
Select HEAT and FRESH AIR, the tem-
perature selector to the desired tempera-
ture position and the blower speed selector
to the desired blower speed position. Set-
ting the blower speed selector to a higher
blower speed position increases heating
efficiency.
Quick heating (using recirculated air)
The control settings are the same as for
normal heating except you select RECIR-
CULATED AIR. If you use this heating
method for an extended period of time, the
air in the vehicle can become contami-
nated and the windows can become misty.
Therefore, use this method only for quick
heating and change to the normal heating
method as soon as possible.
(3)
(6)