Notice SUZUKI SWIFT 2017 5.G User Guide
[x] Cancel search | Manufacturer: SUZUKI, Model Year: 2017, Model line: SWIFT, Model: SUZUKI SWIFT 2017 5.GPages: 336, PDF Size: 6.24 MB
Page 47 of 336
2-28
BEFORE DRIVING
74LH0-74E
76MH0A030
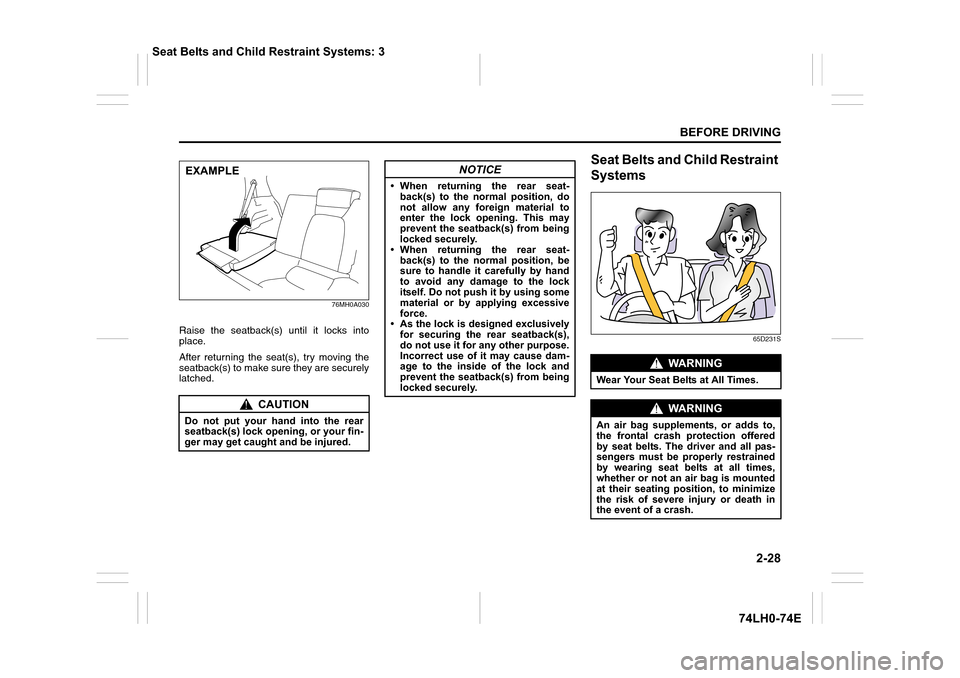
Raise the seatback(s) until it locks into
place.
After returning the seat(s), try moving the
seatback(s) to make sure they are securely
latched.
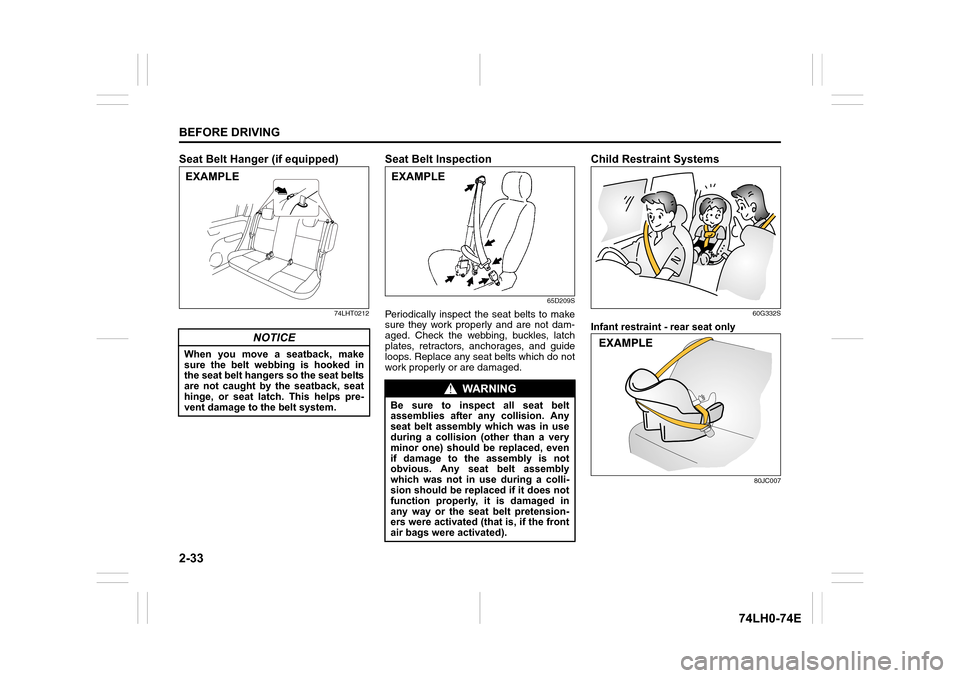
Seat Belts and Child Restraint
Systems
65D231S
CAUTION
Do not put your hand into the rear
seatback(s) lock opening, or your fin-
ger may get caught and be injured.
EXAMPLENOTICE
• When returning the rear seat-
back(s) to the normal position, do
not allow any foreign material to
enter the lock opening. This may
prevent the seatback(s) from being
locked securely.
• When returning the rear seat-
back(s) to the normal position, be
sure to handle it carefully by hand
to avoid any damage to the lock
itself. Do not push it by using some
material or by applying excessive
force.
• As the lock is designed exclusively
for securing the rear seatback(s),
do not use it for any other purpose.
Incorrect use of it may cause dam-
age to the inside of the lock and
prevent the seatback(s) from being
locked securely.
WA R N I N G
Wear Your Seat Belts at All Times.
WA R N I N G
An air bag supplements, or adds to,
the frontal crash protection offered
by seat belts. The driver and all pas-
sengers must be properly restrained
by wearing seat belts at all times,
whether or not an air bag is mounted
at their seating position, to minimize
the risk of severe injury or death in
the event of a crash.
Seat Belts and Child Restraint Systems: 3
Page 52 of 336
2-33
BEFORE DRIVING
74LH0-74E
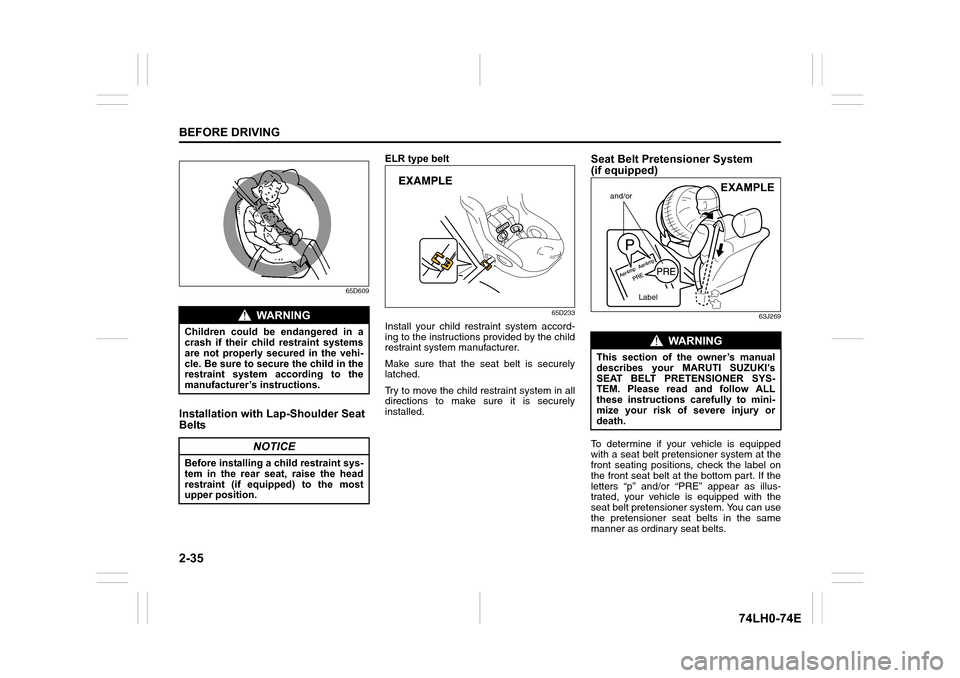
Seat Belt Hanger (if equipped)
74LHT0212
Seat Belt Inspection
65D209S
Periodically inspect the seat belts to make
sure they work properly and are not dam-
aged. Check the webbing, buckles, latch
plates, retractors, anchorages, and guide
loops. Replace any seat belts which do not
work properly or are damaged.
Child Restraint Systems
60G332S
Infant restraint - rear seat only
80JC007
NOTICE
When you move a seatback, make
sure the belt webbing is hooked in
the seat belt hangers so the seat belts
are not caught by the seatback, seat
hinge, or seat latch. This helps pre-
vent damage to the belt system.
EXAMPLE
WA R N I N G
Be sure to inspect all seat belt
assemblies after any collision. Any
seat belt assembly which was in use
during a collision (other than a very
minor one) should be replaced, even
if damage to the assembly is not
obvious. Any seat belt assembly
which was not in use during a colli-
sion should be replaced if it does not
function properly, it is damaged in
any way or the seat belt pretension-
ers were activated (that is, if the front
air bags were activated).
EXAMPLE
Page 54 of 336
2-35
BEFORE DRIVING
74LH0-74E
65D609
Installation with Lap-Shoulder Seat
Belts
ELR type belt
65D233
Install your child restraint system accord-
ing to the instructions provided by the child
restraint system manufacturer.
Make sure that the seat belt is securely
latched.
Try to move the child restraint system in all
directions to make sure it is securely
installed.
Seat Belt Pretensioner System
(if equipped)
63J269
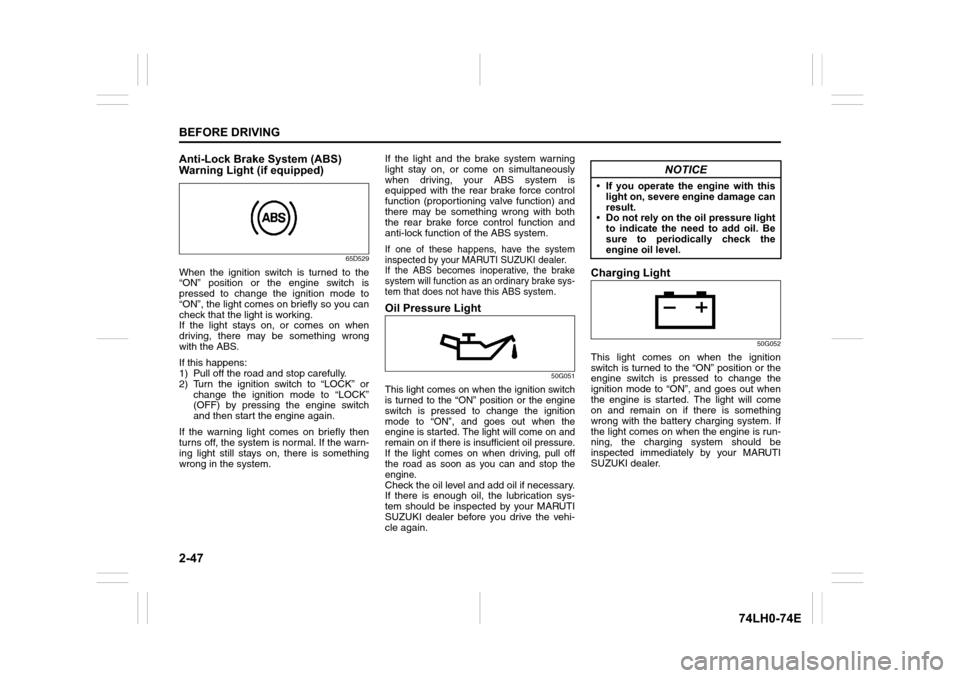
To determine if your vehicle is equipped
with a seat belt pretensioner system at the
front seating positions, check the label on
the front seat belt at the bottom part. If the
letters “p” and/or “PRE” appear as illus-
trated, your vehicle is equipped with the
seat belt pretensioner system. You can use
the pretensioner seat belts in the same
manner as ordinary seat belts.
WA R N I N G
Children could be endangered in a
crash if their child restraint systems
are not properly secured in the vehi-
cle. Be sure to secure the child in the
restraint system according to the
manufacturer’s instructions.
NOTICE
Before installing a child restraint sys-
tem in the rear seat, raise the head
restraint (if equipped) to the most
upper position.
WA R N I N G
This section of the owner’s manual
describes your MARUTI SUZUKI’s
SEAT BELT PRETENSIONER SYS-
TEM. Please read and follow ALL
these instructions carefully to mini-
mize your risk of severe injury or
death.
and/or
Label
EXAMPLE
Page 66 of 336
2-47
BEFORE DRIVING
74LH0-74E
Anti-Lock Brake System (ABS)
Warning Light (if equipped)
65D529
When the ignition switch is turned to the
“ON” position or the engine switch is
pressed to change the ignition mode to
“ON”, the light comes on briefly so you can
check that the light is working.
If the light stays on, or comes on when
driving, there may be something wrong
with the ABS.
If this happens:
1) Pull off the road and stop carefully.
2) Turn the ignition switch to “LOCK” or
change the ignition mode to “LOCK”
(OFF) by pressing the engine switch
and then start the engine again.
If the warning light comes on briefly then
turns off, the system is normal. If the warn-
ing light still stays on, there is something
wrong in the system.If the light and the brake system warning
light stay on, or come on simultaneously
when driving, your ABS system is
equipped with the rear brake force control
function (proportioning valve function) and
there may be something wrong with both
the rear brake force control function and
anti-lock function of the ABS system.
If one of these happens, have the system
inspected by your MARUTI SUZUKI dealer.
If the ABS becomes inoperative, the brake
system will function as an ordinary brake sys-
tem that does not have this ABS system.
Oil Pressure Light
50G051
This light comes on when the ignition switch
is turned to the “ON” position or the engine
switch is pressed to change the ignition
mode to “ON”, and goes out when the
engine is started. The light will come on and
remain on if there is insufficient oil pressure.
If the light comes on when driving, pull off
the road as soon as you can and stop the
engine.
Check the oil level and add oil if necessary.
If there is enough oil, the lubrication sys-
tem should be inspected by your MARUTI
SUZUKI dealer before you drive the vehi-
cle again.
Charging Light
50G052
This light comes on when the ignition
switch is turned to the “ON” position or the
engine switch is pressed to change the
ignition mode to “ON”, and goes out when
the engine is started. The light will come
on and remain on if there is something
wrong with the battery charging system. If
the light comes on when the engine is run-
ning, the charging system should be
inspected immediately by your MARUTI
SUZUKI dealer.
NOTICE
• If you operate the engine with this
light on, severe engine damage can
result.
• Do not rely on the oil pressure light
to indicate the need to add oil. Be
sure to periodically check the
engine oil level.
Page 67 of 336
2-48
BEFORE DRIVING
74LH0-74E
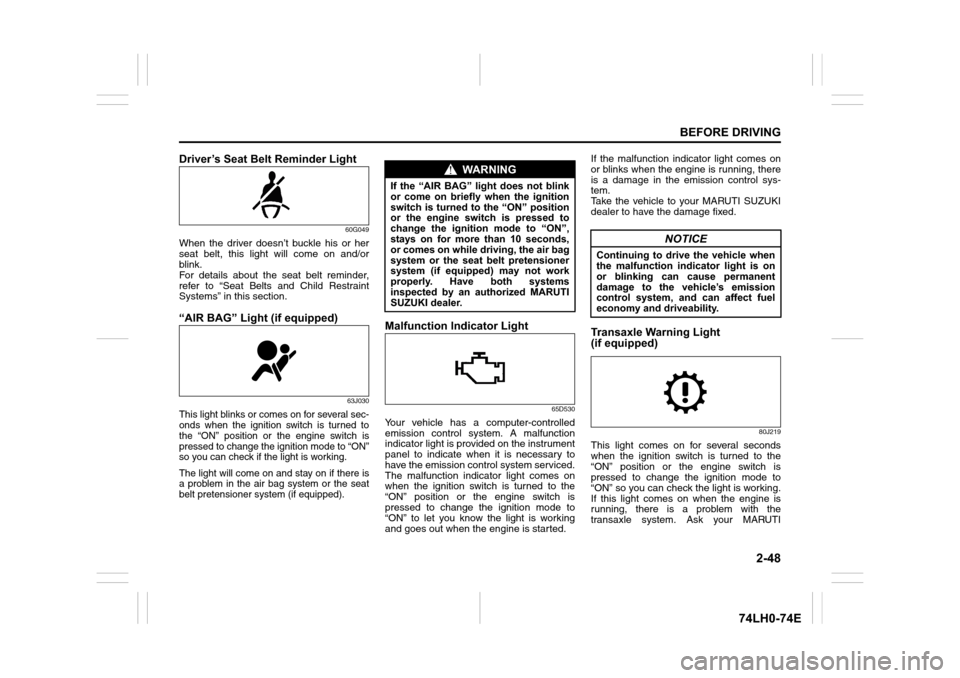
Driver’s Seat Belt Reminder Light
60G049
When the driver doesn’t buckle his or her
seat belt, this light will come on and/or
blink.
For details about the seat belt reminder,
refer to “Seat Belts and Child Restraint
Systems” in this section.
“AIR BAG” Light (if equipped)
63J030
This light blinks or comes on for several sec-
onds when the ignition switch is turned to
the “ON” position or the engine switch is
pressed to change the ignition mode to “ON”
so you can check if the light is working.
The light will come on and stay on if there is
a problem in the air bag system or the seat
belt pretensioner system (if equipped).
Malfunction Indicator Light
65D530
Your vehicle has a computer-controlled
emission control system. A malfunction
indicator light is provided on the instrument
panel to indicate when it is necessary to
have the emission control system serviced.
The malfunction indicator light comes on
when the ignition switch is turned to the
“ON” position or the engine switch is
pressed to change the ignition mode to
“ON” to let you know the light is working
and goes out when the engine is started. If the malfunction indicator light comes on
or blinks when the engine is running, there
is a damage in the emission control sys-
tem.
Take the vehicle to your MARUTI SUZUKI
dealer to have the damage fixed.
Transaxle Warning Light
(if equipped)
80J219
This light comes on for several seconds
when the ignition switch is turned to the
“ON” position or the engine switch is
pressed to change the ignition mode to
“ON” so you can check the light is working.
If this light comes on when the engine is
running, there is a problem with the
transaxle system. Ask your MARUTI
WA R N I N G
If the “AIR BAG” light does not blink
or come on briefly when the ignition
switch is turned to the “ON” position
or the engine switch is pressed to
change the ignition mode to “ON”,
stays on for more than 10 seconds,
or comes on while driving, the air bag
system or the seat belt pretensioner
system (if equipped) may not work
properly. Have both systems
inspected by an authorized MARUTI
SUZUKI dealer.
NOTICE
Continuing to drive the vehicle when
the malfunction indicator light is on
or blinking can cause permanent
damage to the vehicle’s emission
control system, and can affect fuel
economy and driveability.
Page 70 of 336
2-51
BEFORE DRIVING
74LH0-74E
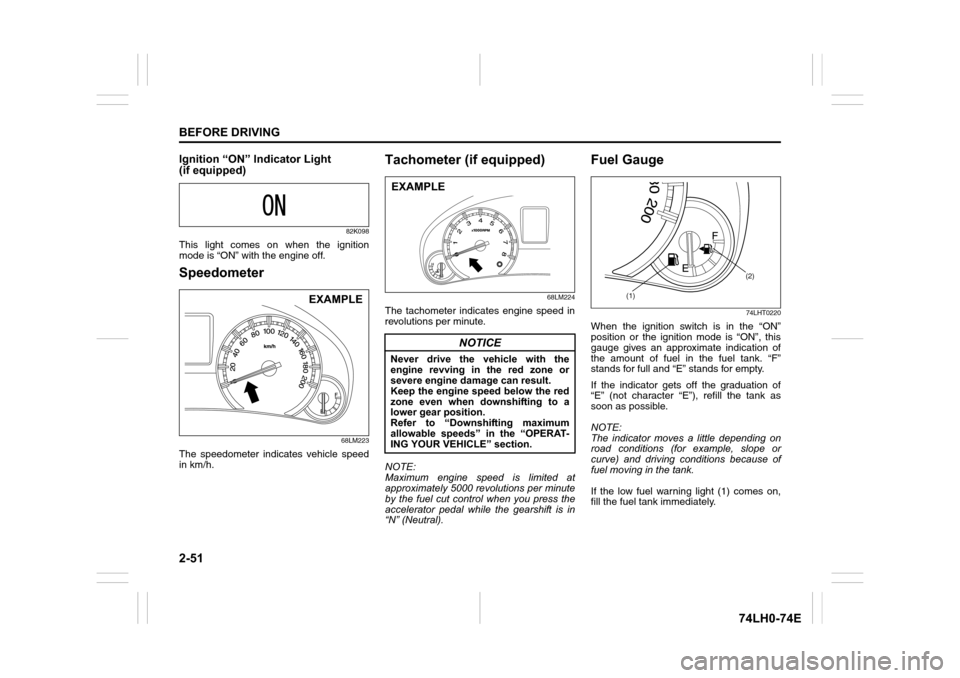
Ignition “ON” Indicator Light
(if equipped)
82K098
This light comes on when the ignition
mode is “ON” with the engine off.
Speedometer
68LM223
The speedometer indicates vehicle speed
in km/h.
Tachometer (if equipped)
68LM224
The tachometer indicates engine speed in
revolutions per minute.
NOTE:
Maximum engine speed is limited at
approximately 5000 revolutions per minute
by the fuel cut control when you press the
accelerator pedal while the gearshift is in
“N” (Neutral).
Fuel Gauge
74LHT0220
When the ignition switch is in the “ON”
position or the ignition mode is “ON”, this
gauge gives an approximate indication of
the amount of fuel in the fuel tank. “F”
stands for full and “E” stands for empty.
If the indicator gets off the graduation of
“E” (not character “E”), refill the tank as
soon as possible.
NOTE:
The indicator moves a little depending on
road conditions (for example, slope or
curve) and driving conditions because of
fuel moving in the tank.
If the low fuel warning light (1) comes on,
fill the fuel tank immediately.
EXAMPLE
NOTICE
Never drive the vehicle with the
engine revving in the red zone or
severe engine damage can result.
Keep the engine speed below the red
zone even when downshifting to a
lower gear position.
Refer to “Downshifting maximum
allowable speeds” in the “OPERAT-
ING YOUR VEHICLE” section.
EXAMPLE
(1)(2)
Page 71 of 336
2-52
BEFORE DRIVING
74LH0-74E
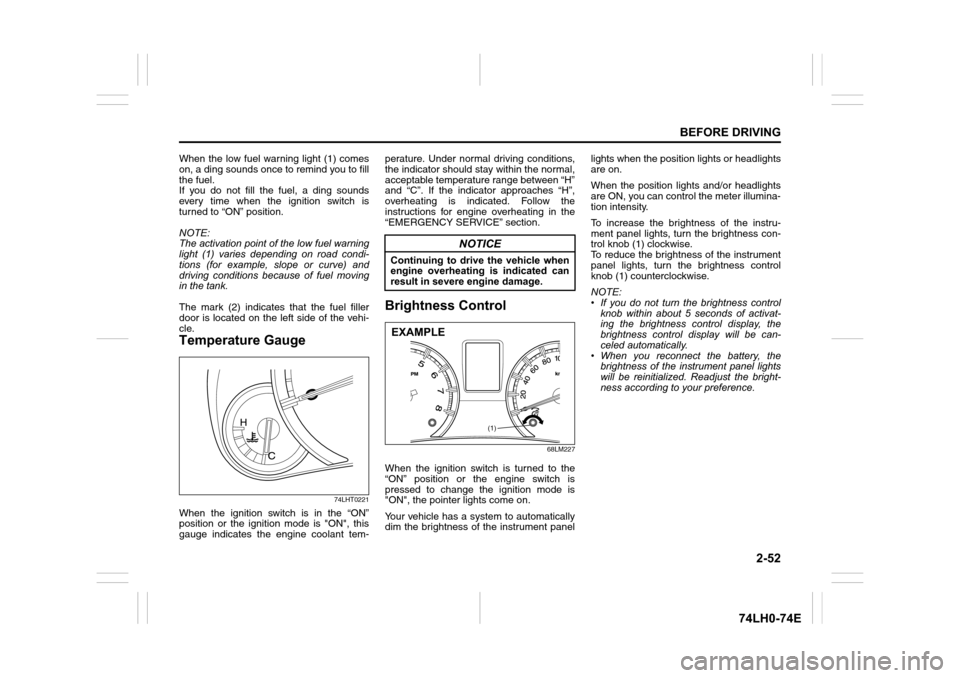
When the low fuel warning light (1) comes
on, a ding sounds once to remind you to fill
the fuel.
If you do not fill the fuel, a ding sounds
every time when the ignition switch is
turned to “ON” position.
NOTE:
The activation point of the low fuel warning
light (1) varies depending on road condi-
tions (for example, slope or curve) and
driving conditions because of fuel moving
in the tank.
The mark (2) indicates that the fuel filler
door is located on the left side of the vehi-
cle.
Temperature Gauge
74LHT0221
When the ignition switch is in the “ON”
position or the ignition mode is "ON", this
gauge indicates the engine coolant tem-perature. Under normal driving conditions,
the indicator should stay within the normal,
acceptable temperature range between “H”
and “C”. If the indicator approaches “H”,
overheating is indicated. Follow the
instructions for engine overheating in the
“EMERGENCY SERVICE” section.
Brightness Control
68LM227
When the ignition switch is turned to the
“ON” position or the engine switch is
pressed to change the ignition mode is
"ON", the pointer lights come on.
Your vehicle has a system to automatically
dim the brightness of the instrument panellights when the position lights or headlights
are on.
When the position lights and/or headlights
are ON, you can control the meter illumina-
tion intensity.
To increase the brightness of the instru-
ment panel lights, turn the brightness con-
trol knob (1) clockwise.
To reduce the brightness of the instrument
panel lights, turn the brightness control
knob (1) counterclockwise.
NOTE:
• If you do not turn the brightness control
knob within about 5 seconds of activat-
ing the brightness control display, the
brightness control display will be can-
celed automatically.
• When you reconnect the battery, the
brightness of the instrument panel lights
will be reinitialized. Readjust the bright-
ness according to your preference.
NOTICE
Continuing to drive the vehicle when
engine overheating is indicated can
result in severe engine damage.
(1)
EXAMPLE
Page 75 of 336
2-56
BEFORE DRIVING
74LH0-74E
• When you reconnect the negative (–)
terminal to the battery, the unit of the
average fuel consumption will be reini-
tialized. Change the unit again to your
preference.
Driving range
If you selected driving range the last time
you drove the vehicle, the display indicates
“---” for a few seconds and then indicates
the current driving range when the ignition
switch is turned to the “ON” position or the
engine switch is pressed to change the
ignition mode is “ON”.
The driving range shown in the display is
the approximate distance you can drive
until the fuel gauge indicates “E”, based on
current driving conditions.
When the low fuel warning light comes on,
the display “---” will appear.
If the low fuel warning light comes on, fill
the fuel tank immediately regardless of the
value of driving range shown in the display.
As the driving range after refueling is cal-
culated based on the most recent driving
condition, the value is different each time
you refuel.
NOTE:
• If you refuel when the ignition switch is in
the “ON” position or the ignition mode is
"ON", the driving range may not indicate
the correct value.
• When you reconnect the negative (–)
terminal to the battery, the value of driv-ing range will be shown after driving for a
while.
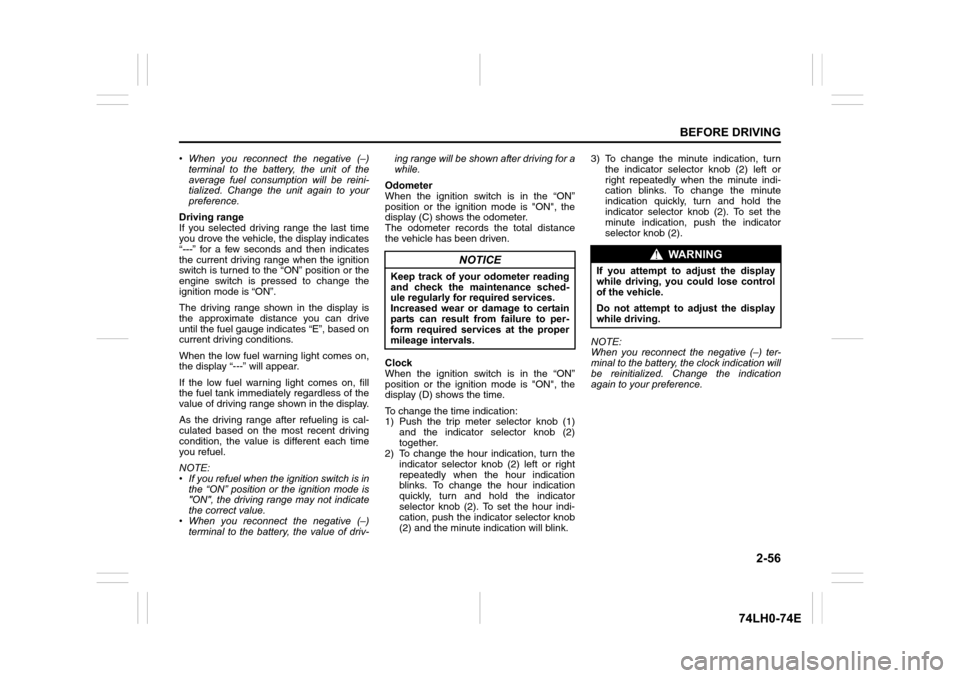
Odometer
When the ignition switch is in the “ON”
position or the ignition mode is "ON", the
display (C) shows the odometer.
The odometer records the total distance
the vehicle has been driven.
Clock
When the ignition switch is in the “ON”
position or the ignition mode is "ON", the
display (D) shows the time.
To change the time indication:
1) Push the trip meter selector knob (1)
and the indicator selector knob (2)
together.
2) To change the hour indication, turn the
indicator selector knob (2) left or right
repeatedly when the hour indication
blinks. To change the hour indication
quickly, turn and hold the indicator
selector knob (2). To set the hour indi-
cation, push the indicator selector knob
(2) and the minute indication will blink.3) To change the minute indication, turn
the indicator selector knob (2) left or
right repeatedly when the minute indi-
cation blinks. To change the minute
indication quickly, turn and hold the
indicator selector knob (2). To set the
minute indication, push the indicator
selector knob (2).
NOTE:
When you reconnect the negative (–) ter-
minal to the battery, the clock indication will
be reinitialized. Change the indication
again to your preference.
NOTICE
Keep track of your odometer reading
and check the maintenance sched-
ule regularly for required services.
Increased wear or damage to certain
parts can result from failure to per-
form required services at the proper
mileage intervals.
WA R N I N G
If you attempt to adjust the display
while driving, you could lose control
of the vehicle.
Do not attempt to adjust the display
while driving.
Page 82 of 336
2-63
BEFORE DRIVING
74LH0-74E
mist or light rain. In the “LO” position, the
wipers operate at a steady low speed. In
the “HI” position, the wipers operate at a
steady high speed. To turn off the wipers,
move the lever back to the “OFF” position.
Move the lever up and hold it to the “MIST”
position, the windshield wipers will turn on
continuously at low speed.
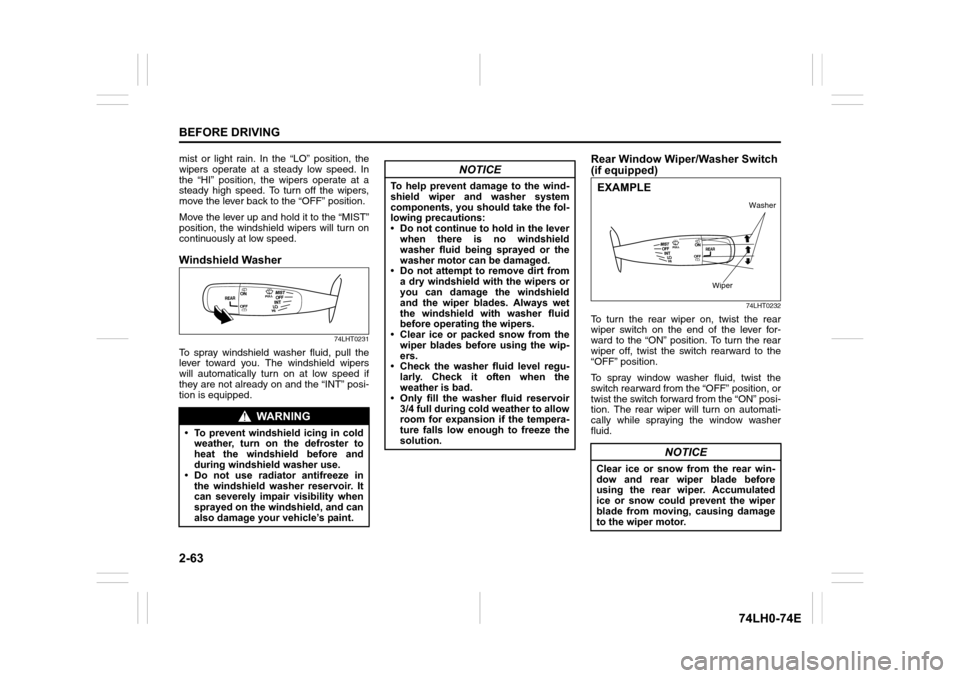
Windshield Washer
74LHT0231
To spray windshield washer fluid, pull the
lever toward you. The windshield wipers
will automatically turn on at low speed if
they are not already on and the “INT” posi-
tion is equipped.
Rear Window Wiper/Washer Switch
(if equipped)
74LHT0232
To turn the rear wiper on, twist the rear
wiper switch on the end of the lever for-
ward to the “ON” position. To turn the rear
wiper off, twist the switch rearward to the
“OFF” position.
To spray window washer fluid, twist the
switch rearward from the “OFF” position, or
twist the switch forward from the “ON” posi-
tion. The rear wiper will turn on automati-
cally while spraying the window washer
fluid.
WA R N I N G
• To prevent windshield icing in cold
weather, turn on the defroster to
heat the windshield before and
during windshield washer use.
• Do not use radiator antifreeze in
the windshield washer reservoir. It
can severely impair visibility when
sprayed on the windshield, and can
also damage your vehicle’s paint.
NOTICE
To help prevent damage to the wind-
shield wiper and washer system
components, you should take the fol-
lowing precautions:
• Do not continue to hold in the lever
when there is no windshield
washer fluid being sprayed or the
washer motor can be damaged.
• Do not attempt to remove dirt from
a dry windshield with the wipers or
you can damage the windshield
and the wiper blades. Always wet
the windshield with washer fluid
before operating the wipers.
• Clear ice or packed snow from the
wiper blades before using the wip-
ers.
• Check the washer fluid level regu-
larly. Check it often when the
weather is bad.
• Only fill the washer fluid reservoir
3/4 full during cold weather to allow
room for expansion if the tempera-
ture falls low enough to freeze the
solution.
NOTICE
Clear ice or snow from the rear win-
dow and rear wiper blade before
using the rear wiper. Accumulated
ice or snow could prevent the wiper
blade from moving, causing damage
to the wiper motor.
Washer
Wiper
EXAMPLE
Page 89 of 336
3-4
OPERATING YOUR VEHICLE
74LH0-74E
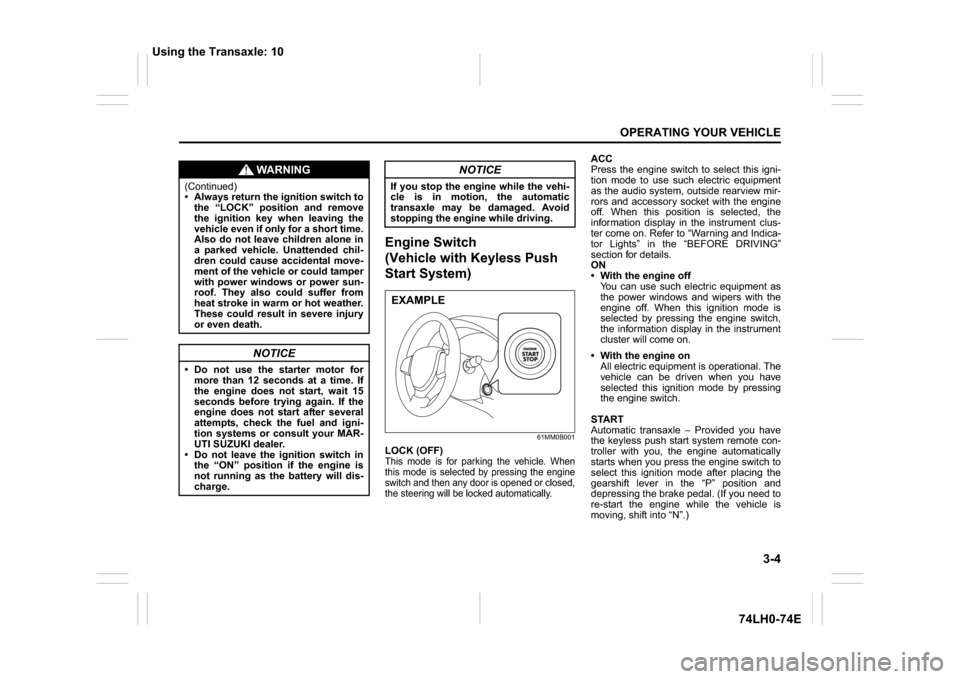
Engine Switch
(Vehicle with Keyless Push
Start System)
61MM0B001
LOCK (OFF)This mode is for parking the vehicle. When
this mode is selected by pressing the engine
switch and then any door is opened or closed,
the steering will be locked automatically.
ACC
Press the engine switch to select this igni-
tion mode to use such electric equipment
as the audio system, outside rearview mir-
rors and accessory socket with the engine
off. When this position is selected, the
information display in the instrument clus-
ter come on. Refer to “Warning and Indica-
tor Lights” in the “BEFORE DRIVING”
section for details.
ON
With the engine off
You can use such electric equipment as
the power windows and wipers with the
engine off. When this ignition mode is
selected by pressing the engine switch,
the information display in the instrument
cluster will come on.
With the engine on
All electric equipment is operational. The
vehicle can be driven when you have
selected this ignition mode by pressing
the engine switch.
START
Automatic transaxle – Provided you have
the keyless push start system remote con-
troller with you, the engine automatically
starts when you press the engine switch to
select this ignition mode after placing the
gearshift lever in the “P” position and
depressing the brake pedal. (If you need to
re-start the engine while the vehicle is
moving, shift into “N”.)
WA R N I N G
(Continued)
Always return the ignition switch to
the “LOCK” position and remove
the ignition key when leaving the
vehicle even if only for a short time.
Also do not leave children alone in
a parked vehicle. Unattended chil-
dren could cause accidental move-
ment of the vehicle or could tamper
with power windows or power sun-
roof. They also could suffer from
heat stroke in warm or hot weather.
These could result in severe injury
or even death.
NOTICE
Do not use the starter motor for
more than 12 seconds at a time. If
the engine does not start, wait 15
seconds before trying again. If the
engine does not start after several
attempts, check the fuel and igni-
tion systems or consult your MAR-
UTI SUZUKI dealer.
Do not leave the ignition switch in
the “ON” position if the engine is
not running as the battery will dis-
charge.
NOTICE
If you stop the engine while the vehi-
cle is in motion, the automatic
transaxle may be damaged. Avoid
stopping the engine while driving.EXAMPLE
Using the Transaxle: 10