display TESLA MODEL S 2020 Owner's Guide
[x] Cancel search | Manufacturer: TESLA, Model Year: 2020, Model line: MODEL S, Model: TESLA MODEL S 2020Pages: 226, PDF Size: 6.06 MB
Page 131 of 226
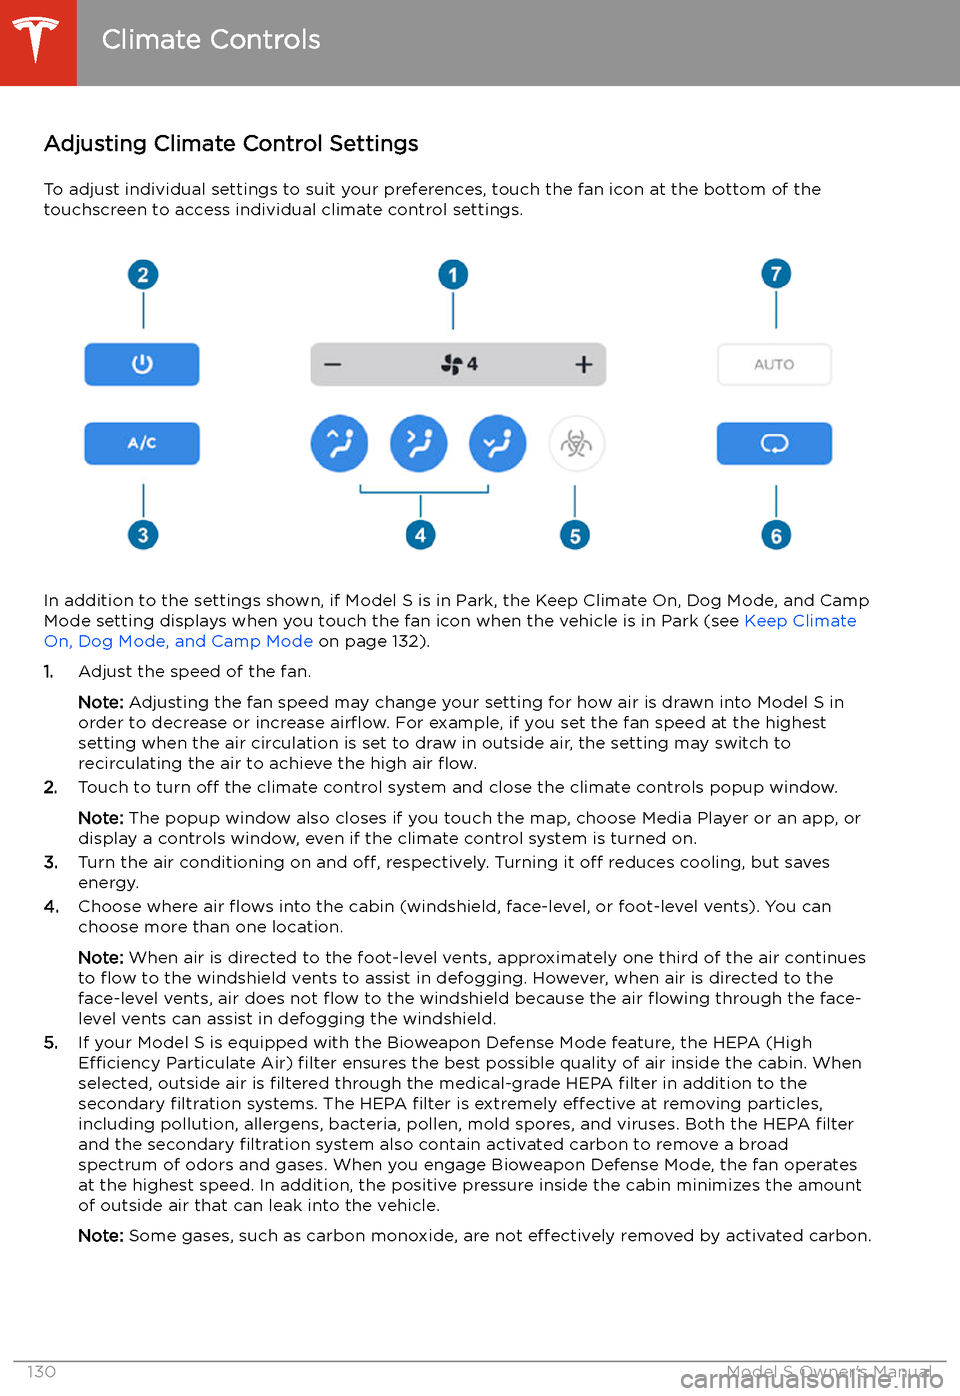
Adjusting Climate Control Settings
To adjust individual settings to suit your preferences, touch the fan icon at the bottom of the
touchscreen to access individual climate control settings.
In addition to the settings shown, if Model S is in Park, the Keep Climate On, Dog Mode, and Camp
Mode setting displays when you touch the fan icon when the vehicle is in Park (see Keep Climate
On, Dog Mode, and Camp Mode on page 132).
1. Adjust the speed of the fan.
Note: Adjusting the fan speed may change your setting for how air is drawn into Model S in
order to decrease or increase air
Page 135 of 226
Maps and Navigation
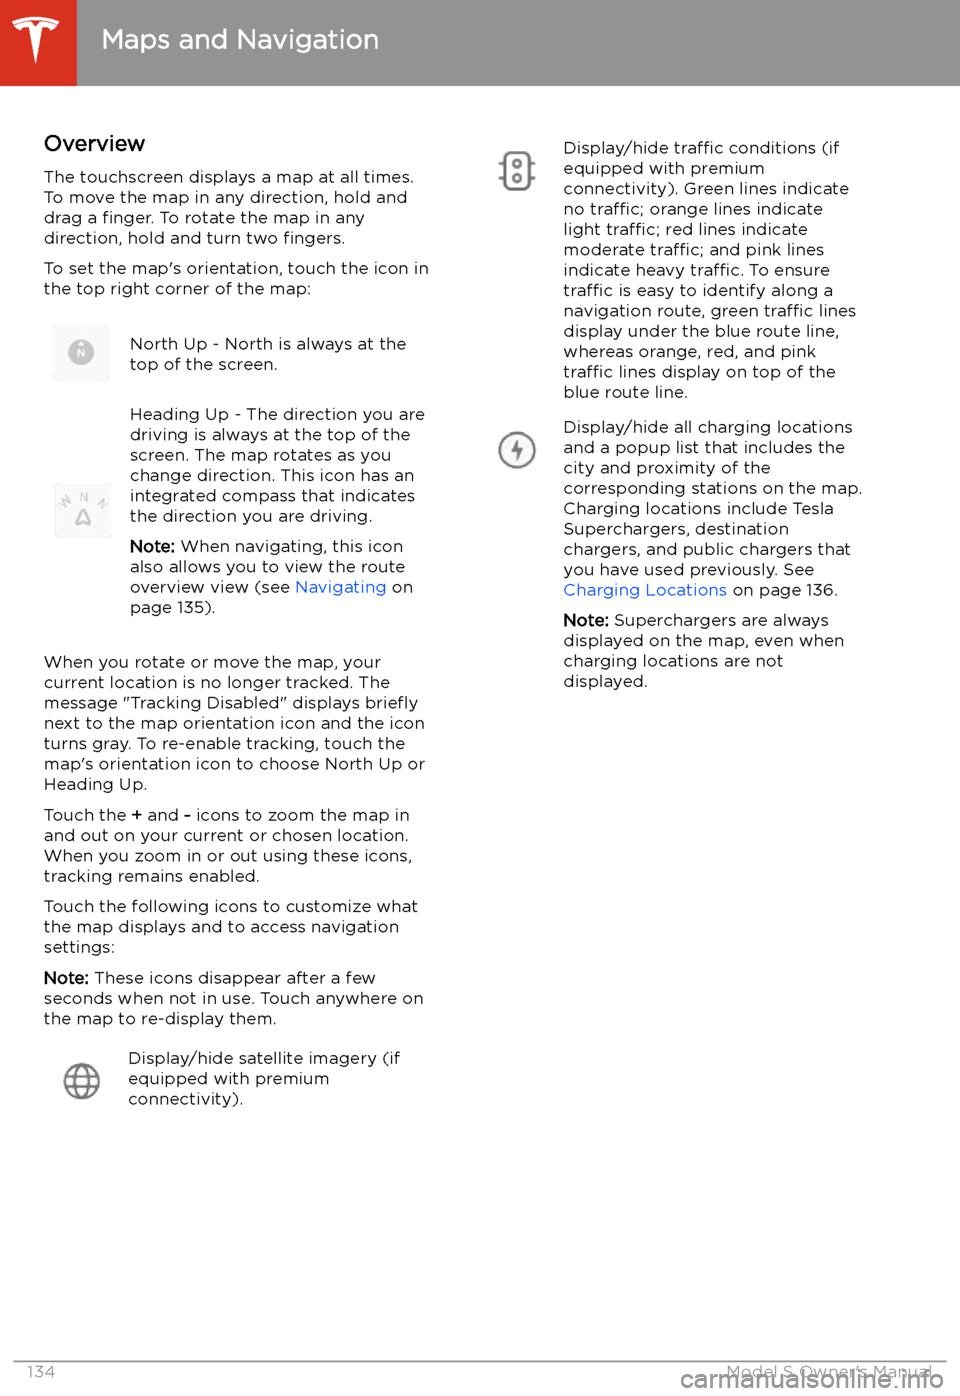
Overview
The touchscreen displays a map at all times.
To move the map in any direction, hold and
drag a finger. To rotate the map in any
direction, hold and turn two fingers.
To set the map
Page 137 of 226
If Navigate on Autopilot (if available in your
market region) is enabled, you can turn it on
for the navigation route by touching Navigate
on Autopilot in the turn-by-turn direction list.
Navigate on Autopilot is an extension of Autosteer that automatically changes lanesand steers Model S onto the appropriate
exit(s) when navigating on controlled access
roads (such as freeways). For details, see
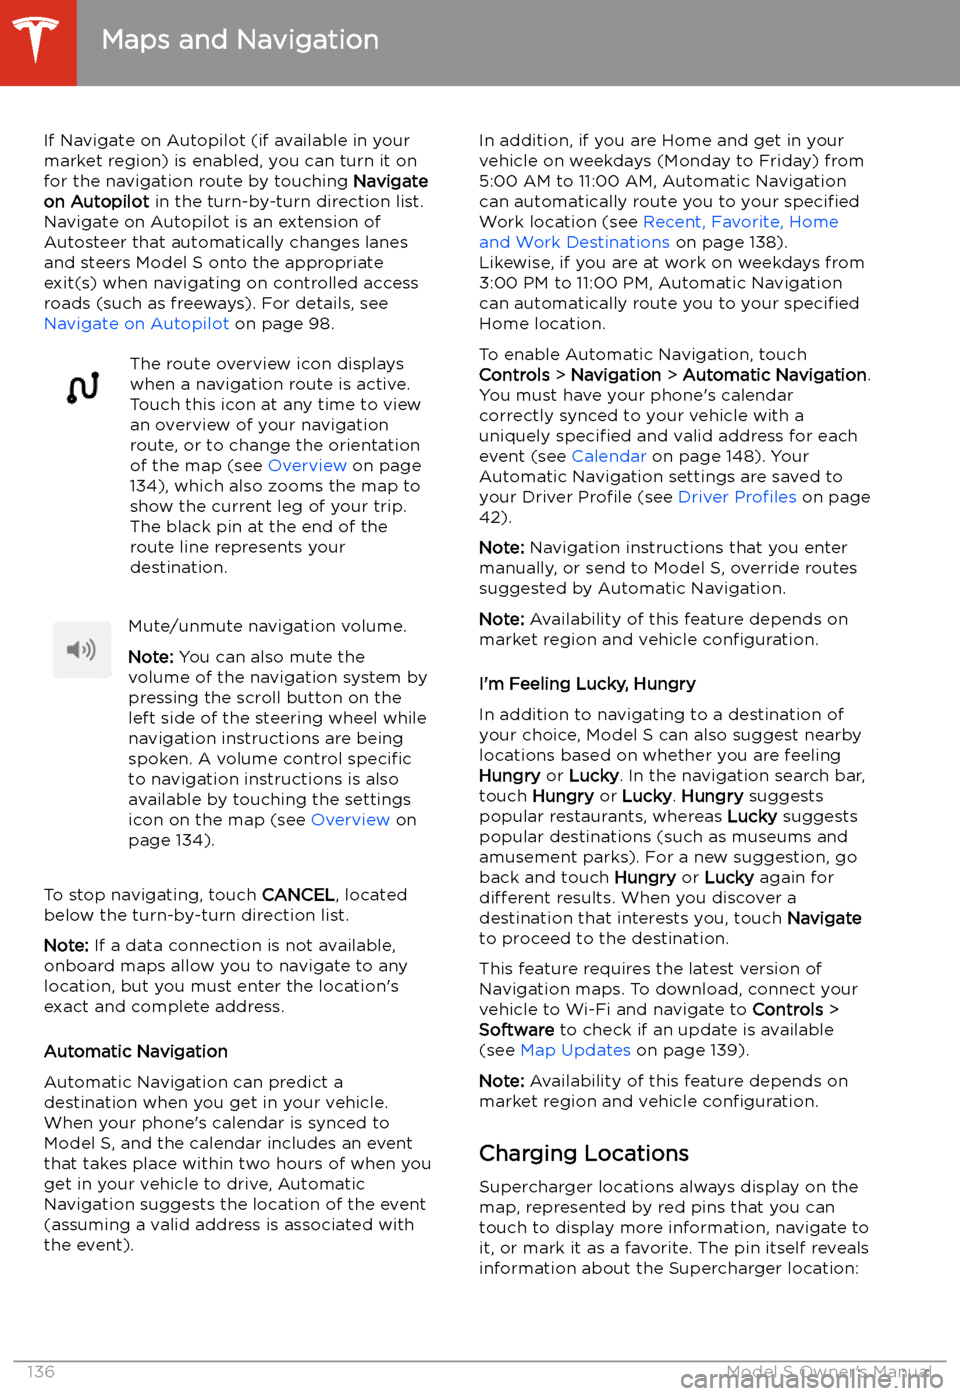
Navigate on Autopilot on page 98.The route overview icon displays
when a navigation route is active.
Touch this icon at any time to view
an overview of your navigation
route, or to change the orientation
of the map (see Overview on page
134), which also zooms the map to
show the current leg of your trip.
The black pin at the end of the
route line represents your
destination.Mute/unmute navigation volume.
Note: You can also mute the
volume of the navigation system by
pressing the scroll button on the
left side of the steering wheel while
navigation instructions are being
spoken. A volume control specific
to navigation instructions is also
available by touching the settings
icon on the map (see Overview on
page 134).
To stop navigating, touch CANCEL, located
below the turn-by-turn direction list.
Note: If a data connection is not available,
onboard maps allow you to navigate to any location, but you must enter the location
Page 138 of 226
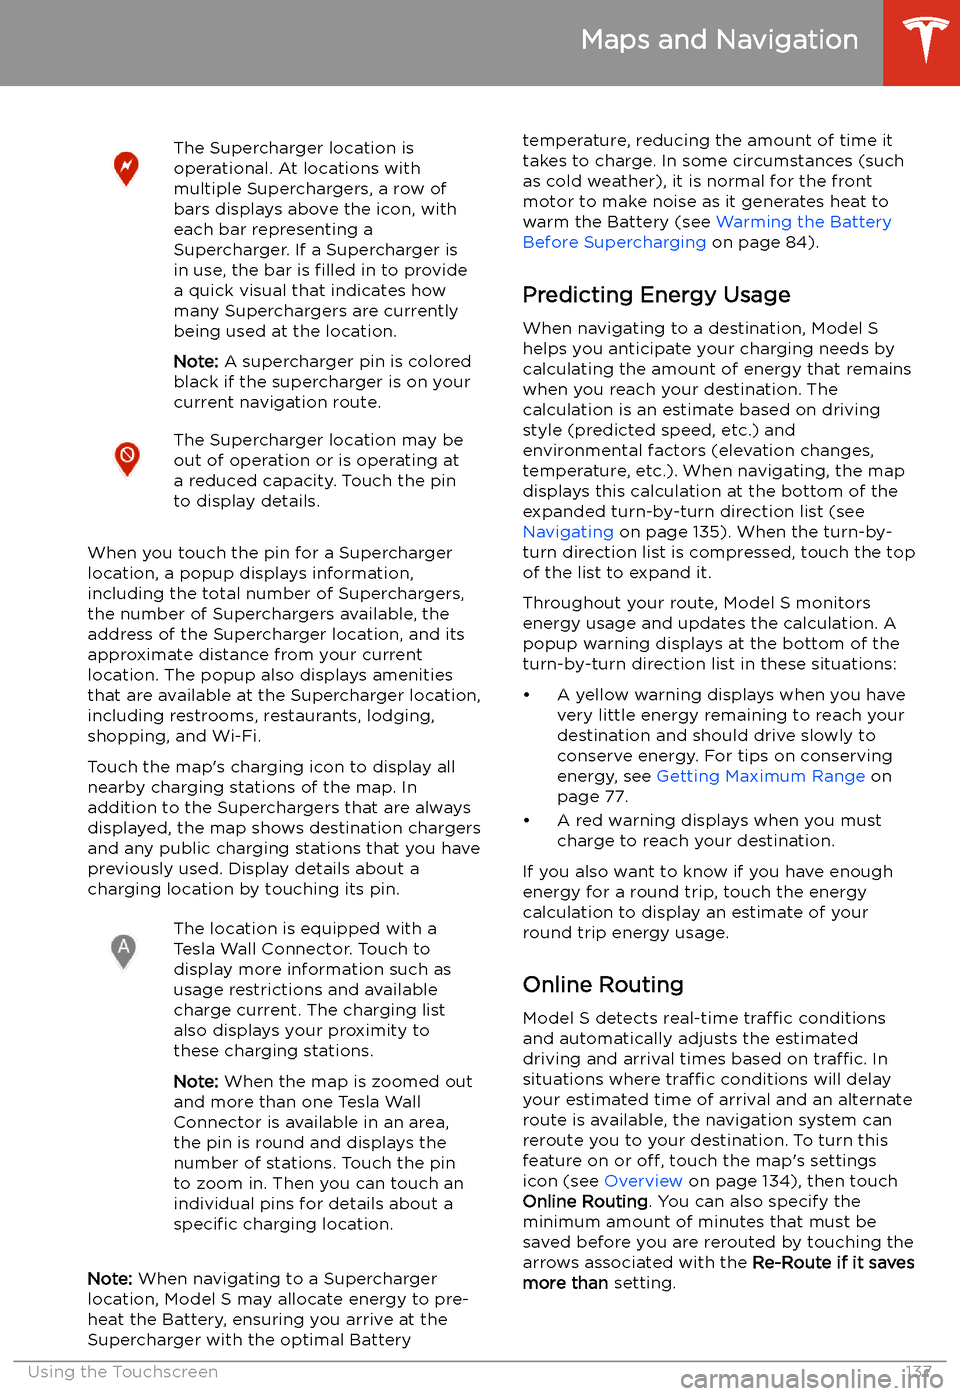
The Supercharger location is
operational. At locations with
multiple Superchargers, a row of
bars displays above the icon, with
each bar representing a
Supercharger. If a Supercharger is
in use, the bar is filled in to provide
a quick visual that indicates how
many Superchargers are currently
being used at the location.
Note: A supercharger pin is colored
black if the supercharger is on your
current navigation route.The Supercharger location may be
out of operation or is operating at
a reduced capacity. Touch the pin
to display details.
When you touch the pin for a Supercharger
location, a popup displays information,
including the total number of Superchargers, the number of Superchargers available, the
address of the Supercharger location, and its
approximate distance from your current
location. The popup also displays amenities
that are available at the Supercharger location,
including restrooms, restaurants, lodging, shopping, and Wi-Fi.
Touch the map
Page 140 of 226

For security reasons, if you sell Model S, it isrecommended that you delete your Home and
Work Locations. You can delete these
individually or you can perform a factory reset to erase all personal data (see Erasing
Personal Data on page 127).
Map Updates As updated maps become available, they are
automatically sent to Model S over Wi-Fi. To
ensure you receive them, periodically connect Model S to a Wi-Fi network (see Connecting
to Wi-Fi on page 156). The touchscreen
displays a message informing you when new
maps are installed.
Maps and Navigation
Using the Touchscreen139
Page 142 of 226
To display the radio ID:
1. Touch the radio source icon, then select
SiriusXM from the list.
2. Move the channel selector to channel 0.
3. The Radio ID displays in the station
information area.
To select a SiriusXM channel, you can either manually scroll through channel numbers, oryou can browse channels by category.
Note: On early versions of Model S, SiriusXM
radio is available only if the vehicle is
equipped with a sunroof. To optimize aerodynamics, Model S does not have an
external antenna.
Internet Radio and Music StreamingServices (if equipped)
If equipped with premium connectivity,
internet radio and music streaming services are available over a data connection. To listen,
touch the Media Player icon and choose the
streaming service you want to listen to.
Tesla may provide account credentials for
some internet radio and music streaming
services. You can use your Tesla account or
you can sign in with your own account by
scrolling to the bottom of the streaming
service window and entering your account
credentials.
Browse through the available categories and/or stations, then touch what you want to
play. When browsing through a large category such as genres, you may need to drag the
window upward to enlarge it and view more
available options. When you choose an option
that displays multiple results on a new window, touch BACK at the top of the window
to return to the main browse page.
You can also use voice commands to play a
specific song, artist, or album from an Internet
radio service (see Using Voice Commands on
page 46).
When listening to internet radio or a music
streaming service, the options available on Miniplayer can vary depending on what you
are listening to:
Page 145 of 226
Connecting to a Paired Phone
Model S automatically connects with the last
phone to which it was connected, provided it
is within operating range and has Bluetooth turned on. If the last phone is not within range,
it attempts to connect with the next phone
that it has been paired with.
To connect to a different phone, touch the
Bluetooth icon on the top of the touchscreen.
The Bluetooth window displays a list of paired
phones. Choose the phone you want to connect to, then touch Connect. If the phone
you want to connect to is not listed, you must
pair the phone. See Pairing a Bluetooth Phone
on page 143.
When connected, the Model S touchscreen
displays the Bluetooth symbol next to the phone name to show that the connection is
active.
Using the Phone App
When your phone is connected to Model S
using Bluetooth, and you have allowed access to your phone
Page 146 of 226

In Call OptionsWhen a call is in progress, you can display the
call menu on the instrument panel by pressing
the top button on the right side of the steering wheel. Then roll the right scroll button
and choose an option (see Using Right
Steering Wheel Buttons on page 45). To adjust
the call volume, roll the steering wheel
Page 148 of 226
Note: Regardless of the setting you choose,
Adaptive Suspension Damping adjusts the
suspension system in real time to optimize both ride and handling.
Note: Available settings depend on your
driving speed and other conditions. For
example, the suspension does not lower if a
door is open.
Note: Your chosen Suspension Lowering and
Adaptive Suspension Damping settings are
saved to your driver profile (see Driver Profiles
on page 42).
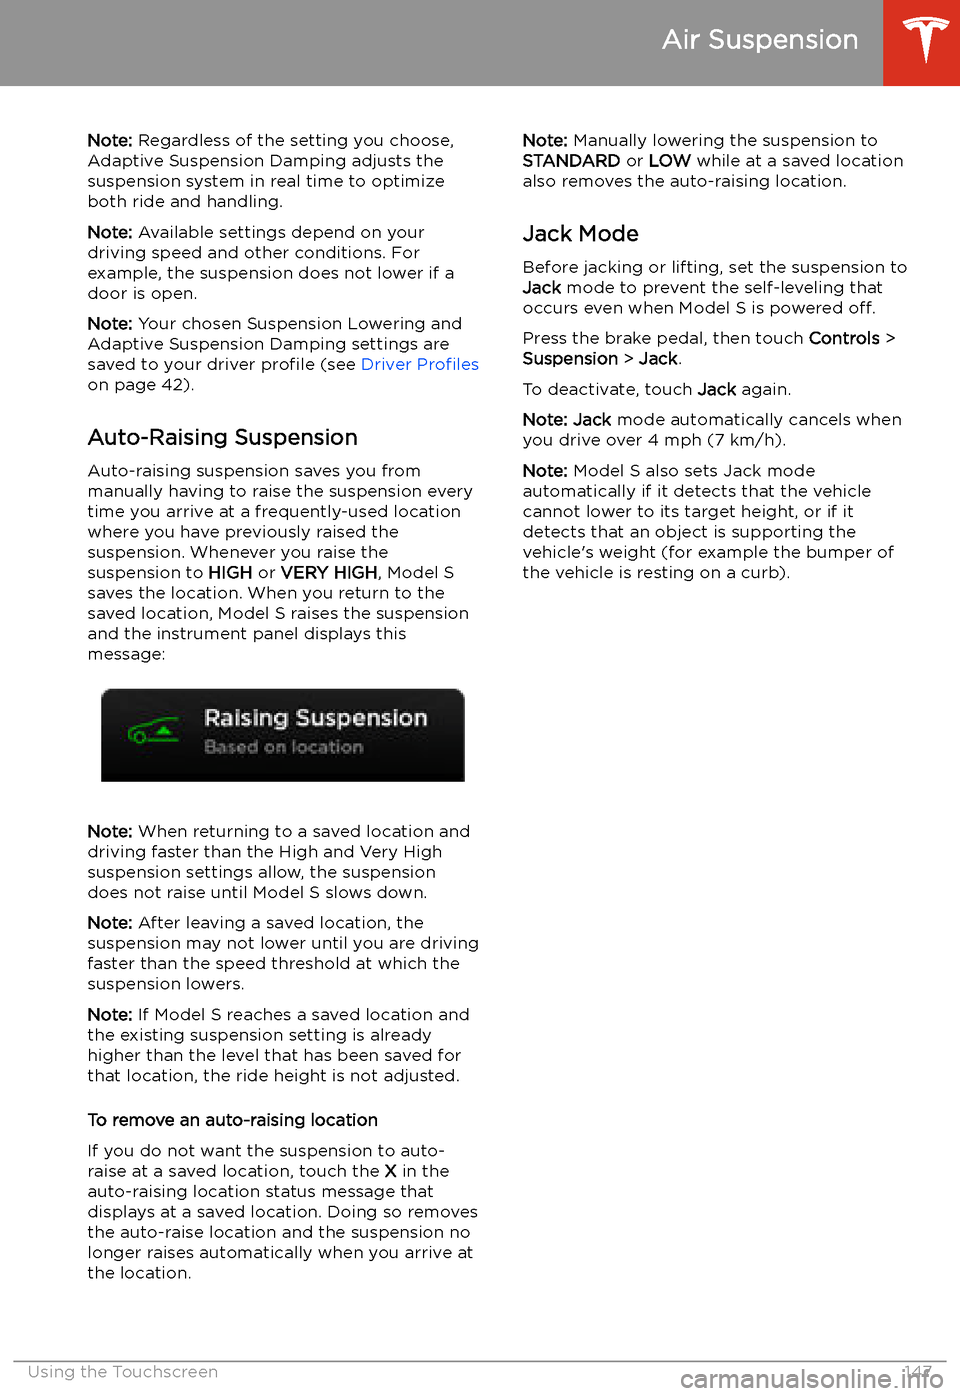
Auto-Raising Suspension Auto-raising suspension saves you from
manually having to raise the suspension every
time you arrive at a frequently-used location
where you have previously raised the
suspension. Whenever you raise the
suspension to HIGH or VERY HIGH , Model S
saves the location. When you return to the saved location, Model S raises the suspension
and the instrument panel displays this
message:
Note: When returning to a saved location and
driving faster than the High and Very High
suspension settings allow, the suspension
does not raise until Model S slows down.
Note: After leaving a saved location, the
suspension may not lower until you are driving
faster than the speed threshold at which the
suspension lowers.
Note: If Model S reaches a saved location and
the existing suspension setting is already
higher than the level that has been saved for
that location, the ride height is not adjusted.
To remove an auto-raising location
If you do not want the suspension to auto-
raise at a saved location, touch the X in the
auto-raising location status message that
displays at a saved location. Doing so removes
the auto-raise location and the suspension no
longer raises automatically when you arrive at
the location.
Note: Manually lowering the suspension to
STANDARD or LOW while at a saved location
also removes the auto-raising location.
Jack Mode Before jacking or lifting, set the suspension to
Jack mode to prevent the self-leveling that
occurs even when Model S is powered off.
Press the brake pedal, then touch Controls >
Suspension > Jack .
To deactivate, touch Jack again.
Note: Jack mode automatically cancels when
you drive over 4 mph (7 km/h).
Note: Model S also sets Jack mode
automatically if it detects that the vehicle
cannot lower to its target height, or if it
detects that an object is supporting the
vehicle
Page 157 of 226
Connecting to Wi-Fi
Wi-Fi is available as a data connection method and is often faster than cellular data networks.
Connecting to Wi-Fi is especially useful in areas with limited or no cellular connectivity.
To ensure fast, reliable delivery of software
and map updates, Tesla recommends leaving your vehicle connected to a Wi-Fi network
whenever possible (for example, if parked in
your garage overnight).
To connect to a Wi-Fi network:
1. Touch the cellular icon (usually LTE or 3G)
on the top corner of your touchscreen.
Model S will start scanning and display the
detected Wi-Fi networks that are within
range.
2. Select the Wi-Fi network you want to use,
enter the password (if necessary), then
touch Confirm .
3. Your vehicle connects to the Wi-Fi
network and will automatically connect to it whenever the network is within range.
You can also connect to a hidden network that
isn