TOYOTA CAMRY 2011 XV50 / 9.G Owners Manual
Manufacturer: TOYOTA, Model Year: 2011, Model line: CAMRY, Model: TOYOTA CAMRY 2011 XV50 / 9.GPages: 554, PDF Size: 9.69 MB
Page 191 of 554

191
2-5. Driving information
2
When driving
Trailer towing tips
Your vehicle will handle differently w hen towing a trailer. In order to
avoid accident or, death or serious injury, keep the following in mind
when towing:
● Before starting out, check the trailer lights and the vehicle-trailer
connections. Recheck after driving a short distance.
● Practice turning, stopping and reve rsing with the trailer attached in
an area away from traffic until you become accustomed to the feel
of the vehicle.
NOTICE
■ When installing a trailer hitch
●Use only the position recommended by your Toyota dealer. Do not install
the trailer hitch on the bumper; this may cause body damage.
● Do not use axle-mounted hitches, as they can cause damage to the axle
housing, wheel bearings, wheels or tires.
■ Brakes
Toyota recommends trailers with brakes that conform to all applicable fed-
eral and state/provincial regulations.
■ Safety chain
A safety chain must always be used between the towing vehicle and the
trailer. Leave sufficient slack in the chain for turns. The chain should cross
under the trailer tongue to prevent the tongue from dropping to the ground in
the case that it becomes damaged or separated. For the correct safety chain
installation procedure, ask your Toyota dealer.
■ Do not directly splice trailer lights
Directly splicing trailer lights may damage your vehicle's electrical system
and cause a malfunction.
Page 192 of 554

192 2-5. Driving information
●Reversing with a trailer attached is difficult and requires practice.
Grip the bottom of the steering wheel and move your hand to the
left to move the trailer to the left. Move your hand to the right to
move the trailer to right. (This is generally opposite to reversing
without a trailer attached.) Avoid sharp or prolonged turning. Have
someone guide you when reversing to reduce the risk of an acci-
dent.
● As stopping distance is increased when towing a trailer, vehicle-to-
vehicle distance should be increased. For each 10 mph (16 km/h)
of speed, allow at least o ne vehicle and trailer length.
● Avoid sudden braking as you may skid, resulting in jackknifing and
loss of control. This is especiall y true on wet or slippery surfaces.
● Avoid jerky starts or sudden acceleration.
● Avoid jerky steering and sharp turns, and slow down before mak-
ing turns.
● Note that when making a turn, th e trailer wheels will be closer than
the vehicle wheels to the inside of the turn. Compensate by making
a larger than normal turning radius.
● Crosswinds and rough roads will adversely affect handling of your
vehicle and trailer, causing sway . Periodically check the rear to
prepare for being passed by large trucks or buses, which may
cause your vehicle and trailer to sway. If swaying occurs, firmly grip
the steering wheel, reduce speed immediately but gradually, and
steer straight ahead. Never increase speed. If you make no
extreme correction with the stee ring or brakes, your vehicle and
trailer will stabilize.
● Take care when passing other v ehicles. Passing requires consider-
able distance. After passing a vehi cle, do not forget the length of
your trailer, and be sure you hav e plenty of room before changing
lanes.
Page 193 of 554
193
2-5. Driving information
2
When driving
●
In order to maintain efficient engine braking and electrical charging
performance, do not use overdrive (automatic transmission) or the
5th gear (manual transmission).
● Due to the added load of the trailer, your vehicle's engine may
overheat on hot days (at temperatures over 85°F [30°C]) when
driving up a long or steep grade. If the engine coolant temperature
gauge indicates overheating, immedi ately turn off the air condition-
ing (if in use), pull your vehicle off the road and stop in a safe spot.
( P. 479)
● Always place wheel blocks under both the vehicle and the trailer
wheels when parking. Apply the parking brake firmly, and put the
transmission in P (automatic transmission) or in first or R (manual
transmission). Avoid parking on a slope, but if unavoidable, do so
only after performing the following:
Apply the brakes and keep them applied.
Have someone place wheel blocks under both the vehicle and
trailer wheels.
When the wheel blocks are in pl ace, release the brakes slowly
until the blocks absorb the load.
Apply the parking brake firmly.
Shift into first or R (manual transmission) or P (automatic
transmission) and turn off the engine.
● When restarting after parking on a slope:
With the transmission in the P position (automatic transmis-
sion) or the clutch pedal (m anual transmission) depressed,
start the engine. On vehicles with an automatic transmission,
be sure to keep the brake pedal pressed.
Shift into a forward gear. If reversing, shift into the R position.
Release the parking brake (also brake pedal on vehicles with
automatic transmission), and sl owly pull or back away from
the wheel blocks. Stop and apply the brakes.
Have someone retrieve the blocks.
STEP1
STEP2
STEP3
STEP4
STEP5
STEP1
STEP2
STEP3
STEP4
Page 194 of 554

194 2-5. Driving information
CAUTION
■To avoid an accident
●Do not exceed 45 mph (72 km/h) or posted towing speed limit, whichever
is lower. As instability (swaying) of the towing vehicle-trailer combination
increases as speed increases, exceeding 45 mph (72 km/h) may cause
loss of control.
● Slow down and downshift before descending steep or long downhill
grades. Do not make sudden downshifts.
● Avoid holding the brake pedal down too long or applying the brakes too
frequently. This could cause the brakes to overheat and result in reduced
braking efficiency.
Page 195 of 554
195
2-5. Driving information
2
When driving
Dinghy towing (automatic transmission)
NOTICE
■To avoid serious damage to your vehicle
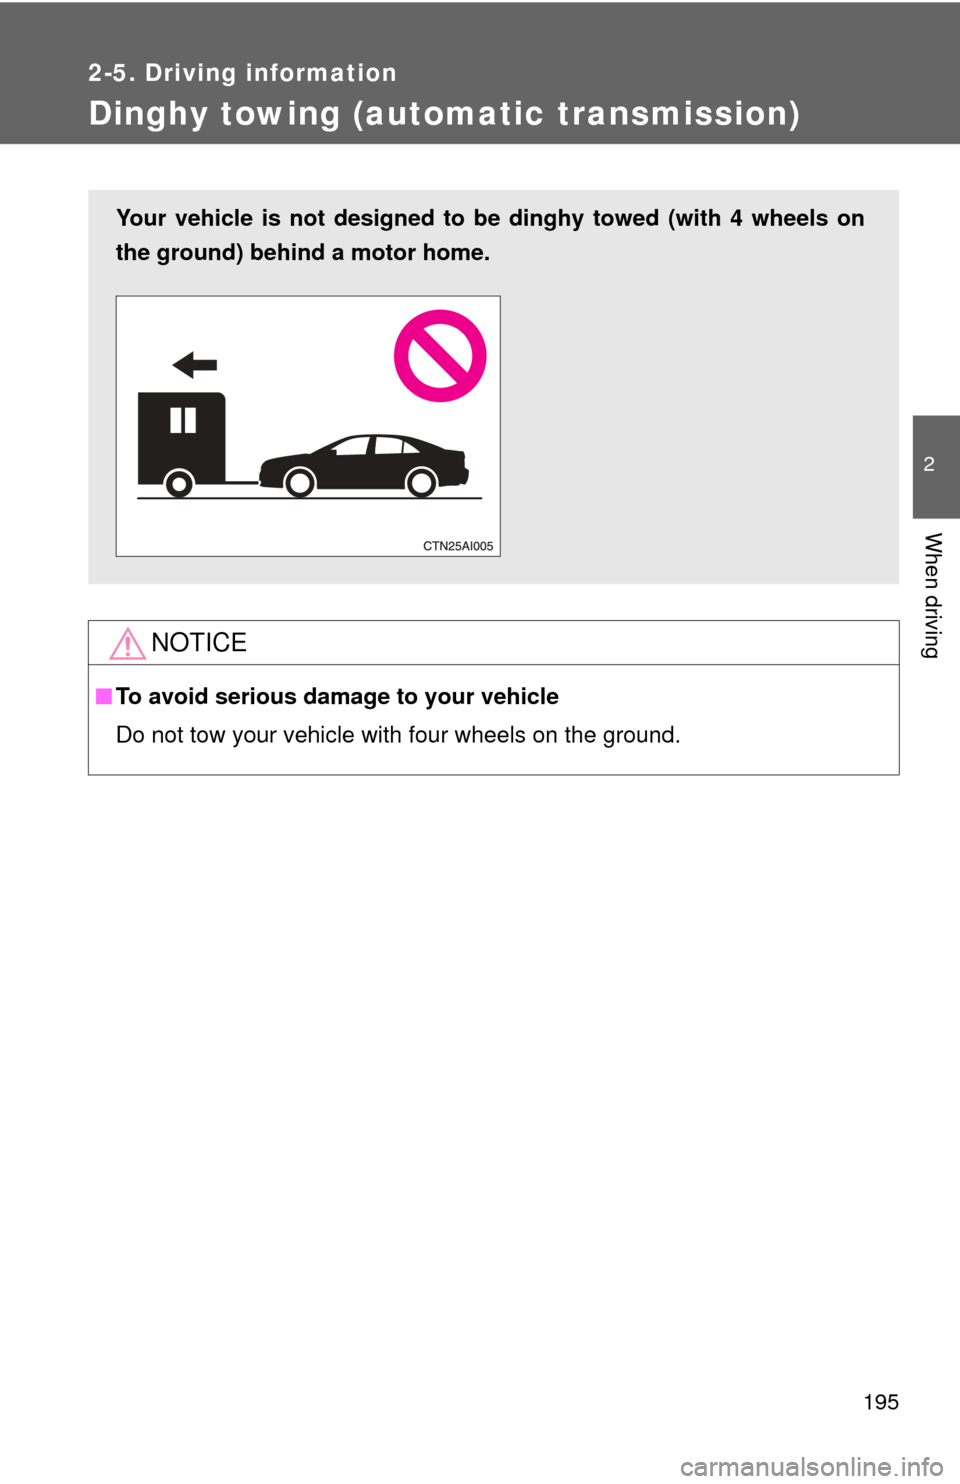
Do not tow your vehicle with four wheels on the ground.
Your vehicle is not designed to be dinghy towed (with 4 wheels on
the ground) behind a motor home.
Page 196 of 554
196
2-5. Driving information
Dinghy towing (manual transmission)
Towing your vehicle with 4 wheels on the groundTo prevent damage to your vehicle, perform the following procedures
before towing. Shift the shift lever to neutral.
Switch to the “ACC” position. ( P. 137)
Ensure that the audio system and other powered devices have been
turned off.
Release the parking brake.
After towing, run the engine in idle for at least 3 minutes before driv-
ing the vehicle.
■Necessary equipment and accessories
Specialized equipment and accessories are required for dinghy towing. Con-
tact the service branch of the motor home manufacturer regarding recom-
mended equipment.
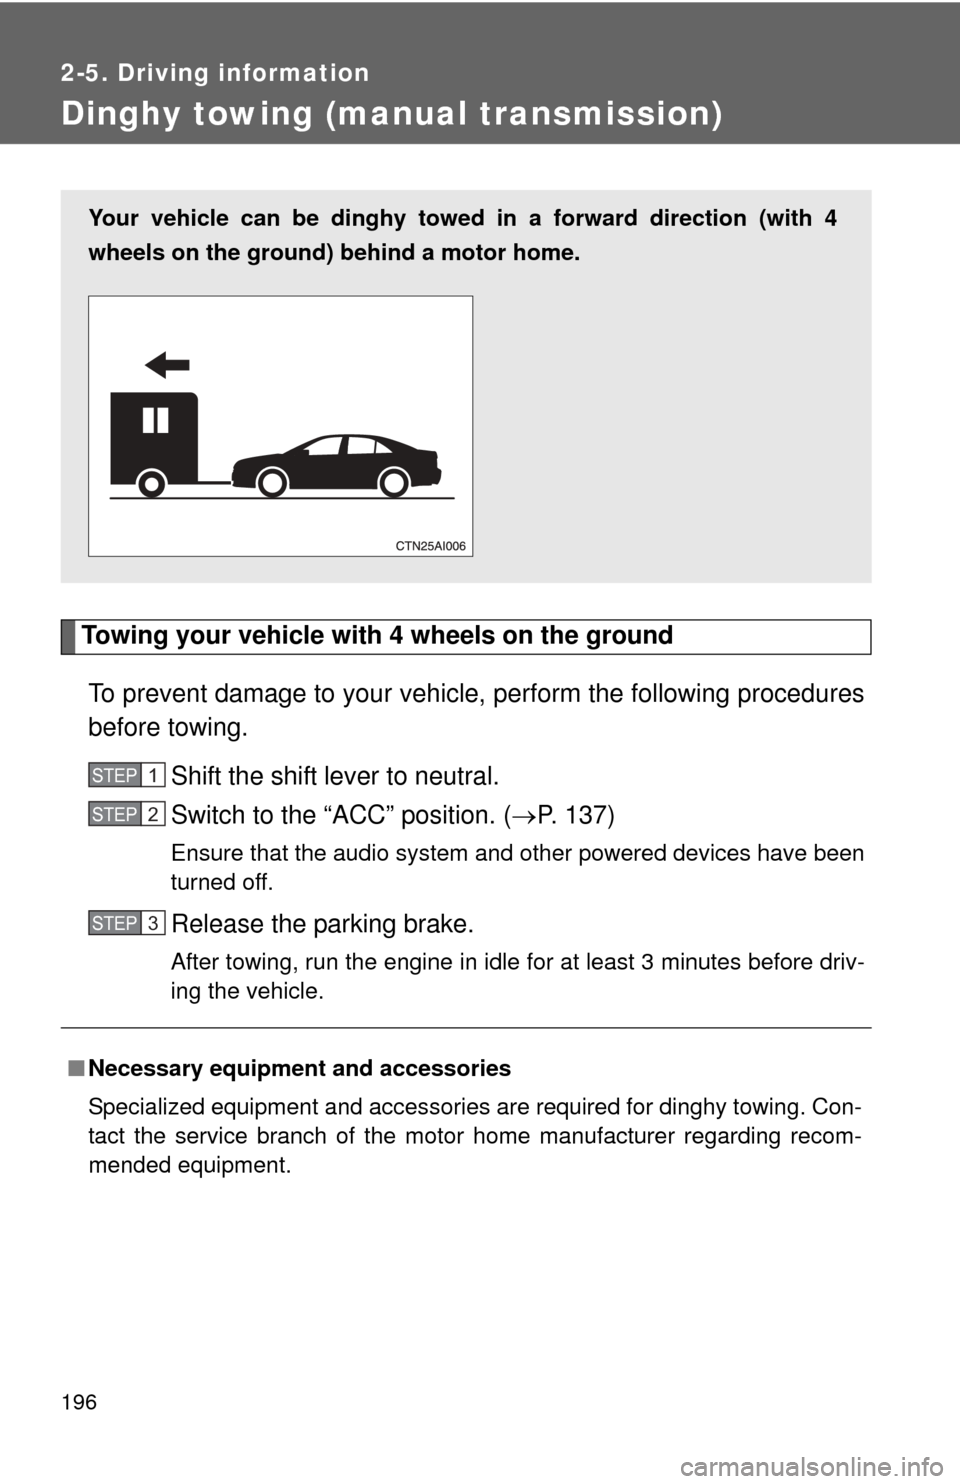
Your vehicle can be dinghy towed in a forward direction (with 4
wheels on the ground) behind a motor home.
STEP1
STEP2
STEP3
Page 197 of 554
197
2-5. Driving information
2
When driving
NOTICE
■
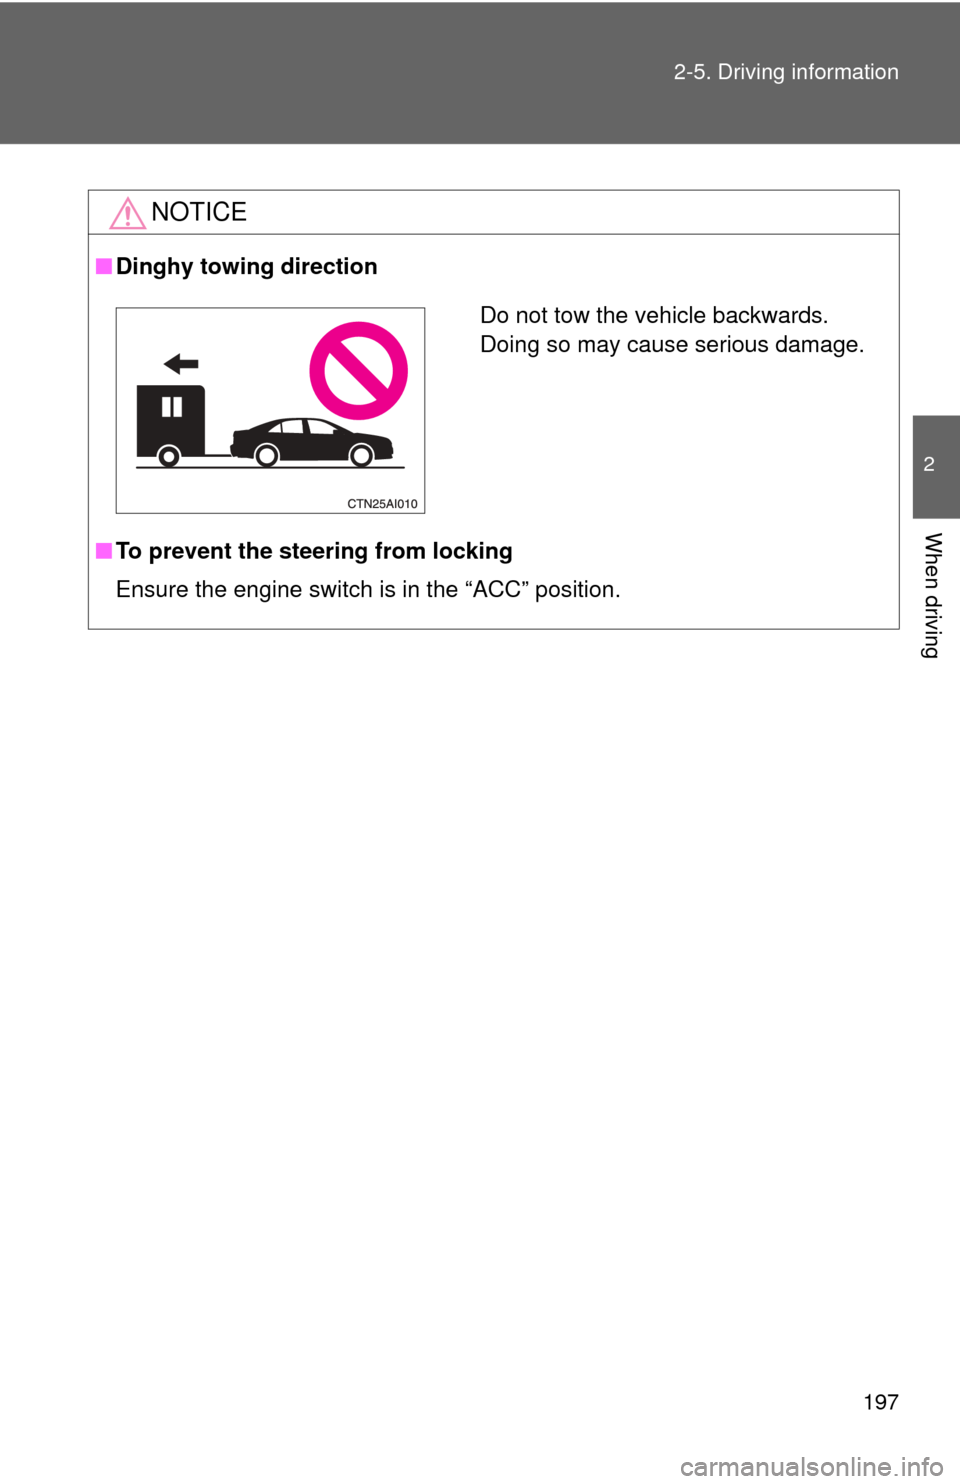
Dinghy towing direction
■ To prevent the steering from locking
Ensure the engine switch is in the “ACC” position.
Do not tow the vehicle backwards.
Doing so may cause serious damage.
Page 198 of 554
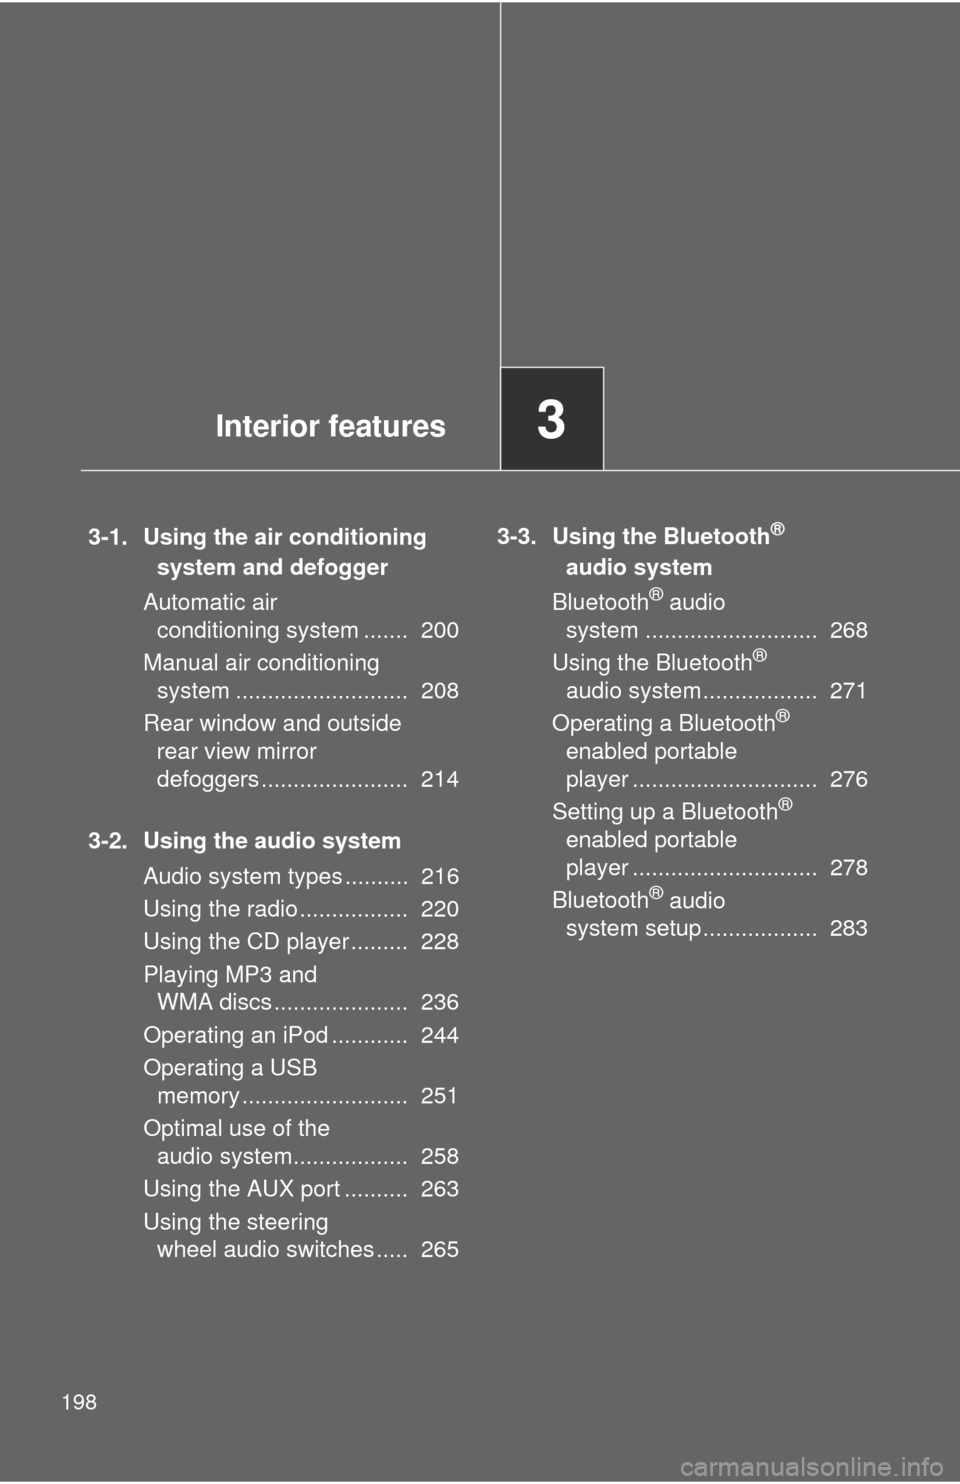
198
3-1. Using the air conditioning system and defogger
Automatic air conditioning system ....... 200
Manual air conditioning system ........................... 208
Rear window and outside rear view mirror
defoggers ....................... 214
3-2. Using the audio system Audio system types .......... 216
Using the radio ................. 220
Using the CD player ......... 228
Playing MP3 and WMA discs ..................... 236
Operating an iPod ............ 244
Operating a USB memory .......................... 251
Optimal use of the audio system.................. 258
Using the AUX port .......... 263
Using the steering wheel audio switches ..... 265 3-3. Using the Bluetooth®
audio system
Bluetooth
® audio
system ........................... 268
Using the Bluetooth
®
audio system.................. 271
Operating a Bluetooth
®
enabled portable
player ............................. 276
Setting up a Bluetooth
®
enabled portable
player ............................. 278
Bluetooth
® audio
system setup .................. 283
Interior features3
Page 199 of 554
Interior features3
199
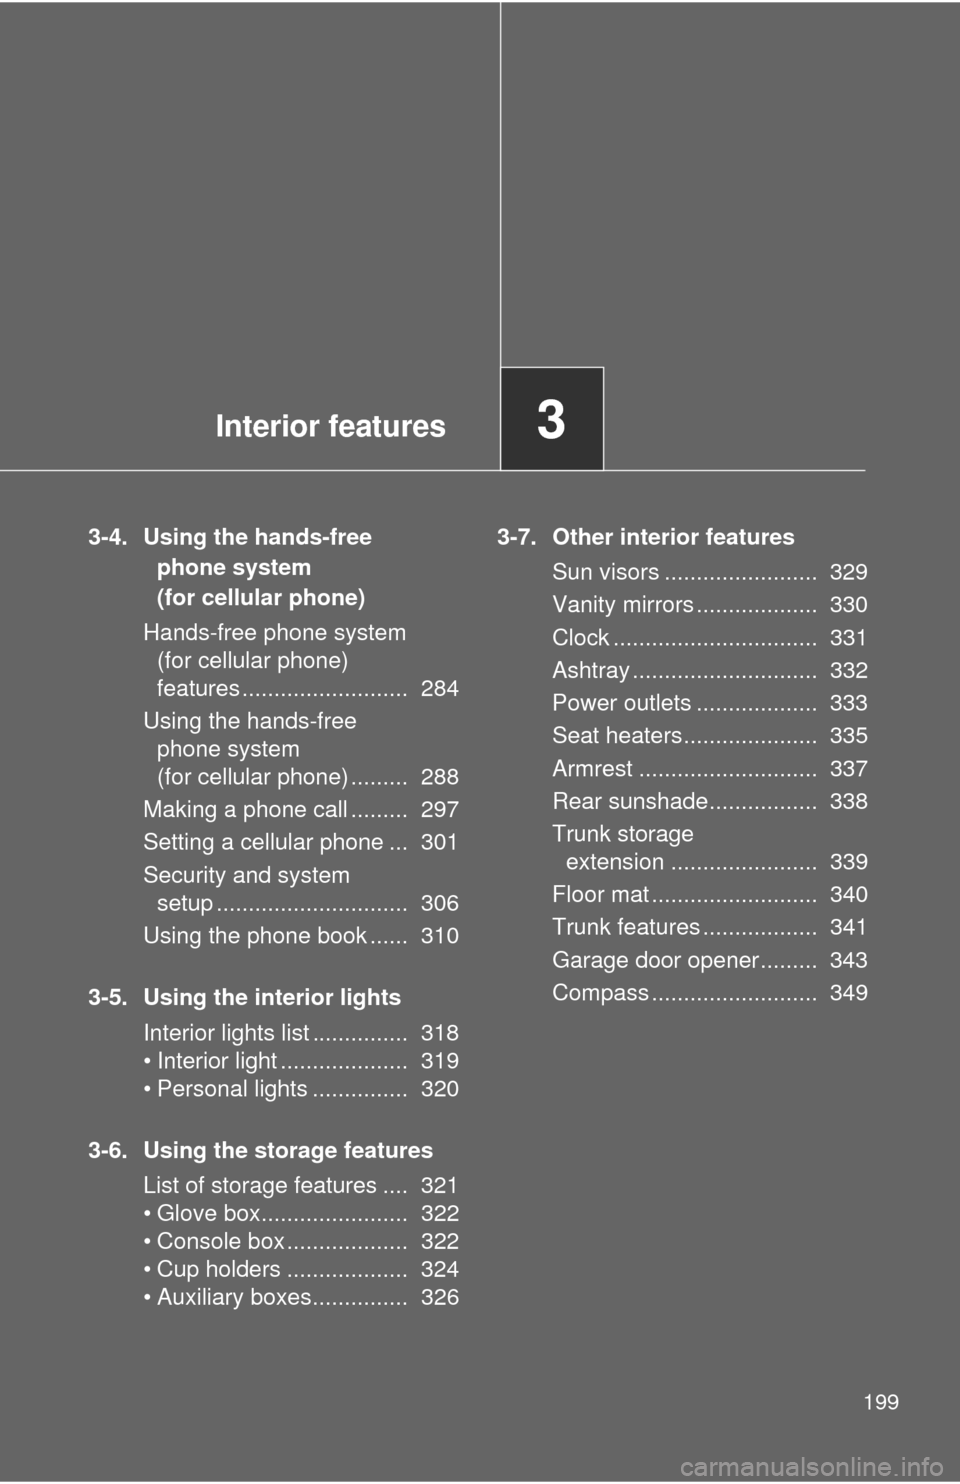
3-4. Using the hands-free phone system
(for cellular phone)
Hands-free phone system (for cellular phone)
features .......................... 284
Using the hands-free phone system
(for cellular phone) ......... 288
Making a phone call ......... 297
Setting a cellular phone ... 301
Security and system setup .............................. 306
Using the phone book ...... 310
3-5. Using the interior lights Interior lights list ............... 318
• Interior light .................... 319
• Personal lights ............... 320
3-6. Using the storage features List of storage features .... 321
• Glove box....................... 322
• Console box ................... 322
• Cup holders ................... 324
• Auxiliary boxes............... 326 3-7. Other interior features
Sun visors ........................ 329
Vanity mirrors ................... 330
Clock ................................ 331
Ashtray ............................. 332
Power outlets ................... 333
Seat heaters..................... 335
Armrest ............................ 337
Rear sunshade................. 338
Trunk storage extension ....................... 339
Floor mat .......................... 340
Trunk features .................. 341
Garage door opener......... 343
Compass .......................... 349
Page 200 of 554
200
3-1. Using the air conditioning system and defogger
Automatic air conditioning system
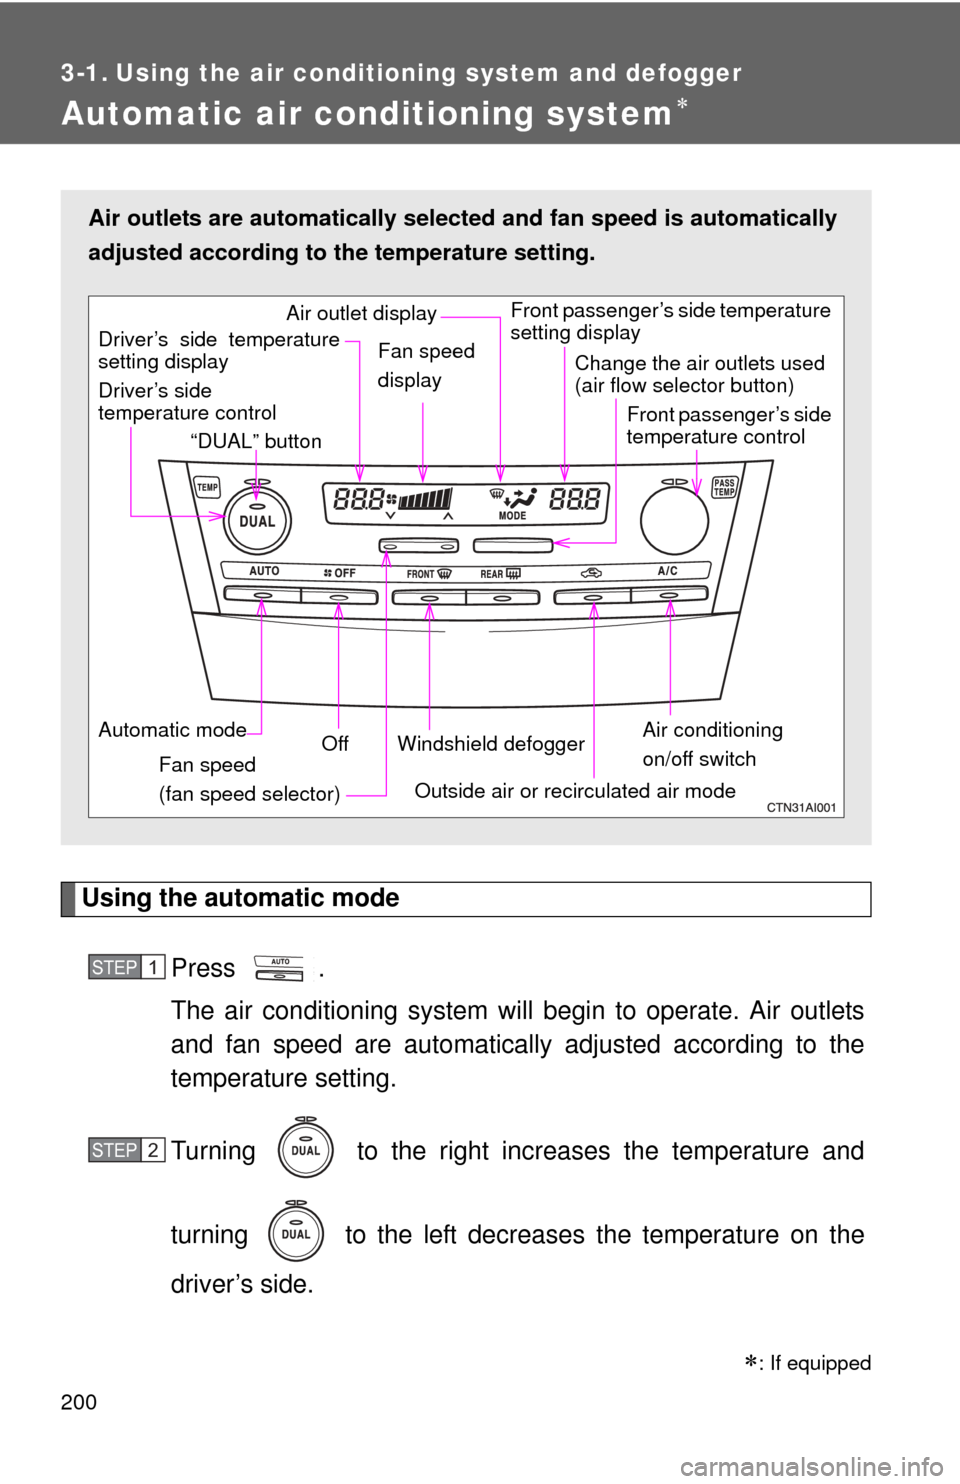
Using the automatic modePress .
The air conditioning system will begin to operate. Air outlets
and fan speed are automatically adjusted according to the
temperature setting.
Turning to the right increases the temperature and
turning to the left decreases the temperature on the
driver’s side.
: If equipped
Air outlets are automatically select ed and fan speed is automatically
adjusted according to the temperature setting.
Air conditioning
on/off switch
Front passenger’s side temperature
setting display
Driver’s side
temperature control “DUAL” button
Automatic mode Off
Driver’s side temperature
setting display
Fan speed
(fan speed selector) Outside air or recirculated air mode
Fan speed
display
Change the air outlets used
(air flow selector button)
Front passenger’s side
temperature control
Windshield defogger
Air outlet display
STEP1
STEP2