TOYOTA LAND CRUISER 2011 J200 Owners Manual
LAND CRUISER 2011 J200
TOYOTA
TOYOTA
https://www.carmanualsonline.info/img/14/6492/w960_6492-0.png
TOYOTA LAND CRUISER 2011 J200 Owners Manual
Trending: four wheel drive, service indicator, parking sensors, change wheel, brake light, engine, heating
Page 371 of 608
371
3-4. Using the hands-free
system (for cellular phone)
3
Interior features
L/C200_U (OM60F74U)
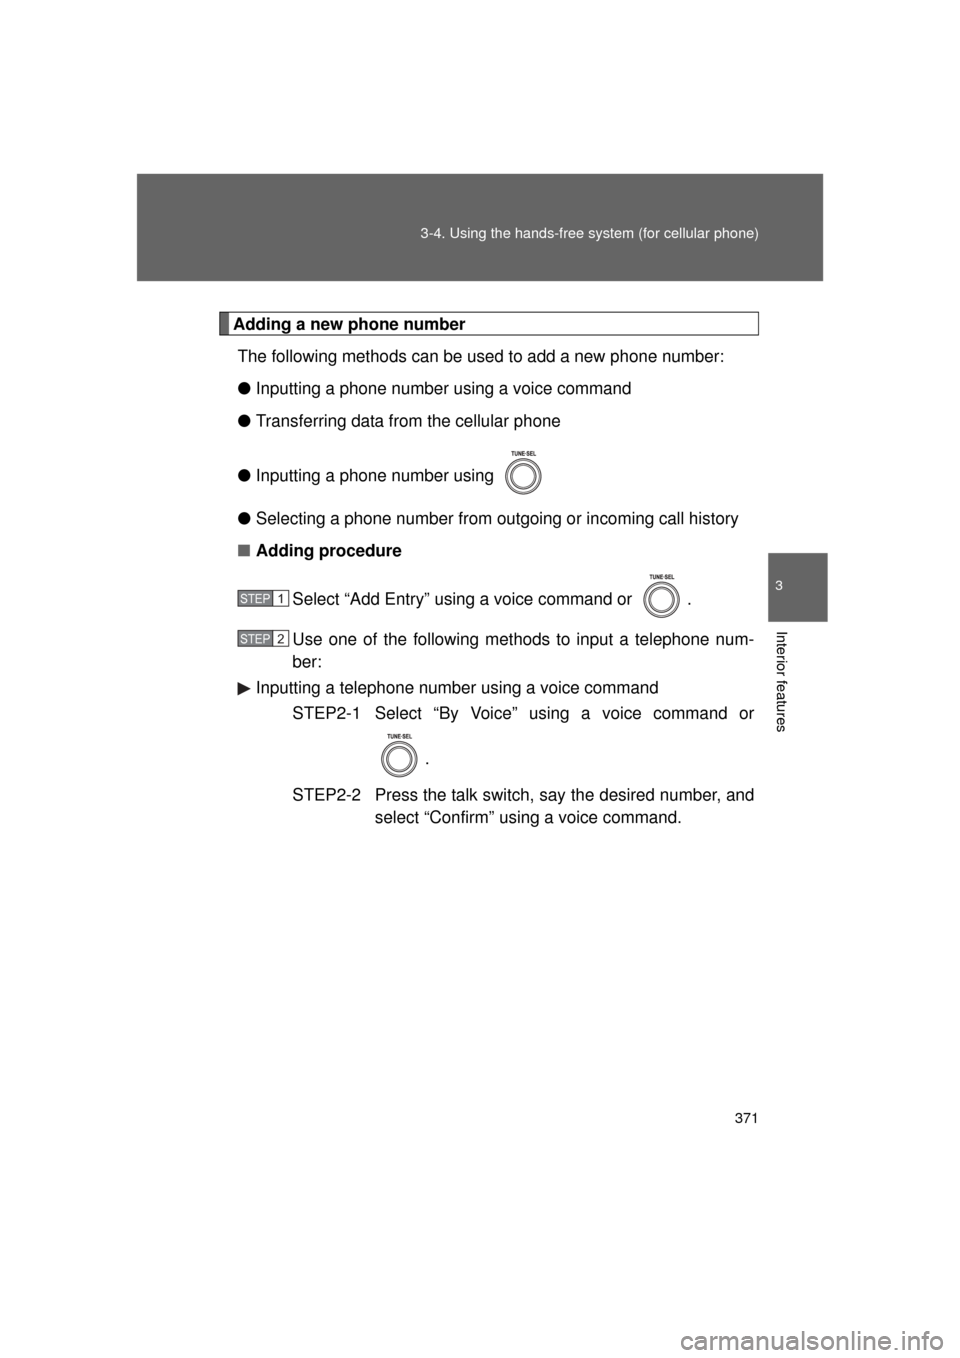
Adding a new phone number
The following methods can be used to add a new phone number:
● Inputting a phone number using a voice command
● Transferring data from the cellular phone
● Inputting a phone number using
● Selecting a phone number from outgoing or incoming call history
■ Adding procedure
Select “Add Entry” using a voice command or .
Use one of the following methods to input a telephone num-
ber:
Inputting a telephone number using a voice command STEP2-1 Select “By Voice” using a voice command or
.
STEP2-2 Press the talk switch, say the desired number, and select “Confirm” us ing a voice command.
STEP1
STEP2
Page 372 of 608
372 3-4. Using the hands-free system (for cellular phone)
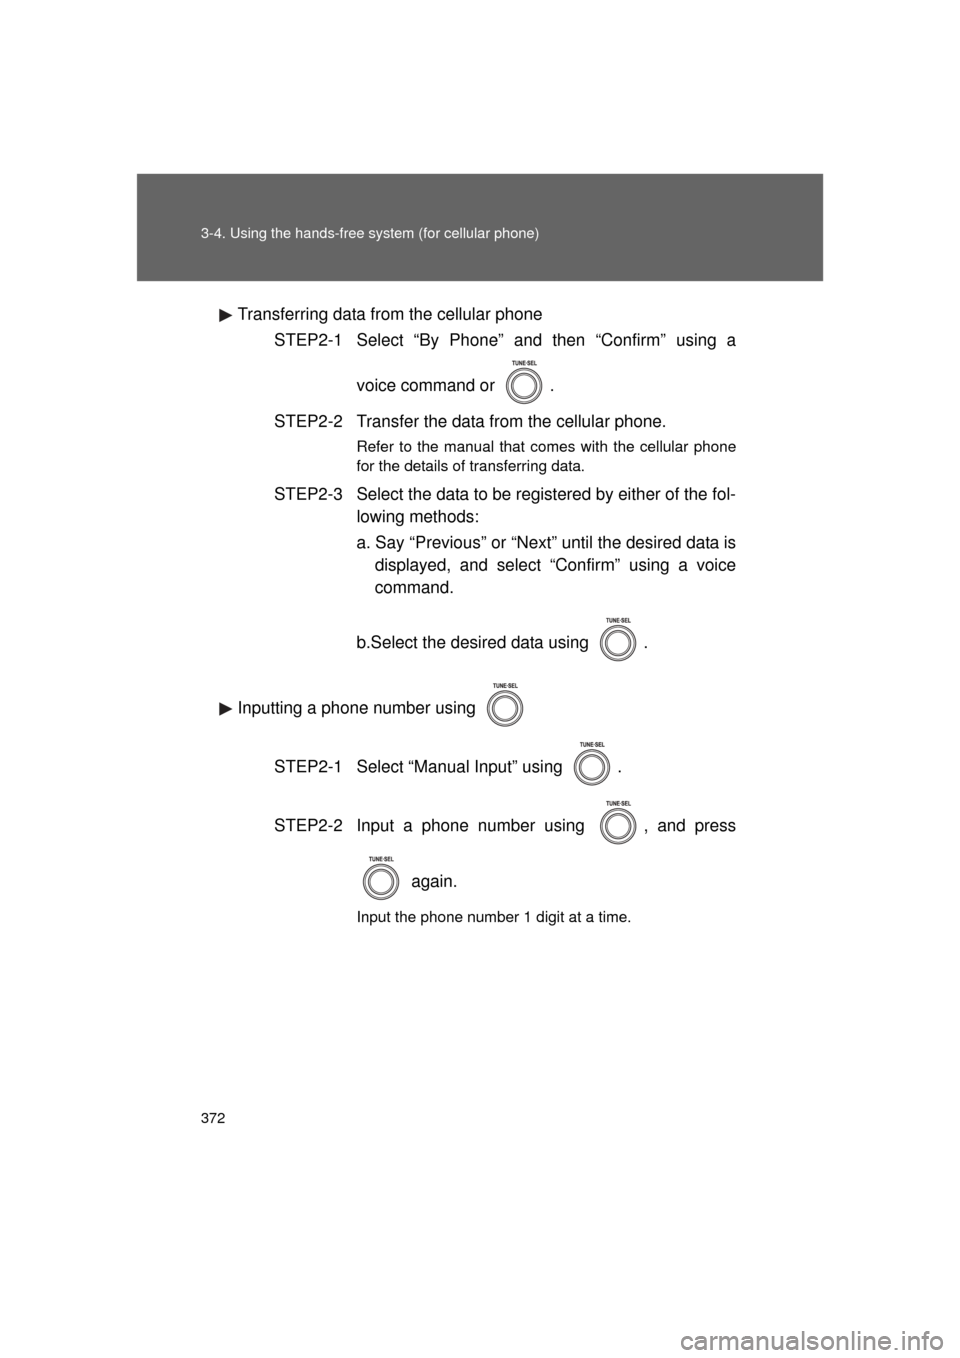
L/C200_U (OM60F74U)Transferring data from the cellular phone
STEP2-1 Select “By Phone” and then “Confirm” using a
voice command or .
STEP2-2 Transfer the data from the cellular phone.
Refer to the manual that comes with the cellular phone
for the details of transferring data.
STEP2-3 Select the data to be registered by either of the fol- lowing methods:
a. Say “Previous” or “Next” until the desired data isdisplayed, and select “Confirm” using a voice
command.
b.Select the desired data using .
Inputting a phone number using STEP2-1 Select “Manual Input” using .
STEP2-2 Input a phone number using , and press again.
Input the phone number 1 digit at a time.
Page 373 of 608
373
3-4. Using the hands-free
system (for cellular phone)
3
Interior features
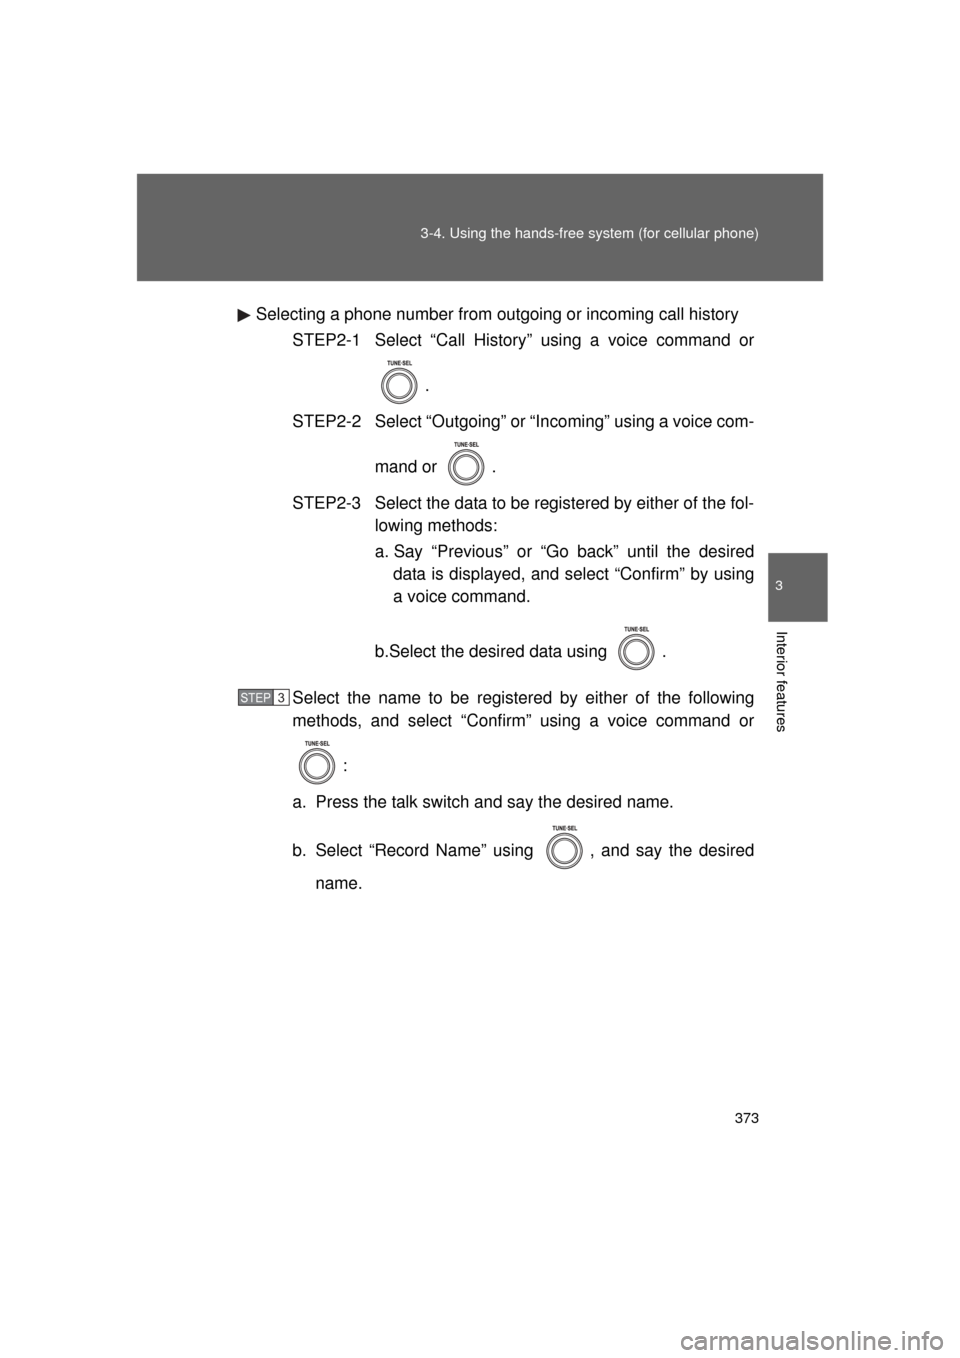
L/C200_U (OM60F74U)Selecting a phone number from outgoing or incoming call history
STEP2-1 Select “Call History” using a voice command or
.
STEP2-2 Select “Outgoing” or “Incoming” using a voice com-
mand or .
STEP2-3 Select the data to be registered by either of the fol- lowing methods:
a. Say “Previous” or “Go back” until the desireddata is displayed, and select “Confirm” by using
a voice command.
b.Select the desired data using .
Select the name to be registered by either of the following
methods, and select “Confirm” using a voice command or :
a. Press the talk switch and say the desired name.
b. Select “Record Name” using , and say the desired name.
STEP3
Page 374 of 608
374 3-4. Using the hands-free system (for cellular phone)
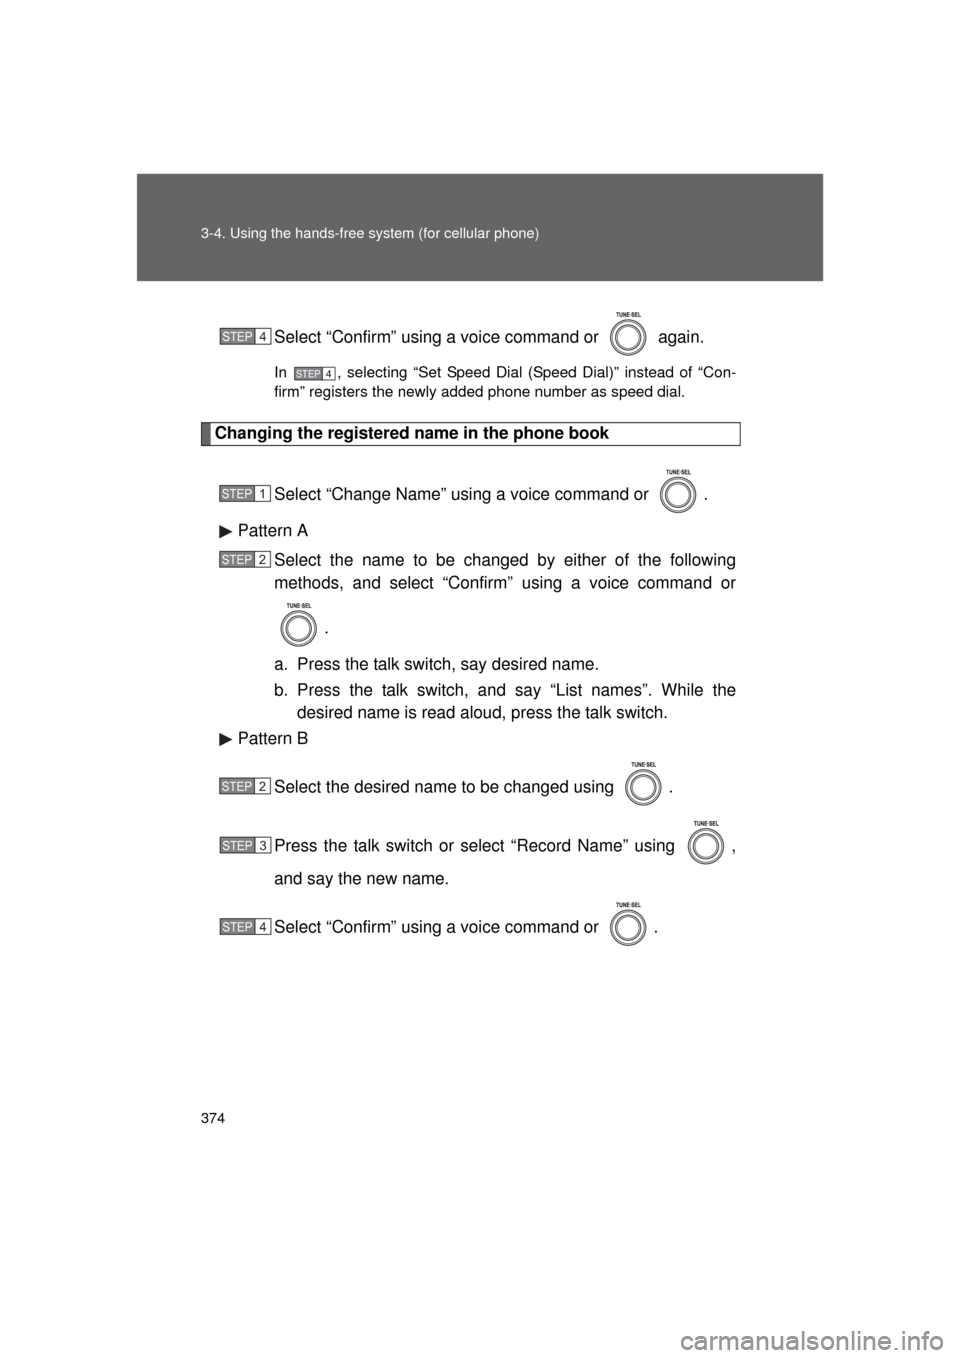
L/C200_U (OM60F74U)Select “Confirm” using a voice command or again.
In , selecting “Set Speed Dial (Speed Dial)” instead of “Con-
firm” registers the newly added phone number as speed dial.
Changing the registered name in the phone book
Select “Change Name” using a voice command or .
Pattern A Select the name to be changed by either of the following
methods, and select “Confirm” using a voice command or
.
a. Press the talk sw itch, say desired name.
b. Press the talk switch, a nd say “List names”. While the
desired name is read aloud, press the talk switch.
Pattern B
Select the desired name to be changed using .
Press the talk switch or select “Record Name” using ,
and say the new name.
Select “Confirm” using a voice command or .
STEP4
STEP4
STEP1
STEP2
STEP2
STEP3
STEP4
Page 375 of 608
375
3-4. Using the hands-free
system (for cellular phone)
3
Interior features
L/C200_U (OM60F74U)
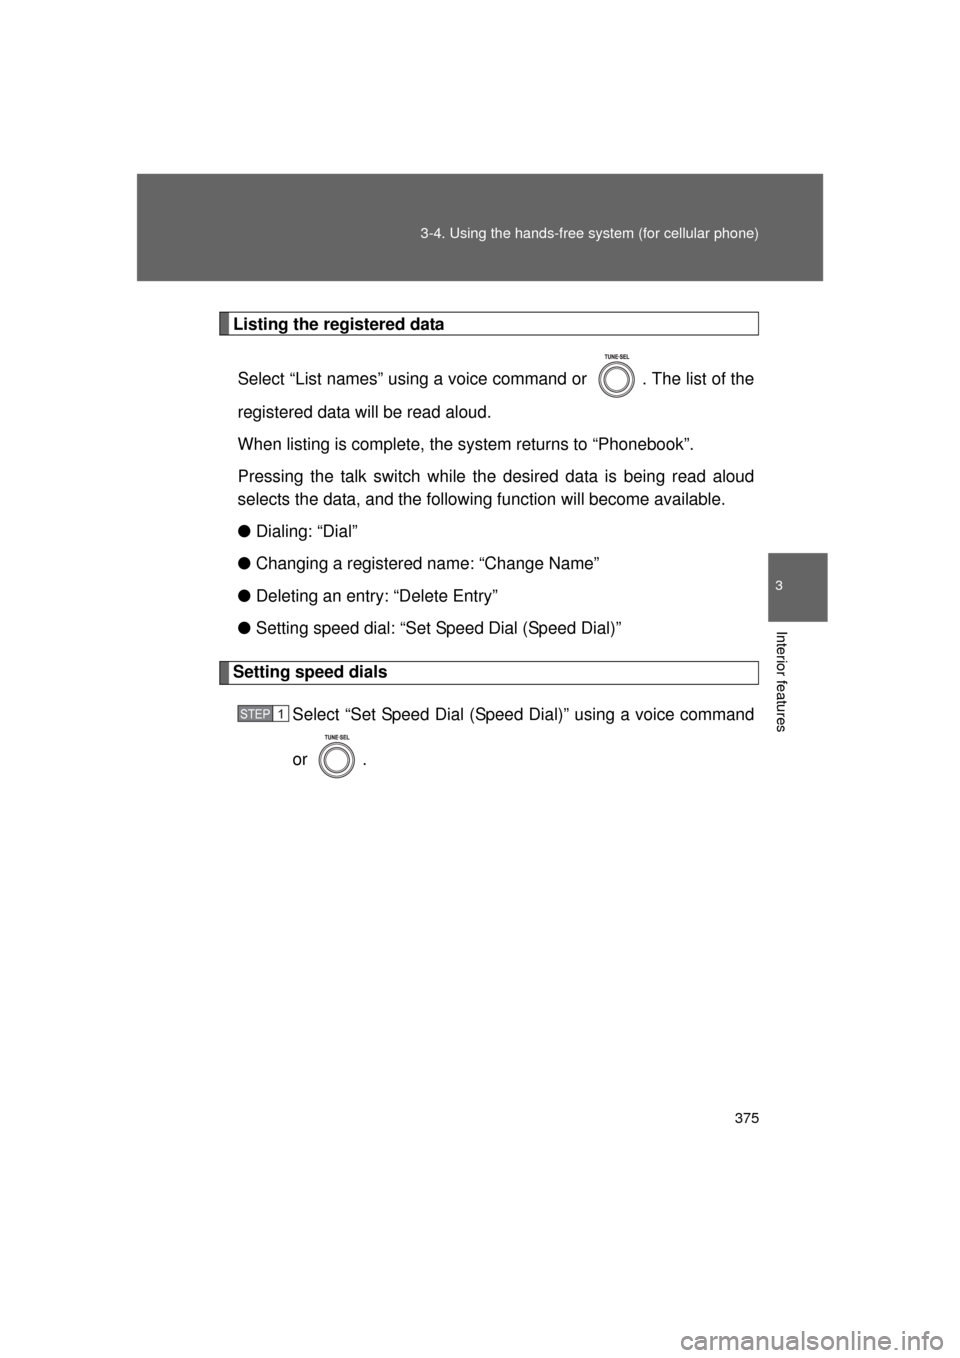
Listing the registered data
Select “List names” using a voice command or . The list of the
registered data will be read aloud.
When listing is complete, the system returns to “Phonebook”.
Pressing the talk switch while the desired data is being read aloud
selects the data, and the following function will become available.
● Dialing: “Dial”
● Changing a registered name: “Change Name”
● Deleting an entry: “Delete Entry”
● Setting speed dial: “Set Speed Dial (Speed Dial)”
Setting speed dials
Select “Set Speed Dial (Spee d Dial)” using a voice command
or .
STEP1
Page 376 of 608
376 3-4. Using the hands-free system (for cellular phone)
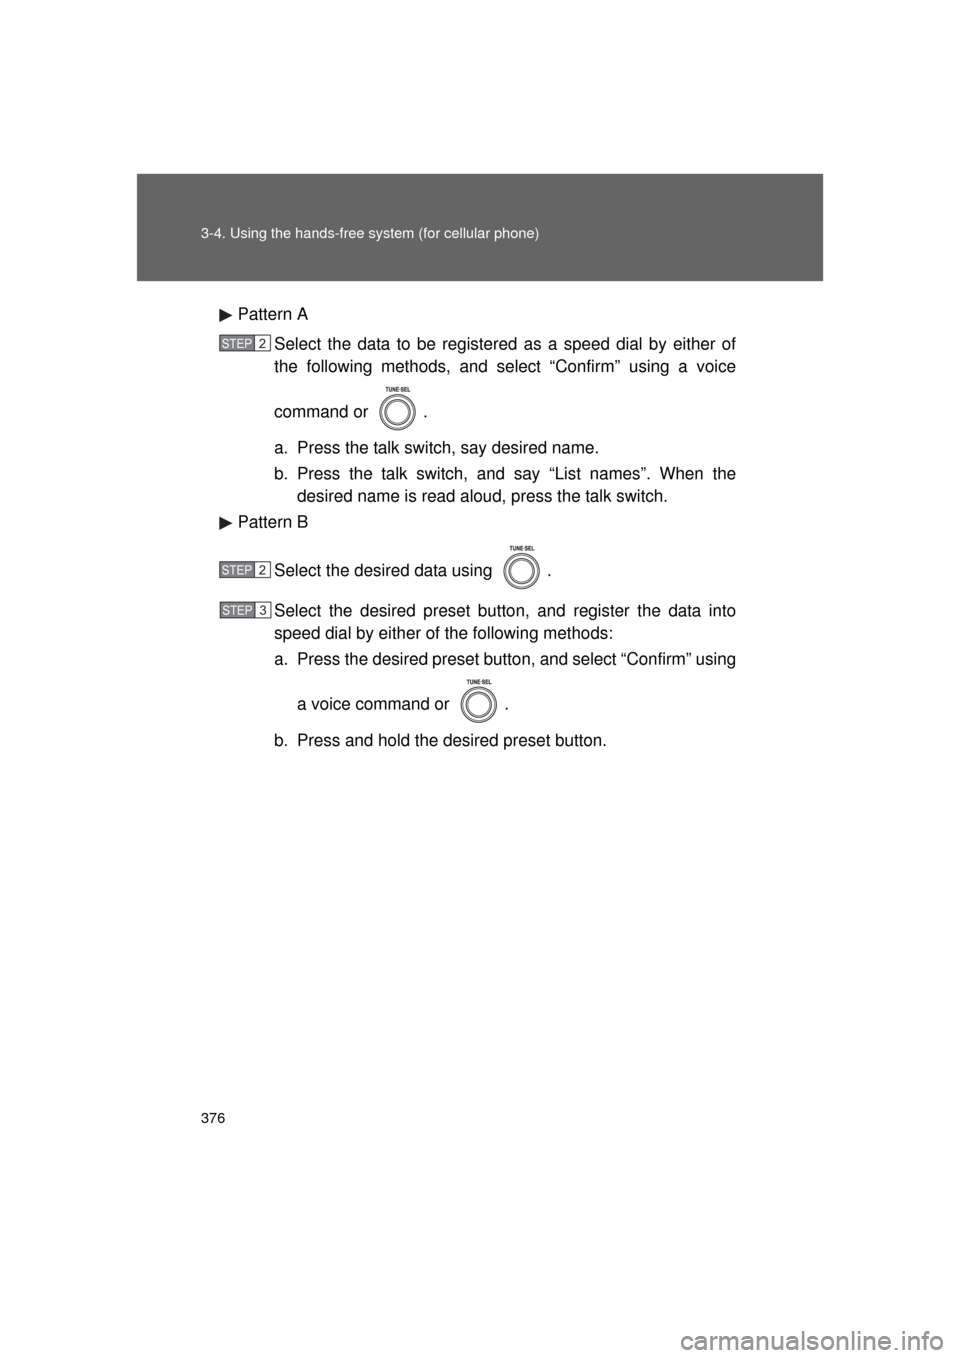
L/C200_U (OM60F74U)Pattern A
Select the data to be registered as a speed dial by either of
the following methods, and select “Confirm” using a voice
command or .
a. Press the talk sw itch, say desired name.
b. Press the talk switch, and say “List names”. When the
desired name is read aloud, press the talk switch.
Pattern B
Select the desired data using .
Select the desired preset butt on, and register the data into
speed dial by either of the following methods:
a. Press the desired preset butto n, and select “Confirm” using
a voice command or .
b. Press and hold the desired preset button.
STEP2
STEP2
STEP3
Page 377 of 608
377
3-4. Using the hands-free
system (for cellular phone)
3
Interior features
L/C200_U (OM60F74U)
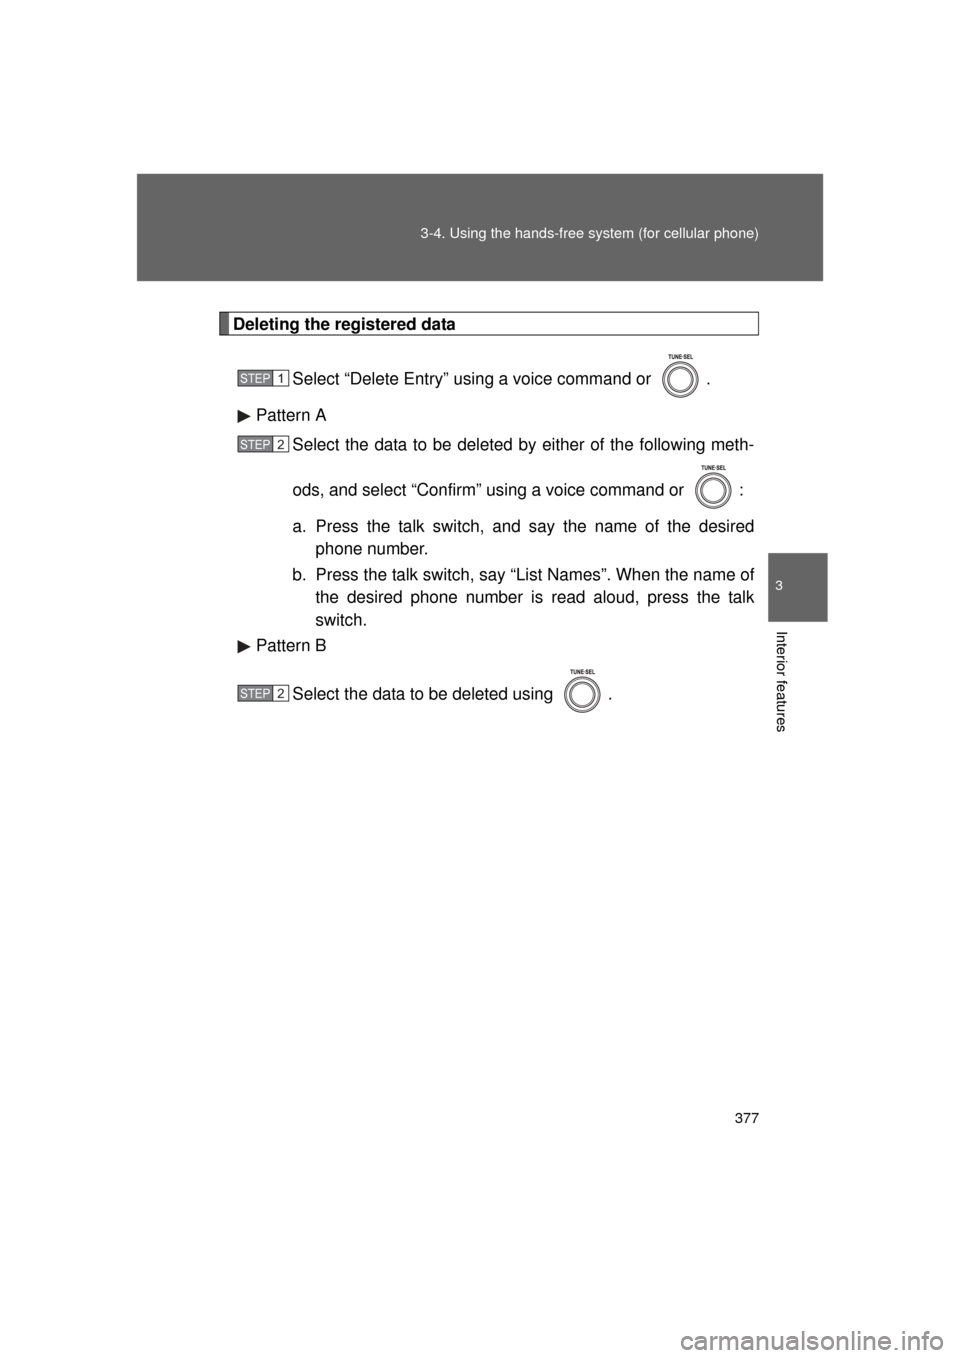
Deleting the registered data
Select “Delete Entry” using a voice command or .
Pattern A Select the data to be deleted by either of the following meth-
ods, and select “Confirm” us ing a voice command or :
a. Press the talk switch, and say the name of the desired phone number.
b. Press the talk switch, say “List Names”. When the name of the desired phone number is read aloud, press the talk
switch.
Pattern B
Select the data to be deleted using .
STEP1
STEP2
STEP2
Page 378 of 608
378 3-4. Using the hands-free system (for cellular phone)
L/C200_U (OM60F74U)
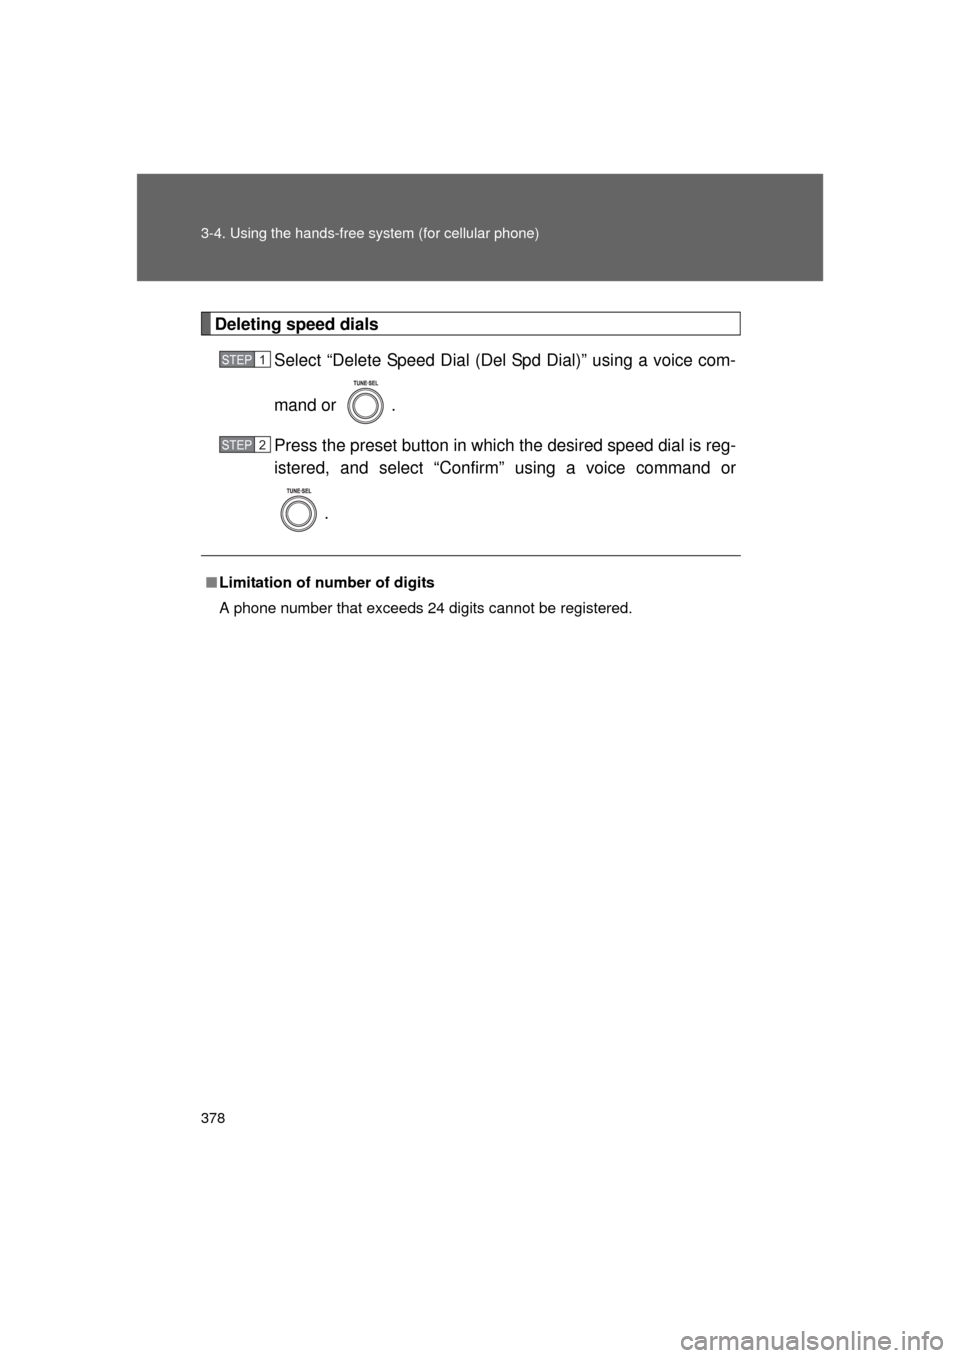
Deleting speed dialsSelect “Delete Speed Dial (Del Spd Dial)” using a voice com-
mand or .
Press the preset button in which the desired speed dial is reg-
istered, and select “Confirm” using a voice command or
.
■Limitation of number of digits
A phone number that exceeds 24 digits cannot be registered.
STEP1
STEP2
Page 379 of 608
379
3
Interior features
L/C200_U (OM60F74U)
3-5. Using the interior lights
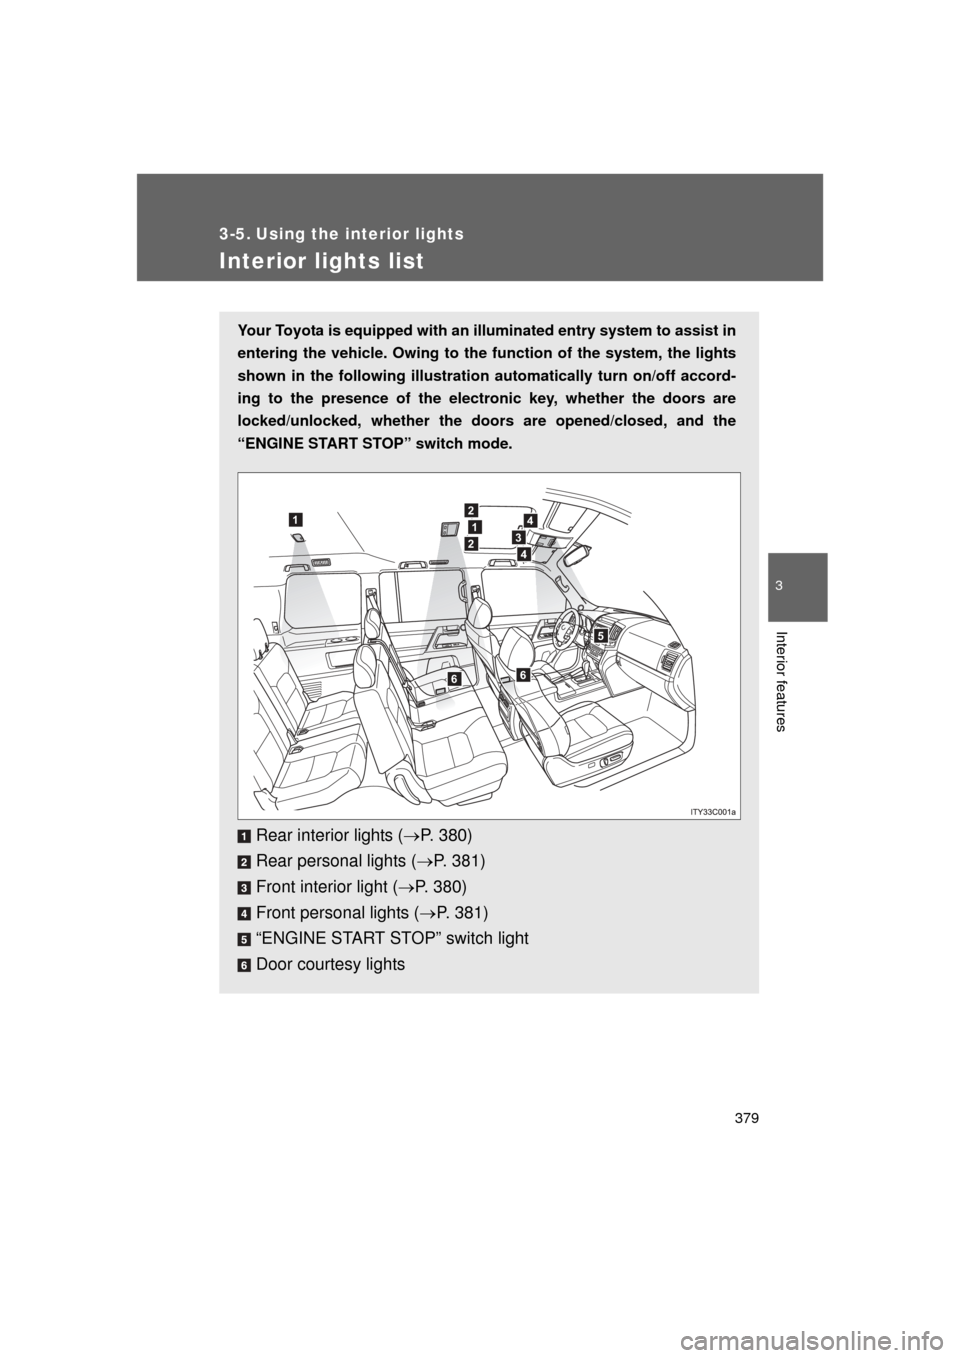
Interior lights list
Your Toyota is equipped with an illuminated entry system to assist in
entering the vehicle. Owing to the function of the system, the lights
shown in the following illustration automatically turn on/off accord-
ing to the presence of the electr onic key, whether the doors are
locked/unlocked, whether the door s are opened/closed, and the
“ENGINE START STOP” switch mode.
Rear interior lights ( P. 380)
Rear personal lights ( P. 381)
Front interior light ( P. 380)
Front personal lights ( P. 381)
“ENGINE START STOP” switch light
Door courtesy lights
12
1
2
4
3
4
5
66
Page 380 of 608
380 3-5. Using the interior lights
L/C200_U (OM60F74U)
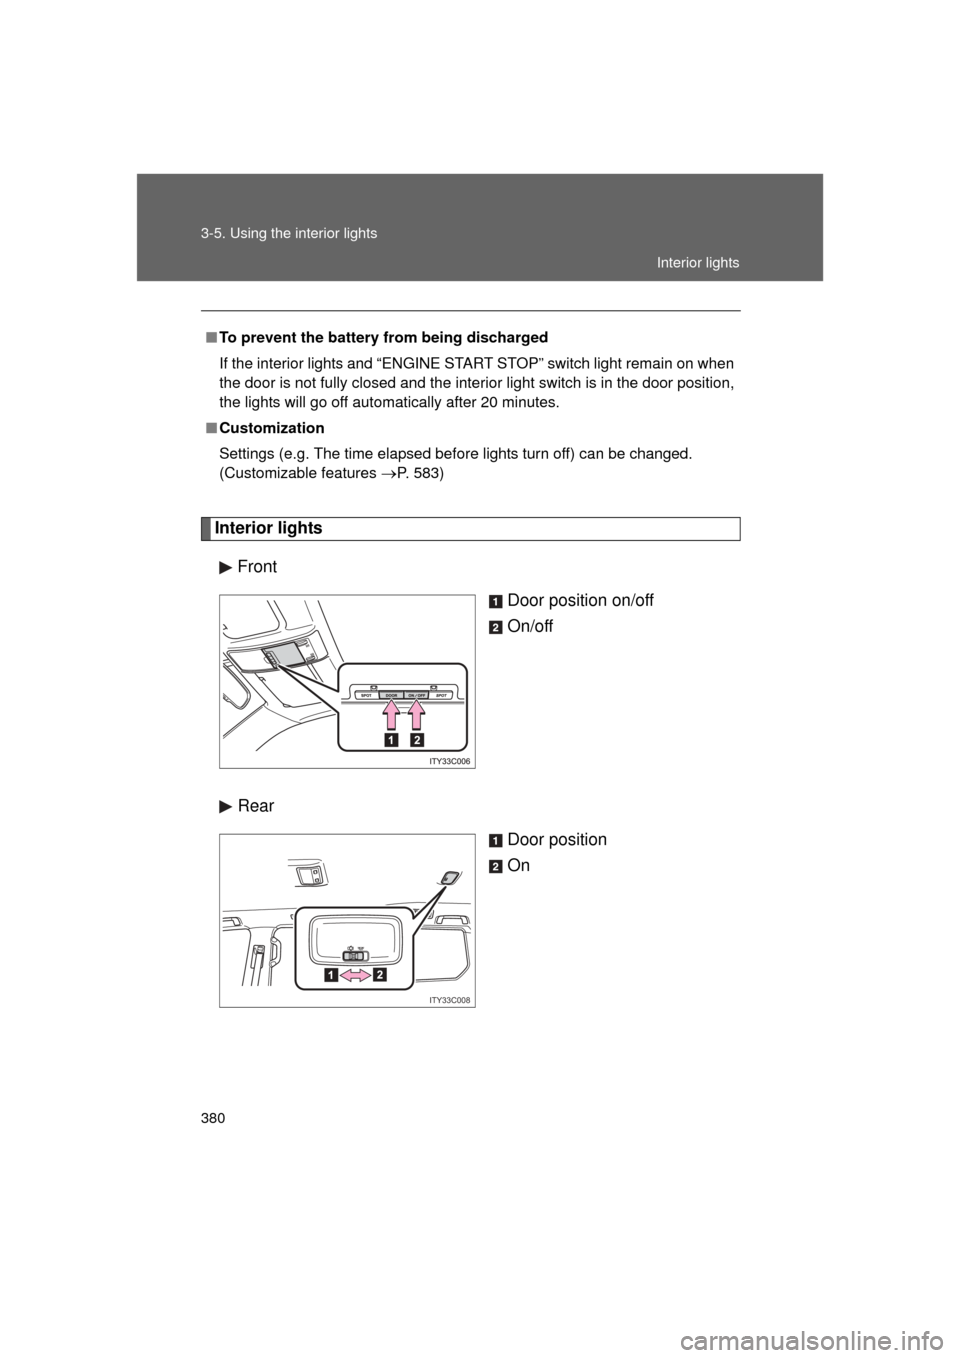
Interior lightsFront Door position on/off
On/off
Rear Door position
On
■To prevent the battery from being discharged
If the interior lights and “ENGINE START STOP” switch light remain on when
the door is not fully closed and the interior light switch is in the door position,
the lights will go off automatically after 20 minutes.
■ Customization
Settings (e.g. The time elapsed before lights turn off) can be changed.
(Customizable features
P. 583)
ITY33C008
Interior lights
Trending: mirror, coolant, center console, homelink, rear entertainment, gas type, turn signal bulb
