ECO mode TOYOTA MIRAI 2020 Accessories, Audio & Navigation (in English)
[x] Cancel search | Manufacturer: TOYOTA, Model Year: 2020, Model line: MIRAI, Model: TOYOTA MIRAI 2020Pages: 288, PDF Size: 7.9 MB
Page 30 of 288
30
MIRAI_Navi_USA_OM62074U_20MY
1. BASIC INFORMATION BEFORE OPERATION
1. INITIAL SCREEN
When the power switch is turned to AC-
CESSORY or ON mode, the initial screen
will be displayed and the system will begin
operating.
After a few seconds, the caution screen
will be displayed.
After about 5 seconds or selecting “Con-
tinue” , the caution screen switches to the
next screen.
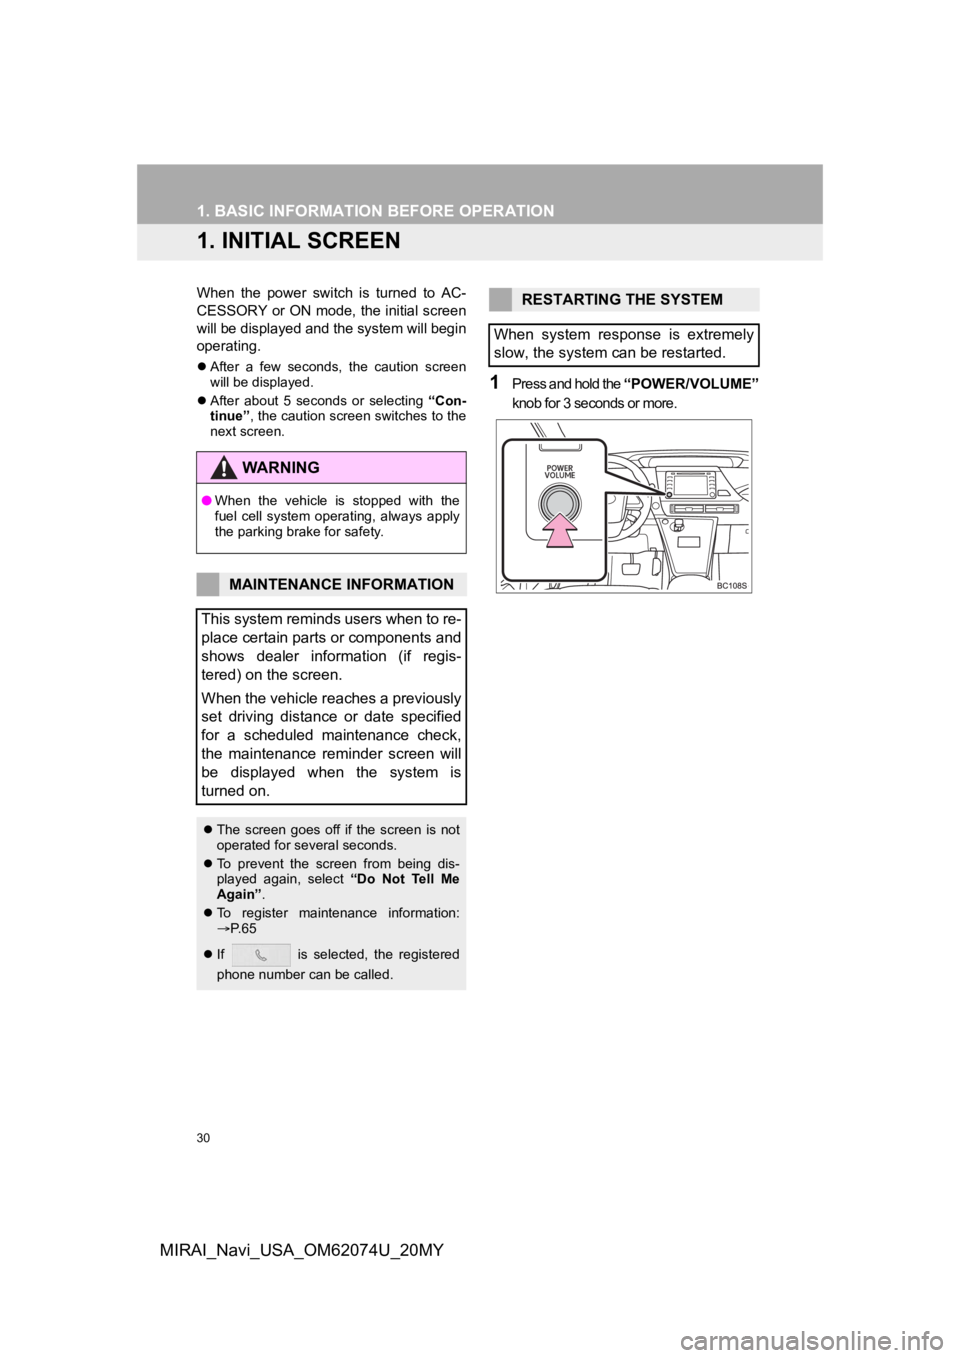
1Press and hold the “POWER/VOLUME”
knob for 3 seconds or more.
WA R N I N G
● When the vehicle is stopped with the
fuel cell system operating, always apply
the parking brake for safety.
MAINTENANCE INFORMATION
This system reminds users when to re-
place certain parts or components and
shows dealer information (if regis-
tered) on the screen.
When the vehicle reaches a previously
set driving distance or date specified
for a scheduled maintenance check,
the maintenance reminder screen will
be displayed when the system is
turned on.
The screen goes off if the screen is not
operated for several seconds.
To prevent the screen from being dis-
played again, select “Do Not Tell Me
Again” .
To register maintenance information:
P. 6 5
If is selected, the registered
phone number can be called.
RESTARTING THE SYSTEM
When system response is extremely
slow, the system can be restarted.
Page 49 of 288

49
2. CONNECTIVITY SETTINGS
BASIC FUNCTION
2
MIRAI_Navi_USA_OM62074U_20MY
■CONNECTING A Bluetooth® DE-
VICE IN A DIFFERENT WAY
From the phone top screen
P.156
From the Bluetooth
® audio control
screen
P.104
From the phone settings screen
P.173
■AUTO CONNECTION MODE
When the power switch is turned to
ACCESSORY or ON mode, the system
searches for a nearby registered device.
The system will connect with the regis-
tered device that was last connected, if it
is nearby. When automatic connection pri-
ority is set to on and there is more than
one registered Bluetooth
® phone avail-
able, the system will automatically con-
nect to the Bluetooth
® phone with the
highest priority. ( P. 5 3 )
■CONNECTING MANUALLY
1Press the “MENU” button.
2Select “Setup” .
3Select “Bluetooth” .
4Follow the steps in “CONNECTING A
Bluetooth
® DEVICE” from “STEP 2”.
(P.48)
■RECONNECTING THE Bluetooth®
PHONE
To turn auto connection mode on, set
“Bluetooth Power”
to on. (P.52)
Leave the Bluetooth
® device in a loca-
tion where the connection can be es-
tablished.
When the auto connection has failed or
“Bluetooth Power” is turned off, it is
necessary to connect the Bluetooth
®
device manually.
If a Bluetooth
® phone is disconnected
due to poor reception from the
Bluetooth
® network when the power
switch is in ACCESSORY or ON mode,
the system automatically reconnects
the Bluetooth
® phone.
Page 83 of 288
83
2. RADIO OPERATION
AUDIO/VISUAL SYSTEM
3
MIRAI_Navi_USA_OM62074U_20MY
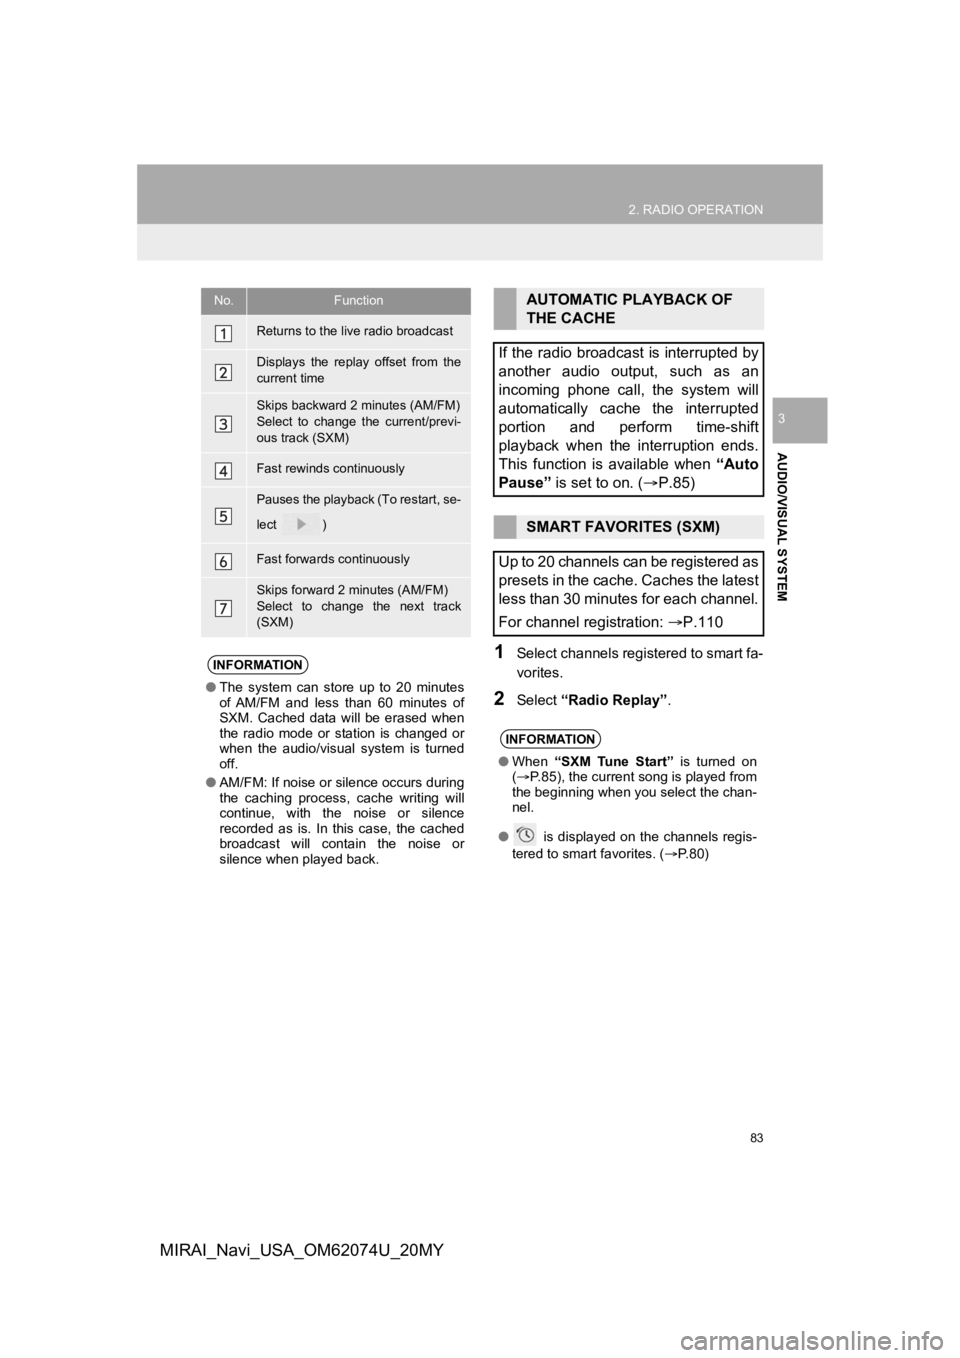
1Select channels registered to smart fa-
vorites.
2Select “Radio Replay” .
No.Function
Returns to the live radio broadcast
Displays the replay offset from the
current time
Skips backward 2 minutes (AM/FM)
Select to change the current/previ-
ous track (SXM)
Fast rewinds continuously
Pauses the playback (To restart, se-
lect
)
Fast forwards continuously
Skips forward 2 minutes (AM/FM)
Select to change the next track
(SXM)
INFORMATION
●The system can stor e up to 20 minutes
of AM/FM and less than 60 minutes of
SXM. Cached data will be erased when
the radio mode or station is changed or
when the audio/visual system is turned
off.
● AM/FM: If noise or silence occurs during
the caching process, cache writing will
continue, with the noise or silence
recorded as is. In this case, the cached
broadcast will contain the noise or
silence when played back.
AUTOMATIC PLAYBACK OF
THE CACHE
If the radio broadcast is interrupted by
another audio output, such as an
incoming phone call, the system will
automatically cache the interrupted
portion and perform time-shift
playback when the interruption ends.
This function is available when “Auto
Pause” is set to on. ( P.85)
SMART FAVORITES (SXM)
Up to 20 channels can be registered as
presets in the cache. Caches the latest
less than 30 minutes for each channel.
For channel registration: P.110
INFORMATION
●When “SXM Tune Start” is turned on
( P.85), the current song is played from
the beginning when you select the chan-
nel.
● is displayed on the channels regis-
tered to smart favorites. ( P. 8 0 )
Page 87 of 288
87
2. RADIO OPERATION
AUDIO/VISUAL SYSTEM
3
MIRAI_Navi_USA_OM62074U_20MY
HD Radio™ TROUBLESHOOTING GUIDE
ExperienceCauseAction
Mismatch of time alignment
a user may hear a short pe-
riod of programming re-
played or an echo, stutter
or skip.The radio stations analog
and digital volume is not
properly aligned or the sta-
tion is in ballgame mode.None, radio broadcast issue. A
user can contact the radio station.
Sound fades, blending in
and out.Radio is shifting between
analog and digital audio.
Reception issue, may clear-up as
the vehicle continues to be driven.
Turning the indicator of the “HD
Radio™” button off can force radio
in an analog audio.
Audio mute condition when
an HD2/HD3 multicast
channel had been playing.The radio does not have
access to digital signals at
the moment.This is normal behavior, wait until
the digital signal returns. If out of
the coverage area, seek a new
station.
Audio mute delay when se-
lecting an HD2/HD3 multi-
cast channel preset.
The digital multicast con-
tent is not available until
HD Radio™ broadcast can
be decoded and make the
audio available. This takes
up to 7 seconds.
This is normal behavior, wait for
the audio to become available.
Text information does not
match the present song au-
dio.Data service issue by the
radio broadcaster.
Broadcaster should be notified.
Complete the form;
https://hdradio.com/stations/
feedback.
No text information shown
for the present selected fre-
quency.Data service issue by the
radio broadcaster.Broadcaster should be notified.
Complete the form;
https://hdradio.com/stations/
feedback.
Page 99 of 288
99
3. MEDIA OPERATION
AUDIO/VISUAL SYSTEM
3
MIRAI_Navi_USA_OM62074U_20MY
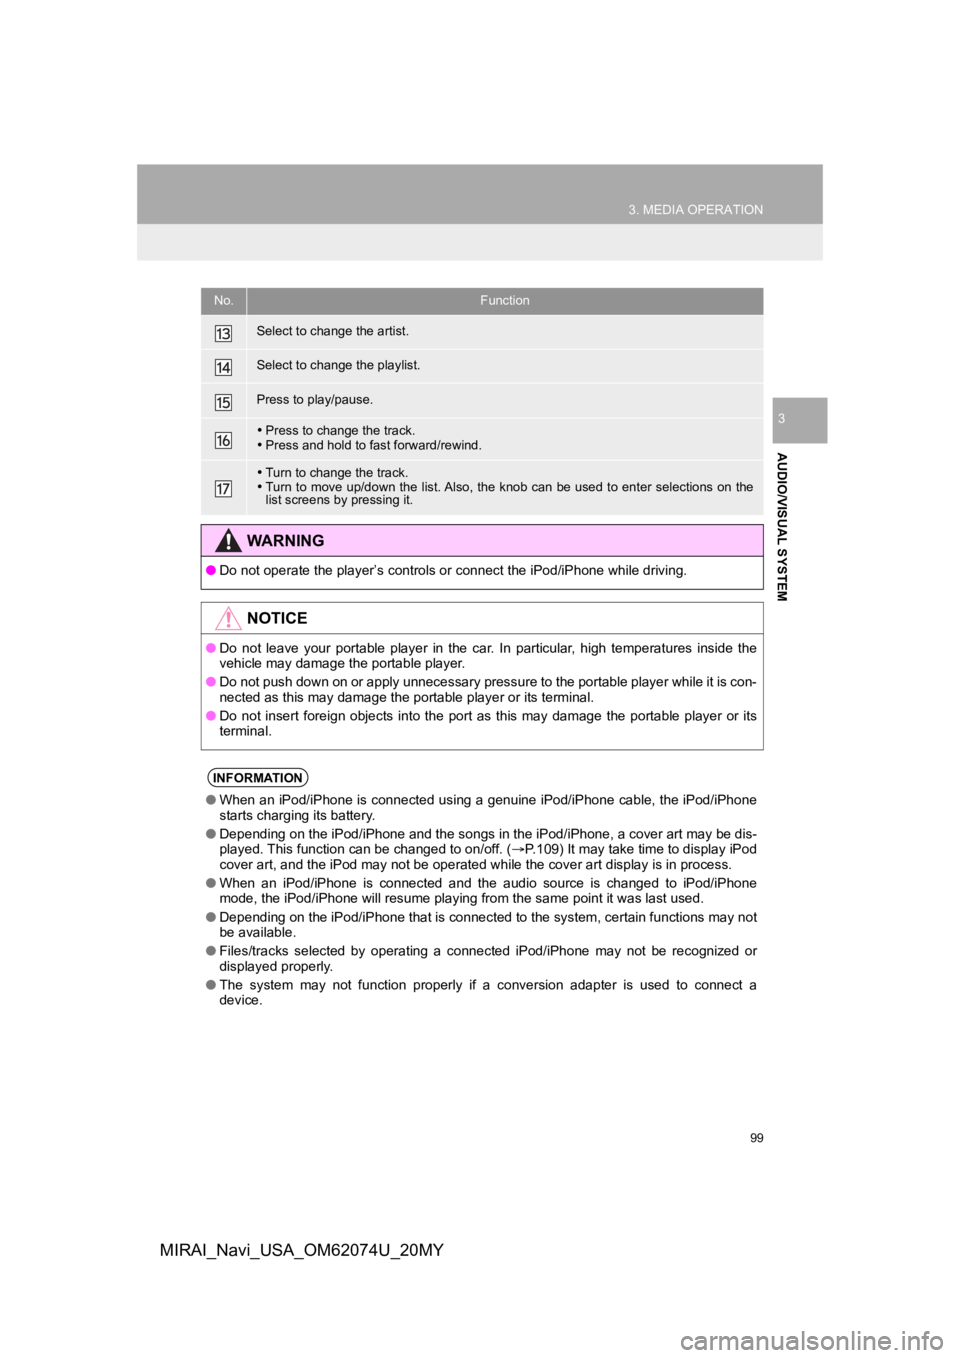
Select to change the artist.
Select to change the playlist.
Press to play/pause.
Press to change the track.
Press and hold to fast forward/rewind.
Turn to change the track.
Turn to move up/down the list. Also, the knob can be used to en ter selections on the
list screens by pressing it.
WA R N I N G
● Do not operate the player’s controls or connect the iPod/iPhone while driving.
NOTICE
●Do not leave your portable player in the car. In particular, hi gh temperatures inside the
vehicle may damage the portable player.
● Do not push down on or apply unnecessary pressure to the portable player while it is con-
nected as this may damage the portable player or its terminal.
● Do not insert foreign objects into the port as this may damage the portable player or its
terminal.
INFORMATION
● When an iPod/iPhone is connected using a genuine iPod/iPhone cable, the iPod/iPhone
starts charging its battery.
● Depending on the iPod/iPhone and the songs in the iPod/iPhone, a cover art may be dis-
played. This function can be changed to on/off. ( P.109) It may take time to display iPod
cover art, and the iPod may not be operated while the cover art display is in process.
● When an iPod/iPhone is connected and the audio source is change d to iPod/iPhone
mode, the iPod/iPhone will resume playing from the same point i t was last used.
● Depending on the iPod/iPhone that is connected to the system, c ertain functions may not
be available.
● Files/tracks selected by operating a connected iPod/iPhone may not be recognized or
displayed properly.
● The system may not function properly if a conversion adapter is used to connect a
device.
No.Function
Page 103 of 288
103
3. MEDIA OPERATION
AUDIO/VISUAL SYSTEM
3
MIRAI_Navi_USA_OM62074U_20MY
INFORMATION
●Depending on the Bluetooth® device that is connected to the system, the music may start
playing when selecting while it is paused. Conversely, the music may pause when
selecting while it is playing.
● In the following conditions, the system may not function:
• The Bluetooth
® device is turned off.
• The Bluetooth
® device is not connected.
• The Bluetooth
® device has a low battery.
● When using the Bluetooth
® audio and Wi-Fi® Hotspot functions at the same time, the fol-
lowing problems may occur:
• It may take longer than normal to connect to the Bluetooth
® device.
• The sound may cut out.
● It may take time to connect the phone when Bluetooth
® audio is being played.
● For operating the portable player, see the instruction manual t hat comes with it.
● If the Bluetooth
® device is disconnected due to poor reception from the Bluetoot h® net-
work when the power switch is in ACCESSORY or ON mode, the syst em will automati-
cally reconnect to the portable player.
● If the Bluetooth
® device is disconnected on purpose, such as it was turned off, this does
not happen. Reconnect the portable player manually.
● Bluetooth
® device information is registered when the Bluetooth® device is connected to
the Bluetooth® audio/visual system. When selling or disposing of the vehicle, remove the
Bluetooth® audio information from the system. (P.63)
Page 117 of 288
117
6. TIPS FOR OPERATING THE AUDIO/VISUAL SYSTEM
AUDIO/VISUAL SYSTEM
3
MIRAI_Navi_USA_OM62074U_20MY
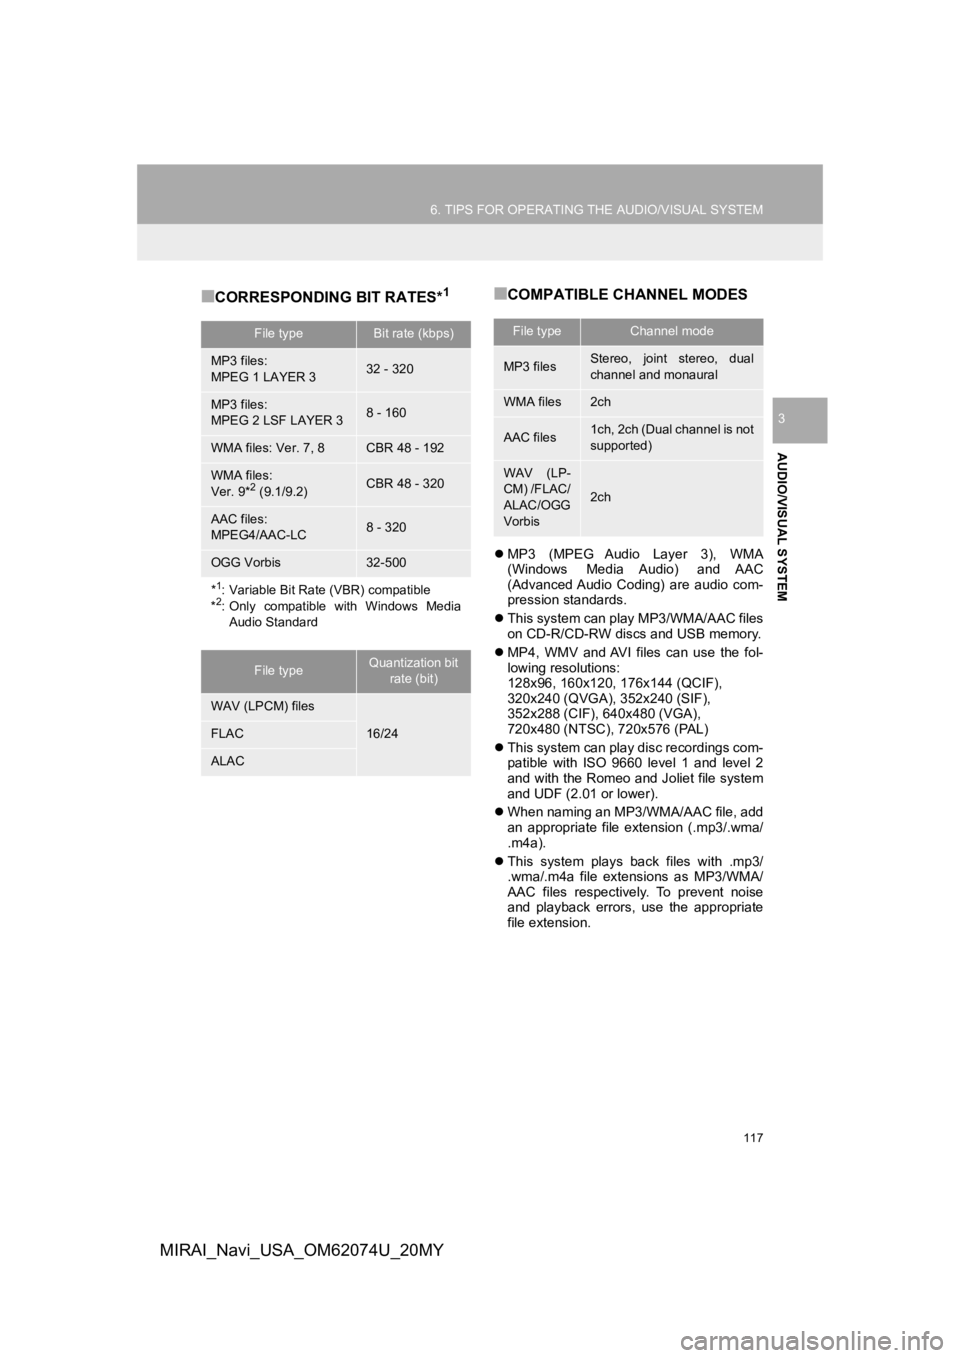
■CORRESPONDING BIT RATES*1■COMPATIBLE CHANNEL MODES
MP3 (MPEG Audio Layer 3), WMA
(Windows Media Audio) and AAC
(Advanced Audio Coding) are audio com-
pression standards.
This system can play MP3/WMA/AAC files
on CD-R/CD-RW discs and USB memory.
MP4, WMV and AVI files can use the fol-
lowing resolutions:
128x96, 160x120, 176x144 (QCIF),
320x240 (QVGA), 352x240 (SIF),
352x288 (CIF), 640x480 (VGA),
720x480 (NTSC), 720x576 (PAL)
This system can play disc recordings com-
patible with ISO 9660 level 1 and level 2
and with the Romeo and Joliet file system
and UDF (2.01 or lower).
When naming an MP3/WMA/AAC file, add
an appropriate file extension (.mp3/.wma/
.m4a).
This system plays back files with .mp3/
.wma/.m4a file extensions as MP3/WMA/
AAC files respectively. To prevent noise
and playback errors, use the appropriate
file extension.
File typeBit rate (kbps)
MP3 files:
MPEG 1 LAYER 332 - 320
MP3 files:
MPEG 2 LSF LAYER 38 - 160
WMA files: Ver. 7, 8CBR 48 - 192
WMA files:
Ver. 9*2 (9.1/9.2)CBR 48 - 320
AAC files:
MPEG4/AAC-LC8 - 320
OGG Vorbis32-500
*1: Variable Bit Rate (VBR) compatible
*2: Only compatible with Windows Media
Audio Standard
File typeQuantization bit rate (bit)
WAV (LPCM) files
16/24FLAC
ALAC
File typeChannel mode
MP3 filesStereo, joint stereo, dual
channel and monaural
WMA files2ch
AAC files1ch, 2ch (Dual channel is not
supported)
WAV (LP-
CM) /FLAC/
ALAC/OGG
Vorbis
2ch
Page 125 of 288
125
1. VOICE COMMAND SYSTEM OPERATION
VOICE COMMAND SYSTEM
4
MIRAI_Navi_USA_OM62074U_20MY
1Press the talk switch.
Voice guidance for the voice command
system can be skipped by pressing the
talk switch.
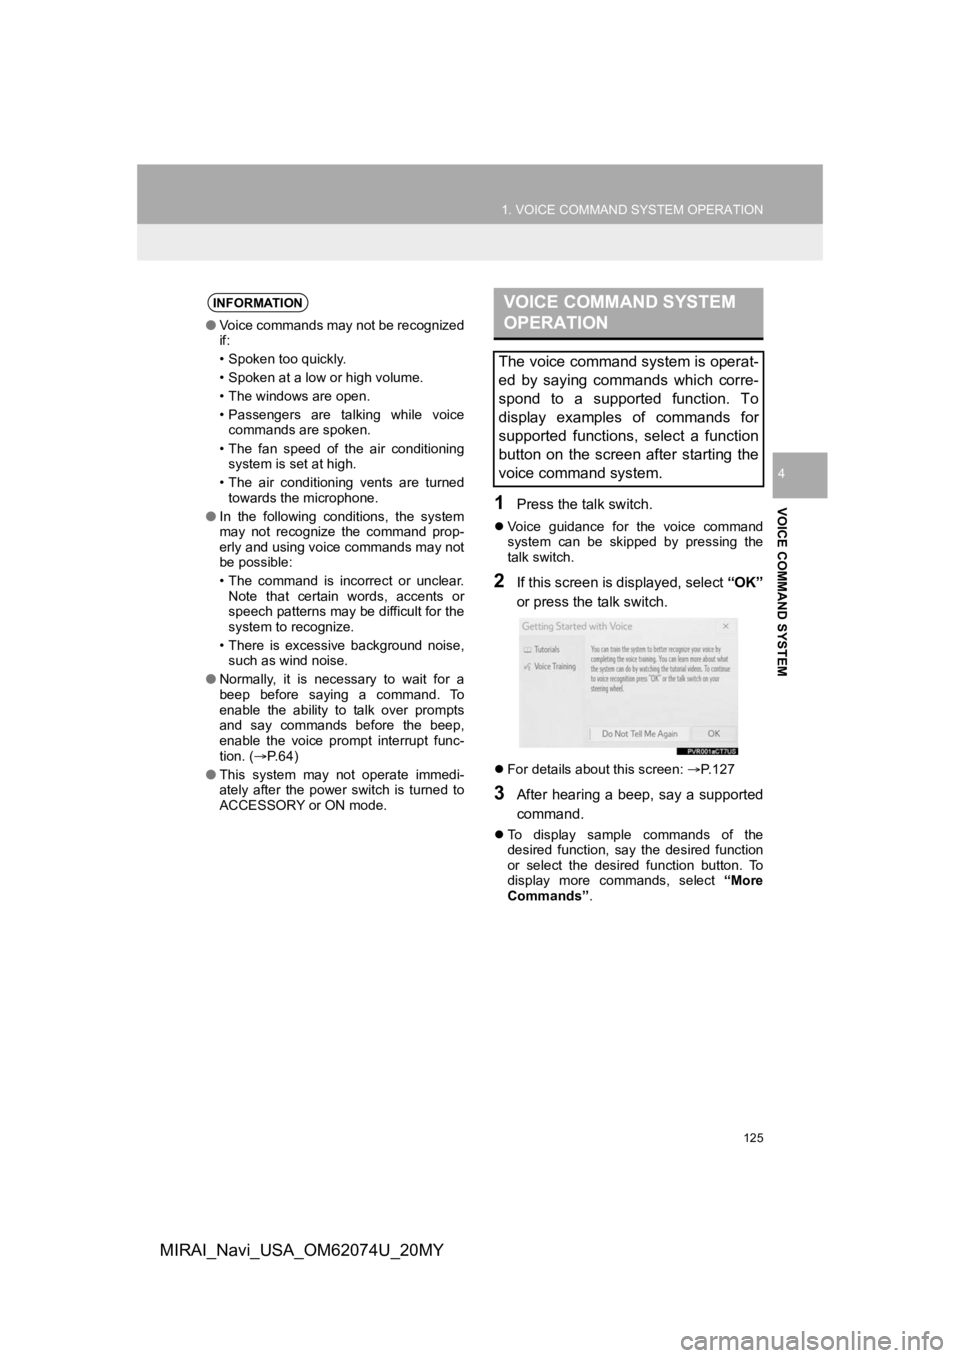
2If this screen is displayed, select “OK”
or press the talk switch.
For details about this screen: P.127
3After hearing a beep, say a supported
command.
To display sample commands of the
desired function, say the desired function
or select the desired function button. To
display more commands, select “More
Commands” .
INFORMATION
●Voice commands may not be recognized
if:
• Spoken too quickly.
• Spoken at a low or high volume.
• The windows are open.
• Passengers are talking while voice
commands are spoken.
• The fan speed of the air conditioning system is set at high.
• The air conditioning vents are turned towards the microphone.
● In the following conditions, the system
may not recognize the command prop-
erly and using voice commands may not
be possible:
• The command is incorrect or unclear.
Note that certain words, accents or
speech patterns may be difficult for the
system to recognize.
• There is excessive background noise, such as wind noise.
● Normally, it is necessary to wait for a
beep before saying a command. To
enable the ability to talk over prompts
and say commands before the beep,
enable the voice prompt interrupt func-
tion. ( P. 6 4 )
● This system may not operate immedi-
ately after the power switch is turned to
ACCESSORY or ON mode.
VOICE COMMAND SYSTEM
OPERATION
The voice command system is operat-
ed by saying commands which corre-
spond to a supported function. To
display examples of commands for
supported functions, select a function
button on the screen after starting the
voice command system.