turn signal TOYOTA MIRAI 2022 Owners Manual
[x] Cancel search | Manufacturer: TOYOTA, Model Year: 2022, Model line: MIRAI, Model: TOYOTA MIRAI 2022Pages: 556, PDF Size: 17.34 MB
Page 3 of 556
3TABLE OF CONTENTS
Owners Manual_USA_M62084_en
1
2
3
4
5
6
7
8
9
10
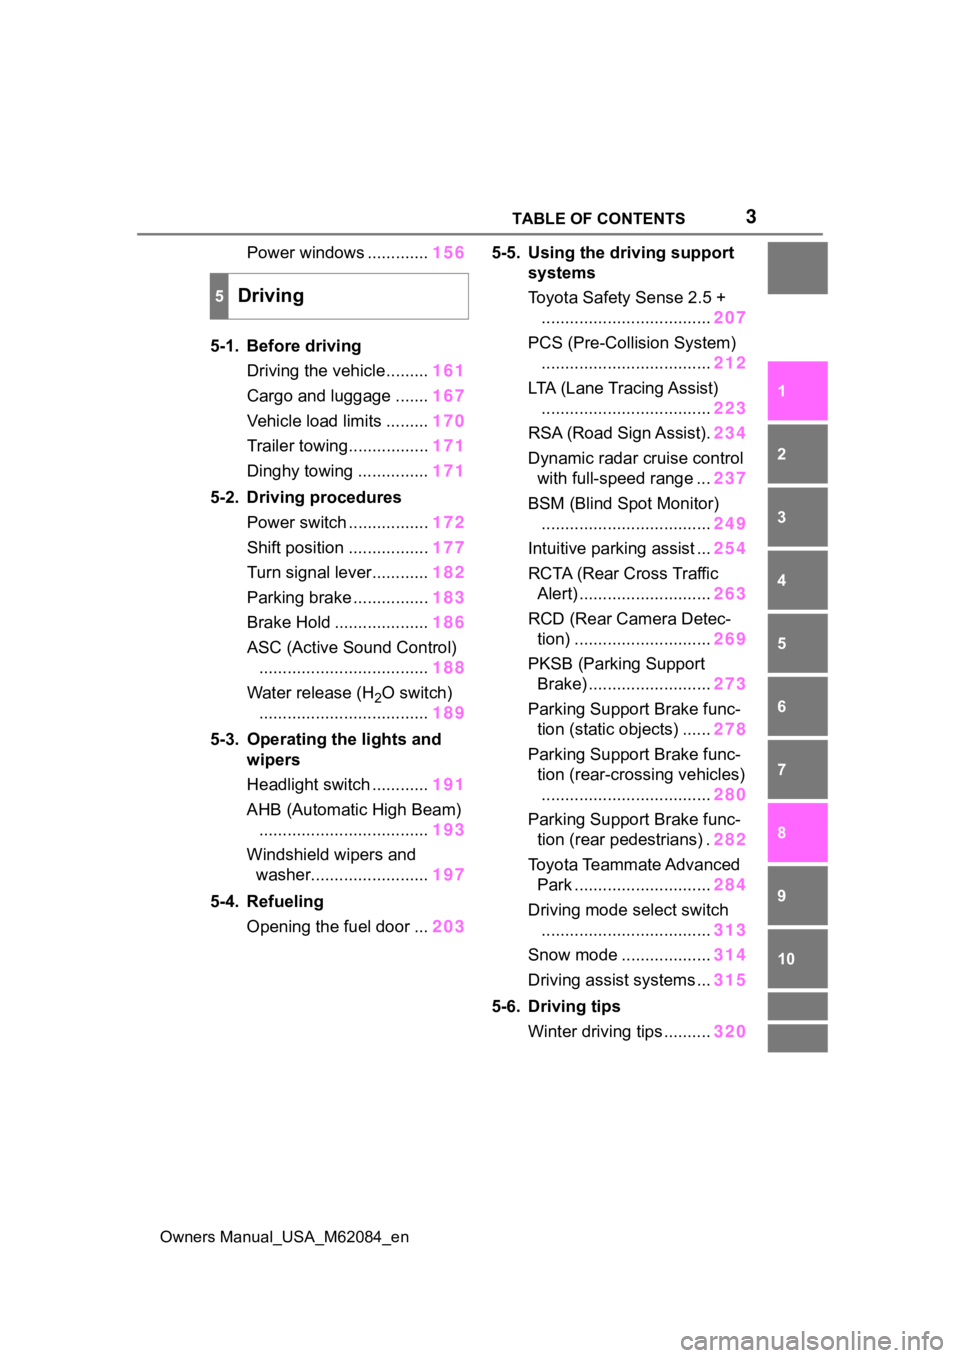
Power windows ............. 156
5-1. Before driving Driving the vehicle......... 161
Cargo and luggage ....... 167
Vehicle load limits ......... 170
Trailer towing................. 171
Dinghy towing ............... 171
5-2. Driving procedures Power switch ................. 172
Shift position ................. 177
Turn signal lever............ 182
Parking brake ................ 183
Brake Hold .................... 186
ASC (Active Sound Control) .................................... 188
Water release (H
2O switch)
.................................... 189
5-3. Operating the lights and wipers
Headlight switch ............ 191
AHB (Automatic High Beam) .................................... 193
Windshield wipers and washer......................... 197
5-4. Refueling Opening the fuel door ... 2035-5. Using the driving support
systems
Toyota Safety Sense 2.5 +
.................................... 207
PCS (Pre-Collision System) .................................... 212
LTA (Lane Tracing Assist) .................................... 223
RSA (Road Sign Assist). 234
Dynamic radar cruise control with full-speed range ... 237
BSM (Blind Spot Monitor) .................................... 249
Intuitive parking assist ... 254
RCTA (Rear Cross Traffic Alert) ............................ 263
RCD (Rear Camera Detec- tion) ............................. 269
PKSB (Parking Support Brake) .......................... 273
Parking Support Brake func- tion (static objects) ...... 278
Parking Support Brake func- tion (rear-crossing vehicles)
.................................... 280
Parking Support Brake func- tion (rear pedestrians) . 282
Toyota Teammate Advanced Park ............................. 284
Driving mode s elect switch
.................................... 313
Snow mode ................... 314
Driving assist systems ... 315
5-6. Driving tips Winter driving tips .......... 320
5Driving
Page 15 of 556

15Pictorial index
Owners Manual_USA_M62084_en
Precautions for winter seas on.............................................. P.320
To prevent freezing (windshield wiper de-icer)
*............ P.329, 338
Precautions for car wash (vehicles with rain-sensing windshield wip-
ers) ....................................................................................... P.382
Fuel door ...................................................... ....................... P.203
Refueling method ............................................... .................. P.203
Fuel type/hydrogen t anks’ fuel capacity ........................ ....... P.483
Tires.......................................................... ........................... P.403
Tire size/inflation pressure ................................... ........ P.403, 487
Winter tires/tire chains ....................................... .................. P.320
Checking/rotation/tire pressur e warning system ..................P.403
Coping with flat tires......................................... .................... P.455
Hood ........................................................... ......................... P.393
Opening ............................................................................... P.393
Fuel cell unit compartment cover ............................... .......... P.396
Coping with overheating ...................................................... P.476
Warning messages ............................................... ............... P.451
Headlights/daytime running lights
*.................................. P.191
Parking lights/dayt ime running lights
*............................. P.191
Turn signal lights ............................................. .................. P.182
Tail lights.................................................... ......................... P.191
Tail lights.................................................... ......................... P.191
Stop lights
License plate lights........................................... ................. P.191
Back-up lights
Changing the shift position to R ............................... ............ P.177
Side marker lights ............................................. ................. P.191
Light bulbs of the exterior lights for driving
(Replacing method: P.429)
Page 17 of 556
17Pictorial index
Owners Manual_USA_M62084_en
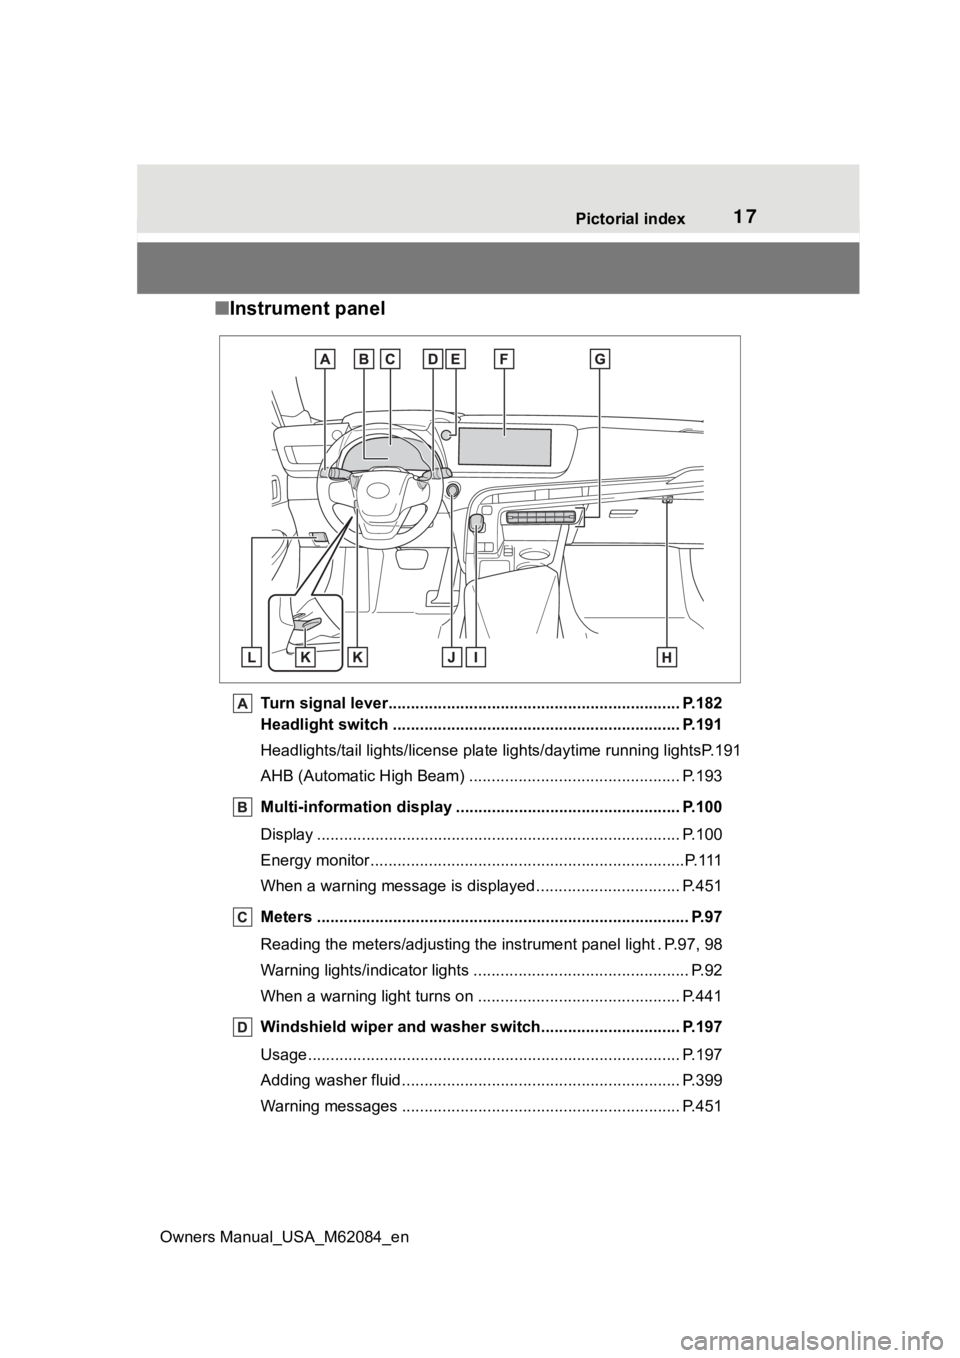
■ Instrument panel
Turn signal lever.............................................. ................... P.182
Headlight switch ............................................... ................. P.191
Headlights/tail lights/license pla te lights/daytime running lightsP.191
AHB (Automatic High Beam) ............................................... P.193
Multi-information display . ................................................. P.100
Display ........................................................ ......................... P.100
Energy monitor................................................. .....................P.111
When a warning message is displayed ............................ .... P.451
Meters ......................................................... .......................... P.97
Reading the meters/adjusting the instrument panel light . P.97, 9 8
Warning lights/indicator lights ................................ ................ P.92
When a warning light turns on .................................. ........... P.441
Windshield wiper and washer switch............................... P.197
Usage................................................................................... P.197
Adding washer fluid .............................................................. P.399
Warning messages ............................................... ............... P.451
Page 94 of 556
943-1. Instrument cluster
Owners Manual_USA_M62084_en
*1: These lights turn on when the power switch is turned to ON to
indicate that a system check is
being performed. They will turn
off after the fuel cell system is
on, or after a few seconds. There
may be a malfunction in a sys-
tem if the light does not come on,
or turn off. Have the vehicle
inspected by your Toyota dealer.
*2: This light illuminates on the multi-information display.
*3: This light illuminates on the multi-informatio n display with a
message.
*4: Intuitive parking assist OFF indi- cator turns on when the power
switch is turned to ON while the
Intuitive parking assist function is
on. It will turn off after a few sec-
onds.
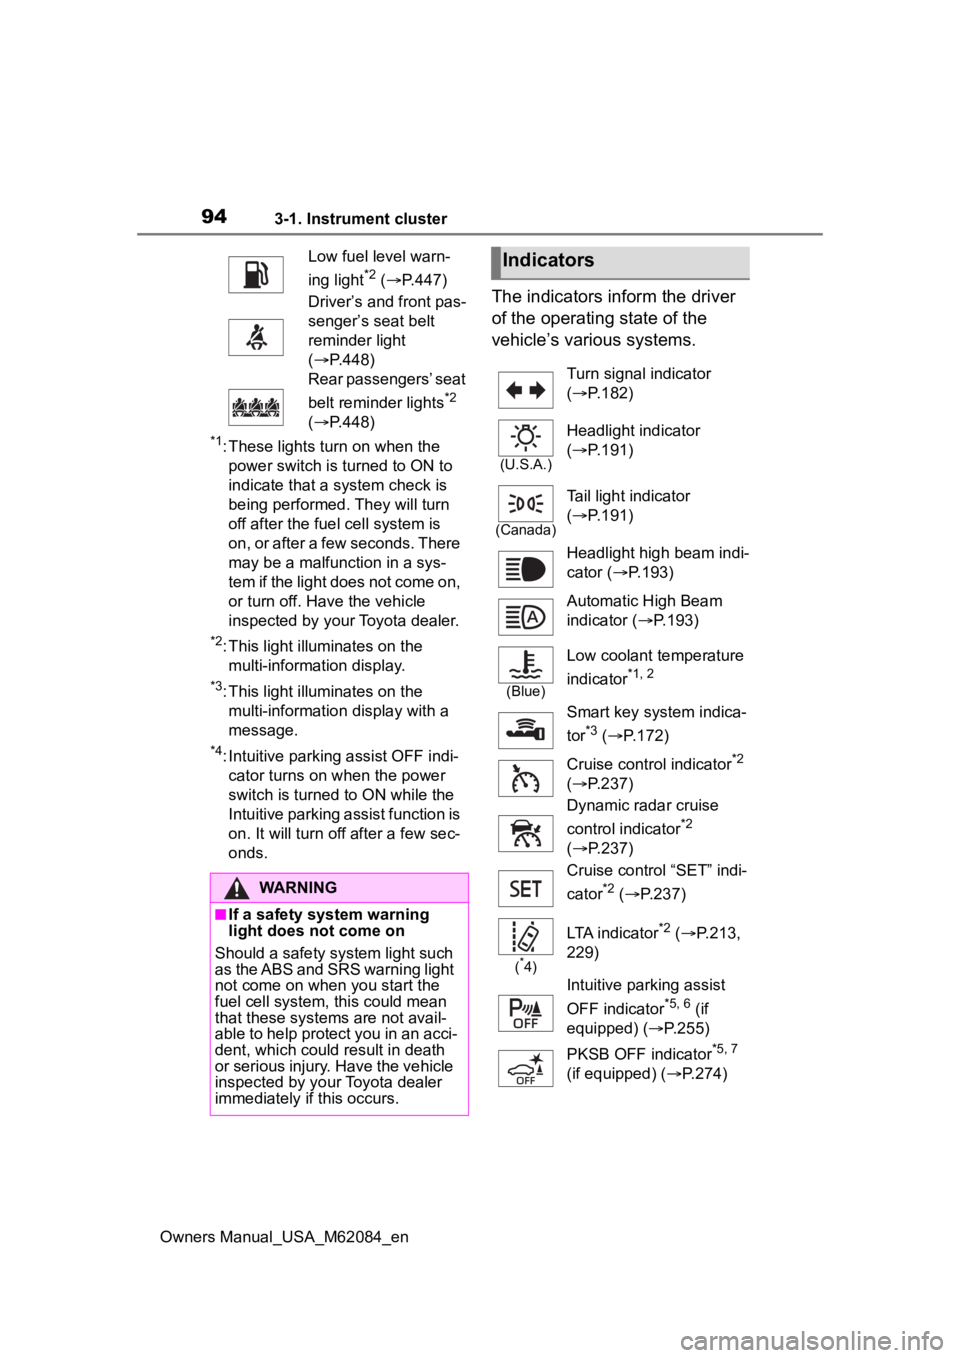
The indicators inform the driver
of the operating state of the
vehicle’s various systems.
Low fuel level warn-
ing light
*2 ( P.447)
Driver’s and front pas-
senger’s seat belt
reminder light
( P.448)
Rear passengers’ seat
belt reminder lights
*2
( P.448)
WARNING
■If a safety system warning
light does not come on
Should a safety system light such
as the ABS and SRS warning light
not come on when you start the
fuel cell system, this could mean
that these systems are not avail-
able to help protect you in an acci-
dent, which could result in death
or serious injury. Have the vehicle
inspected by your Toyota dealer
immediately if this occurs.
Indicators
Turn signal indicator
( P.182)
(U.S.A.)
Headlight indicator
( P.191)
(Canada)
Tail light indicator
( P.191)
Headlight high beam indi-
cator ( P.193)
Automatic High Beam
indicator ( P.193)
(Blue)
Low coolant temperature
indicator
*1, 2
Smart key system indica-
tor
*3 ( P.172)
Cruise control indicator
*2
( P.237)
Dynamic radar cruise
control indicator
*2
( P.237)
Cruise control “SET” indi-
cator
*2 ( P.237)
(*4)
LTA indicator*2 ( P.213,
229)
Intuitive parking assist
OFF indicator
*5, 6 (if
equipped) ( P.255)
PKSB OFF indicator
*5, 7
(if equipped) ( P.274)
Page 133 of 556

1334-2. Opening, closing and locking the doors and trunk
Owners Manual_USA_M62084_en
4
Before driving
doors detecting the electronic key
can be used to unl ock the vehicle.
●Even if the electronic key is not
inside the vehicle, it may be possi-
ble to start the fuel cell system if
the electronic key is near the win-
dow.
●The doors may unlock or lock if a
large amount of water splashes on
the door handle, such as in the
rain or in a car wash, when the
electronic key is within the effec-
tive range. (The doors will auto-
matically be locked after
approximately 60 seconds if the
doors are not opened and closed.)
●If the wireless remote control is
used to lock the doors when the
electronic key is near the vehicle,
there is a possib ility that the door
may not be unlocke d by the entry
function. (Use the wireless remote
control to unloc k the doors.)
●Touching the door lock sensor
while wearing gloves may delay or
prevent lock operation.
●When the lock op eration is per-
formed using the lock sensor, rec-
ognition signals will be shown up
to two consecutive times. After
this, no recogniti on signals will be
given.
●If the door handle becomes wet
while the electronic key is within
the effective ran ge, the door may
lock and unlock repeatedly. In this
case, follow the fo llowing correc-
tion procedures to wash the vehi-
cle:
• Place the electronic key in a loca- tion 6 ft. (2 m) or more away from
the vehicle. (Take care to ensure
that the key is not stolen.)
• Set the electronic key to battery- saving mode to disable the smart
key system. ( P.131)
●If the electronic key is inside the
vehicle and a door handle
becomes wet during a car wash, a
message may be shown on the
multi-informatio n display and a buzzer will sound outside the vehi-
cle. To turn off the alarm, lock all
the doors.
●The lock sensor may not work
properly if it comes into contact
with ice, snow, m
ud, etc. Clean
the lock sensor and attempt to
operate it again.
●A sudden approach to the effec-
tive range or door handle may pre-
vent the doors from being
unlocked. In this case, return the
door handle to the original position
and check that t he doors unlock
before pulling the door handle
again.
●If there is another electronic key in
the detection area, it may take
slightly longer to unlock the doors
after the door handle is gripped.
■When the vehicle is not driven
for extended periods
●To prevent theft of the vehicle, do
not leave the electronic key within
6 ft. (2 m) of the vehicle.
●The smart key system can be
deactivated in advance.
●Setting the electronic key to bat-
tery-saving mode helps to reduce
key battery depletion. ( P.131)
■To operate the system properly
●Make sure to carry the electronic
key when operating the system.
Do not get the electronic key too
close to the vehicle when operat-
ing the system from the outside of
the vehicle.
Depending on the position and hold-
ing condition of the electronic key,
the key may not be detected cor-
rectly and the system may not oper-
ate properly. (The alarm may go off
accidentally, or the door lock pre-
vention function m ay not operate.)
●Do not leave the electronic key
inside the trunk.
The key confinement prevention
function may not operate, depend-
Page 159 of 556
159
Owners Manual_USA_M62084_en
5
5
Driving
Driving
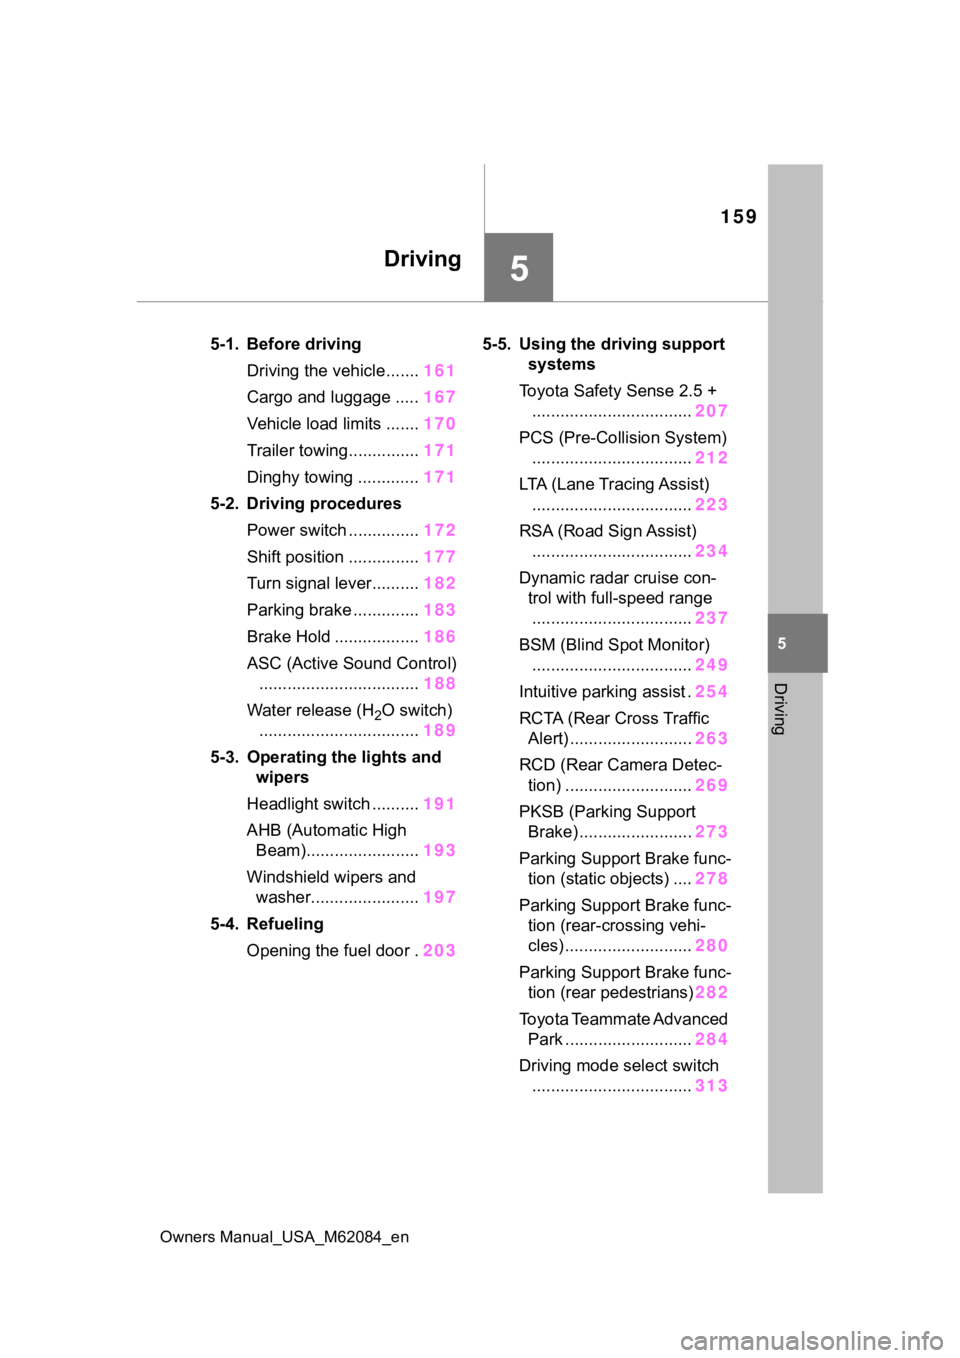
5-1. Before drivingDriving the vehicle....... 161
Cargo and luggage ..... 167
Vehicle load limits ....... 170
Trailer towing............... 171
Dinghy towing ............. 171
5-2. Driving procedures Power switch ............... 172
Shift position ............... 177
Turn signal lever.......... 182
Parking brake .............. 183
Brake Hold .................. 186
ASC (Active Sound Control) .................................. 188
Water release (H
2O switch)
.................................. 189
5-3. Operating the lights and wipers
Headlight switch .......... 191
AHB (Automatic High Beam)........................ 193
Windshield wipers and washer....................... 197
5-4. Refueling Opening the fuel door . 2035-5. Using the dr
iving support
systems
Toyota Safety Sense 2.5 + .................................. 207
PCS (Pre-Collision System) .................................. 212
LTA (Lane Tracing Assist) .................................. 223
RSA (Road Sign Assist) .................................. 234
Dynamic radar cruise con- trol with full-speed range
.................................. 237
BSM (Blind Spot Monitor) .................................. 249
Intuitive parking assist . 254
RCTA (Rear Cross Traffic Alert) .......................... 263
RCD (Rear Camera Detec- tion) ........................... 269
PKSB (Parking Support Brake) ........................ 273
Parking Support Brake func- tion (static objects) .... 278
Parking Support Brake func- tion (rear-crossing vehi-
cles) ........................... 280
Parking Support Brake func- tion (rear pedestrians) 282
Toyota Teammate Advanced Park ........................... 284
Driving mode select switch .................................. 313
Page 182 of 556
1825-2. Driving procedures
Owners Manual_USA_M62084_en
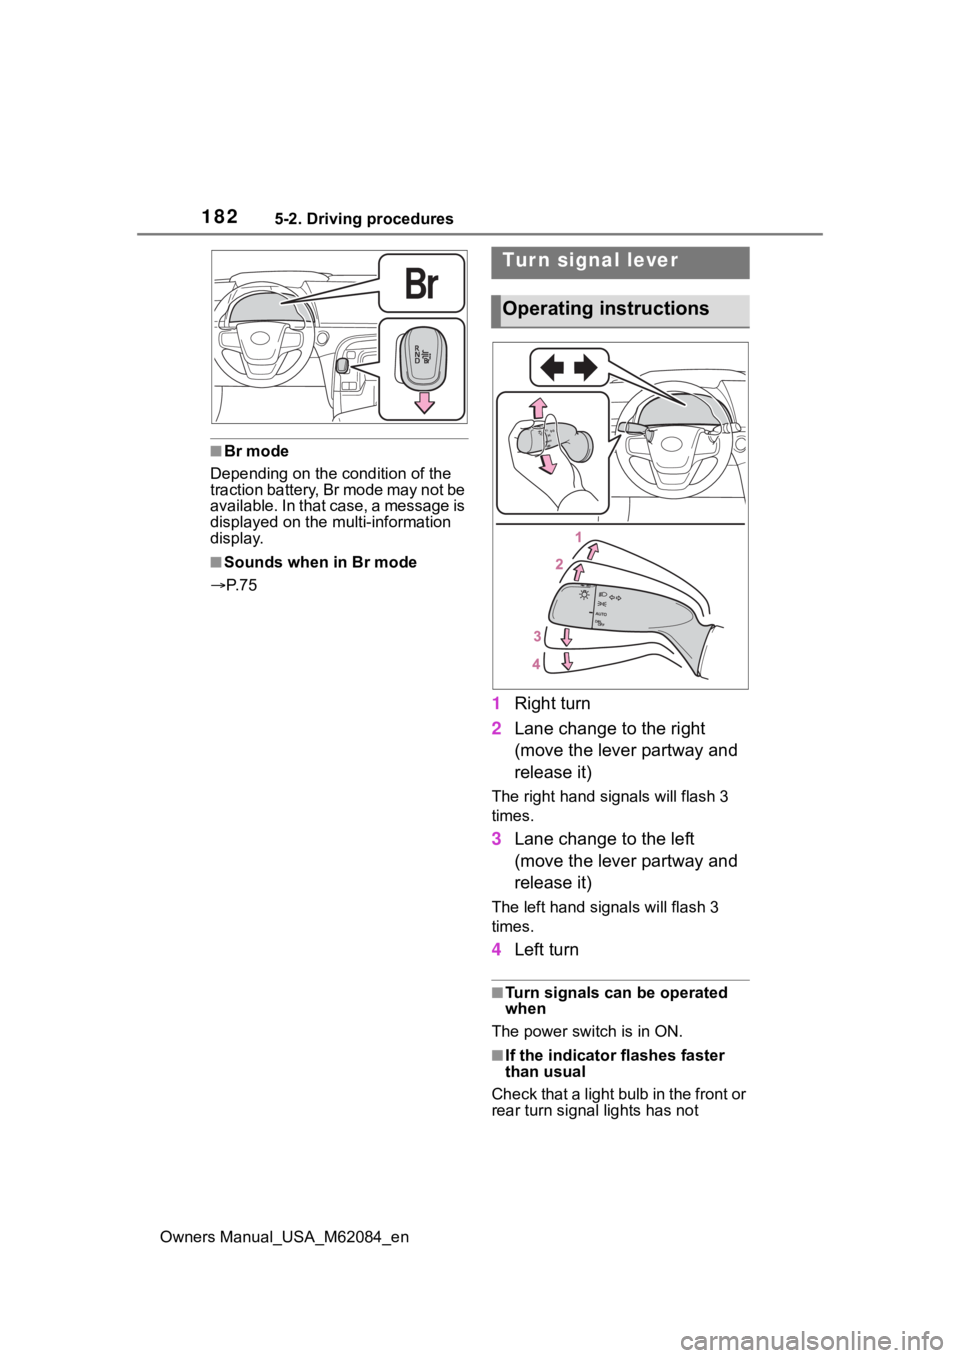
■Br mode
Depending on the condition of the
traction battery, Br mode may not be
available. In that case, a message is
displayed on the multi-information
display.
■Sounds when in Br mode
P. 7 5
1 Right turn
2 Lane change to the right
(move the lever partway and
release it)
The right hand s ignals will flash 3
times.
3 Lane change to the left
(move the lever partway and
release it)
The left hand signals will flash 3
times.
4Left turn
■Turn signals can be operated
when
The power switch is in ON.
■If the indicator flashes faster
than usual
Check that a light bulb in the front or
rear turn signal lights has not
Tur n signal lever
Operating instructions
Page 183 of 556
1835-2. Driving procedures
Owners Manual_USA_M62084_en
5
Driving
burned out.
■If the turn signals stop flashing
before a lane change has been
performed
Operate the lever again.
■Customization
Some functions can be customized.
( P.498)
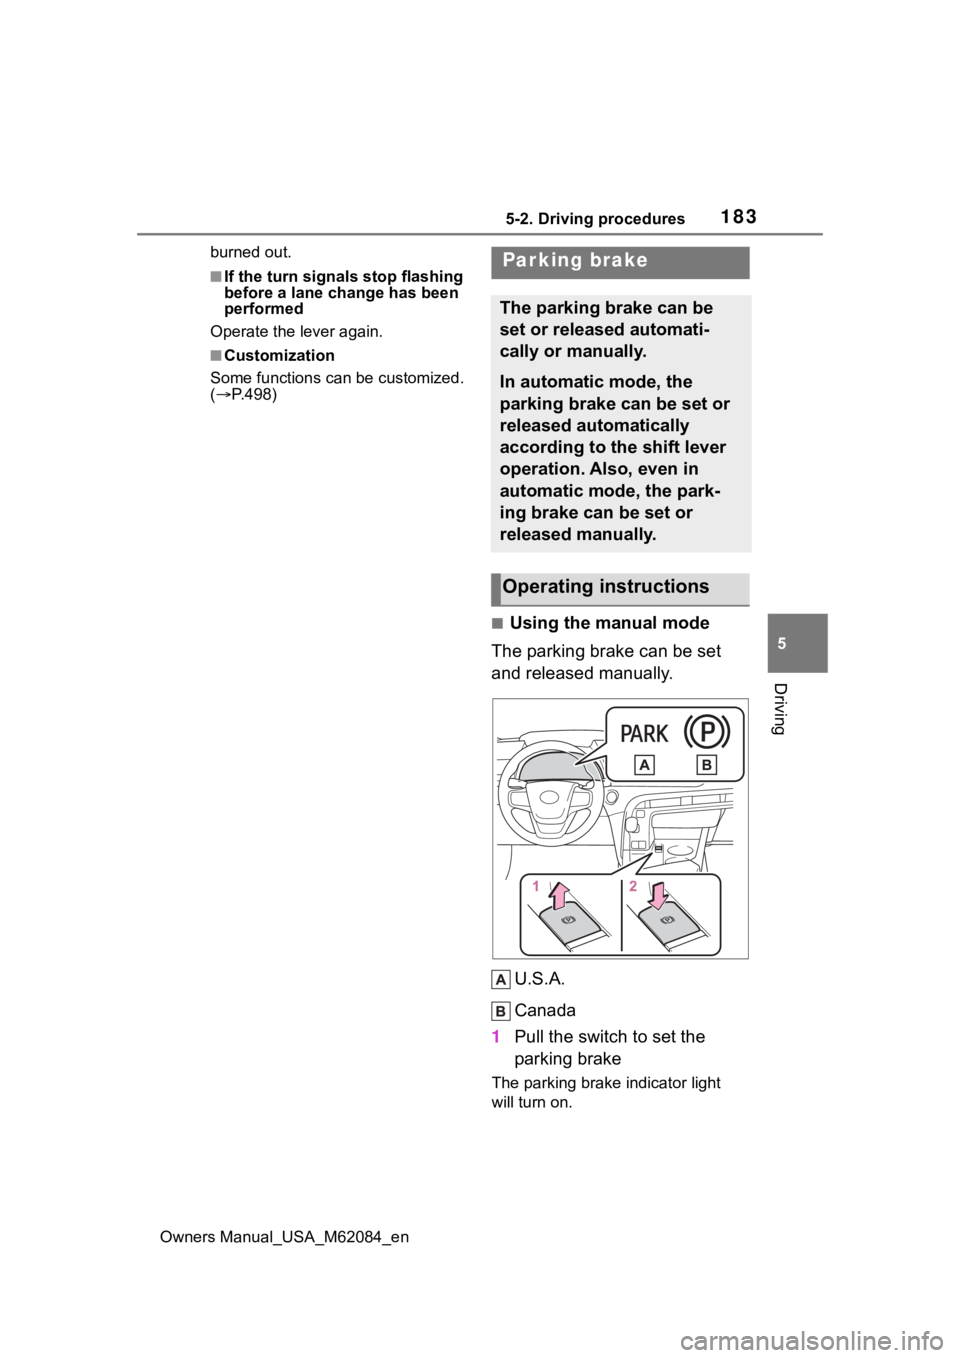
■Using the manual mode
The parking brake can be set
and released manually.
U.S.A.
Canada
1 Pull the switch to set the
parking brake
The parking brake indicator light
will turn on.
Parking brake
The parking brake can be
set or released automati-
cally or manually.
In automatic mode, the
parking brake can be set or
released automatically
according to the shift lever
operation. Also, even in
automatic mode, the park-
ing brake can be set or
released manually.
Operating instructions
Page 194 of 556
1945-3. Operating the lights and wipers
Owners Manual_USA_M62084_en
2Turn the headlight switch to
the or position.
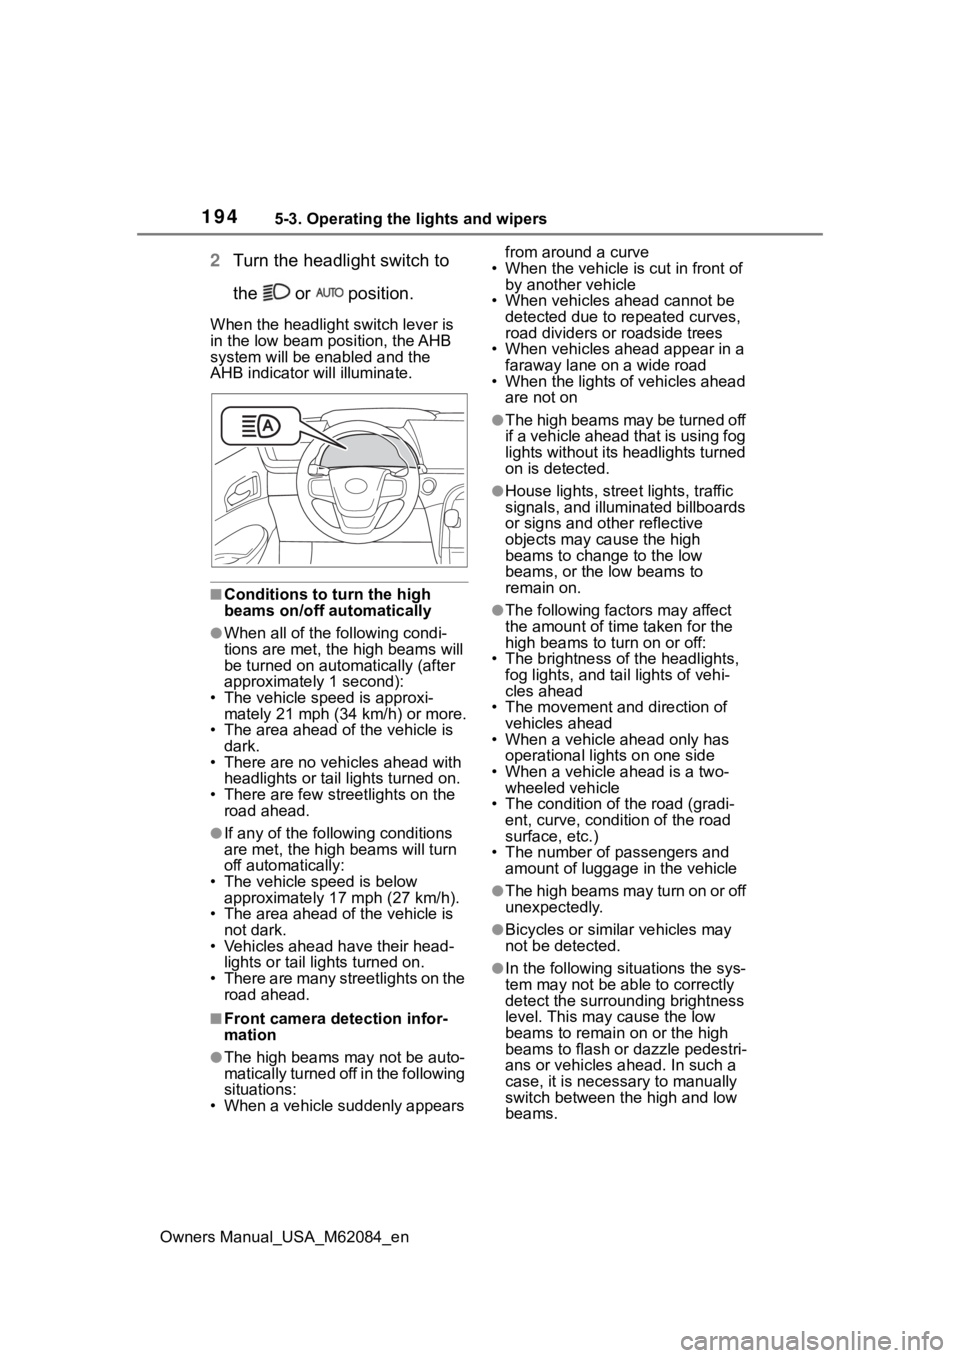
When the headlight switch lever is
in the low beam position, the AHB
system will be enabled and the
AHB indicator will illuminate.
■Conditions to t urn the high
beams on/off automatically
●When all of the following condi-
tions are met, the high beams will
be turned on automatically (after
approximately 1 second):
• The vehicle speed is approxi-
mately 21 mph (34 km/h) or more.
• The area ahead of the vehicle is dark.
• There are no vehicles ahead with headlights or tail lights turned on.
• There are few streetlights on the
road ahead.
●If any of the following conditions
are met, the high beams will turn
off automatically:
• The vehicle speed is below
approximately 17 mph (27 km/h).
• The area ahead of the vehicle is not dark.
• Vehicles ahead have their head- lights or tail lights turned on.
• There are many streetlights on the
road ahead.
■Front camera detection infor-
mation
●The high beams may not be auto-
matically turned off in the following
situations:
• When a vehicle suddenly appears from around a curve
• When the vehicle is cut in front of by another vehicle
• When vehicles ahead cannot be detected due to repeated curves,
road dividers or roadside trees
• When vehicles ahead appear in a faraway lane on a wide road
• When the lights of vehicles ahead
are not on
●The high beams may be turned off
if a vehicle ahead that is using fog
lights without its headlights turned
on is detected.
●House lights, street lights, traffic
signals, and illuminated billboards
or signs and other reflective
objects may cause the high
beams to change to the low
beams, or the low beams to
remain on.
●The following fact ors may affect
the amount of time taken for the
high beams to turn on or off:
• The brightness of the headlights, fog lights, and ta il lights of vehi-
cles ahead
• The movement and direction of vehicles ahead
• When a vehicle ahead only has
operational lights on one side
• When a vehicle ahead is a two- wheeled vehicle
• The condition of the road (gradi- ent, curve, condition of the road
surface, etc.)
• The number of passengers and amount of luggage in the vehicle
●The high beams may turn on or off
unexpectedly.
●Bicycles or similar vehicles may
not be detected.
●In the following situations the sys-
tem may not be able to correctly
detect the surrounding brightness
level. This may cause the low
beams to remain on or the high
beams to flash or dazzle pedestri-
ans or vehicles ahead. In such a
case, it is necessary to manually
switch between the high and low
beams.
Page 214 of 556
2145-5. Using the driving support systems
Owners Manual_USA_M62084_en
WARNING
●Although this system is
designed to help avoid a colli-
sion or help reduce the impact
of the collision, its effectiveness
may change according to vari-
ous conditions, therefore the
system may not always be able
to achieve the same level of
performance.
Read the following conditions
carefully. Do not overly rely on
this system and always drive
carefully.
• Conditions under which the sys- tem may operate even if there is
no possibility of a collision:
P. 2 1 9
• Conditions under which the sys- tem may not operate properly:
P. 2 2 0
●Do not attempt to test the oper-
ation of the pre-collision system
yourself.
Depending on the objects used
for testing (dummies, card-
board objects imitating detect-
able objects, etc.), the system
may not operate properly, possi-
bly leading to an accident.
■Pre-collision braking
●When the pre-collision braking
function is operating, a large
amount of braking force will be
applied.
●If the vehicle is stopped by the
operation of the pre-collision
braking function, the pre-colli-
sion braking function operation
will be canceled after approxi-
mately 2 second s. Depress the
brake pedal as necessary.
●The pre-collision braking func-
tion may not operate if certain
operations are performed by the
driver. If the accelerator pedal is
being depressed strongly or the
steering wheel is being turned,
the system may determine that
the driver is taking evasive
action and possibly prevent the
pre-collision braking function
from operating.
●In some situations, while the
pre-collision brak ing function is
operating, operation of the func-
tion may be canceled if the
accelerator pedal is depressed
strongly or the steering wheel is
turned and the system deter-
mines that the driver is taking
evasive action.
●If the brake pedal is being
depressed, the system may
determine that t he driver is tak-
ing evasive action and possibly
delay the operation timing of the
pre-collision braking function.
■Emergency steering assist
●As emergency steering assist
operation will be canceled when
the system determines that lane
departure prevention function
has been completed.
●Emergency steering assist may
not operate or may be cancel in
the following cases as the sys-
tem may determine the driver is
taking actions.
• If the accelerator pedal is being depressed strongly, the steering
wheel is being operated sharply,
the brake pedal is being
depressed or the turn signal
lever is being operated. In this
case, the syst em may deter-
mine that the driver is taking
evasive action and the emer-
gency steering assist may not
operate.