air condition TOYOTA PRIUS PRIME 2023 Repair Manual
[x] Cancel search | Manufacturer: TOYOTA, Model Year: 2023, Model line: PRIUS PRIME, Model: TOYOTA PRIUS PRIME 2023Pages: 680, PDF Size: 14.97 MB
Page 554 of 680
5548-2. Steps to take in an emergency
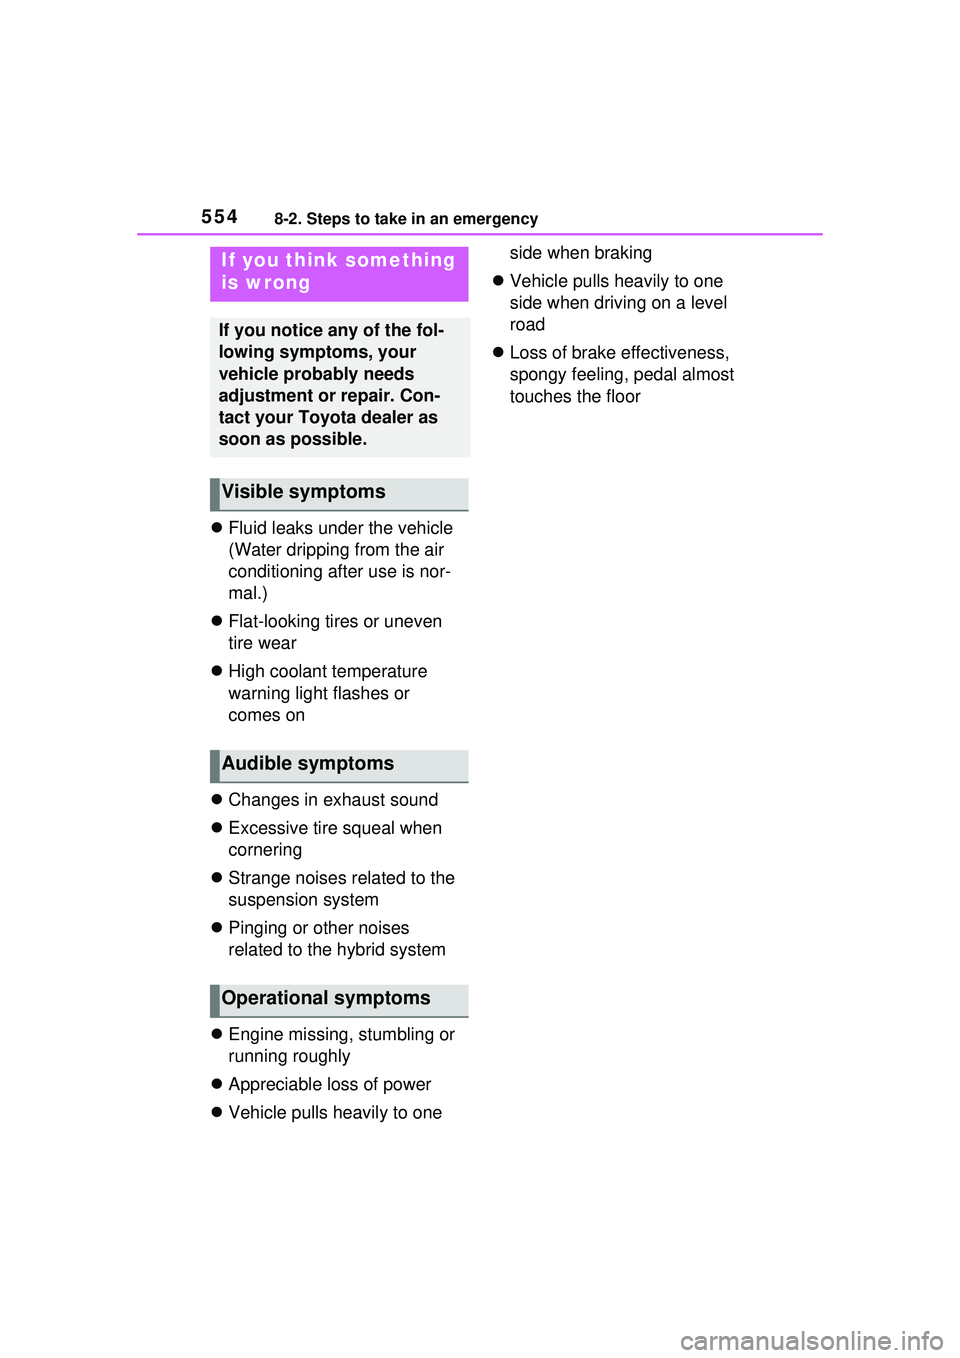
Fluid leaks under the vehicle
(Water dripping from the air
conditioning after use is nor-
mal.)
Flat-looking tires or uneven
tire wear
High coolant temperature
warning light flashes or
comes on
Changes in exhaust sound
Excessive tire squeal when
cornering
Strange noises related to the
suspension system
Pinging or other noises
related to the hybrid system
Engine missing, stumbling or
running roughly
Appreciable loss of power
Vehicle pulls heavily to one side when braking
Vehicle pulls heavily to one
side when driving on a level
road
Loss of brake effectiveness,
spongy feeling, pedal almost
touches the floor
If you think something
is wrong
If you notice any of the fol-
lowing symptoms, your
vehicle probably needs
adjustment or repair. Con-
tact your Toyota dealer as
soon as possible.
Visible symptoms
Audible symptoms
Operational symptoms
Page 563 of 680
5638-2. Steps to take in an emergency
8
When trouble arises
passenger that his or her seat belt is not fastened. If the seat belt is
unfastened, the buzzer sounds intermitte ntly for a certain period of time,
after the seat belt is fastened and unfastened and the vehicle reaches a
certain speed.
■Warning buzzer
In some cases, the buzzer may not
be heard because of noisy place or
an audio sound.
■Front passenger detection sen-
sor, seat belt reminder and
warning buzzer
●If luggage is placed on the front
passenger seat, the front passen-
ger detection sensor may cause
the warning light to flash and the
warning buzzer to sound even if a
passenger is not sitting in the
seat.
●If a cushion is placed on the seat,
the sensor may not detect a pas-
senger, and the warning light may
not operate properly.
■If the malfunction indicator
lamp comes on while driving
First check the following:
●Is the fuel tank empty?
If it is, fill the fu el tank immediately.
●Is the fuel tank cap loose?
If it is, tighten it securely.
The light will go off after several
driving trips.
If the light does not go off even after
several trips, contact your Toyota
dealer as soon as possible.
■Electric power steering system
warning light (warning buzzer)
When the 12-volt battery charge
becomes insufficient or the voltage
temporarily drops, the electric power
steering system warning light may
come on and the warning buzzer
may sound.
At this time, the functions of the air
conditioning, etc. may be partially
limited in order to reduce the power consumption of the 12-volt battery.
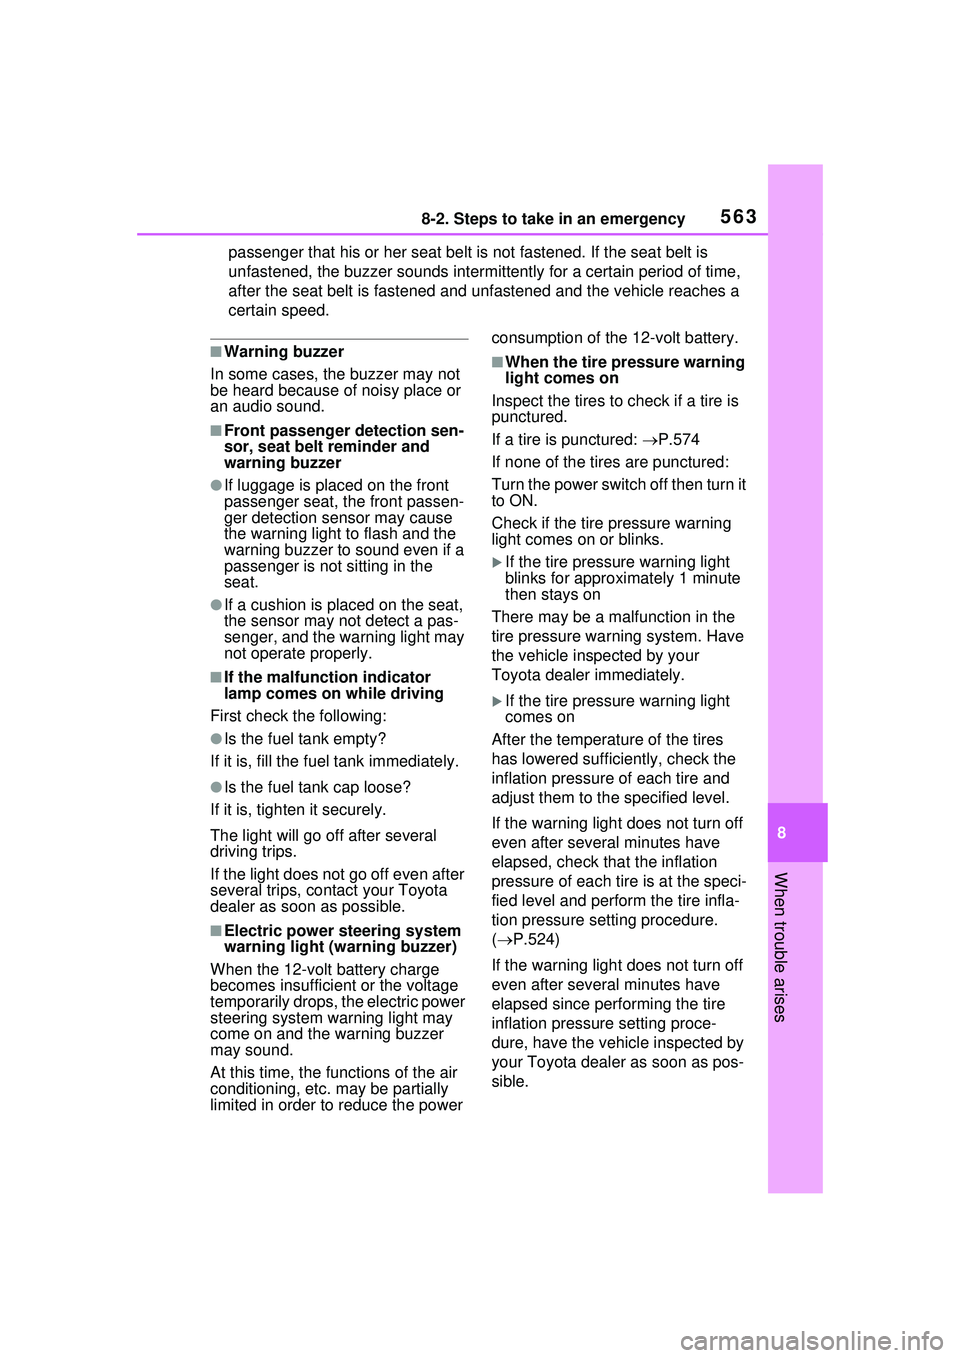
■When the tire pressure warning
light comes on
Inspect the tires to check if a tire is
punctured.
If a tire is punctured: P.574
If none of the tires are punctured:
Turn the power switch off then turn it
to ON.
Check if the tire pressure warning
light comes on or blinks.
If the tire pressure warning light
blinks for approximately 1 minute
then stays on
There may be a malfunction in the
tire pressure wa rning system. Have
the vehicle inspected by your
Toyota dealer immediately.
If the tire pressure warning light
comes on
After the temperature of the tires
has lowered sufficiently, check the
inflation pressure of each tire and
adjust them to th e specified level.
If the warning light does not turn off
even after several minutes have
elapsed, check that the inflation
pressure of each tire is at the speci-
fied level and perform the tire infla-
tion pressure setting procedure.
( P.524)
If the warning light does not turn off
even after several minutes have
elapsed since performing the tire
inflation pressure setting proce-
dure, have the vehicle inspected by
your Toyota dealer as soon as pos-
sible.
Page 564 of 680
5648-2. Steps to take in an emergency
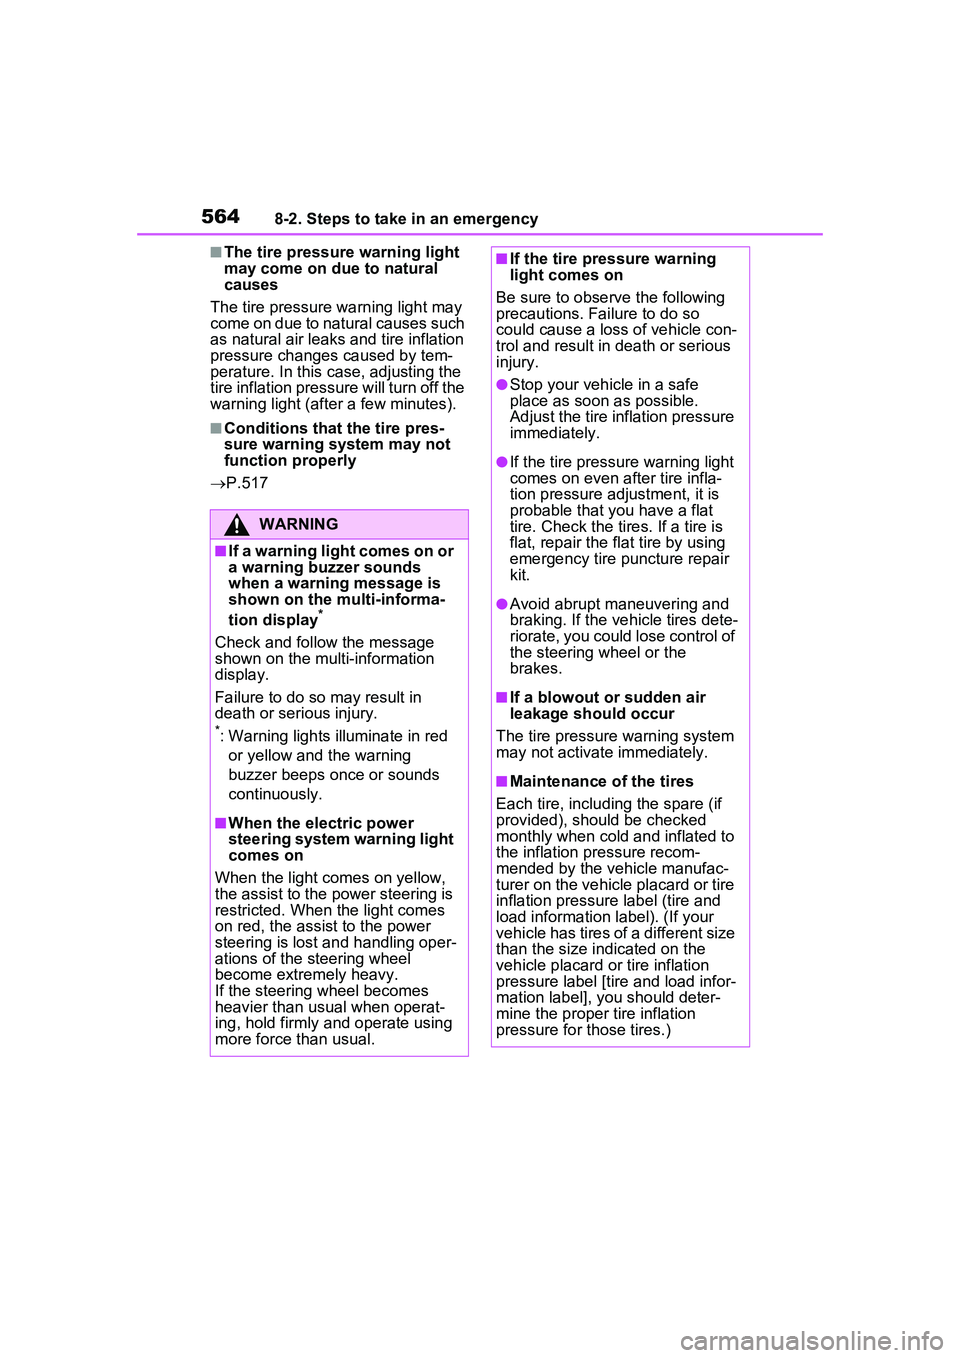
■The tire pressure warning light
may come on due to natural
causes
The tire pressure warning light may
come on due to natural causes such
as natural air leaks and tire inflation
pressure changes caused by tem-
perature. In this case, adjusting the
tire inflation pressure will turn off the
warning light (after a few minutes).
■Conditions that the tire pres-
sure warning system may not
function properly
P.517
WARNING
■If a warning light comes on or
a warning buzzer sounds
when a warning message is
shown on the multi-informa-
tion display
*
Check and follow the message
shown on the multi-information
display.
Failure to do so may result in
death or serious injury.
*: Warning lights illuminate in red
or yellow and the warning
buzzer beeps once or sounds
continuously.
■When the electric power
steering system warning light
comes on
When the light comes on yellow,
the assist to the power steering is
restricted. When the light comes
on red, the assist to the power
steering is lost and handling oper-
ations of the steering wheel
become extremely heavy.
If the steering wheel becomes
heavier than usual when operat-
ing, hold firmly and operate using
more force than usual.
■If the tire pressure warning
light comes on
Be sure to observe the following
precautions. Failure to do so
could cause a loss of vehicle con-
trol and result in death or serious
injury.
●Stop your vehicle in a safe
place as soon as possible.
Adjust the tire inflation pressure
immediately.
●If the tire pressure warning light
comes on even after tire infla-
tion pressure adjustment, it is
probable that you have a flat
tire. Check the tires. If a tire is
flat, repair the flat tire by using
emergency tire puncture repair
kit.
●Avoid abrupt maneuvering and
braking. If the vehicle tires dete-
riorate, you could lose control of
the steering wheel or the
brakes.
■If a blowout or sudden air
leakage should occur
The tire pressure warning system
may not activate immediately.
■Maintenance of the tires
Each tire, includ ing the spare (if
provided), should be checked
monthly when cold and inflated to
the inflation pressure recom-
mended by the vehicle manufac-
turer on the vehicle placard or tire
inflation pressure label (tire and
load information label). (If your
vehicle has tires of a different size
than the size indicated on the
vehicle placard or tire inflation
pressure label [tire and load infor-
mation label], you should deter-
mine the proper tire inflation
pressure for those tires.)
Page 568 of 680

5688-2. Steps to take in an emergency
To prevent the shift lever from being
operated incorrectly or the vehicle
from moving unexpectedly, a mes-
sage that requires shifting the shift
position may be displayed on the
multi-information display.
In that case, follow the instruction of
the message and shift the shift posi-
tion.
●If a message or image about an
open/close state of a part or
replenishment of a consumable is
shown
Confirm the part indicated by the
multi-information di splay or a warn-
ing light, and then perform the cop-
ing method such as closing the
open door or replenishing a con-
sumable.
■If a message that indicates the
need for visiting your Toyota
dealer is displayed
The system or part shown on the
multi-information di splay is malfunc-
tioning. Have the vehicle inspected
by your Toyota dealer immediately.
■If a message that indicates the
need for referring to Owner’s
Manual is displayed
●If “Engine Coolant Temp High” is
shown, follow the instructions,
accordingly. ( P.594)
●If the following messages are
shown, there may be a malfunc-
tion. Immediately have the vehi-
cle inspected by your Toyota
dealer.
• “Plug-in Charging System Mal-
function”
• “Hybrid System Malfunction”
• “Check Engine”
• “Traction battery system malfunc- tion”
• “Accelerator System Malfunction”
• “Smart Key System malfunction”
• “Shift System Malfunction Apply Parking Brake Se curely When
Parking See Owner’s Manual” • “P Switch Malfunction Apply Park-
ing Brake Securely When Parking
See Owner’s Manual”
• “Shift System Unavailable Apply Parking Brake Securely When
Parking See Owner’s Manual”
• “Shift System Malfunction See Owner’s Manual”
• “Shift System Malfunction Stop in
a Safe Place See Owner’s Man-
ual”
• “Battery Low Shifting Unavailable
See Owner’s Manual”
●If the following messages are
shown, there may be a malfunc-
tion. Immediately stop the vehicle
in a safe place and contact your
Toyota dealer. Continuing to drive
the vehicle may be dangerous.
• “Oil pressure low”
• “Braking Power Low”
●If any of the following messages
are shown on the multi-informa-
tion display, the vehicle may have
run out of fuel. Stop the vehicle in
a safe place and, if the fuel level is
low, refuel the vehicle.
• “Hybrid system stopped”
• “Engine stopped No Fuel”
●If “12-Volt Battery Charging Sys-
tem Malfunction Stop in a Safe
Place See Owner’s Manual” is
shown
Indicates a malfunction in the vehi-
cle’s charging system. Pull over and
stop the vehicle as soon as it is safe
to do so.
While the message is displayed, the
functions of the air conditioning, etc.
may be partially lim ited in order to
reduce the power consumption of
the 12-volt battery.
■If “Traction battery needs to be
protected. Refrain from the use
of N position.” is shown
This message may be displayed
when the shift position is in N.
As the hybrid battery (traction bat-
tery) can not be charged when the
Page 570 of 680
5708-2. Steps to take in an emergency
●Intuitive Parking Assist
● PKSB (Parking Support
Brake) (if equipped)
● RCD (Rear Camera Detec-
tion) (if equipped)
Have the vehicle inspected by your
Toyota dealer immediately.
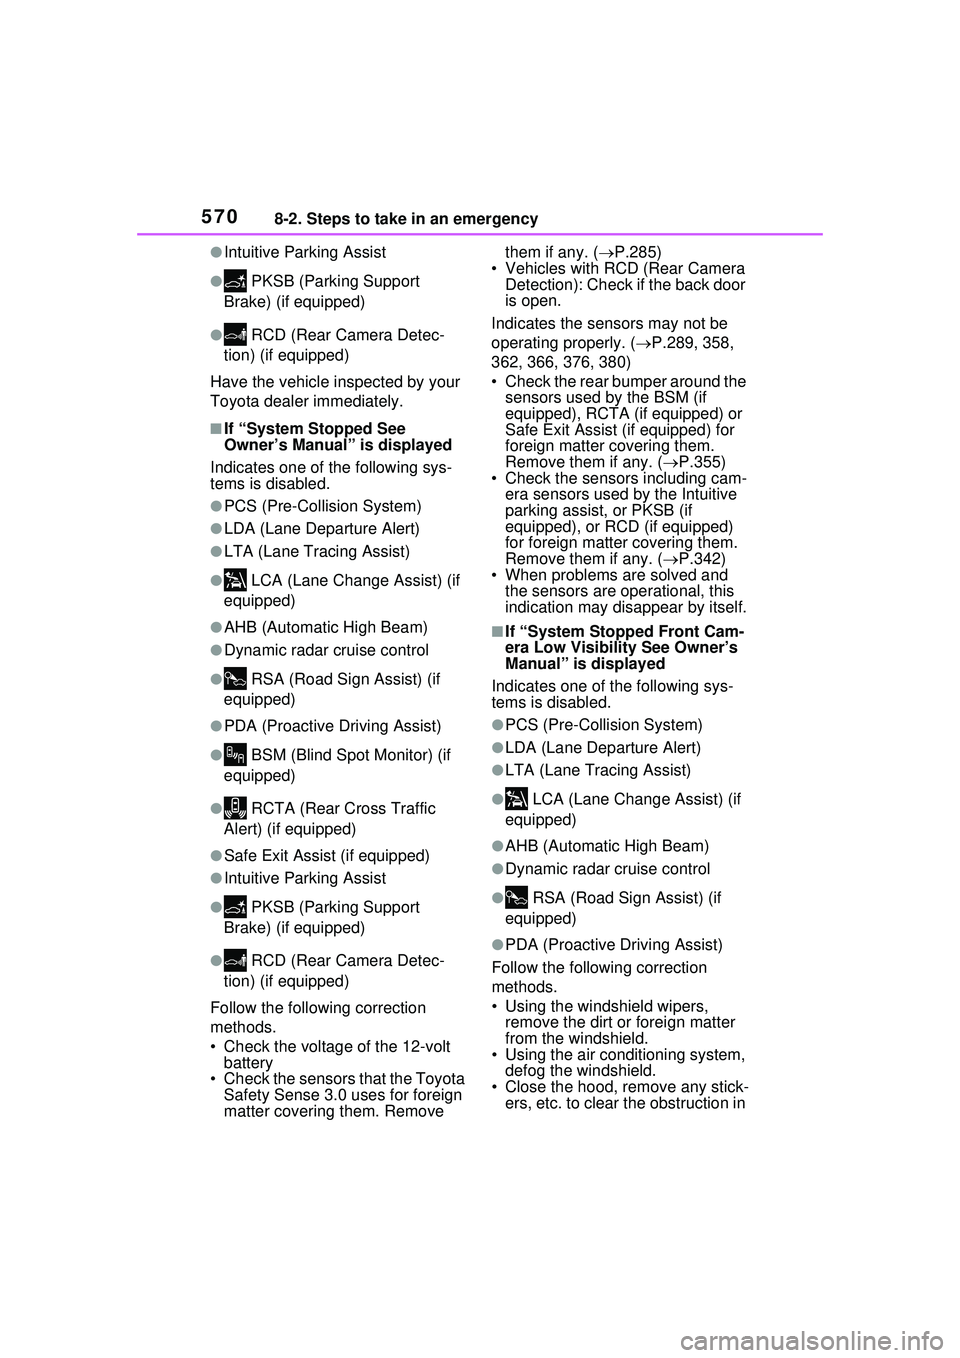
■If “System Stopped See
Owner’s Manual” is displayed
Indicates one of the following sys-
tems is disabled.
●PCS (Pre-Collision System)
●LDA (Lane Departure Alert)
●LTA (Lane Tracing Assist)
● LCA (Lane Change Assist) (if
equipped)
●AHB (Automatic High Beam)
●Dynamic radar cruise control
● RSA (Road Sign Assist) (if
equipped)
●PDA (Proactive Driving Assist)
● BSM (Blind Spot Monitor) (if
equipped)
● RCTA (Rear Cross Traffic
Alert) (if equipped)
●Safe Exit Assist (if equipped)
●Intuitive Parking Assist
● PKSB (Parking Support
Brake) (if equipped)
● RCD (Rear Camera Detec-
tion) (if equipped)
Follow the following correction
methods.
• Check the voltage of the 12-volt battery
• Check the sensors that the Toyota Safety Sense 3.0 uses for foreign
matter covering them. Remove them if any. (
P.285)
• Vehicles with RCD (Rear Camera Detection): Check if the back door
is open.
Indicates the sensors may not be
operating properly. ( P.289, 358,
362, 366, 376, 380)
• Check the rear bumper around the sensors used by the BSM (if
equipped), RCTA (if equipped) or
Safe Exit Assist (if equipped) for
foreign matter co vering them.
Remove them if any. ( P.355)
• Check the sensors including cam-
era sensors used by the Intuitive
parking assist, or PKSB (if
equipped), or RCD (if equipped)
for foreign matter covering them.
Remove them if any. ( P.342)
• When problems are solved and
the sensors are operational, this
indication may disappear by itself.
■If “System Stopped Front Cam-
era Low Visibility See Owner’s
Manual” is displayed
Indicates one of the following sys-
tems is disabled.
●PCS (Pre-Collision System)
●LDA (Lane Departure Alert)
●LTA (Lane Tracing Assist)
● LCA (Lane Change Assist) (if
equipped)
●AHB (Automatic High Beam)
●Dynamic radar cruise control
● RSA (Road Sign Assist) (if
equipped)
●PDA (Proactive Driving Assist)
Follow the following correction
methods.
• Using the windshield wipers, remove the dirt or foreign matter
from the windshield.
• Using the air conditioning system,
defog the windshield.
• Close the hood, remove any stick- ers, etc. to clear the obstruction in
Page 571 of 680
5718-2. Steps to take in an emergency
8
When trouble arises
front of the front camera.
■If “System Stopped Front Cam-
era Out of Temperature Range
Wait until Normal Tempera-
ture” is displayed
Indicates one of the following sys-
tems is disabled.
●PCS (Pre-Collision System)
●LDA (Lane Departure Alert)
●LTA (Lane Tracing Assist)
● LCA (Lane Change Assist) (if
equipped)
●AHB (Automatic High Beam)
●Dynamic radar cruise control
● RSA (Road Sign Assist) (if
equipped)
●PDA (Proactive Driving Assist)
Follow the following correction
methods.
• If the front camera is hot, such as
after the vehicle is parked in the
sun, use the air conditioning sys-
tem to decrease the temperature
around the front camera
• If a sunshade was used when the vehicle was parked, depending on
its type, the sunlight reflected from
the surface of the sunshade may
cause the temperature of the front
camera to become excessively
high
• If the front camera is cold, such
after the vehicle is parked in an
extremely cold environment, use
the air conditioning system to
increase the temperature around
the front camera
■If “System Stopped Front Radar
Sensor Blocked Clean Radar
Sensor” is displayed
Indicates one of the following sys-
tems is disabled.
●PCS (Pre-Collision System)
●LDA (Lane Departure Alert)
●LTA (Lane Tracing Assist)
● LCA (Lane Change Assist) (if
equipped)
●AHB (Automatic High Beam)
●Dynamic radar cruise control
●PDA (Proactive Driving Assist)
Follow the following correction
methods.
• Check if there is any foreign mat- ter attached to the radar sensor or
radar sensor cover and clean
them if necessary ( P.286)
• This message may be displayed when driving in an open area with
few nearby vehicles or structures,
such as a desert, grasslands, sub-
urbs, etc.
The message may be cleared by
driving the vehicle in an area with
structures, vehicles, etc. nearby.
■If “System Stopped Front Radar
Sensor Out of Temperature
Range Wait until Normal Tem-
perature” is displayed
Indicates one of the following sys-
tems is disabled.
●PCS (Pre-Collision System)
●LDA (Lane Departure Alert)
●LTA (Lane Tracing Assist)
● LCA (Lane Change Assist) (if
equipped)
●AHB (Automatic High Beam)
●Dynamic radar cruise control
●PDA (Proactive Driving Assist)
The temperature of the radar sensor
is outside of the operating range.
Wait for the temperature to become
appropriate.
■If “System Stopped Front Radar
In Self Calibration See Owner’s
Manual” is displayed
Indicates one of the following sys-
tems is disabled.
●PCS (Pre-Collision System)
Page 574 of 680
5748-2. Steps to take in an emergency
Stop the vehicle in a safe
place on a hard, flat surface.
Set the parking brake.
Shift the shift lever to P.
Stop the hybrid system.
Turn on the emergency flash-
ers. ( P.546)
For vehicles with power back
door: Turn off the power back
door system. ( P.195)
Check the degree of the tire
damage.
A tire should only be repaired
with the emergency tire punc-
ture repair kit if the damage is
caused by a nail or screw pass-
ing through the tire tread.
• Do not remove the nail or screw from the tire. Removing
the object may widen the
opening and prevent emer-
gency repair with the repair
kit.
• To avoid sealant leakage, move the vehicle until the
area of the puncture, if
known, is positioned at the
top of the tire.
If you have a flat tire
Your vehicle is not
equipped with a spare tire,
but instead is equipped with
an emergency tire puncture
repair kit.
A puncture caused by a nail
or screw passing through
the tire tread can be
repaired temporarily using
the emergency tire puncture
repair kit. (The kit contains a
bottle of sealant. The seal-
ant can be used only once
to temporarily repair one
tire without removing the
nail or screw from the tire.)
Depending on the damage
condition of the flat tire, it
may not be able to repaired
with the emergency tire
puncture repair kit.
( P.575)
After temporarily repairing
the tire with the kit, have the
tire repaired or replaced by
your Toyota dealer.
WARNING
■If you have a flat tire
Do not continue driving with a flat
tire.
Driving even a short distance with
a flat tire can damage the tire and
the wheel beyond repair, which
could result in an accident.
Driving with a flat tire may cause a
circumferential groove on the side
wall.
In such a case, the tire may
explode when using a repair kit.
Before repairing the vehi-
cle
Page 583 of 680
5838-2. Steps to take in an emergency
8
When trouble arises
WARNING
●The repair kit may overheat if
operated for a long period of
time. Do not operate the repair
kit continuously for more than
40 minutes.
●Parts of the repair kit become
hot during operation. Be careful
handling the repair kit during
and after operation. Do not
touch the metal part connecting
the bottle and the compressor. It
will be extremely hot.
●Do not attach the vehicle speed
warning sticker to an area other
than the one indicated. If the
sticker is attached to an area
where an SRS airbag is located,
such as the pad of the steering
wheel, it may prevent the SRS
airbag from operating properly.
■Driving to spread the liquid
sealant evenly
Observe the following precautions
to reduce the risk of accidents.
Failing to do so may result in a
loss of vehicle control and cause
death or serious injury.
●Drive the vehicle carefully at a
low speed. Be especially careful
when turning and cornering.
●If the vehicle does not drive
straight or you feel a pull
through the steering wheel, stop
the vehicle and check the fol-
lowing.
• Tire condition. The tire may have separated from the wheel.
• Tire inflation pressure. If the tire inflation pressure is 19 psi (130
kPa, 1.3 kgf/cm
2 or bar) or less,
the tire may be severely dam-
aged.
NOTICE
■When performing an emer-
gency repair
●A tire should only be repaired
with the emergency tire punc-
ture repair kit if the damage is
caused by a sharp object such
as nail or screw passing through
the tire tread.
Do not remove the sharp object
from the tire. Removing the
object may widen the opening
and disenable emergency repair
with the repair kit.
●The repair kit is not waterproof.
Make sure that the repair kit is
not exposed to water, such as
when it is being used in the rain.
●Do not put the repair kit directly
onto dusty ground such as sand
at the side of the road. If the
repair kit vacuums up dust etc.,
a malfunction may occur.
●Make sure to stand the kit with
the bottle vertical. The kit can-
not work properly if it is laid on
its side.
■Precautions for the emer-
gency tire puncture repair kit
●The repair kit power source
should be 12 V DC suitable for
vehicle use. Do not connect the
repair kit to any other source.
●If fuel splatters on the repair kit,
the repair kit may deteriorate.
Take care not to allow fuel to
contact it.
●Place the repair kit in a storage
to prevent it from being exposed
to dirt or water.
●Store the repair kit in the lug-
gage compartment out of reach
of children.
Page 595 of 680
5958-2. Steps to take in an emergency
8
When trouble arises
5Add coolant if necessary.
Water can be used in an emer-
gency if engine coolant is unavail-
able.
If water was added in an emer-
gency, have the vehicle inspected
at your Toyota dealer as soon as
possible.
6Start the hybrid system and
turn the air conditioning sys-
tem on to check that the radi-
ator cooling fan operates and
to check for coolant leaks
from the radiator or hoses.
The fan operates when the air con-
ditioning system is turned on imme-
diately after a cold start. Confirm
that the fan is operating by check-
ing the fan sound and air flow. If it is
difficult to check these, turn the air
conditioning system on and off
repeatedly. (The fan may not oper-
ate in freezing temperatures.)
7If the fan is not operating:
Stop the hybrid system
immediately and contact your
Toyota dealer.
If the fan is operating:
Have the vehicle inspected at
the nearest Toyota dealer.
8 Check if “Engine Coolant
Temp High Stop in a Safe
Place See Owner’s Manual” is shown on the multi-infor-
mation display.
If the message does not disappear:
Stop the hybrid system and contact
your Toyota dealer.
If the message is not displayed:
Have the vehicle inspected at the
nearest Toyota dealer.
■If “Hybrid System Over-
heated Output Power
Reduced” is shown on the
multi-information display
1 Stop the vehicle in a safe
place.
2 Stop the hybrid system and
carefully lift the hood.
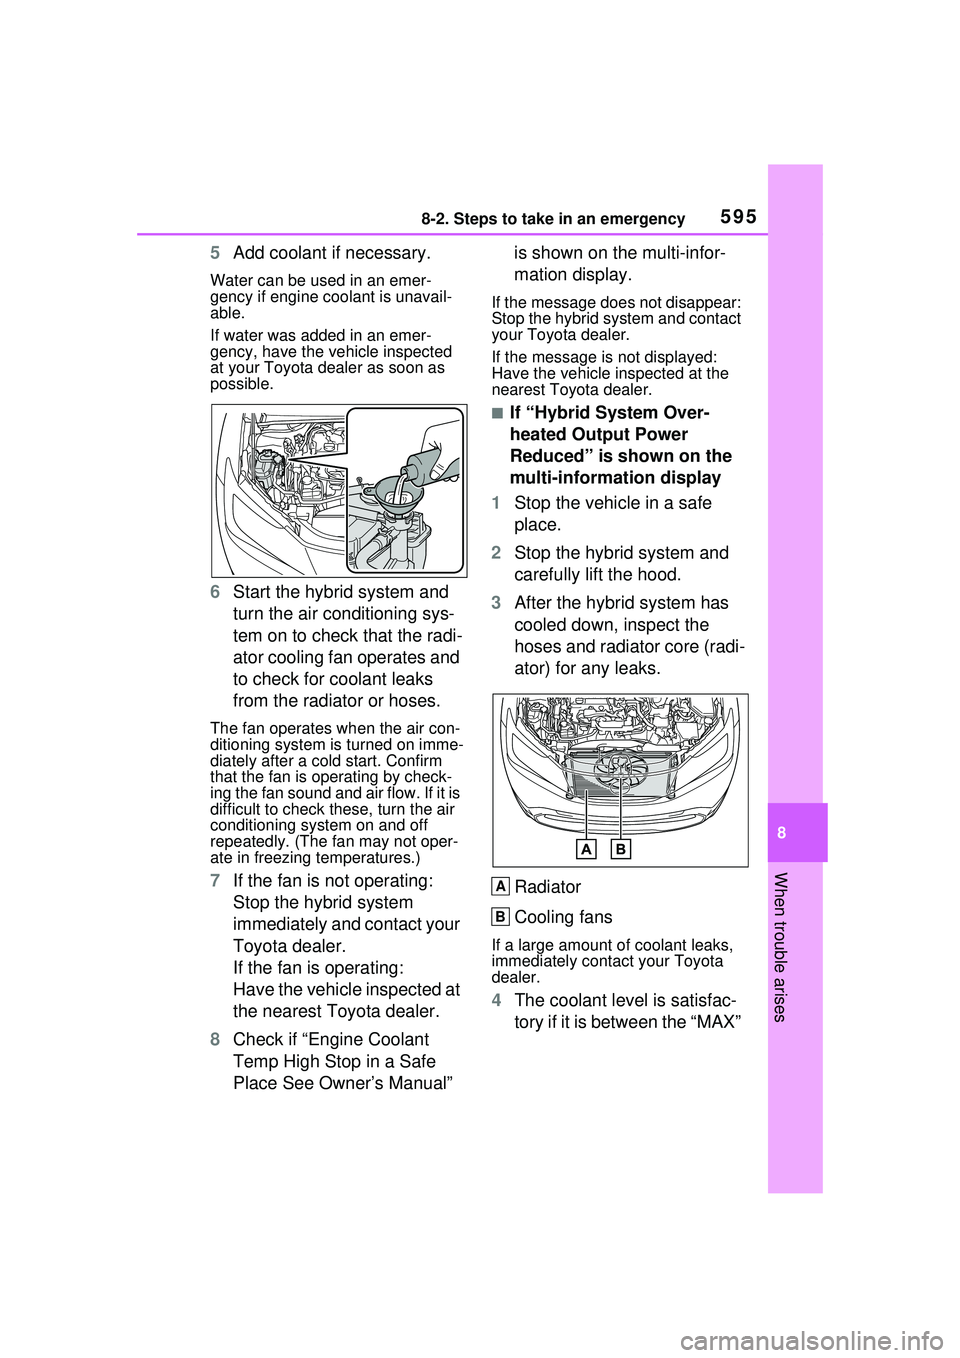
3 After the hybrid system has
cooled down, inspect the
hoses and radiator core (radi-
ator) for any leaks.
Radiator
Cooling fans
If a large amount of coolant leaks,
immediately contact your Toyota
dealer.
4The coolant level is satisfac-
tory if it is between the “MAX”
A
B
Page 613 of 680
6139-1. Specifications
9
Vehicle specifications
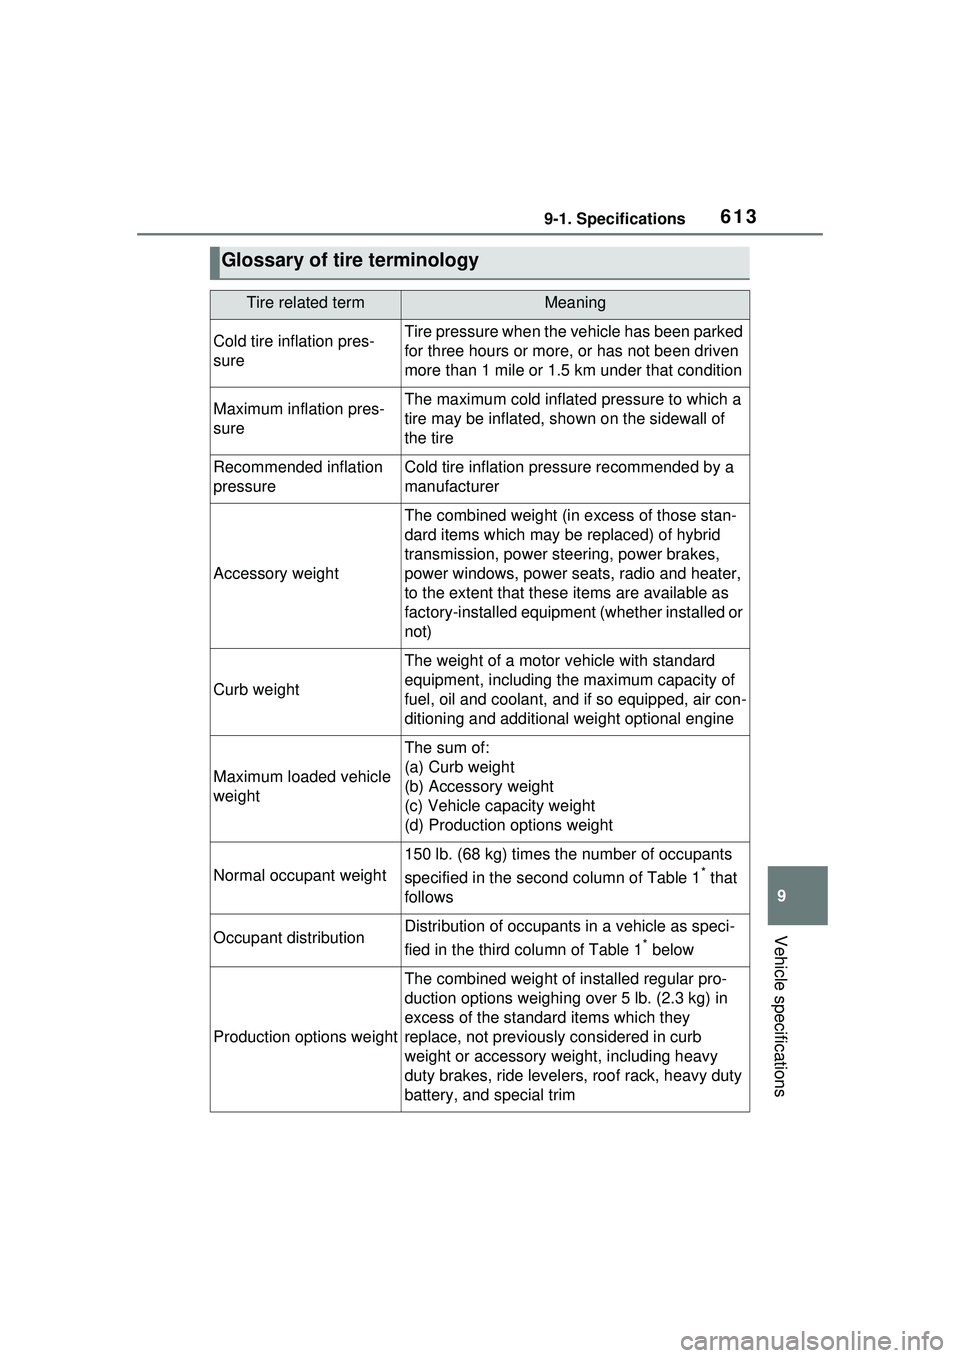
Glossary of tire terminology
Tire related termMeaning
Cold tire inflation pres-
sureTire pressure when the vehicle has been parked
for three hours or more, or has not been driven
more than 1 mile or 1.5 km under that condition
Maximum inflation pres-
sureThe maximum cold inflated pressure to which a
tire may be inflated, shown on the sidewall of
the tire
Recommended inflation
pressureCold tire inflation pressure recommended by a
manufacturer
Accessory weight
The combined weight (in excess of those stan-
dard items which may be replaced) of hybrid
transmission, power steering, power brakes,
power windows, power seat s, radio and heater,
to the extent that these items are available as
factory-installed equipment (whether installed or
not)
Curb weight
The weight of a motor vehicle with standard
equipment, including the maximum capacity of
fuel, oil and coolant, and if so equipped, air con-
ditioning and additional weight optional engine
Maximum loaded vehicle
weight
The sum of:
(a) Curb weight
(b) Accessory weight
(c) Vehicle capacity weight
(d) Production options weight
Normal occupant weight
150 lb. (68 kg) times the number of occupants
specified in the second column of Table 1
* that
follows
Occupant distributionDistribution of occupants in a vehicle as speci-
fied in the third column of Table 1
* below
Production options weight
The combined weight of installed regular pro-
duction options weighing over 5 lb. (2.3 kg) in
excess of the standard items which they
replace, not previously considered in curb
weight or accessory weight, including heavy
duty brakes, ride levelers, roof rack, heavy duty
battery, and special trim