reset TOYOTA SUPRA 2020 Accessories, Audio & Navigation (in English)
[x] Cancel search | Manufacturer: TOYOTA, Model Year: 2020, Model line: SUPRA, Model: TOYOTA SUPRA 2020Pages: 92, PDF Size: 1.93 MB
Page 25 of 92
251-1. NAVIGATION
Supra_Navi_(U)
1
NAVIGATION
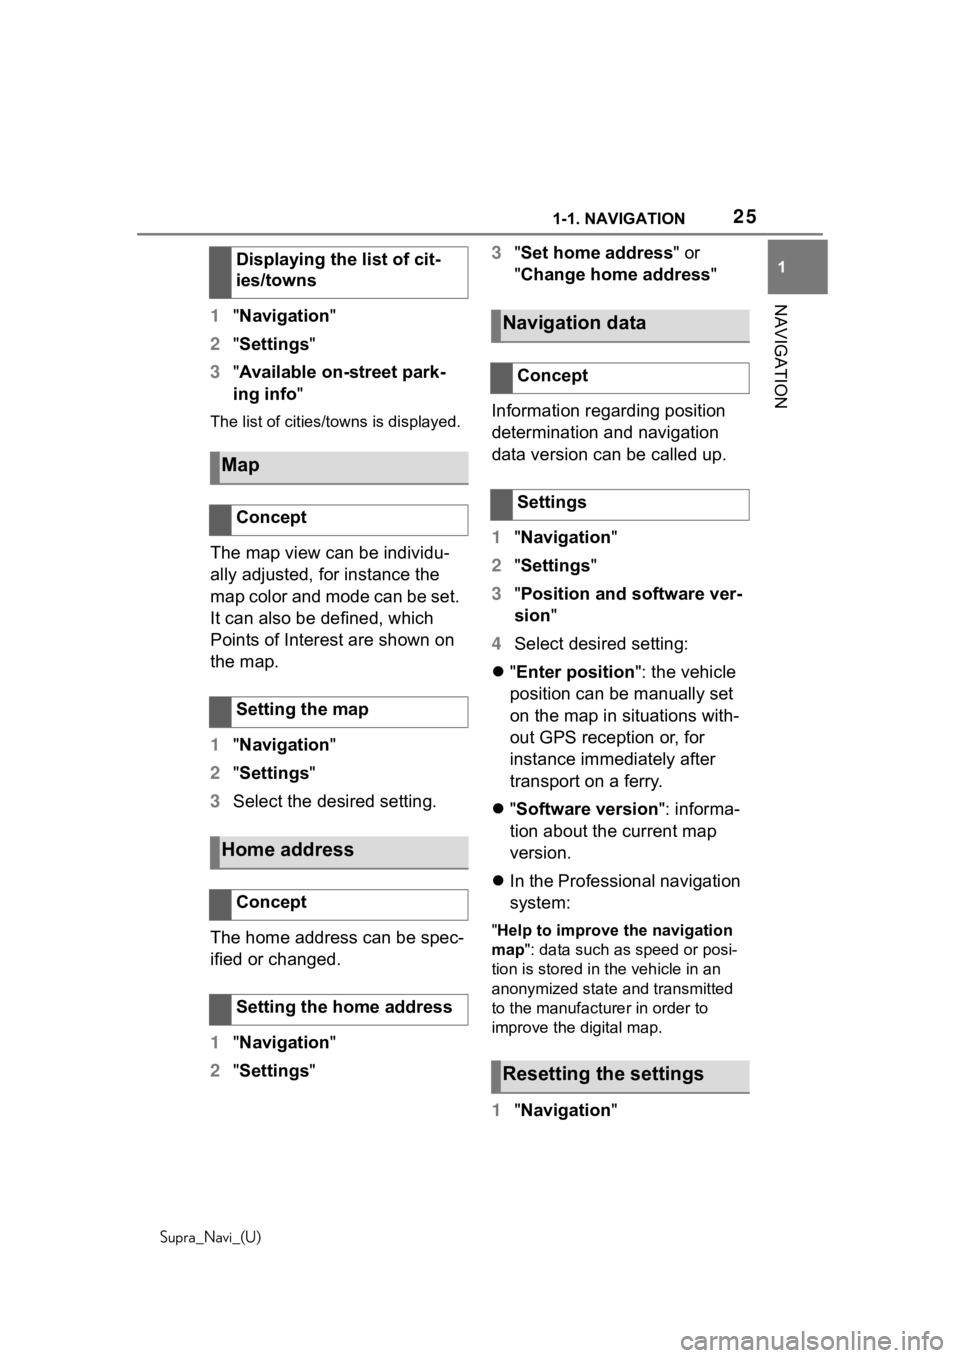
1 "Navigation"
2 "Settings"
3 "Available on-street park-
ing info"
The list of cities/towns is displayed.
The map view can be individu-
ally adjusted, for instance the
map color and mode can be set.
It can also be defined, which
Points of Interest are shown on
the map.
1"Navigation"
2 "Settings"
3 Select the desired setting.
The home address can be spec-
ified or changed.
1 "Navigation"
2 "Settings" 3
"Set home address" or
"Change home address "
Information regarding position
determination and navigation
data version can be called up.
1 "Navigation "
2 "Settings"
3 "Position and software ver-
sion"
4 Select desired setting:
"Enter position ": the vehicle
position can be manually set
on the map in situations with-
out GPS reception or, for
instance immediately after
transport on a ferry.
"Software version": informa-
tion about the current map
version.
In the Professional navigation
system:
"Help to improve the navigation
map": data such as speed or posi-
tion is stored in the vehicle in an
anonymized state and transmitted
to the manufacturer in order to
improve the digital map.
1 "Navigation "
Displaying the list of cit-
ies/towns
Map
Concept
Setting the map
Home address
Concept
Setting the home address
Navigation data
Concept
Settings
Resetting the settings
Page 26 of 92
261-1. NAVIGATION
Supra_Navi_(U)
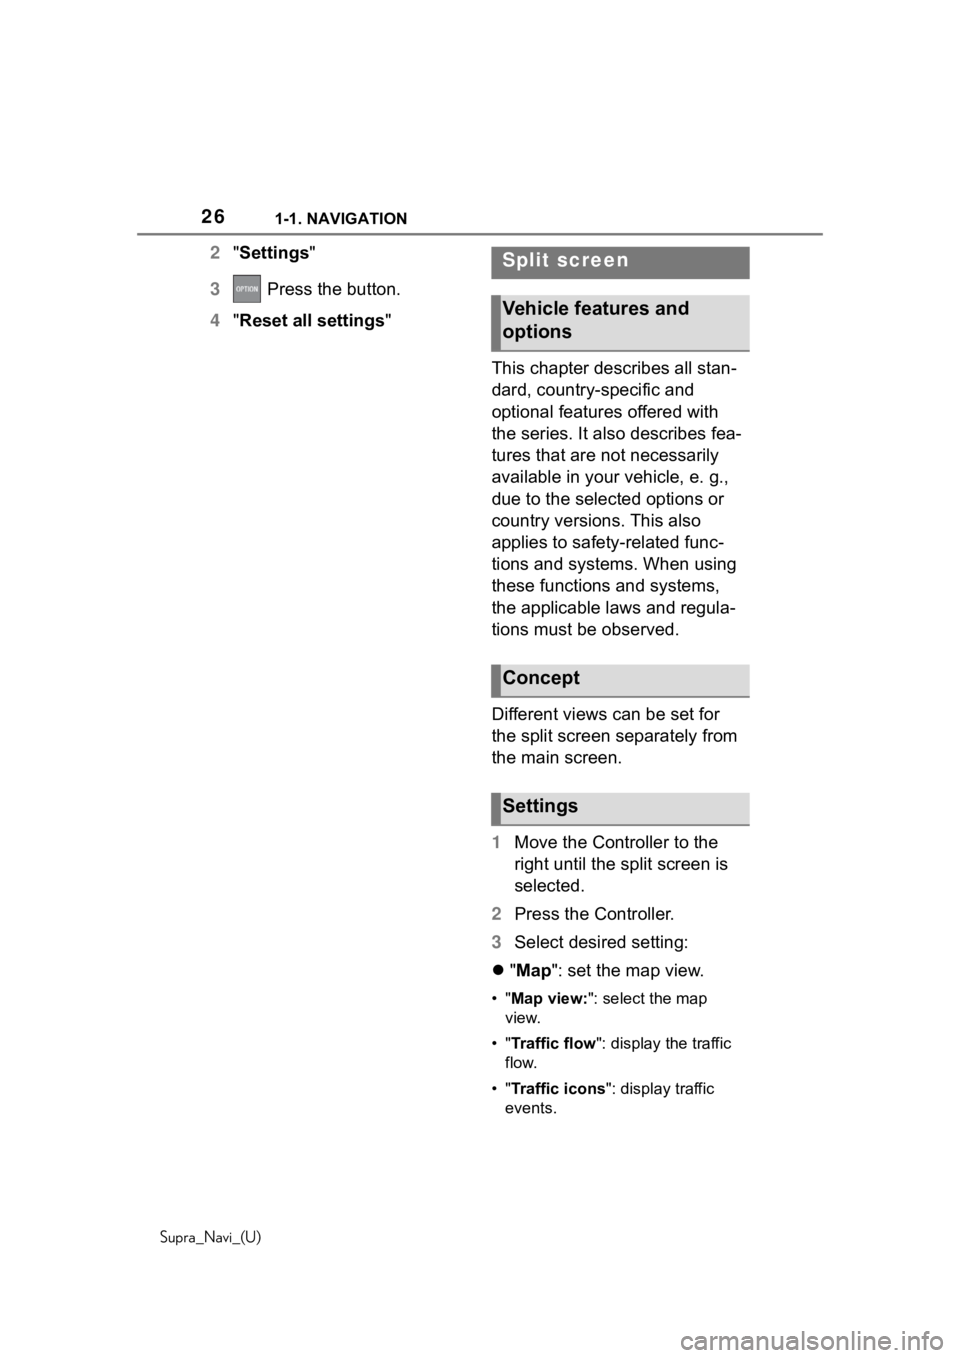
2"Settings"
3 Press the button.
4 "Reset all settings"
This chapter describes all stan-
dard, country-specific and
optional features offered with
the series. It also describes fea-
tures that are not necessarily
available in your vehicle, e. g.,
due to the selected options or
country versions. This also
applies to safety-related func-
tions and systems. When using
these functions and systems,
the applicable laws and regula-
tions must be observed.
Different views can be set for
the split screen separately from
the main screen.
1Move the Controller to the
right until the split screen is
selected.
2 Press the Controller.
3 Select desired setting:
"Map ": set the map view.
•"Map view: ": select the map
view.
•" Traffic flow ": display the traffic
flow.
•" Traffic icons ": display traffic
events.
Split screen
Vehicle features and
options
Concept
Settings
Page 39 of 92
392-1. ENTERTAINMENT
Supra_Navi_(U)
2
ENTERTAINMENT
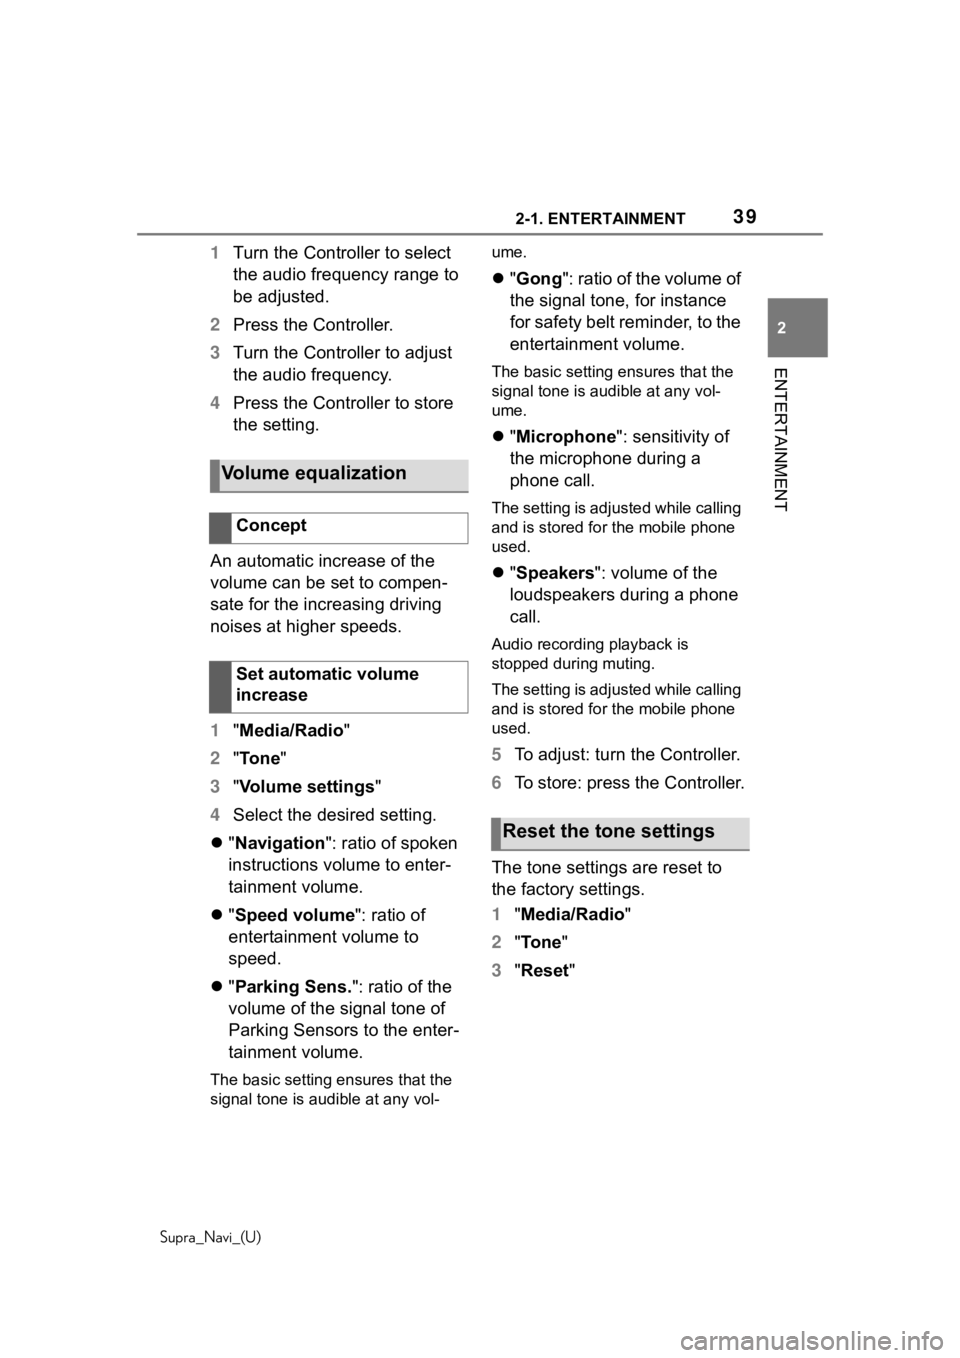
1 Turn the Controller to select
the audio frequency range to
be adjusted.
2 Press the Controller.
3 Turn the Controller to adjust
the audio frequency.
4 Press the Controller to store
the setting.
An automatic increase of the
volume can be set to compen-
sate for the increasing driving
noises at higher speeds.
1 "Media/Radio"
2 "Tone"
3 "Volume settings"
4 Select the desired setting.
"Navigation ": ratio of spoken
instructions volume to enter-
tainment volume.
"Speed volume ": ratio of
entertainment volume to
speed.
"Parking Sens. ": ratio of the
volume of the signal tone of
Parking Sensors to the enter-
tainment volume.
The basic setting ensures that the
signal tone is audible at any vol- ume.
"Gong ": ratio of the volume of
the signal tone, for instance
for safety belt reminder, to the
entertainment volume.
The basic setting ensures that the
signal tone is audible at any vol-
ume.
"Microphone ": sensitivity of
the microphone during a
phone call.
The setting is adjusted while calling
and is stored for the mobile phone
used.
"Speakers ": volume of the
loudspeakers during a phone
call.
Audio recording playback is
stopped during muting.
The setting is adjusted while calling
and is stored for the mobile phone
used.
5 To adjust: turn the Controller.
6 To store: press the Controller.
The tone settings are reset to
the factory settings.
1 "Media/Radio"
2 "To n e "
3 "Reset "
Volume equalization
Concept
Set automatic volume
increase
Reset the tone settings
Page 45 of 92
452-1. ENTERTAINMENT
Supra_Navi_(U)
2
ENTERTAINMENT
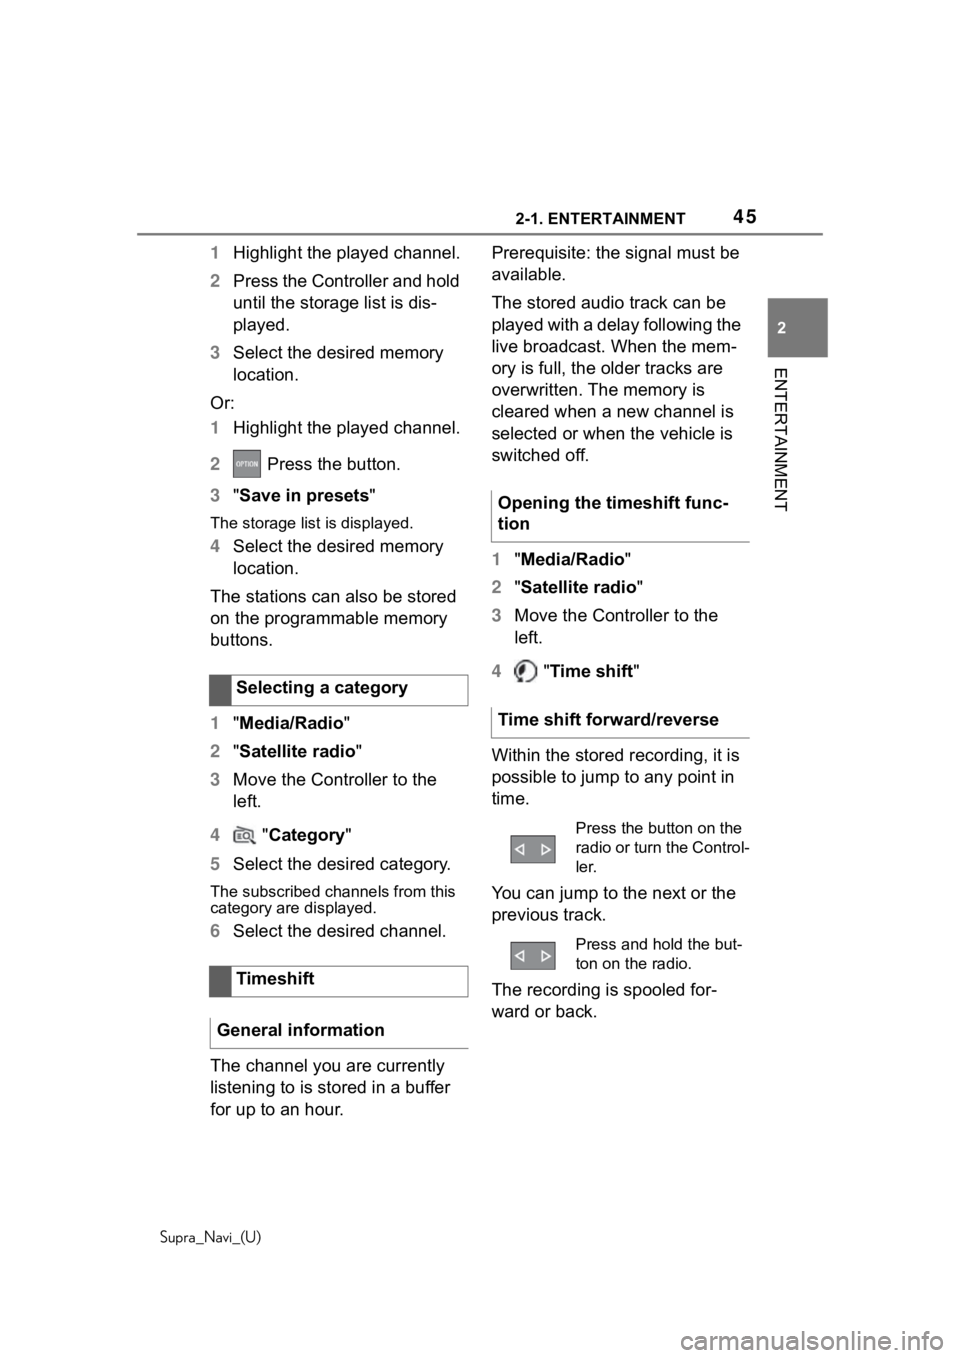
1 Highlight the played channel.
2 Press the Controller and hold
until the storage list is dis-
played.
3 Select the desired memory
location.
Or:
1 Highlight the played channel.
2 Press the button.
3 "Save in presets "
The storage list is displayed.
4Select the desired memory
location.
The stations can also be stored
on the programmable memory
buttons.
1 "Media/Radio"
2 "Satellite radio "
3 Move the Controller to the
left.
4 "Category "
5 Select the desired category.
The subscribed channels from this
category are displayed.
6Select the desired channel.
The channel you are currently
listening to is stored in a buffer
for up to an hour. Prerequisite: the signal must be
available.
The stored audio track can be
played with a delay following the
live broadcast. When the mem-
ory is full, the older tracks are
overwritten. The memory is
cleared when a new channel is
selected or when the vehicle is
switched off.
1
"Media/Radio"
2 "Satellite radio "
3 Move the Controller to the
left.
4 "Time shift "
Within the stored recording, it is
possible to jump to any point in
time.
You can jump to the next or the
previous track.
The recording is spooled for-
ward or back.
Selecting a category
Timeshift
General information
Opening the timeshift func-
tion
Time shift forward/reverse
Press the button on the
radio or turn the Control-
ler.
Press and hold the but-
ton on the radio.
Page 49 of 92
492-1. ENTERTAINMENT
Supra_Navi_(U)
2
ENTERTAINMENT
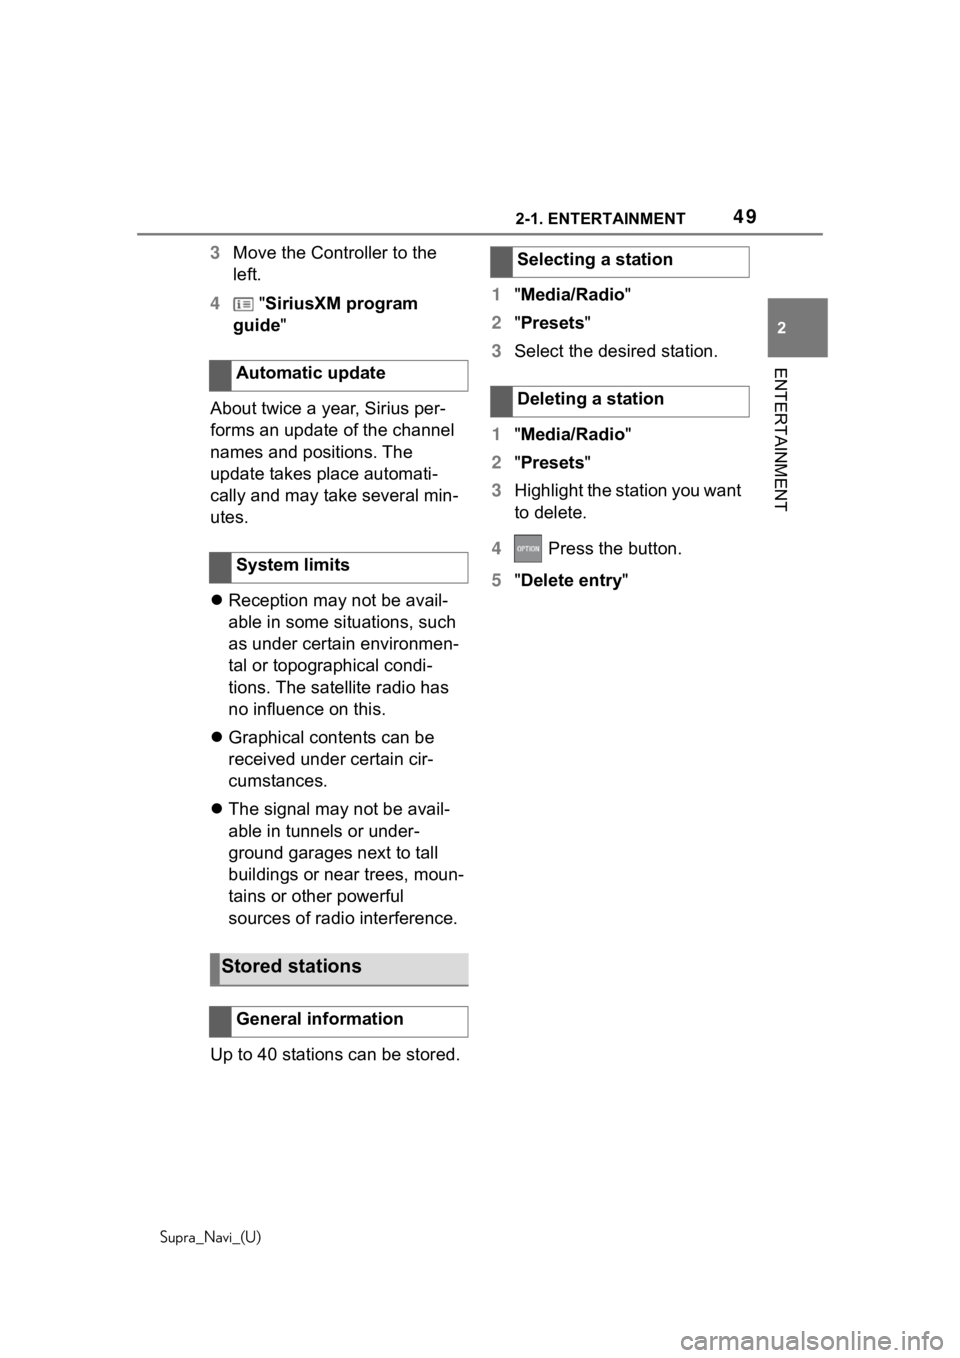
3 Move the Controller to the
left.
4 "SiriusXM program
guide"
About twice a year, Sirius per-
forms an update of the channel
names and positions. The
update takes place automati-
cally and may take several min-
utes.
Reception may not be avail-
able in some situations, such
as under certain environmen-
tal or topographical condi-
tions. The satellite radio has
no influence on this.
Graphical contents can be
received under certain cir-
cumstances.
The signal may not be avail-
able in tunnels or under-
ground garages next to tall
buildings or near trees, moun-
tains or other powerful
sources of radio interference.
Up to 40 stations can be stored. 1
"Media/Radio"
2 "Presets "
3 Select the desired station.
1 "Media/Radio"
2 "Presets "
3 Highlight the station you want
to delete.
4 Press the button.
5 "Delete entry "
Automatic update
System limits
Stored stations
General information
Selecting a station
Deleting a station
Page 53 of 92
532-1. ENTERTAINMENT
Supra_Navi_(U)
2
ENTERTAINMENT
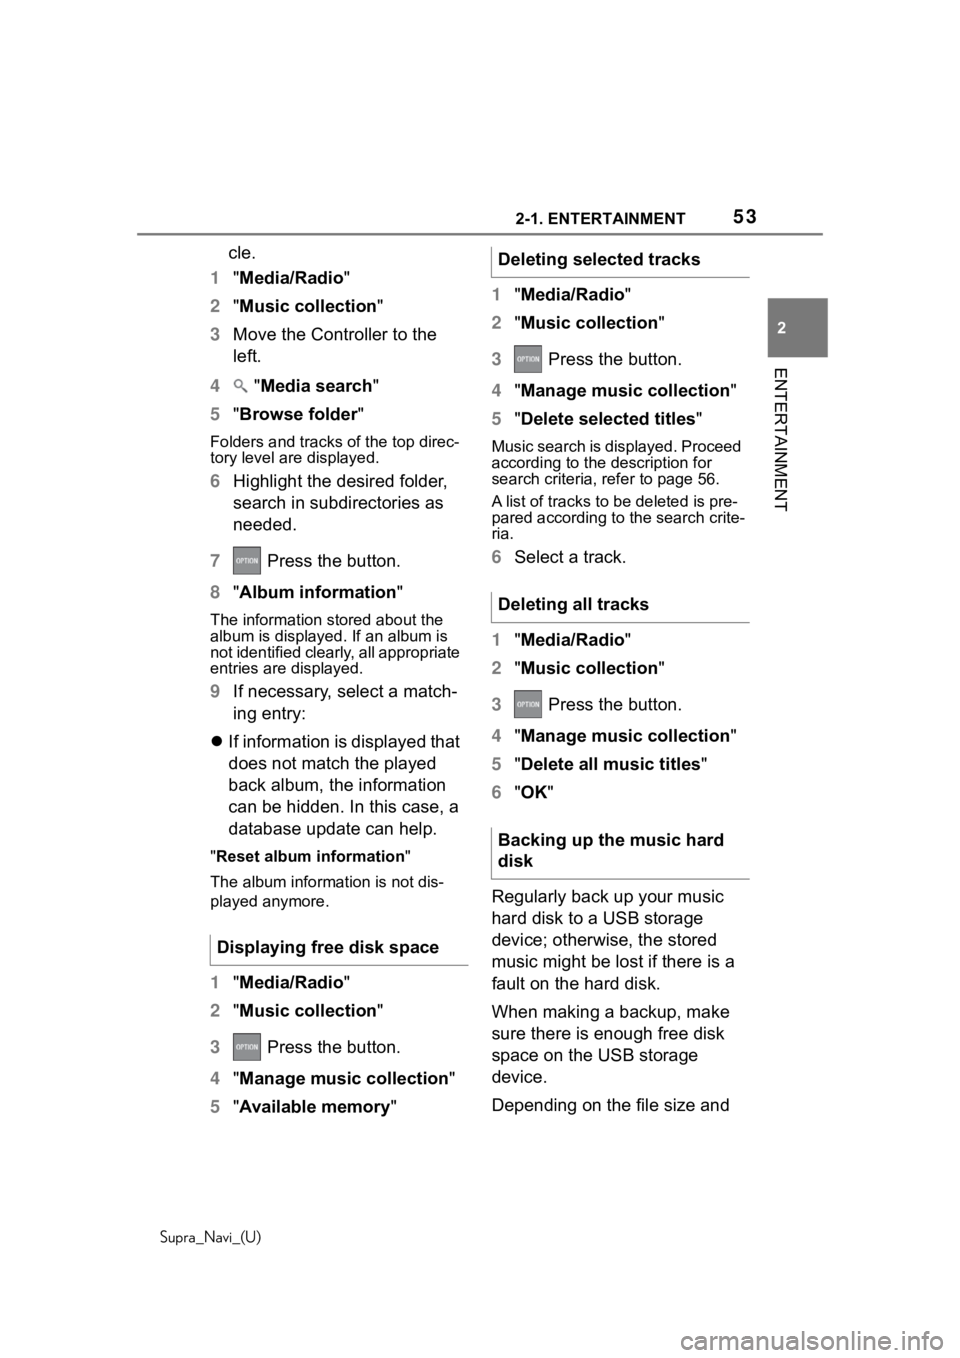
cle.
1 "Media/Radio"
2 "Music collection"
3 Move the Controller to the
left.
4 "Media search"
5 "Browse folder "
Folders and tracks of the top direc-
tory level are displayed.
6Highlight the desired folder,
search in subdirectories as
needed.
7 Press the button.
8 "Album information"
The information stored about the
album is displayed. If an album is
not identified clearly, all appropriate
entries are displayed.
9If necessary, select a match-
ing entry:
If information is displayed that
does not match the played
back album, the information
can be hidden. In this case, a
database update can help.
"Reset album information "
The album information is not dis-
played anymore.
1 "Media/Radio"
2 "Music collection"
3 Press the button.
4 "Manage music collection"
5 "Available memory "1
"Media/Radio"
2 "Music collection "
3 Press the button.
4 "Manage music collection "
5 "Delete selected titles "
Music search is displayed. Proceed
according to the description for
search criteria, refer to page 56.
A list of tracks to be deleted is pre-
pared according to the search crite-
ria.
6 Select a track.
1 "Media/Radio"
2 "Music collection "
3 Press the button.
4 "Manage music collection "
5 "Delete all music titles "
6 "OK "
Regularly back up your music
hard disk to a USB storage
device; otherwise, the stored
music might be lost if there is a
fault on the hard disk.
When making a backup, make
sure there is enough free disk
space on the USB storage
device.
Depending on the file size and
Displaying free disk space
Deleting selected tracks
Deleting all tracks
Backing up the music hard
disk