TOYOTA SUPRA 2023 Owners Manual
Manufacturer: TOYOTA, Model Year: 2023, Model line: SUPRA, Model: TOYOTA SUPRA 2023Pages: 372, PDF Size: 6.32 MB
Page 151 of 372
1513-1. CONTROLS
3
CONTROLS
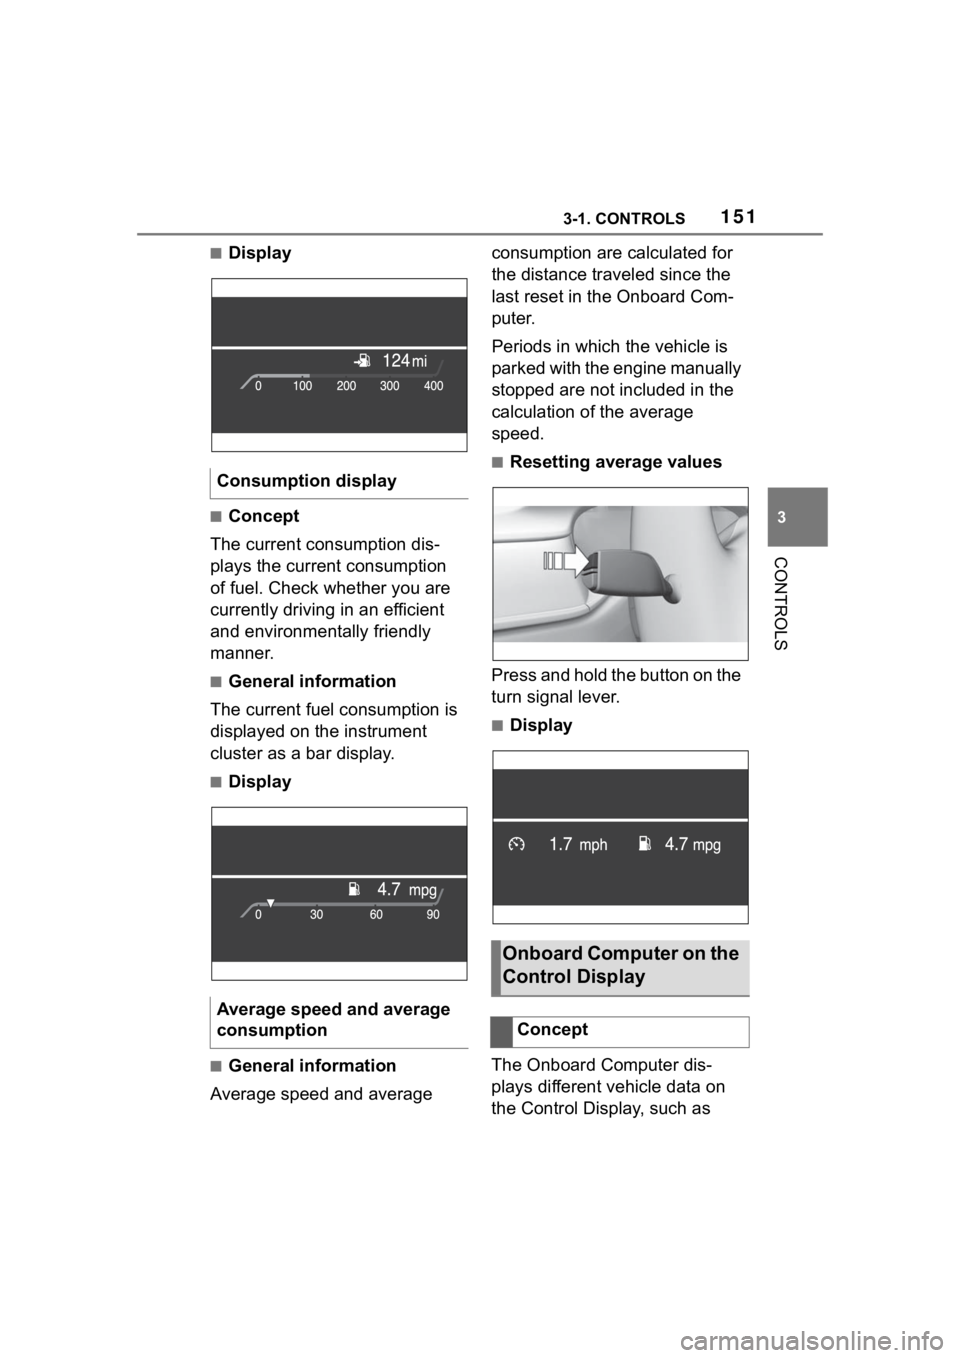
■Display
■Concept
The current consumption dis-
plays the current consumption
of fuel. Check whether you are
currently driving in an efficient
and environmentally friendly
manner.
■General information
The current fuel consumption is
displayed on the instrument
cluster as a bar display.
■Display
■General information
Average speed and average consumption are calculated for
the distance traveled since the
last reset in the Onboard Com-
puter.
Periods in which the vehicle is
parked with the engine manually
stopped are not included in the
calculation of the average
speed.
■Resetting average values
Press and hold the button on the
turn signal lever.
■Display
The Onboard Computer dis-
plays different vehicle data on
the Control Display, such as
Consumption display
Average speed and average
consumption
Onboard Computer on the
Control Display
Concept
Page 152 of 372
1523-1. CONTROLS
average values.
Two types of Onboard Com-
puter are available on the Con-
trol Display:
"Onboard info": average val-
ues, such as the consump-
tion, are displayed. The
values can be reset individu-
ally.
"Trip computer": the values
deliver an overview of a cer-
tain distance and can be reset
as often as necessary.
Via Toyota Supra Command:
1 "My Vehicle"
2 "Driving information"
3 "Onboard info" or "Trip com-
puter"
Via Toyota Supra Command:
1 "My Vehicle"
2 "Driving information"
3 "Onboard info"
4 "Consumption" or "Speed"
5 "OK" Via Toyota Supra Command:
1
"My Vehicle"
2 "Driving information"
3 "Trip computer"
4 Move the Controller to the
left, if needed.
• "Reset": all values are reset.
• "Automatic reset": all val- ues are reset approx. 4 hours
after the vehicle has come to
a standhill.
5 If necessary, "OK"
Depending on the vehicle speci-
fications, the current power out-
put and torque can be displayed
on the control display.
The following information is dis-
played:
Torque.
Power.
General information
Calling up the Onboard
Computer or trip computer
Resetting the Onboard
computerResetting the trip com-
puter
Sport displays
Concept
Display on the Control Dis-
play
Overview
Page 153 of 372
1533-1. CONTROLS
3
CONTROLS
Via Toyota Supra Command:
1"My vehicle"
2 "Sport displays"
A speed limit can be set that
when reached will cause a
warning to be issued.
The warning is repeated if the
vehicle speed exceeds the set
speed limit again, after it has
dropped below it by 3 mph/5
km/h.
Via Toyota Supra Command:
1 "My Vehicle"
2 "Vehicle settings"
3 "Speed warning"
4 "Warning at:"
5 Turn the Controller until the
desired speed is displayed.
6 Press the Controller.
Via Toyota Supra Command: 1
"My Vehicle"
2 "Vehicle settings"
3 "Speed warning"
4 "Speed warning"
Via Toyota Supra Command:
1 "My Vehicle"
2 "Vehicle settings"
3 "Speed warning"
4 "Select current speed"
The status can be displayed and
actions performed for several
systems.
Via Toyota Supra Command:
1 "My vehicle"
2 "Vehicle status"
"Tire Pressure Monitor":
Status of the Tire Pressure
Monitor, refer to page 287.
"Engine oil level": Elec-
tronic engine oil level check,
refer to page 302.
"Vehicle messages": Vehi-
Displays
Speed warning
Concept
General information
Configuring the speed
limit warning
Activating/deactivating the
speed warning
Setting your current speed
as the speed warning
Vehicle status
General information
Opening the vehicle status
Information at a glance
Page 154 of 372
1543-1. CONTROLS
cle messages are stored in
the background and can be
displayed on the Control Dis-
play. Displaying stored vehi-
cle messages, refer to page
140.
"Service required": Dis-
playing service notifications,
refer to page 147.
"Remote maintenance
Call": service request.
*: if equipped
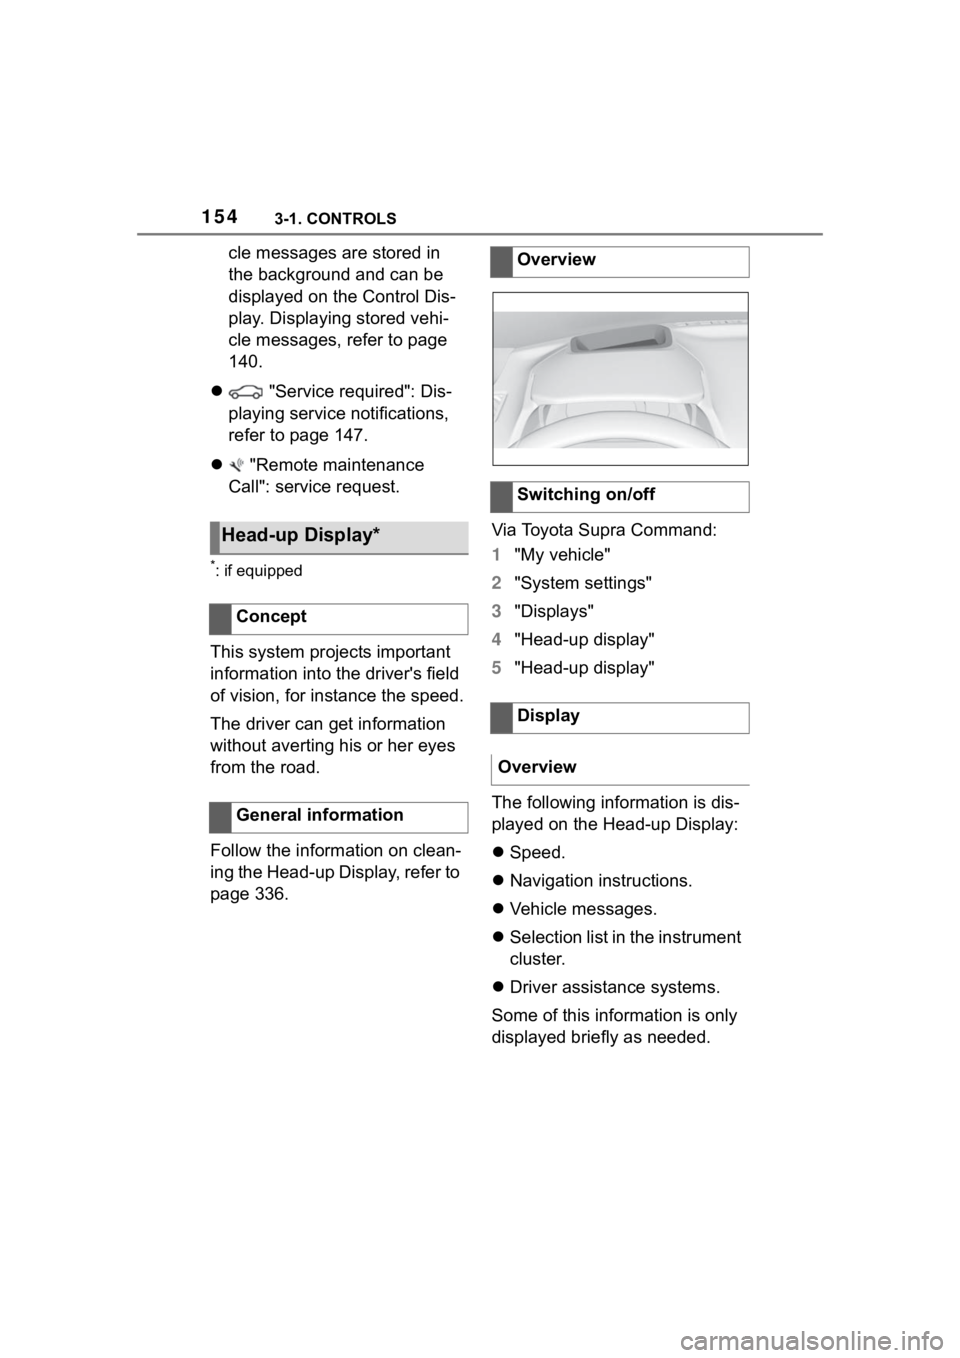
This system projects important
information into the driver's field
of vision, for instance the speed.
The driver can get information
without averting his or her eyes
from the road.
Follow the information on clean-
ing the Head-up Display, refer to
page 336. Via Toyota Supra Command:
1
"My vehicle"
2 "System settings"
3 "Displays"
4 "Head-up display"
5 "Head-up display"
The following information is dis-
played on the Head-up Display:
Speed.
Navigation instructions.
Vehicle messages.
Selection list in the instrument
cluster.
Driver assistance systems.
Some of this information is only
displayed briefly as needed.
Head-up Display*
Concept
General information
Overview
Switching on/off
Display
Overview
Page 155 of 372
1553-1. CONTROLS
3
CONTROLS
Various views are available for
the Head-up Display.
Via Toyota Supra Command:
1"My vehicle"
2 "System settings"
3 "Displays"
4 "Head-up display"
5 Select the desired setting.
The brightness adapts automati-
cally to the ambient brightness.
The basic setting can be
adjusted manually.
Via Toyota Supra Command:
1 "My vehicle"
2 "System settings"
3 "Displays"
4 "Head-up display"
5 "Brightness"
6 Turn the Controller until the
desired brightness is set.
7 Press the Controller.
When the low beams are
switched on, the brightness of
the Head-up Display can be
additionally influenced using the
instrument lighting.
Via Toyota Supra Command:
1 "My vehicle" 2
"System settings"
3 "Displays"
4 "Head-up display"
5 "Height"
6 Turn the Controller until the
desired height is reached.
7 Press the Controller.
The height of the Head-up Dis-
play can also be stored using
the memory function, refer to
page 111.
The Head-up Display view can
be rotated.
Via Toyota Supra Command:
1 "My vehicle"
2 "System settings"
3 "Displays"
4 "Head-up display"
5 "Rotation"
6 Turn the Controller until the
desired setting is selected.
7 Press the Controller.
The visibility of the displays in
the Head-up Display is influ-
enced by the following factors:
Seat position.
Objects on the protective
glass of the Head-up Display.
Dust or dirt on the protective
Selecting the view
Setting the brightness
Adjusting the height
Setting the rotation
Visibility of the display
Page 156 of 372
1563-1. CONTROLS
glass of the Head-up Display.
Windshield dirty on inside or
outside.
Sunglasses with certain polar-
ization filters.
Wet roads.
Unfavorable light conditions.
If the image is distorted, have
the basic settings checked by
your Toyota dealer.
The windshield is part of the
system.
The shape of the windshield
makes it possible to display a
precise image.
A film in the windshield prevents
double images from being gen-
erated.
For this reason, it is strongly
suggested to have the special
windshield replaced by your
Toyota dealer if necessary. This chapter describes all stan-
dard, country-specific and
optional features offered with
the series. It also describes fea-
tures and functions that are not
necessarily available in your
vehicle, e.g., due to the selected
options or country versions. This
also applies to safety-related
functions and systems. When
using these functions and sys-
tems, the applicable laws and
regulations must be observed.
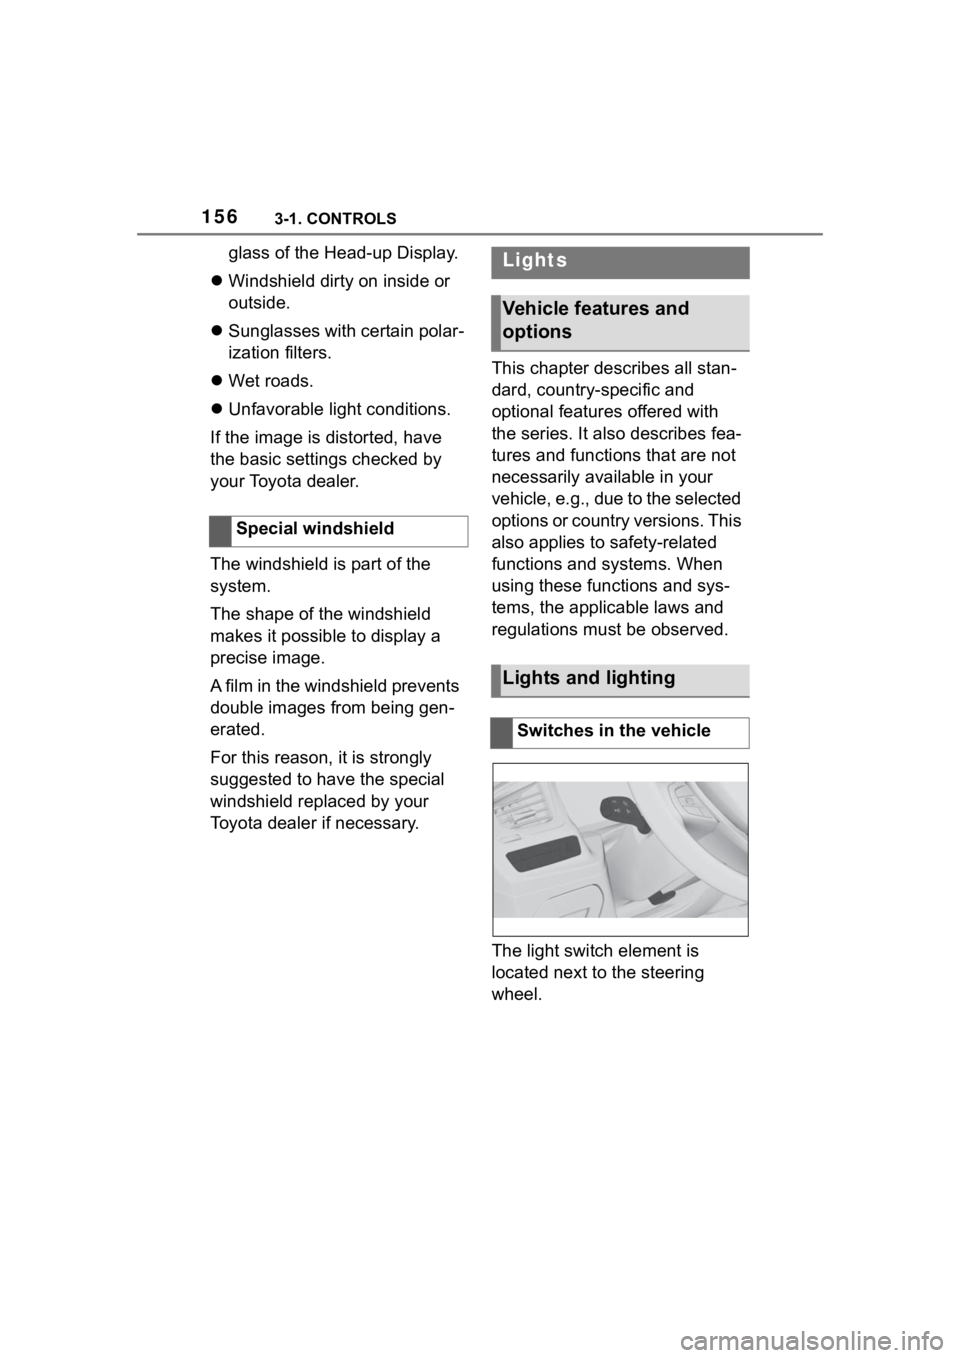
The light switch element is
located next to the steering
wheel.
Special windshieldLights
Vehicle features and
options
Lights and lighting
Switches in the vehicle
Page 157 of 372
1573-1. CONTROLS
3
CONTROLS
The low beams are switched on
and off automatically depending
on the ambient brightness, for
instance in tunnels, in twilight or
if there is precipitation.
A blue sky with the sun low on
the horizon can cause the lights to be switched on.
If the low beams are switched
on manually, the automatic
headlight control is deactivated.
The LED in the button lights up.
The automatic headlight control
cannot serve as a substitute for
your personal judgment of light-
ing conditions.
For example, the sensors are
unable to detect fog or hazy
weather. In these situations,
switch the light on manually.
If the driver's door is opened
when the drive-ready state is
switched off, the exterior lighting
is automatically switched off
after a period of time.
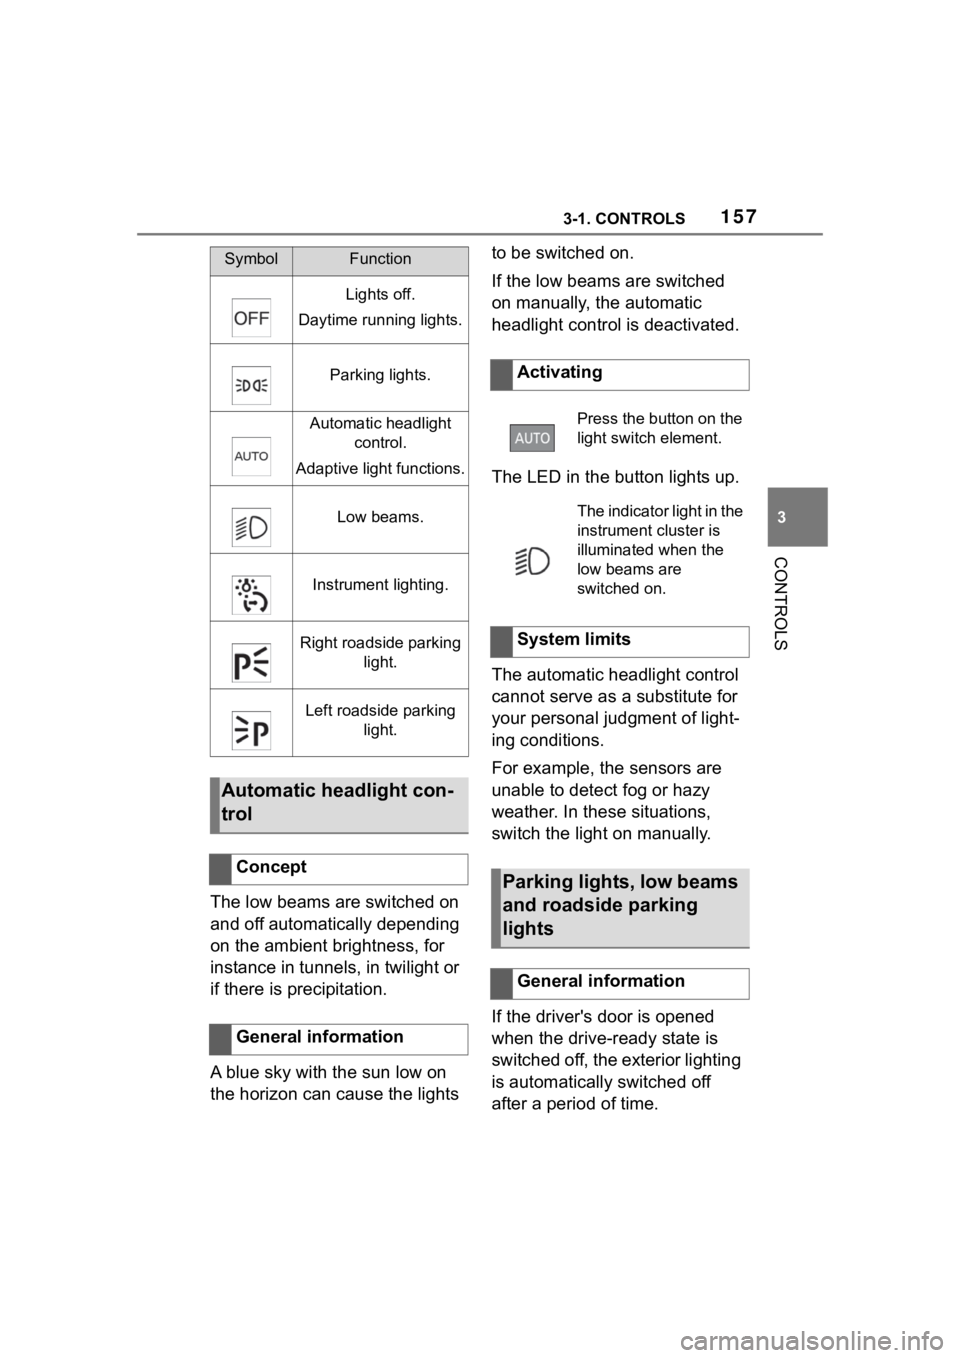
SymbolFunction
Lights off.
Daytime running lights.
Parking lights.
Automatic headlight control.
Adaptive light functions.
Low beams.
Instrument lighting.
Right roadside parking light.
Left roadside parking light.
Automatic headlight con-
trol
Concept
General information
Activating
Press the button on the
light switch element.
The indicator light in the
instrument cluster is
illuminated when the
low beams are
switched on.
System limits
Parking lights, low beams
and roadside parking
lights
General information
Page 158 of 372
1583-1. CONTROLS
The parking lights can only be
switched on in the low speed
range.
The vehicle is illuminated on all
sides.
Do not use the parking lights for
extended periods; otherwise,
they might drain the battery and
it would then be impossible to
switch on drive-ready state.
After the drive-ready state is
switched on, the automatic
headlight control will be acti-
vated.The low beams illuminate when
drive-ready state is switched on.
Press the button again to switch
on the low beams when the
standby state is switched on.
Depending on the country vari-
ant, the low beams can be
switched off in the low speed
range.
Depending on the surrounding
conditions, the low beam head-
lights may not be able to be
turned off.
When the vehicle is parked, a
one-sided roadside parking light
can be switched on.
Parking lights
General information
Switching on
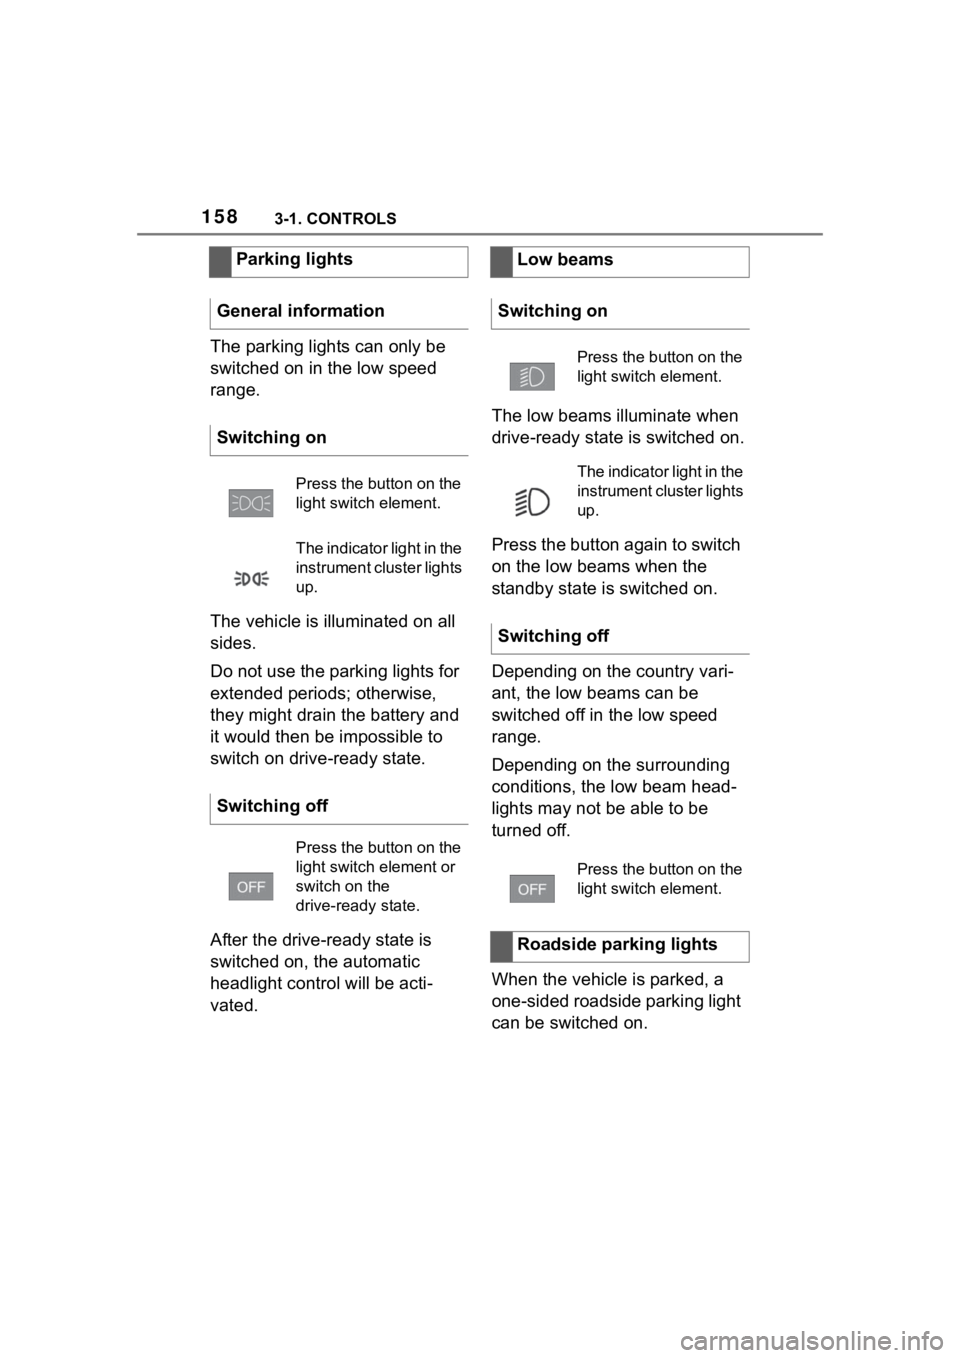
Press the button on the
light switch element.
The indicator light in the
instrument cluster lights
up.
Switching off
Press the button on the
light switch element or
switch on the
drive-ready state.
Low beams
Switching on
Press the button on the
light switch element.
The indicator light in the
instrument cluster lights
up.
Switching off
Press the button on the
light switch element.
Roadside parking lights
Page 159 of 372
1593-1. CONTROLS
3
CONTROLS
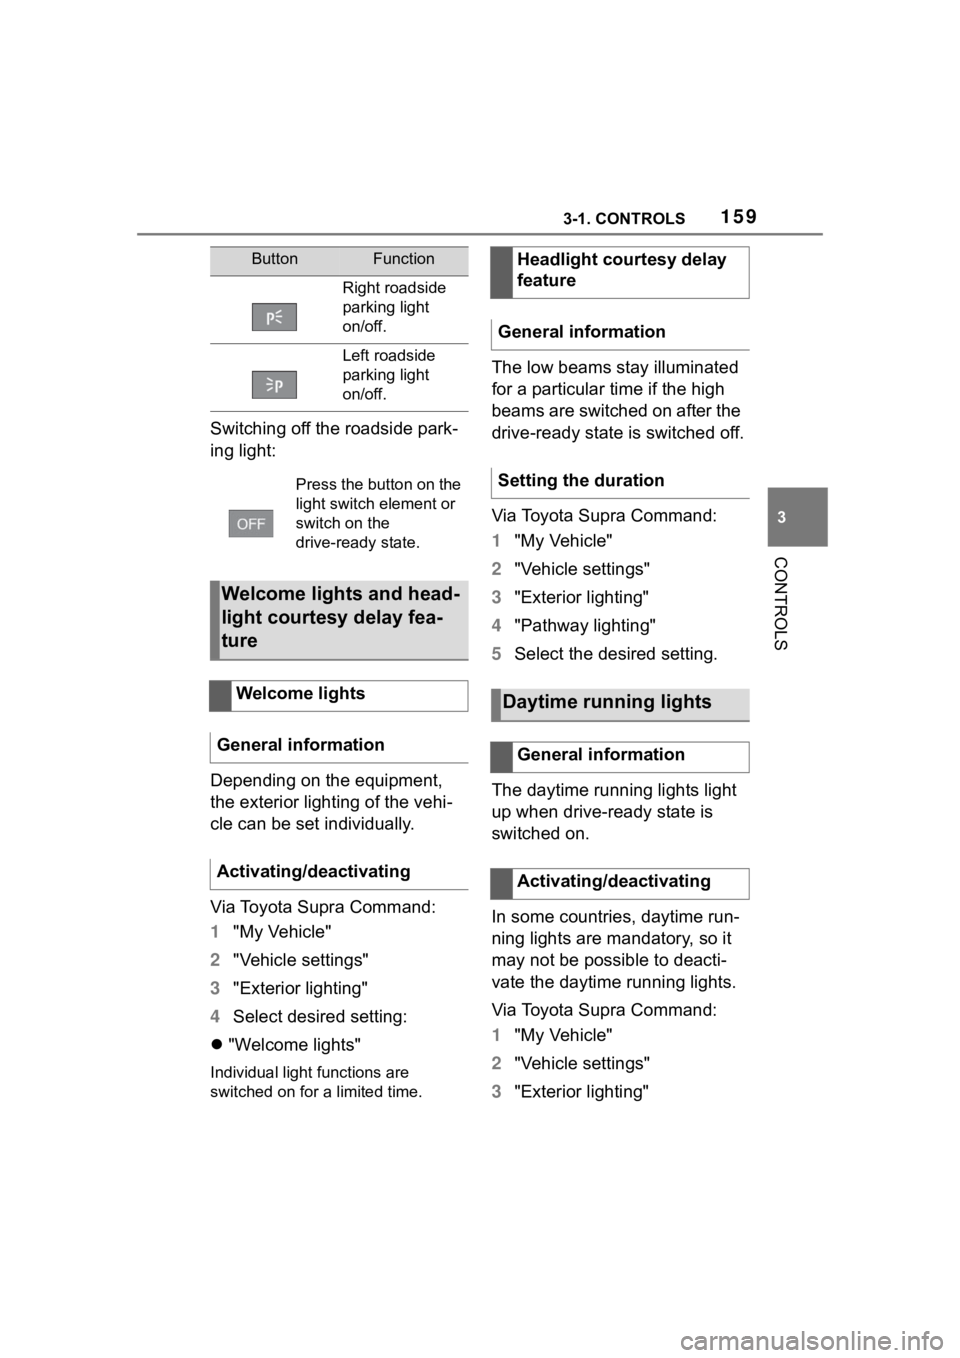
Switching off the roadside park-
ing light:
Depending on the equipment,
the exterior lighting of the vehi-
cle can be set individually.
Via Toyota Supra Command:
1"My Vehicle"
2 "Vehicle settings"
3 "Exterior lighting"
4 Select desired setting:
"Welcome lights"
Individual light functions are
switched on for a limited time.
The low beams stay illuminated
for a particular time if the high
beams are switched on after the
drive-ready state is switched off.
Via Toyota Supra Command:
1"My Vehicle"
2 "Vehicle settings"
3 "Exterior lighting"
4 "Pathway lighting"
5 Select the desired setting.
The daytime running lights light
up when drive-ready state is
switched on.
In some countries, daytime run-
ning lights are mandatory, so it
may not be possible to deacti-
vate the daytime running lights.
Via Toyota Supra Command:
1 "My Vehicle"
2 "Vehicle settings"
3 "Exterior lighting"
ButtonFunction
Right roadside
parking light
on/off.
Left roadside
parking light
on/off.
Press the button on the
light switch element or
switch on the
drive-ready state.
Welcome lights and head-
light courtesy delay fea-
ture
Welcome lights
General information
Activating/deactivating
Headlight courtesy delay
feature
General information
Setting the duration
Daytime running lights
General information
Activating/deactivating
Page 160 of 372
1603-1. CONTROLS
4"Daytime running lamps"
The Automatic high-beam
detects other traffic participants
early on and automatically
switches the high beams on or
off depending on the traffic situ-
ation.
The Automatic high-beam
ensures that the high beams are
switched on, whenever the traf-
fic situation allows. In the low
speed range, the high beams
are not switched on by the sys-
tem.
The system responds to light
from oncoming traffic and traffic
driving ahead of you, and to
ambient lighting, for instance in
towns and cities.
The high beams can be
switched on and off manually at
any time.
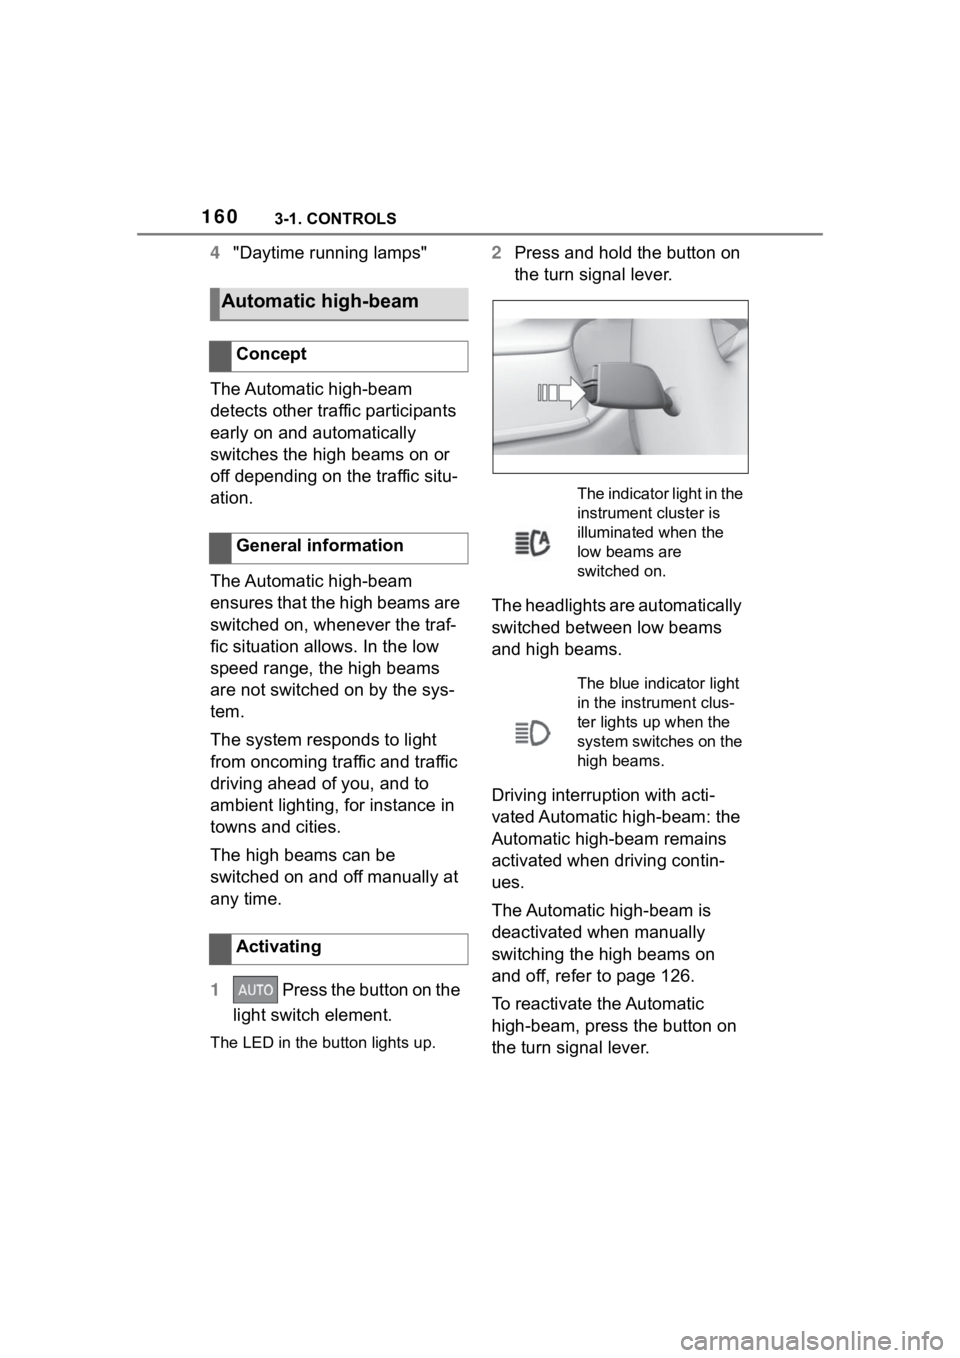
1 Press the button on the
light switch element.
The LED in the button lights up.
2 Press and hold the button on
the turn signal lever.
The headlights are automatically
switched between low beams
and high beams.
Driving interruption with acti-
vated Automatic high-beam: the
Automatic high-beam remains
activated when driving contin-
ues.
The Automatic high-beam is
deactivated when manually
switching the high beams on
and off, refer to page 126.
To reactivate the Automatic
high-beam, press the button on
the turn signal lever.
Automatic high-beam
Concept
General information
Activating
The indicator light in the
instrument cluster is
illuminated when the
low beams are
switched on.
The blue indicator light
in the instrument clus-
ter lights up when the
system switches on the
high beams.