driver seat adjustment VOLVO V90 2017 Owners Manual
[x] Cancel search | Manufacturer: VOLVO, Model Year: 2017, Model line: V90, Model: VOLVO V90 2017Pages: 594, PDF Size: 15.07 MB
Page 116 of 594
||
INSTRUMENTS AND CONTROLS
* Option/accessory.
114
Adjusting brightness and vertical position
1.
Press the Head-up display adjustmentsbutton in the function view in the centre dis- play.
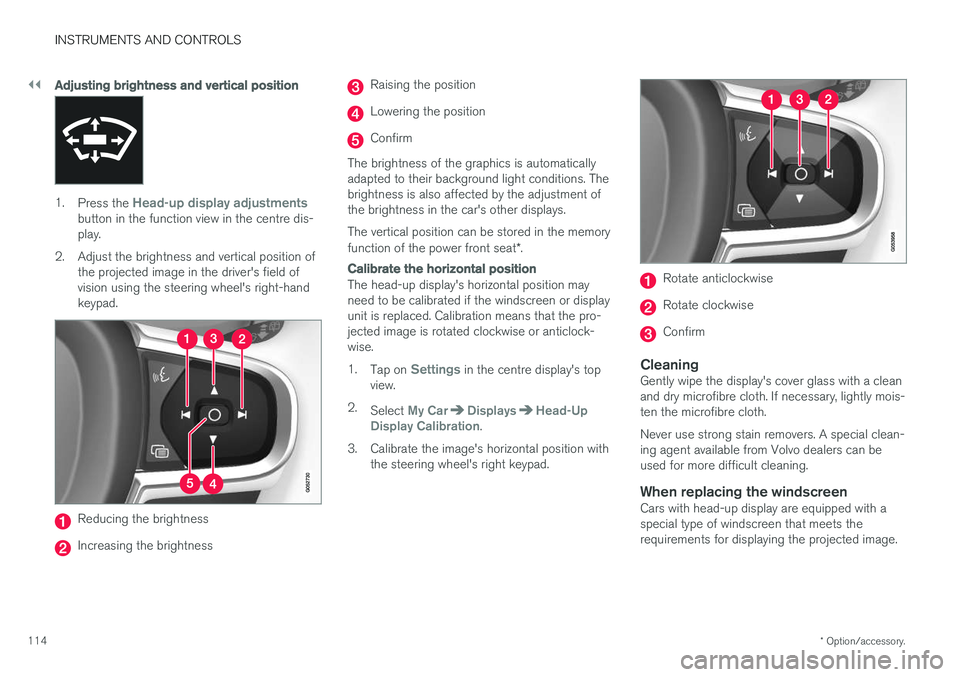
2. Adjust the brightness and vertical position of the projected image in the driver's field ofvision using the steering wheel's right-handkeypad.
Reducing the brightness
Increasing the brightness
Raising the position
Lowering the position
Confirm
The brightness of the graphics is automatically adapted to their background light conditions. Thebrightness is also affected by the adjustment ofthe brightness in the car's other displays. The vertical position can be stored in the memory function of the power front seat *.
Calibrate the horizontal position
The head-up display's horizontal position may need to be calibrated if the windscreen or displayunit is replaced. Calibration means that the pro-jected image is rotated clockwise or anticlock-wise. 1.
Tap on
Settings in the centre display's top
view.
2. Select
My CarDisplaysHead-Up
Display Calibration.
3. Calibrate the image's horizontal position with the steering wheel's right keypad.
Rotate anticlockwise
Rotate clockwise
Confirm
CleaningGently wipe the display's cover glass with a clean and dry microfibre cloth. If necessary, lightly mois-ten the microfibre cloth. Never use strong stain removers. A special clean- ing agent available from Volvo dealers can beused for more difficult cleaning.
When replacing the windscreenCars with head-up display are equipped with aspecial type of windscreen that meets therequirements for displaying the projected image.
Page 123 of 594
INSTRUMENTS AND CONTROLS
* Option/accessory.121
Manual front seat
The car's front seats have different setting options for optimum seating comfort.
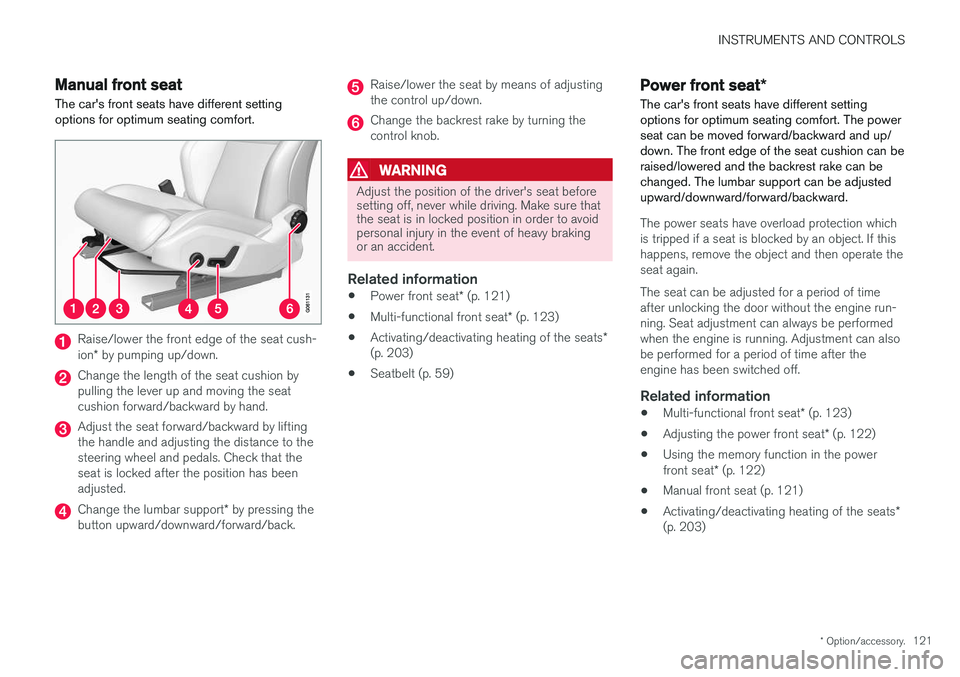
Raise/lower the front edge of the seat cush- ion * by pumping up/down.
Change the length of the seat cushion by pulling the lever up and moving the seatcushion forward/backward by hand.
Adjust the seat forward/backward by lifting the handle and adjusting the distance to thesteering wheel and pedals. Check that theseat is locked after the position has beenadjusted.
Change the lumbar support * by pressing the
button upward/downward/forward/back.
Raise/lower the seat by means of adjusting the control up/down.
Change the backrest rake by turning the control knob.
WARNING
Adjust the position of the driver's seat before setting off, never while driving. Make sure thatthe seat is in locked position in order to avoidpersonal injury in the event of heavy brakingor an accident.
Related information
• Power front seat
* (p. 121)
• Multi-functional front seat
* (p. 123)
• Activating/deactivating heating of the seats
*
(p. 203)
• Seatbelt (p. 59)
Power front seat
*
The car's front seats have different setting options for optimum seating comfort. The powerseat can be moved forward/backward and up/down. The front edge of the seat cushion can beraised/lowered and the backrest rake can bechanged. The lumbar support can be adjustedupward/downward/forward/backward.
The power seats have overload protection which is tripped if a seat is blocked by an object. If thishappens, remove the object and then operate theseat again. The seat can be adjusted for a period of time after unlocking the door without the engine run-ning. Seat adjustment can always be performedwhen the engine is running. Adjustment can alsobe performed for a period of time after theengine has been switched off.
Related information
• Multi-functional front seat
* (p. 123)
• Adjusting the power front seat
* (p. 122)
• Using the memory function in the power front seat
* (p. 122)
• Manual front seat (p. 121)
• Activating/deactivating heating of the seats
*
(p. 203)
Page 125 of 594
INSTRUMENTS AND CONTROLS
}}
* Option/accessory.123
3.
Within three seconds, depress the 1 or 2
button.
> When the position has been stored in the selected memory button an acoustic sig- nal sounds and the light indicator in the M
button extinguishes.
If none of the memory buttons is depressedwithin three seconds then the M button extin-
guishes and no storing takes place. The seat must be adjusted again before a new memory can be set.
Using a stored settingA stored setting can be used with the front dooreither open or closed:
Open front door
–Depress one of the memory buttons 1 or 2
with a short press. Seat, door mirrors and head-up display move and then stop at thepositions stored in the selected memory but-ton.
Closed front door
–Hold one of the memory buttons 1 or 2
depressed until seat, door mirrors and head- up display stop in the positions that arestored in the selected memory button.
If the memory button is released, the movementof the seat, door mirrors and head-up display willbe stopped.
WARNING
Risk of crushing! Make sure that children do not play with the keypad. Check that there areno objects in front of, behind or under theseat during adjustment. Make sure that noneof the passengers in the rear seat is in dangerof becoming trapped.
Related information
• Power front seat
* (p. 121)
• Adjusting the power front seat
* (p. 122)
Multi-functional front seat *
Enhance the seating comfort using the multi- function control.
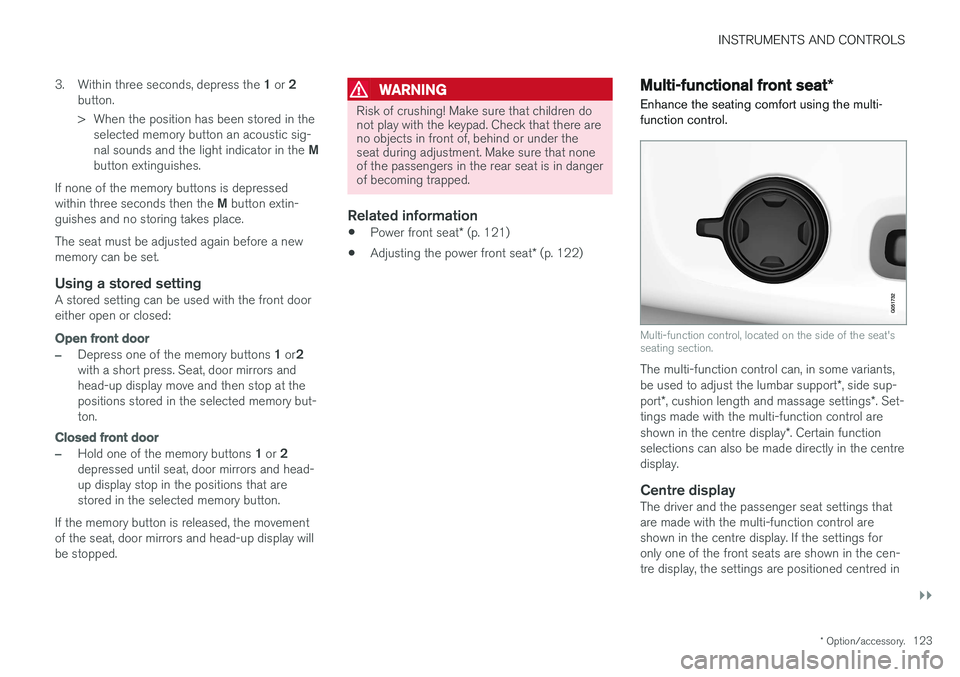
Multi-function control, located on the side of the seat's seating section.
The multi-function control can, in some variants, be used to adjust the lumbar support *, side sup-
port *, cushion length and massage settings *. Set-
tings made with the multi-function control areshown in the centre display *. Certain function
selections can also be made directly in the centre display.
Centre displayThe driver and the passenger seat settings thatare made with the multi-function control areshown in the centre display. If the settings foronly one of the front seats are shown in the cen-tre display, the settings are positioned centred in
Page 129 of 594
INSTRUMENTS AND CONTROLS
}}
* Option/accessory.127
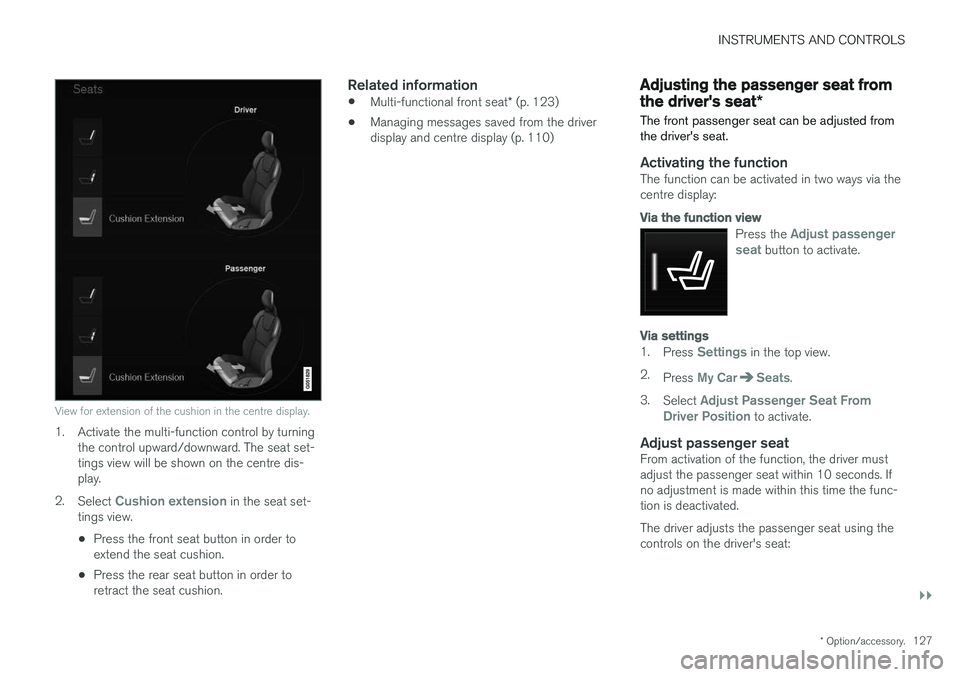
View for extension of the cushion in the centre display.
1. Activate the multi-function control by turning
the control upward/downward. The seat set- tings view will be shown on the centre dis-play.
2. Select
Cushion extension in the seat set-
tings view.
• Press the front seat button in order to extend the seat cushion.
• Press the rear seat button in order toretract the seat cushion.
Related information
•
Multi-functional front seat
* (p. 123)
• Managing messages saved from the driverdisplay and centre display (p. 110)
Adjusting the passenger seat from the driver's seat
*
The front passenger seat can be adjusted from the driver's seat.
Activating the functionThe function can be activated in two ways via the centre display:
Via the function view
Press the Adjust passenger
seat button to activate.
Via settings
1. Press Settings in the top view.
2. Press
My CarSeats.
3. Select
Adjust Passenger Seat From
Driver Position to activate.
Adjust passenger seatFrom activation of the function, the driver must adjust the passenger seat within 10 seconds. Ifno adjustment is made within this time the func-tion is deactivated. The driver adjusts the passenger seat using the controls on the driver's seat:
Page 584 of 594
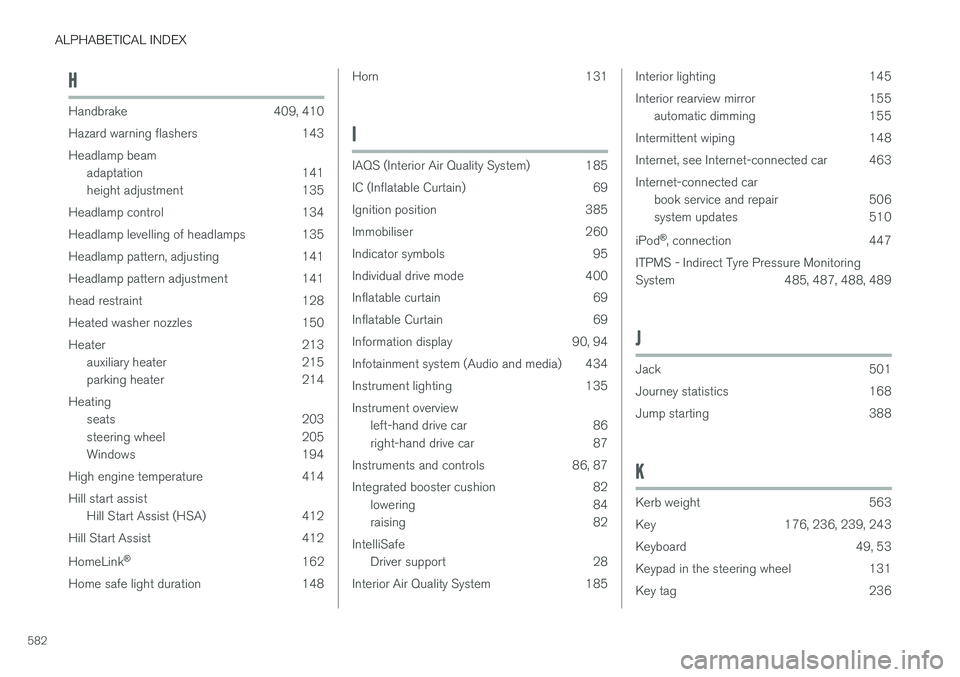
ALPHABETICAL INDEX
582
H
Handbrake 409, 410Hazard warning flashers 143 Headlamp beam adaptation 141
height adjustment 135
Headlamp control 134
Headlamp levelling of headlamps 135
Headlamp pattern, adjusting 141
Headlamp pattern adjustment 141
head restraint 128
Heated washer nozzles 150
Heater 213 auxiliary heater 215
parking heater 214
Heating seats 203
steering wheel 205
Windows 194
High engine temperature 414 Hill start assist Hill Start Assist (HSA) 412
Hill Start Assist 412 HomeLink ®
162
Home safe light duration 148
Horn 131
I
IAQS (Interior Air Quality System) 185
IC (Inflatable Curtain) 69
Ignition position 385
Immobiliser 260
Indicator symbols 95
Individual drive mode 400
Inflatable curtain 69
Inflatable Curtain 69
Information display 90, 94
Infotainment system (Audio and media) 434
Instrument lighting 135Instrument overview left-hand drive car 86
right-hand drive car 87
Instruments and controls 86, 87
Integrated booster cushion 82 lowering 84
raising 82
IntelliSafe Driver support 28
Interior Air Quality System 185
Interior lighting 145
Interior rearview mirror 155 automatic dimming 155
Intermittent wiping 148
Internet, see Internet-connected car 463Internet-connected car book service and repair 506
system updates 510
iPod ®
, connection 447
ITPMS - Indirect Tyre Pressure Monitoring
System 485, 487, 488, 489
J
Jack 501
Journey statistics 168
Jump starting 388
K
Kerb weight 563
Key 176, 236, 239, 243
Keyboard 49, 53
Keypad in the steering wheel 131
Key tag 236