fuel VOLVO XC90 2006 Owners Manual
[x] Cancel search | Manufacturer: VOLVO, Model Year: 2006, Model line: XC90, Model: VOLVO XC90 2006Pages: 256, PDF Size: 6.87 MB
Page 2 of 256
2006 VOLVO XC90
1-800-458-1552
http://www.volvocars.us
In Canada:
Volvo Cars of Canada Ltd.
National Customer Service
175 Gordon Baker Road
North York, Ontario M2H 2N7
1-800-663-8255
http://www.volvocanada.com
2005 © Volvo Cars of North America, LLC
General information
Shiftlock (automatic transmission)
When your vehicle is parked, the gear selector is locked in the (P)ark position. To release the selector from this
position, turn the ignition key to position II (or start the engine), \
depress the brake pedal, press the button on the
front side of the gear selector and move the selector from (P)ark.
Keylock (automatic transmission)
When you switch off the ignition, the gear selector must be in the (P)ark position before the key can be
removed from the ignition switch.
Anti-lock Brake System (ABS)
The ABS system in your vehicle performs a self-diagnostic test when the \
vehicle first reaches the speed of
approximately 12 mph (20 km/h). The brake pedal will pulsate several t\
imes and a sound may be audible from
the ABS control module. This is normal.
Fuel filler door
The fuel filler door, located on the right rear fender, is connected to \
your vehicle's central locking system.
Press the button on the light switch panel (see illustration on
page 29) when the vehicle is at a standstill to
unlock the fuel filler door. Please note that the fuel filler door will \
remain unlocked until the vehicle begins to
move forward. An audible click will be heard when the fuel filler door r\
elocks.
Fuel filler cap
After refueling, close the fuel filler cap by turning it clockwise until\
it clicks into place. If this cap is not closed
tightly or if the engine is running when the vehicle is refueled, the Ma\
lfunction Indicator Lamp ("Check
Engine" light) will illuminate.
Important information
Before you operate your vehicle for the first time, please familiarize y\
ourself with the new engine oil
consumption information on
page 86. You should also be familiar with the information in chapters one, two \
and eight of this manual.
file:///K|/ownersdocs/2006/2006_XC90/06xc90_00.htm (2 of 7)12/30/2006 \
5:32:34 PM
Page 4 of 256
2006 VOLVO XC90
of harmful substances (CO, HC, NOx) from the exhaust pipe by approxima\
tely 95% and the search to eliminate
the remaining emissions continues. Volvo is the only automobile manufact\
urer to offer CFC-free retrofit kits
for the air conditioning system of all models as far back as the 1975 Vo\
lvo 240. Advanced electronic engine
controls, refined purification systems and cleaner fuels are bringing us\
closer to our goal.
After Volvo vehicles and parts have fulfilled their use, recycling is th\
e next critical step in completing the life
cycle. The metal content is about 75% of the total weight of a vehicle, \
which makes the vehicle among the most
recycled industrial products. In order to have efficient and well contro\
lled recycling, many Volvo variants have
printed dismantling manuals, indicating the weight and material of indiv\
idual components. For Volvo, all
homogeneous plastic parts weighing more than 1.7 oz. (50 grams) are ma\
rked with international symbols that
indicate how the component is to be sorted for recycling.
In addition to continuous environmental refinement of conventional gasol\
ine-powered internal combustion
engines, Volvo is actively looking at advanced technology alternative-fu\
el vehicles.
When you drive a Volvo, you become our partner in the work to lessen the\
vehicle's impact on the environment.
To reduce your vehicle's environmental impact, you can:
l Maintain proper air pressure in your tires. Tests have shown decreased f\
uel economy with improperly
inflated tires.
l Follow the recommended maintenance schedule in your Warranty and Service\
Records Information booklet.
l Drive at a constant speed.
l See an authorized Volvo retailer as soon as possible for inspection if t\
he check engine (malfunction
indicator) lamp illuminates, or stays on after the vehicle has started.\
l Properly dispose of any vehicle-related waste such as used motor oil, us\
ed batteries, brake pads, etc.
l When cleaning your vehicle, use Volvo's own vehicle care products, all o\
f which have systematically been
adapted to the environment.
For additional information regarding the environmental activities in whi\
ch Volvo Cars of North America, LLC
and Volvo Car Corporation are involved, visit our Internet home page at:\
http://www.volvocars.us
PremAir®
On the surface of the radiator in the engine compartment, there is a spe\
cial coating called PremAir®. PremAir®
works as a catalytic converter, converting most of the ground-level ozon\
e passing through the radiator into
oxygen, thereby reducing harmful ground-level ozone.
PremAir is a registered trademark of Engelhard Corporation.
Instruments, switches and controls
file:///K|/ownersdocs/2006/2006_XC90/06xc90_00.htm (4 of 7)12/30/2006 \
5:32:34 PM
Page 6 of 256
2006 VOLVO XC90
9. Tachometer 22
10. Ambient temperature gauge, clock, gear indicator 22
11. Fuel gauge 22
12. Indicator and warning symbols 23
13. Panel vents 52
14. Glove compartment 69
15. Hazard warning flashers 36
16. Audio system 183
17. Switches in the center console 27
18. Climate system controls 53
19. Windshield wiper/washer lever 33
20. Audio control buttons in steering wheel 185
21. Instrument panel 22
22. Horn iv
23. Cruise control buttons in steering wheel 38
24. Turn signals, High/low beams 32
25. Front fog lights, Rear fog light 29
26. Parking brake pedal 41
27. Parking brake release handle 41
28. Button for unlocking fuel filler door 29
29. Hood open lever 41
30. Reading lights 65
31. Courtesy light 65
32. Moonroof control (option) 46
33. Seat belt reminder 25
34. Rearview mirror 44
35. Central locking button 79
36. Lockout switch for rear seat power windows 43
37. Power window controls 42
38. Sideview mirror controls 44
WARNING!
If your vehicle is involved in an accident, unseen damage may affect you\
r vehicle's driveability and
safety.
Contents
Contents
file:///K|/ownersdocs/2006/2006_XC90/06xc90_00.htm (6 of 7)12/30/2006 \
5:32:34 PM
Page 36 of 256
2006 VOLVO XC90
2 0 0 6
VOLVO XC90
Instruments and controls
pg. 21 Instruments and controls
Instrument panel22
Indicator and warning symbols23
Switches in center console27
Lighting panel29
Manually unlocking the fuel filler door30
Steering wheel adjustment31
Left-side steering wheel lever32
Right-side steering wheel lever33
Tailgate wiper/washer35
Hazard warning flashers, rear window/sideview mirror defroster, heated f\
ront seats36
Trip computer (option)37
Cruise control38
Opening the tailgate, Auxiliary 12-volt sockets40
Parking brake, Opening/closing the hood41
Electrically operated windows42
Rearview mirror/power folding sideview mirror44
Power moonroof (option)46
file:///K|/ownersdocs/2006/2006_XC90/06xc90_02a.htm (1 of 18)12/30/200\
6 5:32:38 PM
Page 38 of 256
2006 VOLVO XC90
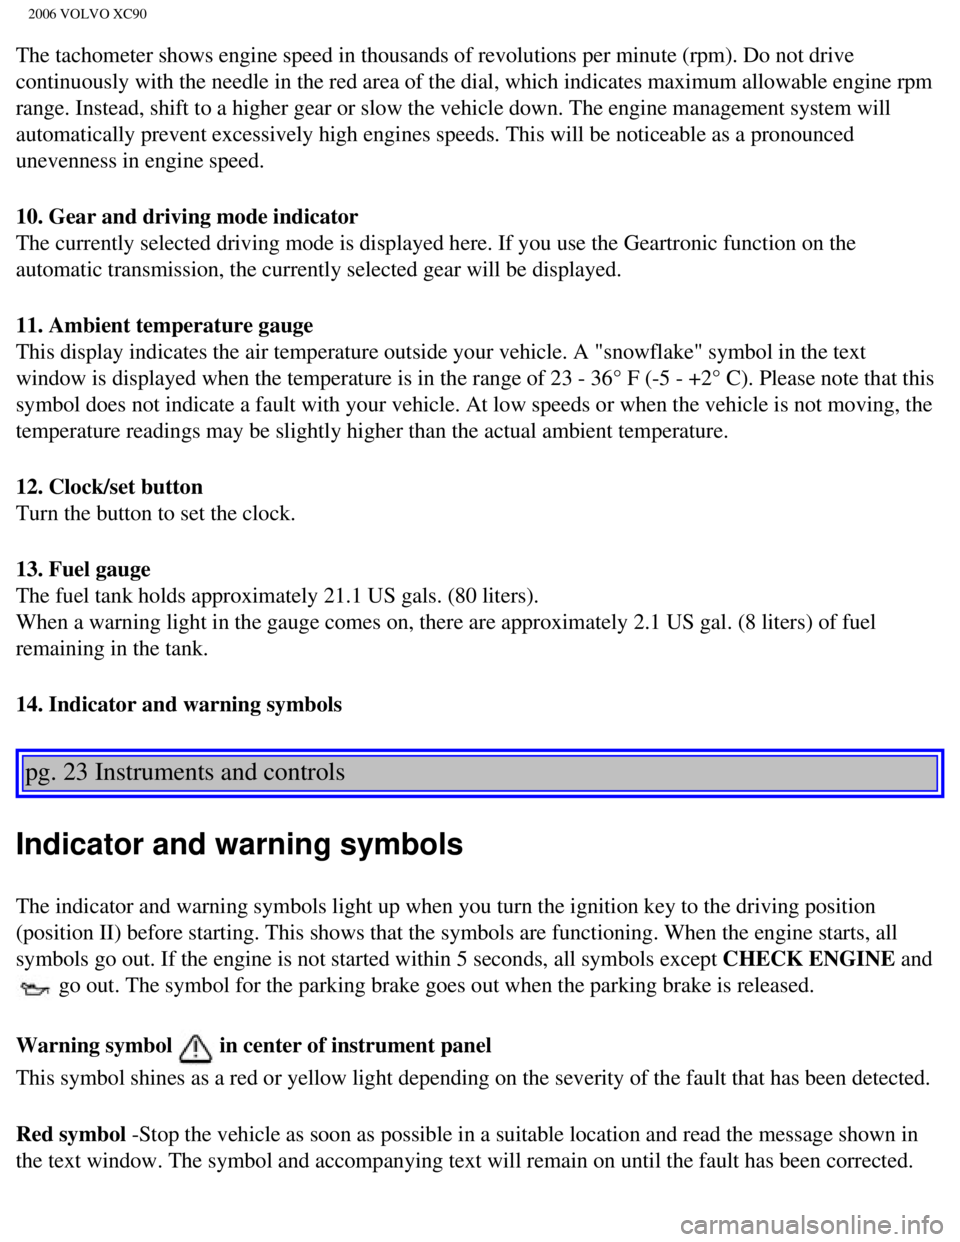
The tachometer shows engine speed in thousands of revolutions per minute\
(rpm). Do not drive
continuously with the needle in the red area of the dial, which indicate\
s maximum allowable engine rpm
range. Instead, shift to a higher gear or slow the vehicle down. The eng\
ine management system will
automatically prevent excessively high engines speeds. This will be noti\
ceable as a pronounced
unevenness in engine speed.
10. Gear and driving mode indicator
The currently selected driving mode is displayed here. If you use the Ge\
artronic function on the
automatic transmission, the currently selected gear will be displayed.
11. Ambient temperature gauge
This display indicates the air temperature outside your vehicle. A "snow\
flake" symbol in the text
window is displayed when the temperature is in the range of 23 - 36° \
F (-5 - +2° C). Please note that this
symbol does not indicate a fault with your vehicle. At low speeds or whe\
n the vehicle is not moving, the
temperature readings may be slightly higher than the actual ambient temp\
erature.
12. Clock/set button
Turn the button to set the clock.
13. Fuel gauge
The fuel tank holds approximately 21.1 US gals. (80 liters).
When a warning light in the gauge comes on, there are approximately 2.1 \
US gal. (8 liters) of fuel
remaining in the tank.
14. Indicator and warning symbols
pg. 23 Instruments and controls
Indicator and warning symbols
The indicator and warning symbols light up when you turn the ignition ke\
y to the driving position
(position II) before starting. This shows that the symbols are functio\
ning. When the engine starts, all
symbols go out. If the engine is not started within 5 seconds, all symbo\
ls except CHECK ENGINE and
go out. The symbol for the parking brake goes out when the parking brak\
e is released.
Warning symbol
in center of instrument panel
This symbol shines as a red or yellow light depending on the severity of\
the fault that has been detected.
Red symbol -Stop the vehicle as soon as possible in a suitable location and read th\
e message shown in
the text window. The symbol and accompanying text will remain on until t\
he fault has been corrected.
file:///K|/ownersdocs/2006/2006_XC90/06xc90_02a.htm (3 of 18)12/30/200\
6 5:32:38 PM
Page 41 of 256
2006 VOLVO XC90
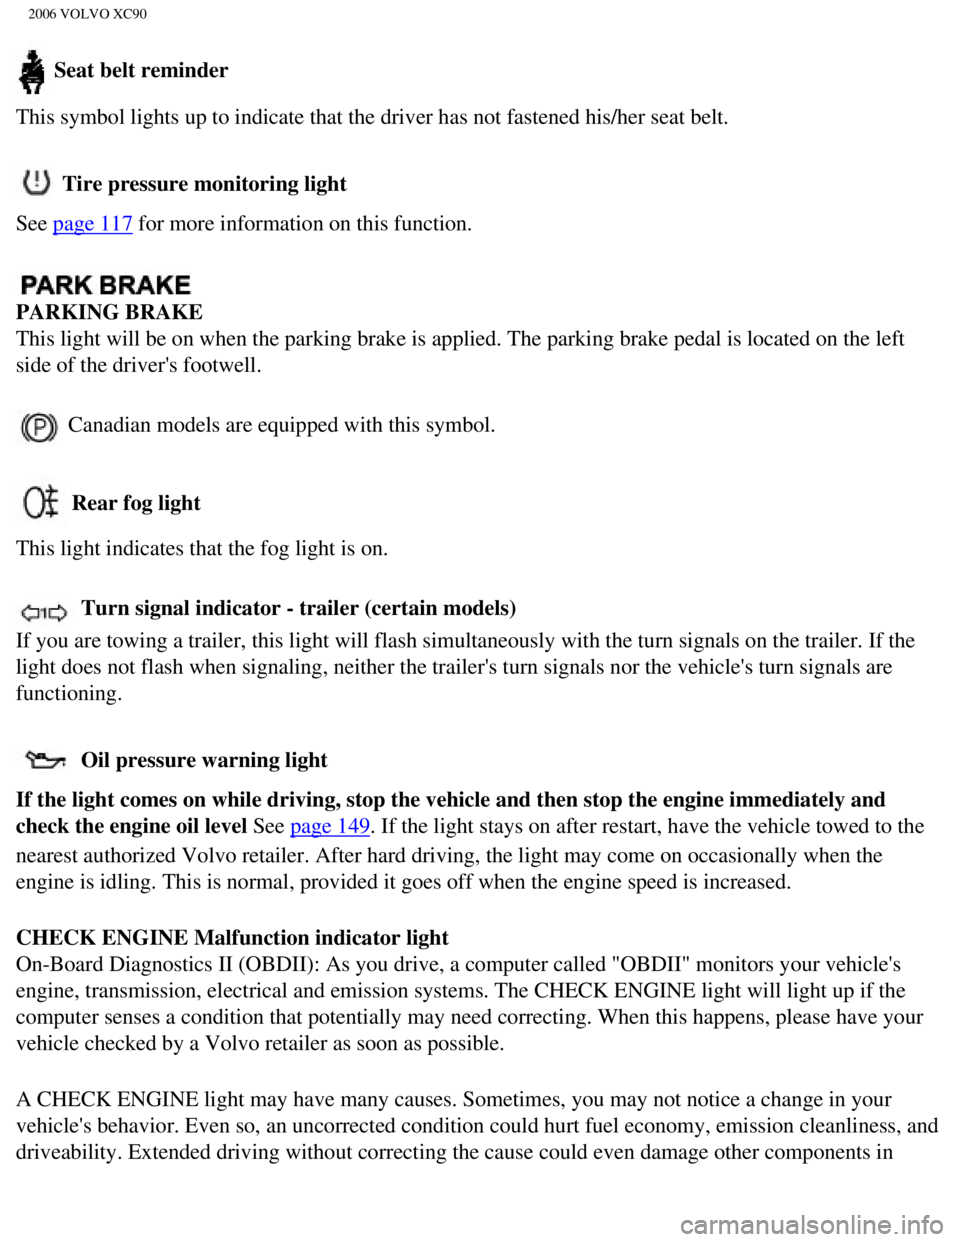
Seat belt reminder
This symbol lights up to indicate that the driver has not fastened his/h\
er seat belt.
Tire pressure monitoring light
See
page 117 for more information on this function.
PARKING BRAKE
This light will be on when the parking brake is applied. The parking bra\
ke pedal is located on the left
side of the driver's footwell.
Canadian models are equipped with this symbol.
Rear fog light
This light indicates that the fog light is on.
Turn signal indicator - trailer (certain models)
If you are towing a trailer, this light will flash simultaneously with t\
he turn signals on the trailer. If the
light does not flash when signaling, neither the trailer's turn signals \
nor the vehicle's turn signals are
functioning.
Oil pressure warning light
If the light comes on while driving, stop the vehicle and then stop the \
engine immediately and
check the engine oil level See
page 149. If the light stays on after restart, have the vehicle towed to the
nearest authorized Volvo retailer. After hard driving, the light may com\
e on occasionally when the
engine is idling. This is normal, provided it goes off when the engine s\
peed is increased.
CHECK ENGINE Malfunction indicator light
On-Board Diagnostics II (OBDII): As you drive, a computer called "OBDI\
I" monitors your vehicle's
engine, transmission, electrical and emission systems. The CHECK ENGINE \
light will light up if the
computer senses a condition that potentially may need correcting. When t\
his happens, please have your
vehicle checked by a Volvo retailer as soon as possible.
A CHECK ENGINE light may have many causes. Sometimes, you may not notice\
a change in your
vehicle's behavior. Even so, an uncorrected condition could hurt fuel ec\
onomy, emission cleanliness, and
driveability. Extended driving without correcting the cause could even d\
amage other components in
file:///K|/ownersdocs/2006/2006_XC90/06xc90_02a.htm (6 of 18)12/30/200\
6 5:32:38 PM
Page 47 of 256
2006 VOLVO XC90
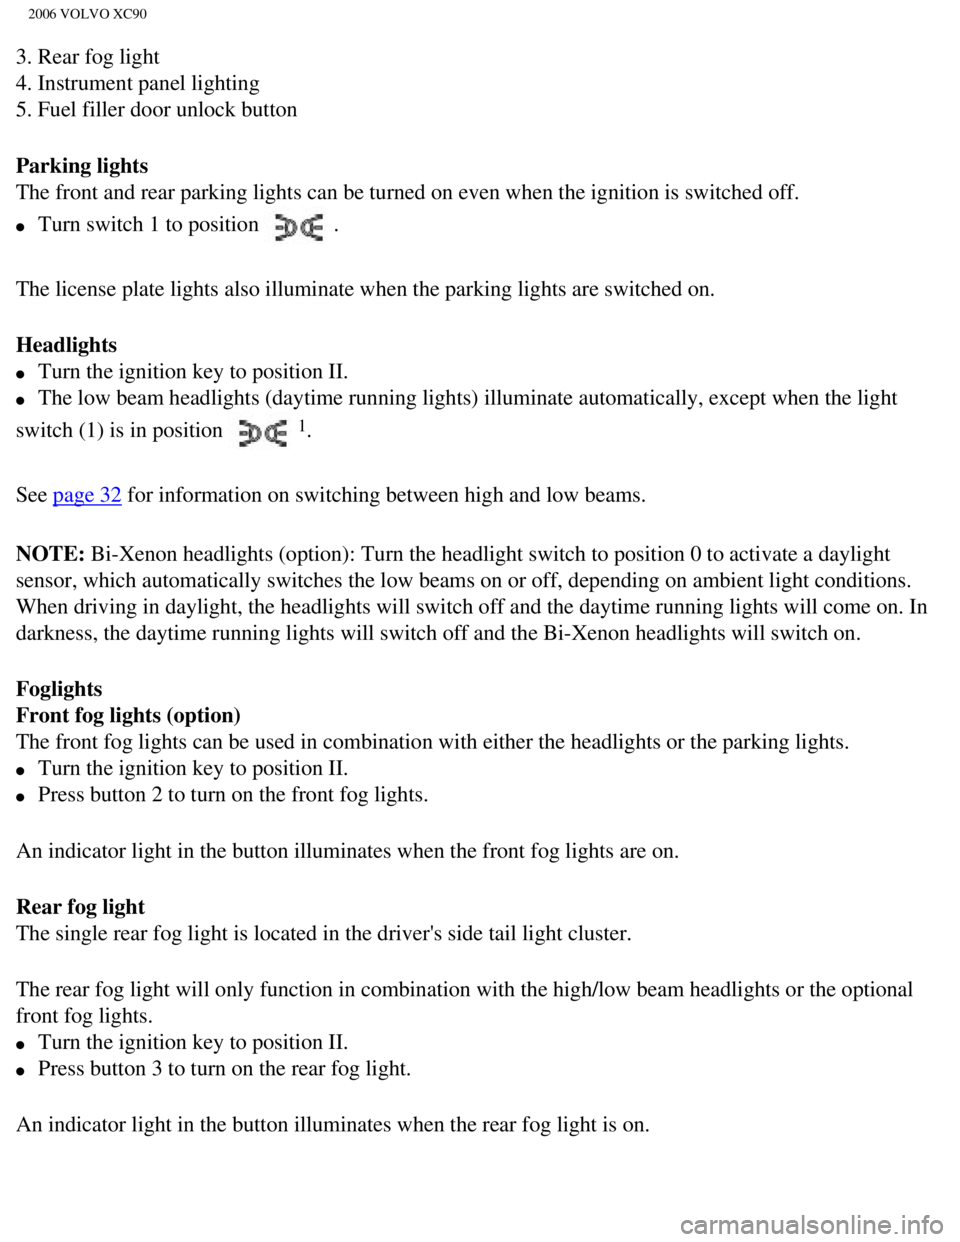
3. Rear fog light
4. Instrument panel lighting
5. Fuel filler door unlock button
Parking lights
The front and rear parking lights can be turned on even when the ignitio\
n is switched off.
l Turn switch 1 to position .
The license plate lights also illuminate when the parking lights are swi\
tched on.
Headlights
l Turn the ignition key to position II.
l The low beam headlights (daytime running lights) illuminate automatica\
lly, except when the light
switch (1) is in position
1.
See
page 32 for information on switching between high and low beams.
NOTE: Bi-Xenon headlights (option): Turn the headlight switch to position 0\
to activate a daylight
sensor, which automatically switches the low beams on or off, depending \
on ambient light conditions.
When driving in daylight, the headlights will switch off and the daytime\
running lights will come on. In
darkness, the daytime running lights will switch off and the Bi-Xenon he\
adlights will switch on.
Foglights
Front fog lights (option)
The front fog lights can be used in combination with either the headligh\
ts or the parking lights.
l Turn the ignition key to position II.
l Press button 2 to turn on the front fog lights.
An indicator light in the button illuminates when the front fog lights a\
re on.
Rear fog light
The single rear fog light is located in the driver's side tail light clu\
ster.
The rear fog light will only function in combination with the high/low b\
eam headlights or the optional
front fog lights.
l Turn the ignition key to position II.
l Press button 3 to turn on the rear fog light.
An indicator light in the button illuminates when the rear fog light is \
on.
file:///K|/ownersdocs/2006/2006_XC90/06xc90_02a.htm (12 of 18)12/30/20\
06 5:32:38 PM
Page 48 of 256
2006 VOLVO XC90
NOTE: The rear fog light is considerably brighter than the normal tail lights \
and should be used only
when conditions such as fog, rain, snow, smoke or dust reduce visibility\
for other vehicles to less than
500 ft. (150 meters).
Instrument panel lighting
The instrument panel lighting illuminates when the ignition key is in po\
sition II and the light switch (1)
is in either position
or .
l Move the thumb wheel (4) up to increase brightness or down to decrease\
brightness.
Unlocking the fuel filler door
Press button 5 when the car is at a standstill to unlock the fuel filler\
door. Please note that the fuel filler
door will remain unlocked until the car begins to move forward. An audib\
le click will be heard when the
fuel filler door relocks.
NOTE: If the fuel filler door does not unlock after the button has been press\
ed, drive the car
1. On Canadian models, the daytime running lights will remain on with th\
e light switch in this position.
pg. 30 Instruments and controls
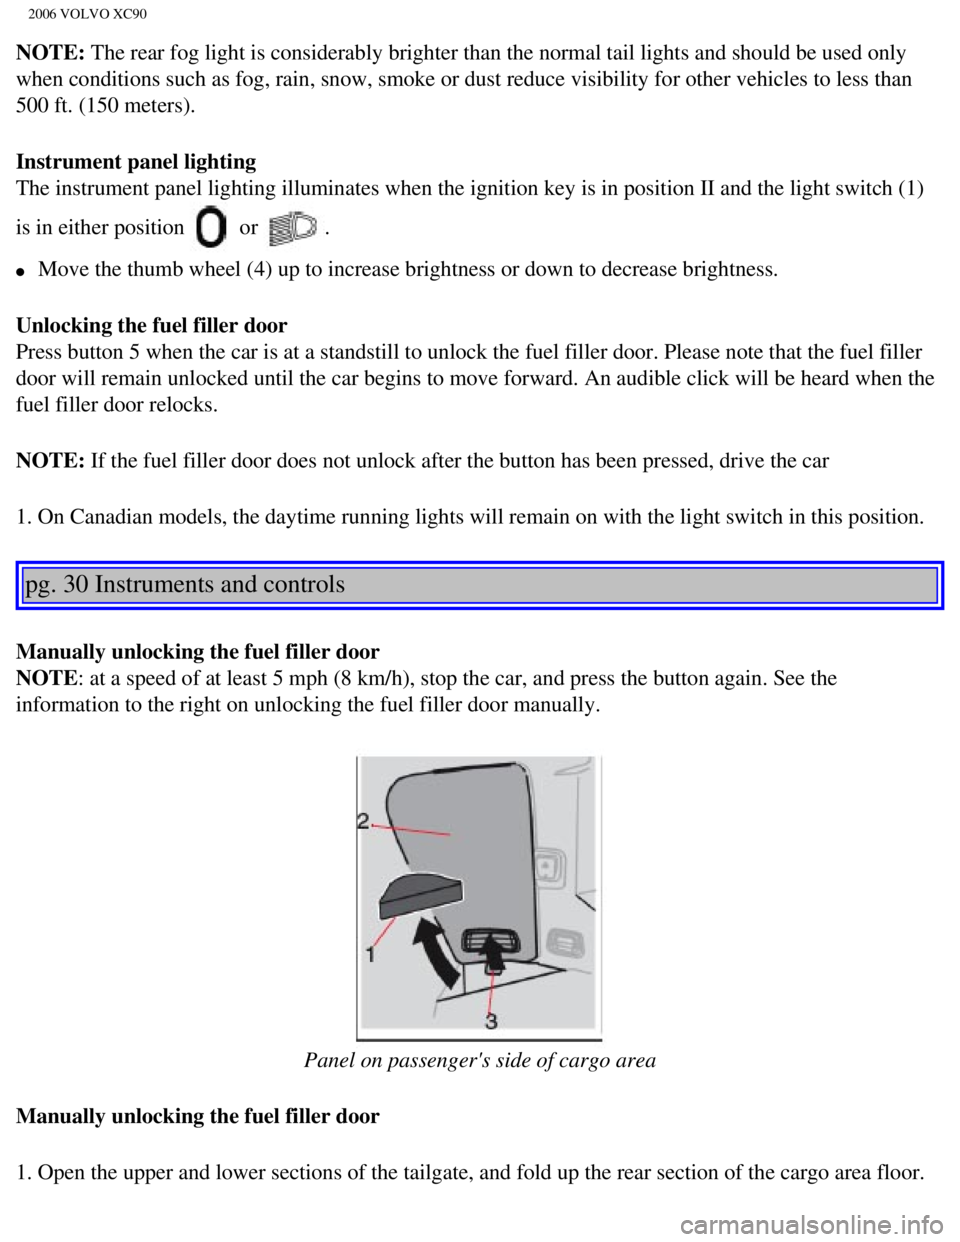
Manually unlocking the fuel filler door
NOTE: at a speed of at least 5 mph (8 km/h), stop the car, and press the b\
utton again. See the
information to the right on unlocking the fuel filler door manually.
Panel on passenger's side of cargo area
Manually unlocking the fuel filler door
1. Open the upper and lower sections of the tailgate, and fold up the re\
ar section of the cargo area floor.
file:///K|/ownersdocs/2006/2006_XC90/06xc90_02a.htm (13 of 18)12/30/20\
06 5:32:38 PM
Page 49 of 256
2006 VOLVO XC90
2. If the vehicle is equipped with the optional grocery bag holder, deta\
ch the holder's bands.
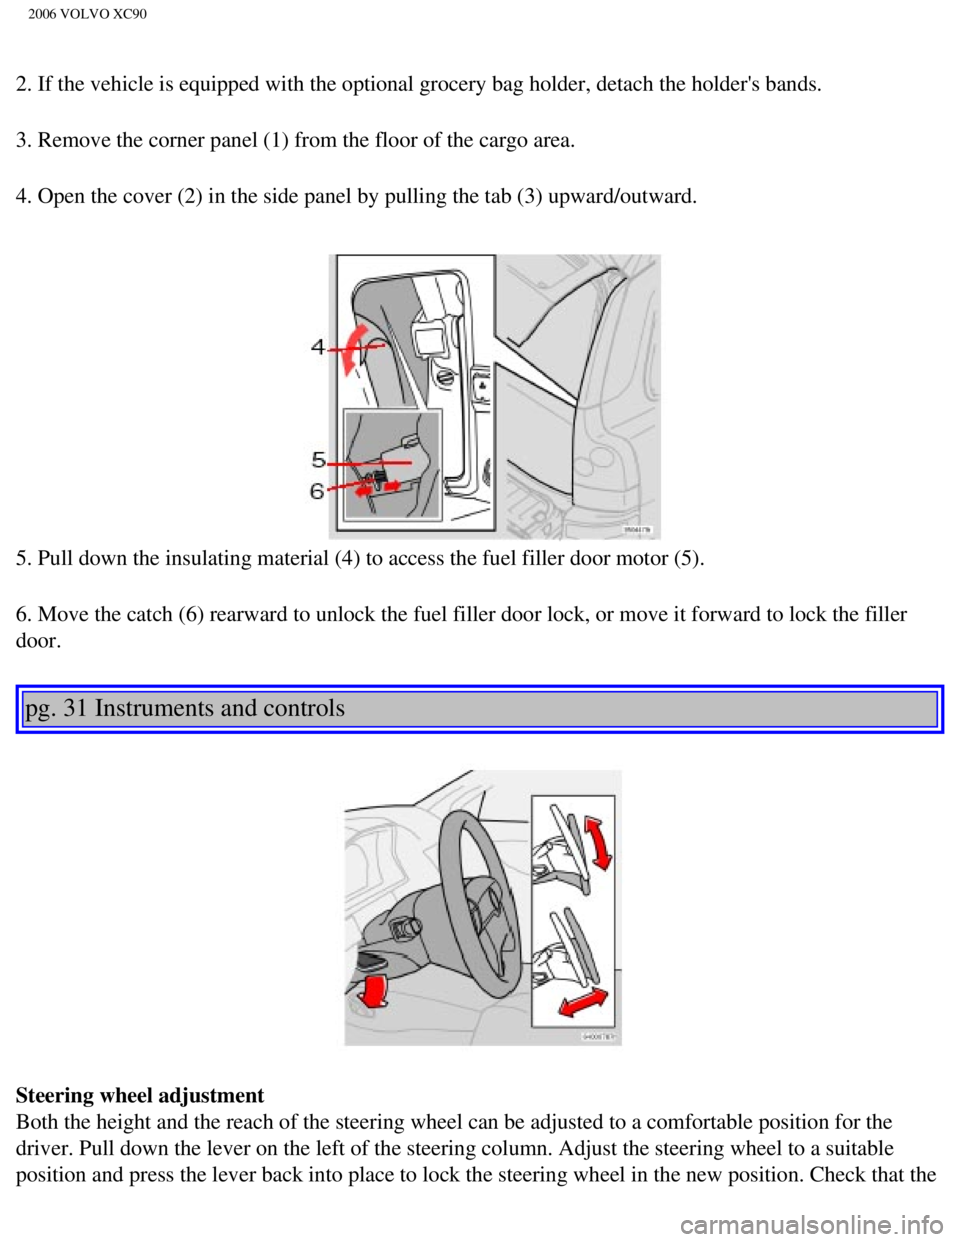
3. Remove the corner panel (1) from the floor of the cargo area.
4. Open the cover (2) in the side panel by pulling the tab (3) upwar\
d/outward.
5. Pull down the insulating material (4) to access the fuel filler doo\
r motor (5).
6. Move the catch (6) rearward to unlock the fuel filler door lock, or\
move it forward to lock the filler
door.
pg. 31 Instruments and controls
Steering wheel adjustment
Both the height and the reach of the steering wheel can be adjusted to a\
comfortable position for the
driver. Pull down the lever on the left of the steering column. Adjust t\
he steering wheel to a suitable
position and press the lever back into place to lock the steering wheel \
in the new position. Check that the
file:///K|/ownersdocs/2006/2006_XC90/06xc90_02a.htm (14 of 18)12/30/20\
06 5:32:38 PM
Page 56 of 256
2006 VOLVO XC90
l The front seat heating can be switched on and off as required.
l Press the switch once for maximum seat heating. Both LED's in the switch\
will be lit.
l Press the switch a second time for comfort heating. One LED in the switc\
h will be lit.
l Press the switch a third time to turn the heating off completely.
The seat heating for the passenger seat should be switched off when the \
seat is not occupied.
pg. 37 Instruments and controls
Trip computer (option)
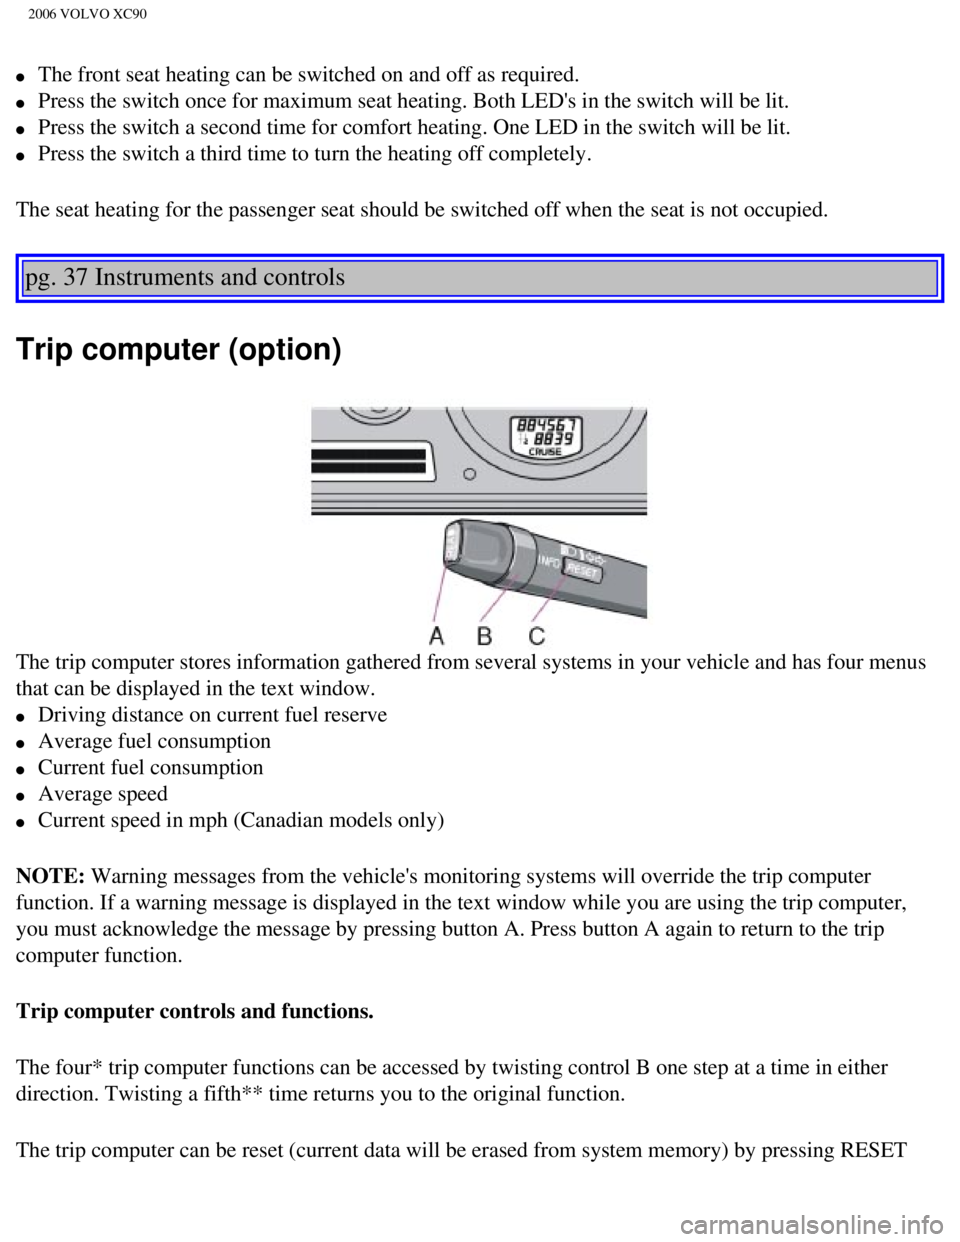
The trip computer stores information gathered from several systems in yo\
ur vehicle and has four menus
that can be displayed in the text window.
l Driving distance on current fuel reserve
l Average fuel consumption
l Current fuel consumption
l Average speed
l Current speed in mph (Canadian models only)
NOTE: Warning messages from the vehicle's monitoring systems will override the\
trip computer
function. If a warning message is displayed in the text window while you\
are using the trip computer,
you must acknowledge the message by pressing button A. Press button A ag\
ain to return to the trip
computer function.
Trip computer controls and functions.
The four* trip computer functions can be accessed by twisting control B \
one step at a time in either
direction. Twisting a fifth** time returns you to the original function.\
The trip computer can be reset (current data will be erased from system\
memory) by pressing RESET
file:///K|/ownersdocs/2006/2006_XC90/06xc90_02b.htm (3 of 17)12/30/200\
6 5:32:40 PM