messages VOLVO XC90 2017 Owner´s Manual
[x] Cancel search | Manufacturer: VOLVO, Model Year: 2017, Model line: XC90, Model: VOLVO XC90 2017Pages: 560, PDF Size: 9.97 MB
Page 117 of 560

INSTRUMENTS AND CONTROLS
115
SettingsChanging measurement standard in the center display:
1. Pull down the center display's Top view andtap
Settings.
2. Tap
SystemUnits of Measurement.
3. Select measurement standard,
Metric,Imperial or US.
Related information
• Instrument panel (p. 124)
• Climate system sensors (p. 183)
Clock The clock is displayed in the instrument panel and in the center display.
Location of the clock in the instrument panel in 12" (upper) and 8" (lower) instrument panels
Certain messages and other information in the instrument panel may temporarily obscure theclock. In the center display, the clock is located at the upper right of the status bar.
Settings for date and time
Select SettingsSystemDate and Timein the center display's Top view to change the format for displaying date or time. Set the date and time by tapping the up or down arrows on the center display.
Automatic time
The function Auto Time is also available, which
adjusts the time zone automatically, depending on the vehicle's location. If
Auto Time has not
been selected, set the date and time manually by tapping the up or down arrows on the center dis-play.
Daylight savings time
In certain countries, an automatic change to day- light savings time can be selected by activating
Auto. If the automatic change is not available,
change to daylight savings time by selecting Onor Off.
Related information
• Instrument panel (p. 124)
• Center display overview (p. 28)
• Using the center display (p. 44)
Page 121 of 560
INSTRUMENTS AND CONTROLS
}}
* Option/accessory.119
Voice control
Voice commands make it possible for the driver to voice-control certain functions in the mediaplayer, a Bluetooth-connected cell phone, cli- mate system and the Volvo navigation system *.
Voice control offers convenience and enables the driver to keep his/her hands on the steeringwheel and concentrate on driving and the trafficsituation around the vehicle.
WARNING
As the driver, you have full responsibility for operating the vehicle safely and adhering toall applicable traffic regulations.
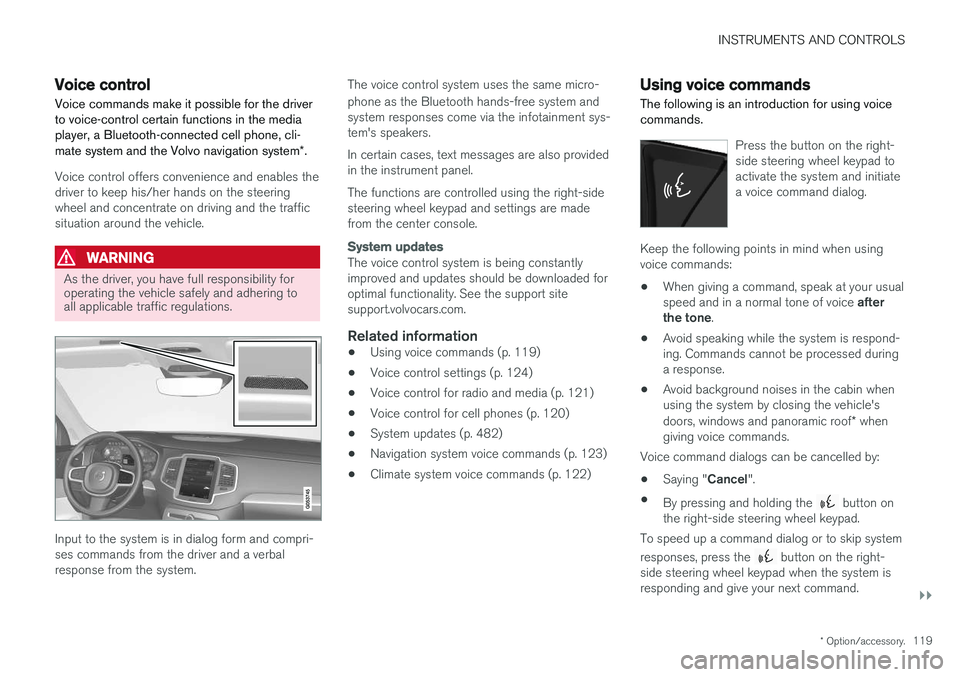
Input to the system is in dialog form and compri- ses commands from the driver and a verbalresponse from the system. The voice control system uses the same micro- phone as the Bluetooth hands-free system and system responses come via the infotainment sys-tem's speakers. In certain cases, text messages are also provided in the instrument panel. The functions are controlled using the right-side steering wheel keypad and settings are madefrom the center console.
System updates
The voice control system is being constantly improved and updates should be downloaded foroptimal functionality. See the support sitesupport.volvocars.com.
Related information
•
Using voice commands (p. 119)
• Voice control settings (p. 124)
• Voice control for radio and media (p. 121)
• Voice control for cell phones (p. 120)
• System updates (p. 482)
• Navigation system voice commands (p. 123)
• Climate system voice commands (p. 122)
Using voice commands
The following is an introduction for using voice commands.
Press the button on the right- side steering wheel keypad toactivate the system and initiatea voice command dialog.
Keep the following points in mind when using voice commands:
• When giving a command, speak at your usual speed and in a normal tone of voice
after
the tone .
• Avoid speaking while the system is respond- ing. Commands cannot be processed duringa response.
• Avoid background noises in the cabin whenusing the system by closing the vehicle's doors, windows and panoramic roof
* when
giving voice commands.
Voice command dialogs can be cancelled by:
• Saying "
Cancel".
• By pressing and holding the
button on
the right-side steering wheel keypad.
To speed up a command dialog or to skip system responses, press the
button on the right-
side steering wheel keypad when the system is responding and give your next command.
Page 122 of 560
![VOLVO XC90 2017 Owner´s Manual ||
INSTRUMENTS AND CONTROLS
120
Voice command examples
Press , say "Call"-"[First-name] "-"[Last-
name] "-"[number category] " to call a contact
in your phonebook if th](/img/45/36377/w960_36377-121.png "VOLVO XC90 2017 Owner´s Manual ||
INSTRUMENTS AND CONTROLS
120
Voice command examples
Press , say \"Call\"-\"[First-name] \"-\"[Last-
name] \"-\"[number category] \" to call a contact
in your phonebook if th")
||
INSTRUMENTS AND CONTROLS
120
Voice command examples
Press , say "Call"-"[First-name] "-"[Last-
name] "-"[number category] " to call a contact
in your phonebook if the person has more than one phone number listed (i.e., home, mobile, work,etc.). For example, press
and say
" Call "-"Robin "-"Smith "-"mobile ".
Commands/phrasesThe following commands can always be used: •
Repeat: the system will repeat the most
recent voice instruction.
•
Cancel: cancel the dialog.
•
Help: Initiates a help dialog. The system will
provide several alternative commands that can be used in a given situation.
The commands for specific situations are descri-bed in the respective articles such as "Cell phonecommands", etc.
Numbers
Numbers can be spoken in different ways depending on the context and function beingused:
• Phone numbers and zip codes
should be
spoken individually, number by number, e.g.,five five five one two three four (5551234).
• Addresses (house numbers)
can be spo-
ken individually or as a group, e.g., two two ortwenty-two (22). It is also possible to say a sequence of numbers, e.g., twenty-twotwenty-two (22 22) and "double" or "triple"can also be used, e.g., double zero (00) or tri-ple zero (000). Numbers in the range0-2300 can be used.
• Frequencies
can be spoken ninety-eight
point eight (98.8), one hundred four pointtwo (104.2) or hundred four point two(104.2).
Related information
• Voice control (p. 119)
Voice control for cell phones Voice commands can be used to control many of the most common functions in a Bluetooth ®
-
connected cell phone.
To specify a phone book contact, the voice com- mand has to include the contact's informationthat is in the phone book. For example, if a con- tact such as
John Smith has several phone
numbers, a number category such as home ormobile can be specified. To call, say: "Call John
Smith mobile".
To use the voice control system, press the
on the right-side steering wheel keypad and say one of the following commands after the tone:
• "
Call [contact]": call a contact from your
phone book.
• "
Call [phone number]": call a phone num-
ber.
• "
Recent calls": displays the list of recent
calls.
• "
Read message": reads a message aloud.
If there are several messages, select the one to be read.
• "
Message to [contact]": an empty mes-
sage to the selected contact will open and is ready for dictation to begin.
Page 126 of 560
INSTRUMENTS AND CONTROLS
* Option/accessory.
124
Voice control settings
There are a number of settings that can be made for the voice control system.
Open the center display's Top view and tap
SettingsSystemVoice Control and
select settings. •
Repeat Voice Command
•Gender
•Speech Rate
Sound settings
Open Top view and tap SettingsSound
System VolumesVoice Control.
Changing languages
The voice control system only understands the languages marked by the
symbol in the list
of possible system languages. Changing the language for this system also affects menus, messages and help texts. Open Top view and tap
SettingsSystemSystem Language.
Related information
• Voice control (p. 119)
• Using voice commands (p. 119)
• Navigation system voice commands (p. 123)
Instrument panel
The instrument panel displays vehicle- and driv- ing-related information.
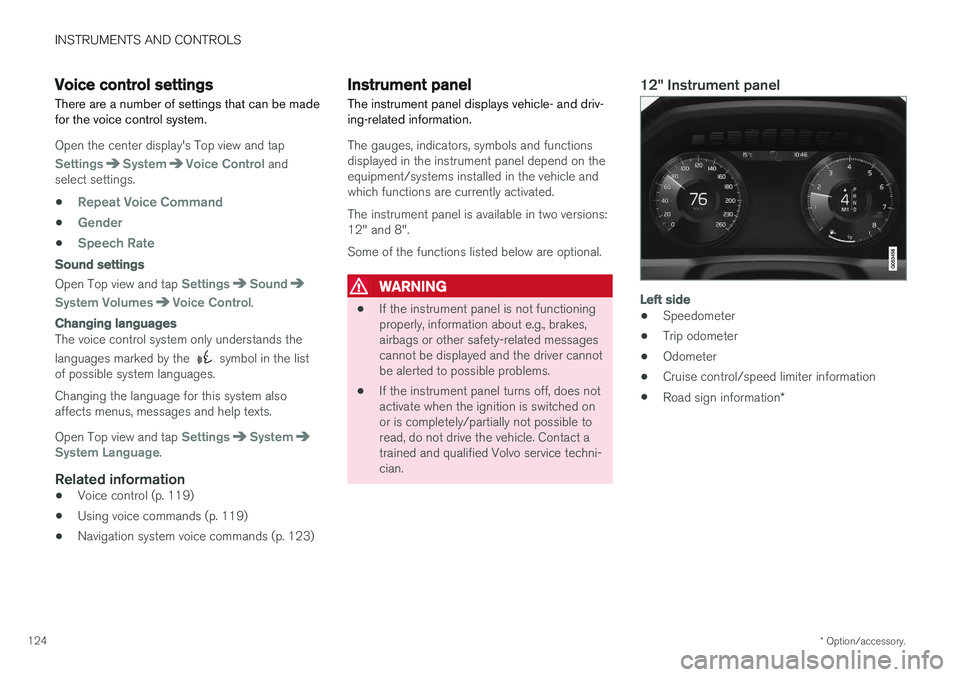
The gauges, indicators, symbols and functions displayed in the instrument panel depend on theequipment/systems installed in the vehicle andwhich functions are currently activated. The instrument panel is available in two versions: 12" and 8". Some of the functions listed below are optional.
WARNING
• If the instrument panel is not functioning properly, information about e.g., brakes,airbags or other safety-related messagescannot be displayed and the driver cannotbe alerted to possible problems.
• If the instrument panel turns off, does notactivate when the ignition is switched onor is completely/partially not possible toread, do not drive the vehicle. Contact atrained and qualified Volvo service techni-cian.
12" Instrument panel
Left side
• Speedometer
• Trip odometer
• Odometer
• Cruise control/speed limiter information
• Road sign information
*
Page 127 of 560
INSTRUMENTS AND CONTROLS
}}
* Option/accessory.125
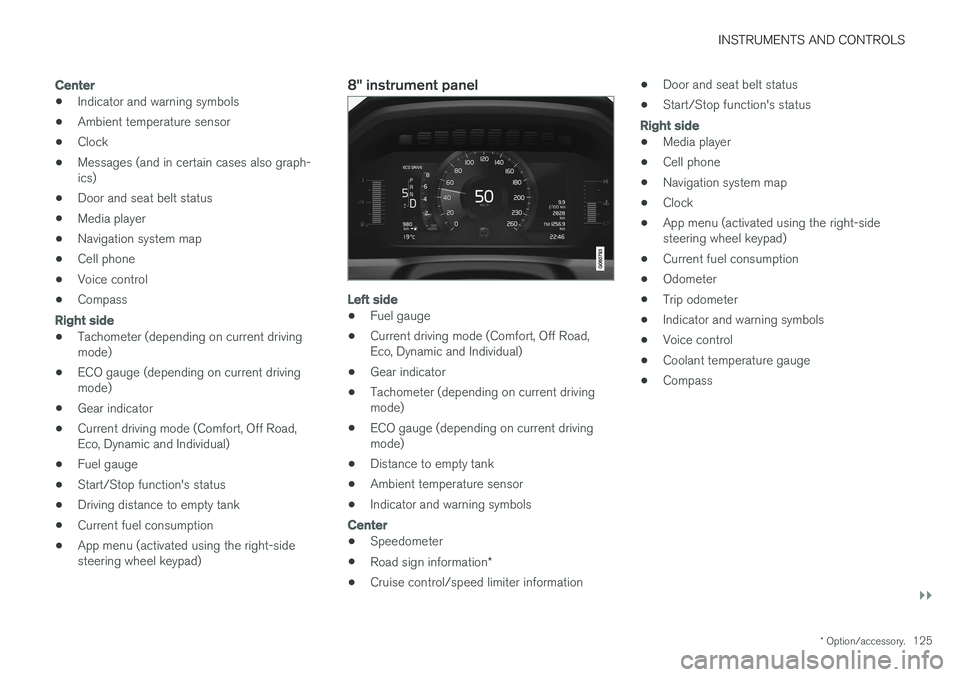
Center
•Indicator and warning symbols
• Ambient temperature sensor
• Clock
• Messages (and in certain cases also graph- ics)
• Door and seat belt status
• Media player
• Navigation system map
• Cell phone
• Voice control
• Compass
Right side
•
Tachometer (depending on current driving mode)
• ECO gauge (depending on current drivingmode)
• Gear indicator
• Current driving mode (Comfort, Off Road,Eco, Dynamic and Individual)
• Fuel gauge
• Start/Stop function's status
• Driving distance to empty tank
• Current fuel consumption
• App menu (activated using the right-sidesteering wheel keypad)
8" instrument panel
Left side
• Fuel gauge
• Current driving mode (Comfort, Off Road, Eco, Dynamic and Individual)
• Gear indicator
• Tachometer (depending on current drivingmode)
• ECO gauge (depending on current drivingmode)
• Distance to empty tank
• Ambient temperature sensor
• Indicator and warning symbols
Center
•
Speedometer
• Road sign information
*
• Cruise control/speed limiter information •
Door and seat belt status
• Start/Stop function's status
Right side
•Media player
• Cell phone
• Navigation system map
• Clock
• App menu (activated using the right-side steering wheel keypad)
• Current fuel consumption
• Odometer
• Trip odometer
• Indicator and warning symbols
• Voice control
• Coolant temperature gauge
• Compass
Page 128 of 560
||
INSTRUMENTS AND CONTROLS
126
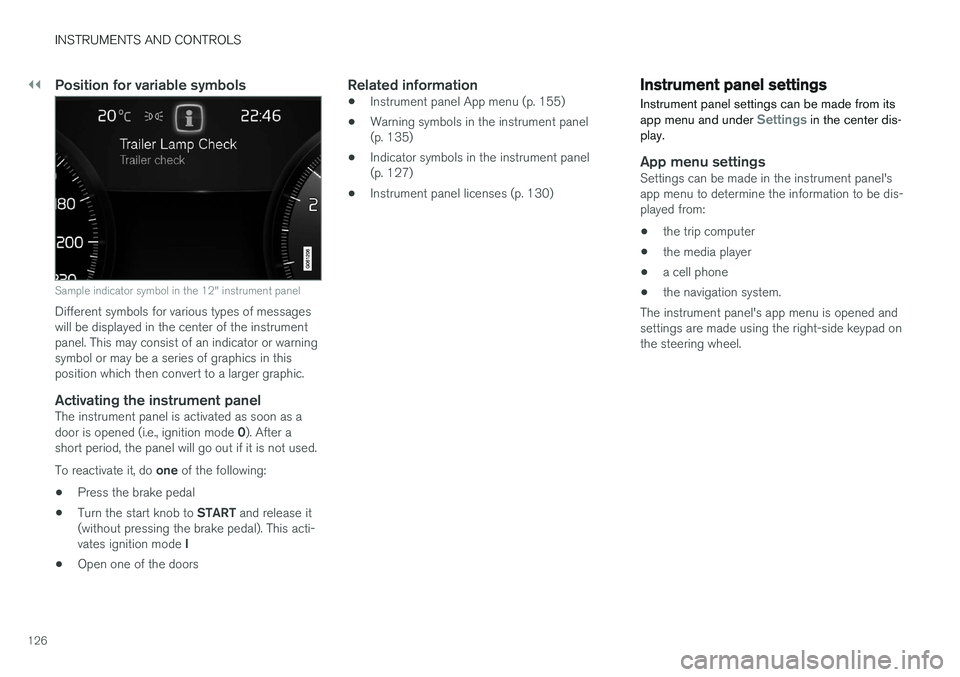
Position for variable symbols
Sample indicator symbol in the 12" instrument panel
Different symbols for various types of messages will be displayed in the center of the instrumentpanel. This may consist of an indicator or warningsymbol or may be a series of graphics in thisposition which then convert to a larger graphic.
Activating the instrument panelThe instrument panel is activated as soon as a door is opened (i.e., ignition mode 0). After a
short period, the panel will go out if it is not used. To reactivate it, do one of the following:
• Press the brake pedal
• Turn the start knob to
START and release it
(without pressing the brake pedal). This acti- vates ignition mode I
• Open one of the doors
Related information
• Instrument panel App menu (p. 155)
• Warning symbols in the instrument panel (p. 135)
• Indicator symbols in the instrument panel(p. 127)
• Instrument panel licenses (p. 130)
Instrument panel settings
Instrument panel settings can be made from its app menu and under
Settings in the center dis-
play.
App menu settingsSettings can be made in the instrument panel's app menu to determine the information to be dis-played from:
• the trip computer
• the media player
• a cell phone
• the navigation system.
The instrument panel's app menu is opened andsettings are made using the right-side keypad onthe steering wheel.
Page 145 of 560
INSTRUMENTS AND CONTROLS
}}
* Option/accessory.143
Active high beams may be temporarily unavailable (e.g., in heavy fog or rain). When the systembecomes active again or if the sensors in thewindshield are no longer obscured, the messages will disappear and the
symbol will illumi-
nate.
WARNING
• Automatic high beams are a driving aid designed to help provide the best possi-ble headlight illumination in good drivingconditions.
• The use of aftermarket or non-Volvoglass can have an adverse effect on theautomatic high beam function.
• The driver is always responsible for man-ually toggling between high and lowbeams when this is required by traffic orweather conditions.
CAUTION
In the following situations, it may be neces- sary to switch between high and low beamsmanually:
• In heavy fog or rain
• In blowing snow or slush
• In bright moonlight
• In freezing rain
• In areas with dim street lighting
• When oncoming vehicles have dim frontlighting
• If there are pedestrians on or near theroad
• If there are reflective objects, such assigns, near the road
• When oncoming vehicles' lights areobscured by e.g., fences, bushes, etc.
• When there are vehicles on connectingroads
• At the top of hills or in dips in the road
• In sharp curves
Related information
•
City Safety
™ troubleshooting (p. 310)
• Lighting panel and controls (p. 138)
Active Bending Lights
*
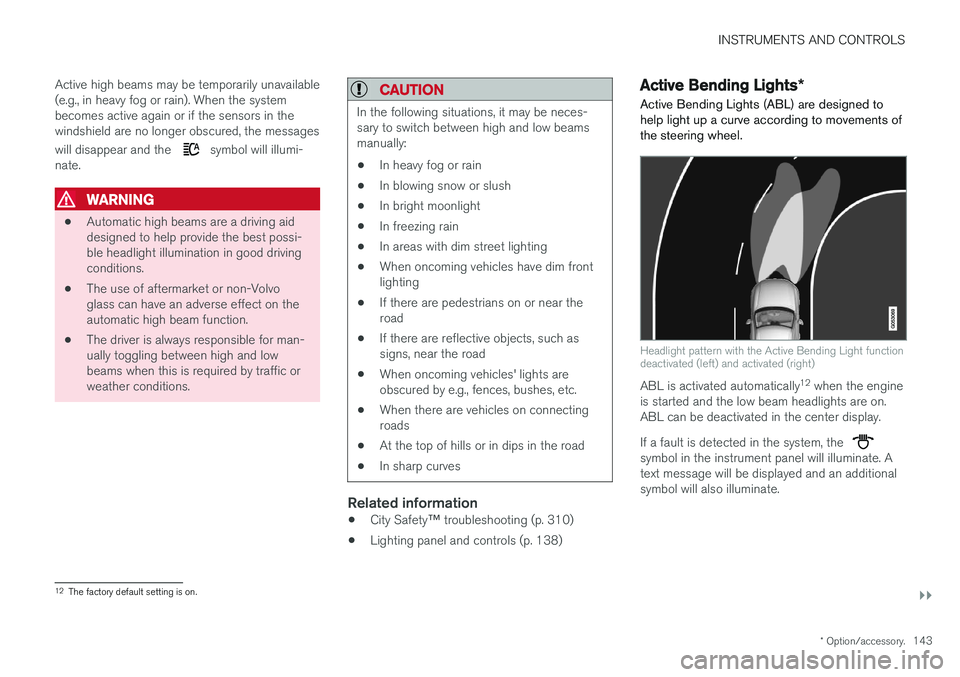
Active Bending Lights (ABL) are designed to help light up a curve according to movements ofthe steering wheel.
Headlight pattern with the Active Bending Light function deactivated (left) and activated (right)
ABL is activated automatically 12
when the engine
is started and the low beam headlights are on. ABL can be deactivated in the center display. If a fault is detected in the system, the
symbol in the instrument panel will illuminate. A text message will be displayed and an additionalsymbol will also illuminate.
12 The factory default setting is on.
Page 152 of 560
INSTRUMENTS AND CONTROLS
* Option/accessory.
150
Home safe lighting
The home safe lighting function illuminates the area in front of the vehicle in dark conditions.
This function turns on the headlights, parking lights, outer door handle lights * and license plate
lights for a set amount of time. The length of time that these lights remain illumi- nated can be set in the center display. Thedefault setting is 30 seconds. To activate home safe lighting:1. Switch off the ignition (mode 0).
2. Push the turn signal lever as far as possible towards the dashboard and release it.
3. Exit the vehicle and lock the doors.
Related information
• Using the center display (p. 44)
• Settings view (p. 109)
• Ignition modes (p. 380)
Approach lighting
Approach lighting (the parking lights, outer door handle lights *, license plate lighting, courtesy
lighting and footwell lighting) can be activated to provide light as you walk toward the vehicle.
To use this feature, deselect/select Welcome
Light in the center display's menu system.
If this function has been selected in the menu, it
is activated by pressing the unlock button on the remote key as you approach the vehicle .
If a door is opened while the function is activated, the lighting in the outer door handle * and cour-
tesy lighting will remain illuminated for a some- what longer period of time.
Related information
• Settings view (p. 109)
• Home safe lighting (p. 150)
• Remote key (p. 227)
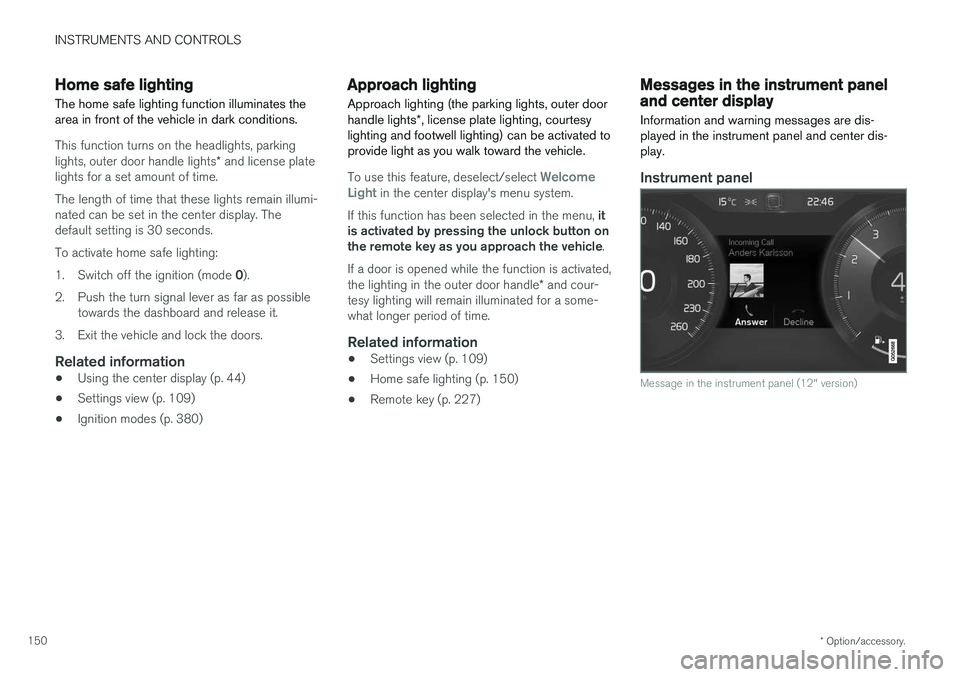
Messages in the instrument panel and center display Information and warning messages are dis- played in the instrument panel and center dis-play.
Instrument panel
Message in the instrument panel (12" version)
Page 153 of 560
INSTRUMENTS AND CONTROLS
}}
151
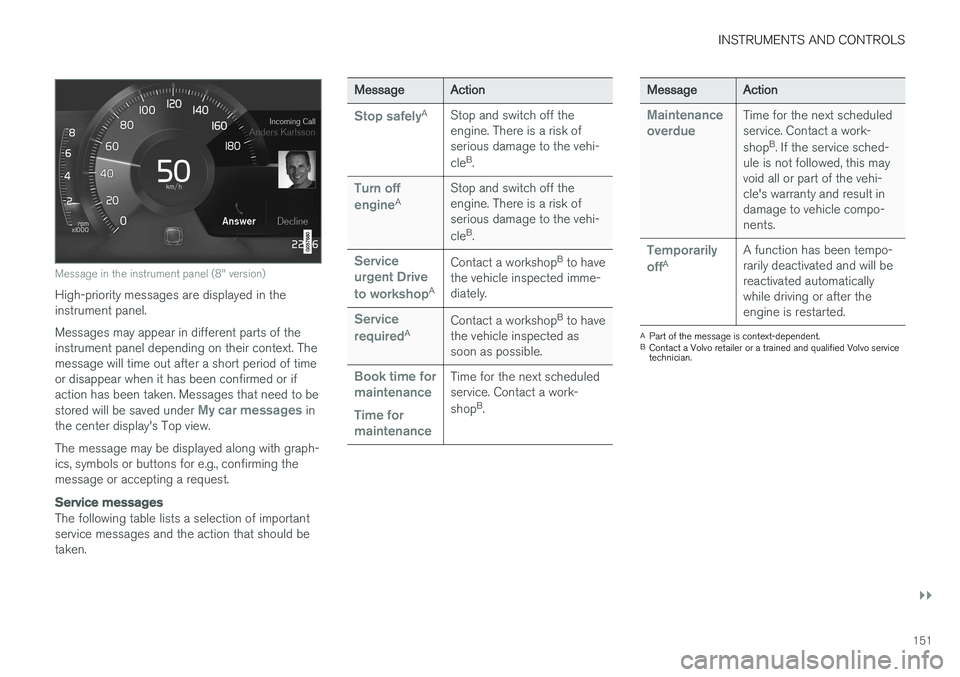
Message in the instrument panel (8" version)
High-priority messages are displayed in the instrument panel. Messages may appear in different parts of the instrument panel depending on their context. Themessage will time out after a short period of timeor disappear when it has been confirmed or ifaction has been taken. Messages that need to be stored will be saved under
My car messages in
the center display's Top view. The message may be displayed along with graph- ics, symbols or buttons for e.g., confirming themessage or accepting a request.
Service messages
The following table lists a selection of important service messages and the action that should betaken.
Message Action
Stop safelyA
Stop and switch off the engine. There is a risk ofserious damage to the vehi- cleB
.
Turn off engineA Stop and switch off the engine. There is a risk ofserious damage to the vehi- cle
B
.
Service urgent Drive to workshop
A Contact a workshop
B
to have
the vehicle inspected imme- diately.
Service requiredA Contact a workshop
B
to have
the vehicle inspected as soon as possible.
Book time for maintenance Time for maintenanceTime for the next scheduled service. Contact a work- shop B
.
Message Action
Maintenance overdueTime for the next scheduled service. Contact a work- shopB
. If the service sched-
ule is not followed, this may void all or part of the vehi-cle's warranty and result indamage to vehicle compo-nents.
Temporarily offA A function has been tempo- rarily deactivated and will bereactivated automaticallywhile driving or after theengine is restarted.
A
Part of the message is context-dependent.
B Contact a Volvo retailer or a trained and qualified Volvo service technician.
Page 154 of 560
||
INSTRUMENTS AND CONTROLS
152
Center display
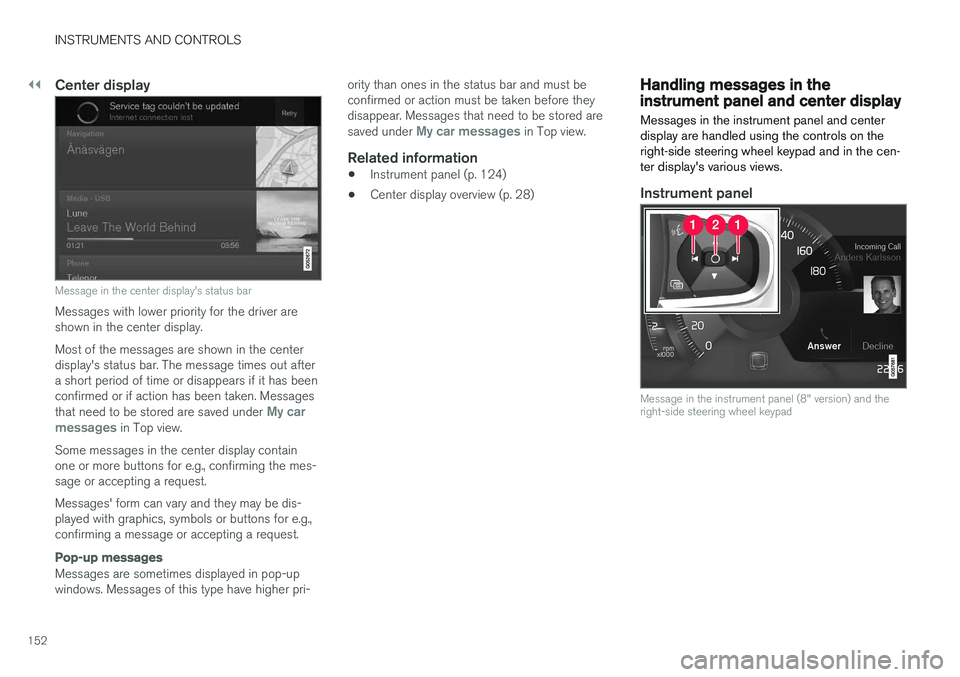
Message in the center display's status bar
Messages with lower priority for the driver are shown in the center display. Most of the messages are shown in the center display's status bar. The message times out aftera short period of time or disappears if it has beenconfirmed or if action has been taken. Messages that need to be stored are saved under
My car
messages in Top view.
Some messages in the center display contain one or more buttons for e.g., confirming the mes-sage or accepting a request. Messages' form can vary and they may be dis- played with graphics, symbols or buttons for e.g.,confirming a message or accepting a request.
Pop-up messages
Messages are sometimes displayed in pop-up windows. Messages of this type have higher pri- ority than ones in the status bar and must beconfirmed or action must be taken before theydisappear. Messages that need to be stored are saved under
My car messages in Top view.
Related information
•
Instrument panel (p. 124)
• Center display overview (p. 28)
Handling messages in the instrument panel and center display
Messages in the instrument panel and center display are handled using the controls on theright-side steering wheel keypad and in the cen-ter display's various views.
Instrument panel
Message in the instrument panel (8" version) and the right-side steering wheel keypad