fuel YAMAHA SR125 2000 Owners Manual
[x] Cancel search | Manufacturer: YAMAHA, Model Year: 2000, Model line: SR125, Model: YAMAHA SR125 2000Pages: 78, PDF Size: 8.59 MB
Page 7 of 78
EAU00009
TABLE OF CONTENTS
GIVE SAFETY THE RIGHT OF WAY ..................1-1
DESCRIPTION ....................................................2-1
Left view ............................................................. 2-1
Right view...........................................................2-2
Controls/Instruments ..........................................2-3
INSTRUMENT AND CONTROL FUNCTIONS ....3-1
Main switch/steering lock ................................... 3-1
Indicator lights ....................................................3-2
Speedometer......................................................3-2
Handlebar switches ............................................3-2
Clutch lever ........................................................3-4
Shift pedal ..........................................................3-4
Front brake lever ................................................ 3-4
Rear brake pedal................................................ 3-5
Fuel tank cap......................................................3-5
Fuel ....................................................................3-6
Fuel cock ............................................................3-6
Starter (choke) knob...........................................3-7
Seat ....................................................................3-8
Helmet holder .....................................................3-8
Rear shock absorber adjustment .......................3-9
Sidestand ...........................................................3-9
Sidestand/clutch switch operation check ......... 3-10PRE-OPERATION CHECKS ...............................4-1
Pre-operation check list......................................4-1
OPERATION AND IMPORTANT RIDING
POINTS................................................................5-1
Starting the engine .............................................5-1
Starting a warm engine ......................................5-3
Shifting ...............................................................5-4
Recommended shift points
(for Switzerland only) ......................................5-4
Tips for reducing fuel consumption ....................5-5
Engine break-in ..................................................5-5
Parking ...............................................................5-6
PERIODIC MAINTENANCE AND MINOR
REPAIR................................................................6-1
Tool kit................................................................6-1
Periodic maintenance and lubrication chart .......6-2
Panel removal and installation ...........................6-5
Panels A and B ..................................................6-5
Spark plug ..........................................................6-6
Engine oil ...........................................................6-8
Air filter .............................................................6-10
Carburetor adjustment .....................................6-11
Idle speed adjustment ......................................6-11
123
456
E_3mw.book Page 1 Monday, February 5, 2001 9:54 AM
Page 10 of 78
2-1
2
EAU00026
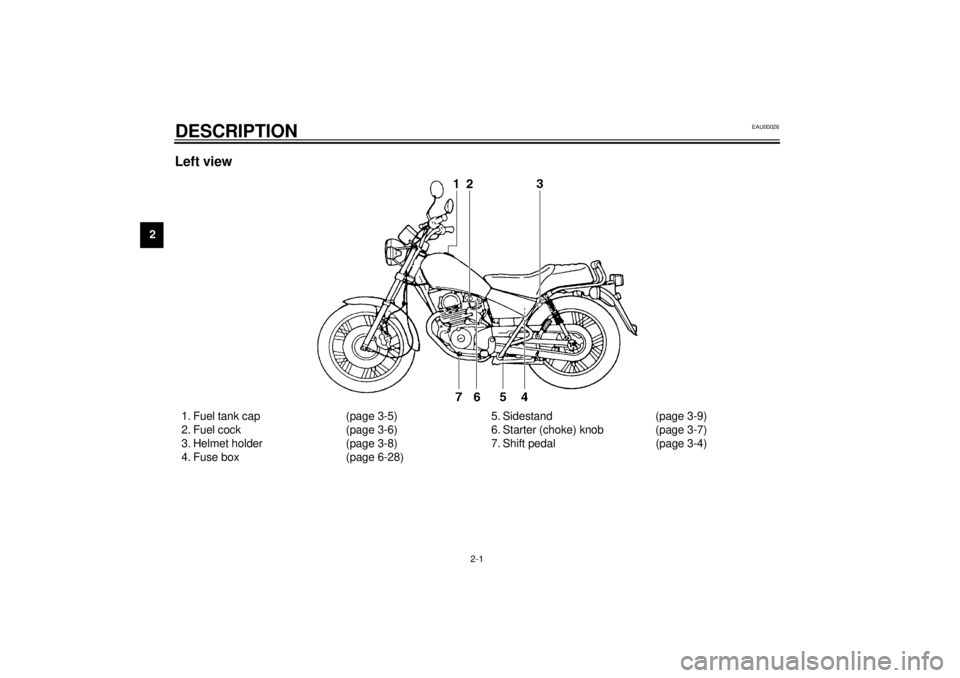
2-DESCRIPTIONLeft view1. Fuel tank cap (page 3-5)
2. Fuel cock (page 3-6)
3. Helmet holder (page 3-8)
4. Fuse box (page 6-28)5. Sidestand (page 3-9)
6. Starter (choke) knob (page 3-7)
7. Shift pedal (page 3-4)
E_3mw.book Page 1 Monday, February 5, 2001 9:54 AM
Page 14 of 78
INSTRUMENT AND CONTROL FUNCTIONS
3-2
3
EAU00056
Indicator lights
EAU00061
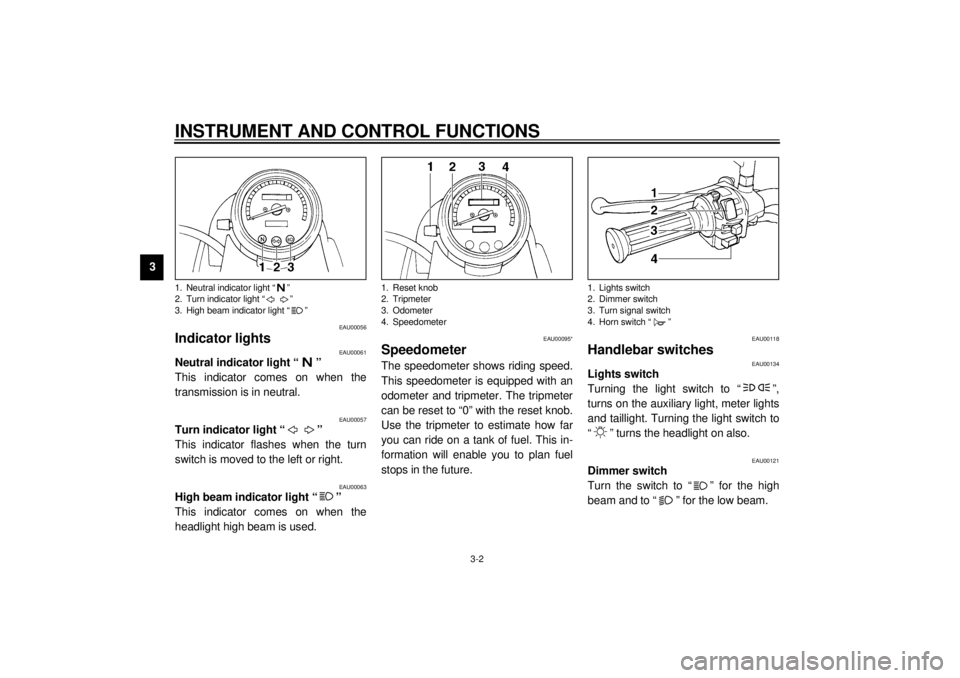
Neutral indicator light “ ”
This indicator comes on when the
transmission is in neutral.
EAU00057
Turn indicator light “ ”
This indicator flashes when the turn
switch is moved to the left or right.
EAU00063
High beam indicator light “ ”
This indicator comes on when the
headlight high beam is used.
EAU00095*
SpeedometerThe speedometer shows riding speed.
This speedometer is equipped with an
odometer and tripmeter. The tripmeter
can be reset to “0” with the reset knob.
Use the tripmeter to estimate how far
you can ride on a tank of fuel. This in-
formation will enable you to plan fuel
stops in the future.
EAU00118
Handlebar switches
EAU00134
Lights switch
Turning the light switch to “ ”,
turns on the auxiliary light, meter lights
and taillight. Turning the light switch to
“ ” turns the headlight on also.
EAU00121
Dimmer switch
Turn the switch to “ ” for the high
beam and to “ ” for the low beam.
1. Neutral indicator light “ ”
2. Turn indicator light “ ”
3. High beam indicator light “ ”
1. Reset knob
2. Tripmeter
3. Odometer
4. Speedometer
1. Lights switch
2. Dimmer switch
3. Turn signal switch
4. Horn switch “ ”
E_3mw.book Page 2 Monday, February 5, 2001 9:54 AM
Page 17 of 78
INSTRUMENT AND CONTROL FUNCTIONS
3-5
3
EAU00162
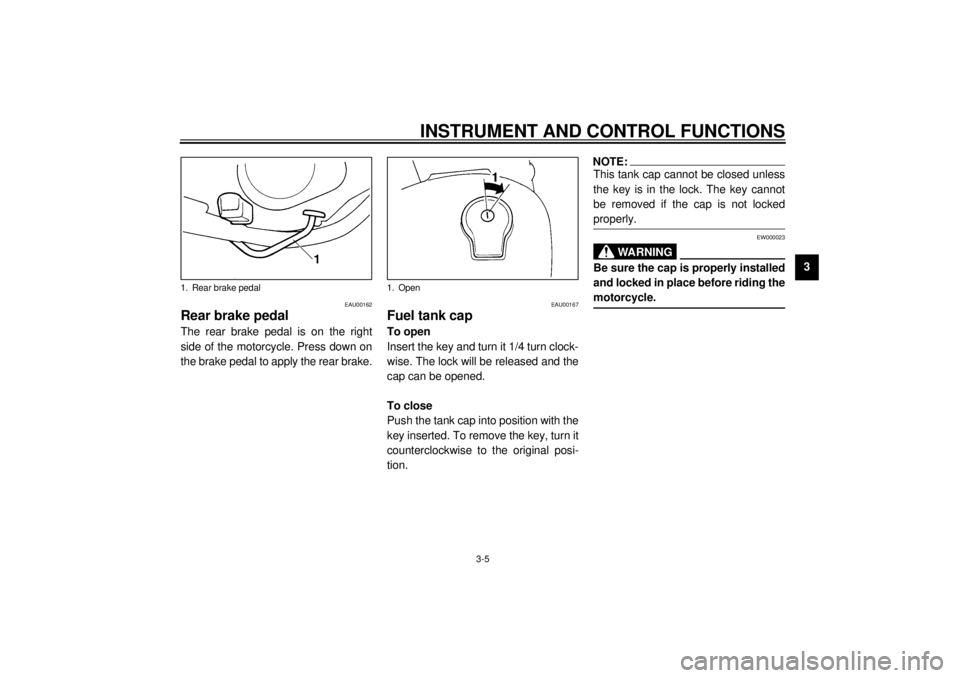
Rear brake pedalThe rear brake pedal is on the right
side of the motorcycle. Press down on
the brake pedal to apply the rear brake.
EAU00167
Fuel tank capTo open
Insert the key and turn it 1/4 turn clock-
wise. The lock will be released and the
cap can be opened.
To close
Push the tank cap into position with the
key inserted. To remove the key, turn it
counterclockwise to the original posi-
tion.
NOTE:@ This tank cap cannot be closed unless
the key is in the lock. The key cannot
be removed if the cap is not locked
properly. @
EW000023
WARNING
@ Be sure the cap is properly installed
and locked in place before riding the
motorcycle. @
1. Rear brake pedal
1. Open
E_3mw.book Page 5 Monday, February 5, 2001 9:54 AM
Page 18 of 78
INSTRUMENT AND CONTROL FUNCTIONS
3-6
3
EAU01183
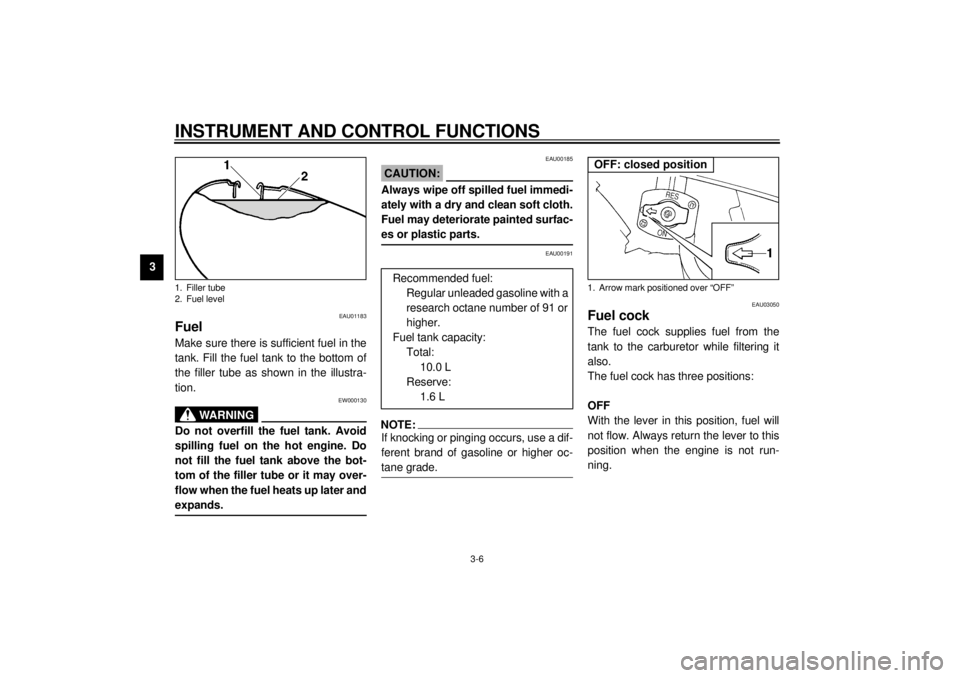
FuelMake sure there is sufficient fuel in the
tank. Fill the fuel tank to the bottom of
the filler tube as shown in the illustra-
tion.
EW000130
WARNING
@ Do not overfill the fuel tank. Avoid
spilling fuel on the hot engine. Do
not fill the fuel tank above the bot-
tom of the filler tube or it may over-
flow when the fuel heats up later and
expands. @
EAU00185
CAUTION:@ Always wipe off spilled fuel immedi-
ately with a dry and clean soft cloth.
Fuel may deteriorate painted surfac-
es or plastic parts. @
EAU00191
NOTE:@ If knocking or pinging occurs, use a dif-
ferent brand of gasoline or higher oc-
tane grade. @
EAU03050
Fuel cockThe fuel cock supplies fuel from the
tank to the carburetor while filtering it
also.
The fuel cock has three positions:
OFF
With the lever in this position, fuel will
not flow. Always return the lever to this
position when the engine is not run-
ning.
1. Filler tube
2. Fuel level
Recommended fuel:
Regular unleaded gasoline with a
research octane number of 91 or
higher.
Fuel tank capacity:
Total:
10.0 L
Reserve:
1.6 L
1. Arrow mark positioned over “OFF”OFF: closed position
E_3mw.book Page 6 Monday, February 5, 2001 9:54 AM
Page 19 of 78

INSTRUMENT AND CONTROL FUNCTIONS
3-7
3
ON
With the lever in this position, fuel flows
to the carburetor. Normal riding is done
with the lever in this position.RES
This indicates reserve. If you run out of
fuel while riding, move the lever to this
position. Fill the tank at the first oppor-
tunity. Be sure to set the lever back to
“ON” after refueling!
EAU03032
Starter (choke) knobStarting a cold engine requires a richer
air-fuel mixture, which is supplied by
the starter (choke).
Move the knob in direction
a to turn on
the starter (choke).
Move the knob in direction
b to turn off
the starter (choke).
1. Arrow mark positioned over “ON”ON: normal position
1. Arrow mark positioned over “RES”RES: reserve position
1. Starter (choke) knob
E_3mw.book Page 7 Monday, February 5, 2001 9:54 AM
Page 24 of 78
PRE-OPERATION CHECKS
4-2
4
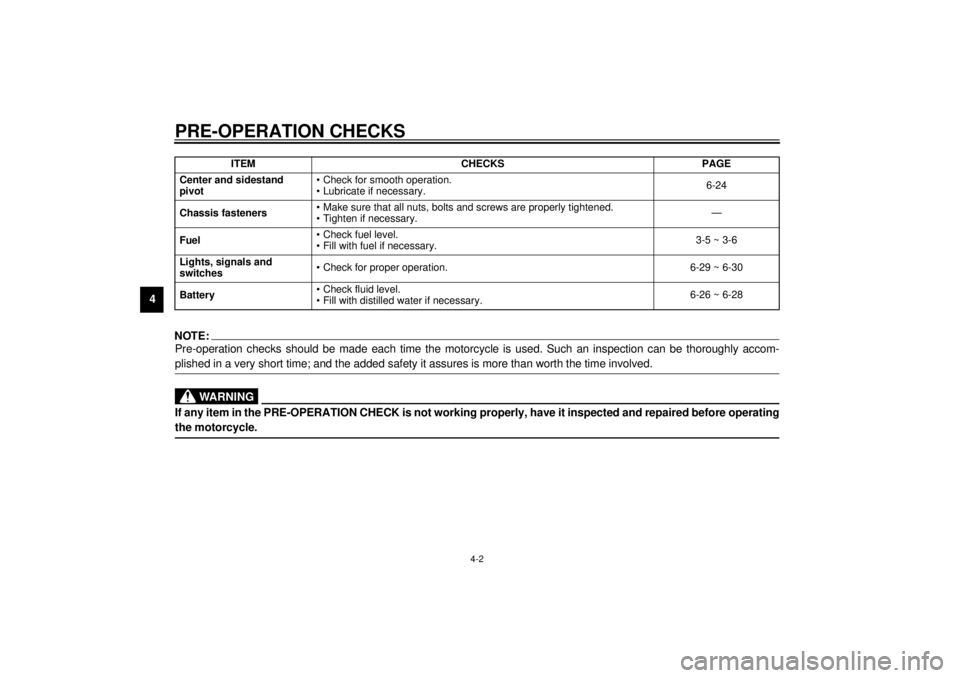
NOTE:Pre-operation checks should be made each time the motorcycle is used. Such an inspection can be thoroughly accom-
plished in a very short time; and the added safety it assures is more than worth the time involved.
WARNING
If any item in the PRE-OPERATION CHECK is not working properly, have it inspected and repaired before operating
the motorcycle.Center and sidestand
pivot• Check for smooth operation.
• Lubricate if necessary.6-24
Chassis fasteners• Make sure that all nuts, bolts and screws are properly tightened.
• Tighten if necessary.—
Fuel• Check fuel level.
• Fill with fuel if necessary.3-5 ~ 3-6
Lights, signals and
switches• Check for proper operation. 6-29 ~ 6-30
Battery• Check fluid level.
• Fill with distilled water if necessary.6-26 ~ 6-28 ITEM CHECKS PAGEE_3mw.book Page 2 Monday, February 5, 2001 9:54 AM
Page 27 of 78
OPERATION AND IMPORTANT RIDING POINTS
5-3
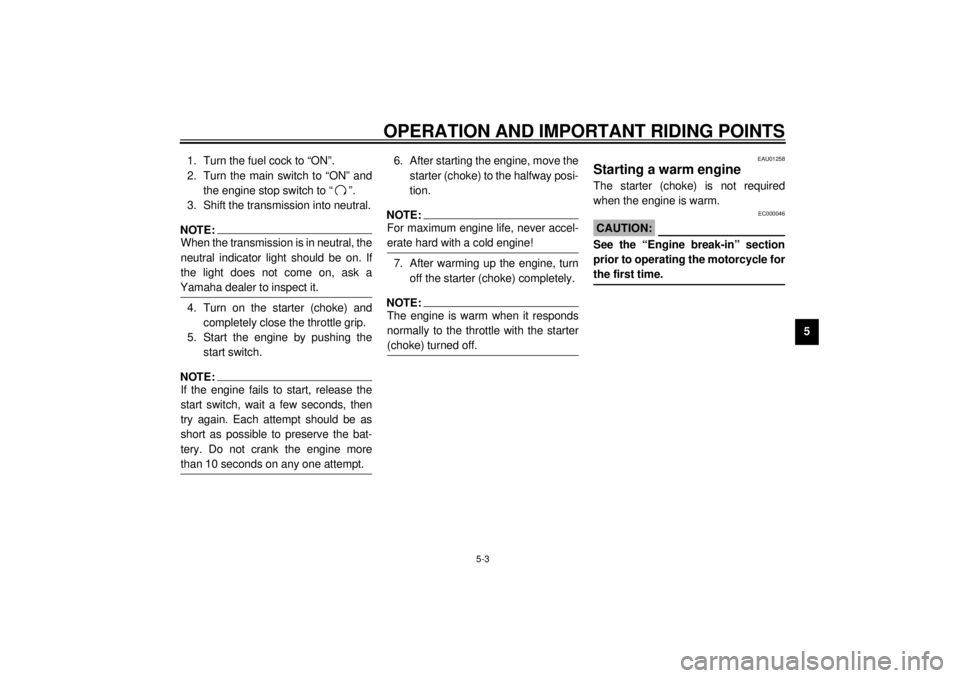
5 1. Turn the fuel cock to “ON”.
2. Turn the main switch to “ON” and
the engine stop switch to “ ”.
3. Shift the transmission into neutral.
NOTE:@ When the transmission is in neutral, the
neutral indicator light should be on. If
the light does not come on, ask a
Yamaha dealer to inspect it. @4. Turn on the starter (choke) and
completely close the throttle grip.
5. Start the engine by pushing the
start switch.NOTE:@ If the engine fails to start, release the
start switch, wait a few seconds, then
try again. Each attempt should be as
short as possible to preserve the bat-
tery. Do not crank the engine more
than 10 seconds on any one attempt. @
6. After starting the engine, move the
starter (choke) to the halfway posi-
tion.NOTE:@ For maximum engine life, never accel-
erate hard with a cold engine! @7. After warming up the engine, turn
off the starter (choke) completely.NOTE:@ The engine is warm when it responds
normally to the throttle with the starter
(choke) turned off. @
EAU01258
Starting a warm engineThe starter (choke) is not required
when the engine is warm.
EC000046
CAUTION:@ See the “Engine break-in” section
prior to operating the motorcycle for
the first time. @
E_3mw.book Page 3 Monday, February 5, 2001 9:54 AM
Page 29 of 78

OPERATION AND IMPORTANT RIDING POINTS
5-5
5
EAU00424
Tips for reducing fuel
consumptionYour motorcycle’s fuel consumption
depends to a large extent on your
riding style. The following tips can help
reduce fuel consumption:l
Warm up the engine before riding.
l
Turn off the starter (choke) as
soon as possible.
l
Shift up swiftly and avoid high en-
gine speeds during acceleration.
l
Do not double-clutch or rev the en-
gine while shifting down and avoid
high engine speeds with no load
on the engine.
l
Turn off the engine instead of let-
ting it idle for an extended length
of time, i.e. in traffic jams, at traffic
lights or railroad crossings.
EAU00436
Engine break-inThere is never a more important period
in the life of your motorcycle than the
period between zero and 1,000 km. For
this reason we ask that you carefully
read the following material. Because
the engine is brand new, you must not
put an excessive load on it for the first
1,000 km. The various parts in the en-
gine wear and polish themselves to the
correct operating clearances. During
this period, prolonged full throttle oper-
ation, or any condition which might re-
sult in excessive heating of the engine,
must be avoided.
E_3mw.book Page 5 Monday, February 5, 2001 9:54 AM
Page 30 of 78
OPERATION AND IMPORTANT RIDING POINTS
5-6
5
EAU00438
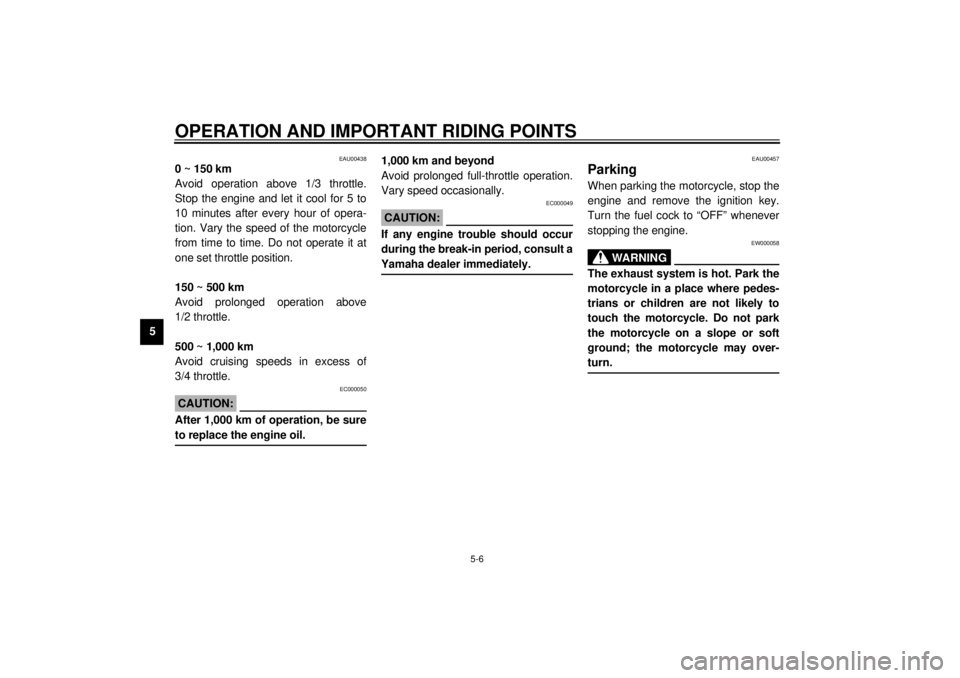
0 ~ 150 km
Avoid operation above 1/3 throttle.
Stop the engine and let it cool for 5 to
10 minutes after every hour of opera-
tion. Vary the speed of the motorcycle
from time to time. Do not operate it at
one set throttle position.
150 ~ 500 km
Avoid prolonged operation above
1/2 throttle.
500 ~ 1,000 km
Avoid cruising speeds in excess of
3/4 throttle.
EC000050
CAUTION:@ After 1,000 km of operation, be sure
to replace the engine oil. @
1,000 km and beyond
Avoid prolonged full-throttle operation.
Vary speed occasionally.
EC000049
CAUTION:@ If any engine trouble should occur
during the break-in period, consult a
Yamaha dealer immediately. @
EAU00457
ParkingWhen parking the motorcycle, stop the
engine and remove the ignition key.
Turn the fuel cock to “OFF” whenever
stopping the engine.
EW000058
WARNING
@ The exhaust system is hot. Park the
motorcycle in a place where pedes-
trians or children are not likely to
touch the motorcycle. Do not park
the motorcycle on a slope or soft
ground; the motorcycle may over-
turn. @
E_3mw.book Page 6 Monday, February 5, 2001 9:54 AM