oil filter YAMAHA SR125 2000 Owners Manual
[x] Cancel search | Manufacturer: YAMAHA, Model Year: 2000, Model line: SR125, Model: YAMAHA SR125 2000Pages: 78, PDF Size: 8.59 MB
Page 7 of 78

EAU00009
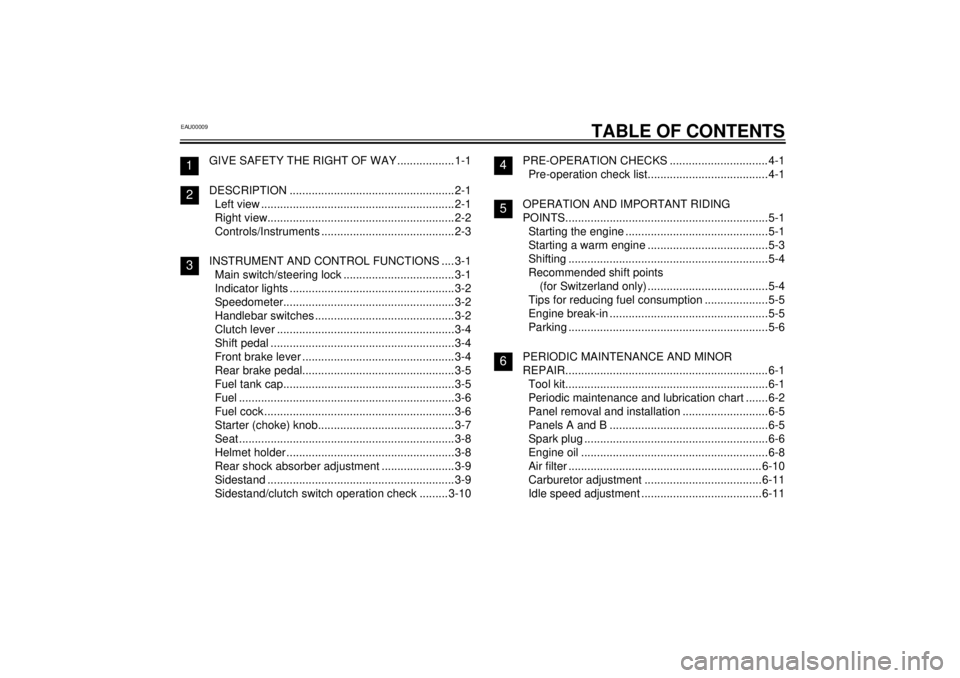
TABLE OF CONTENTS
GIVE SAFETY THE RIGHT OF WAY ..................1-1
DESCRIPTION ....................................................2-1
Left view ............................................................. 2-1
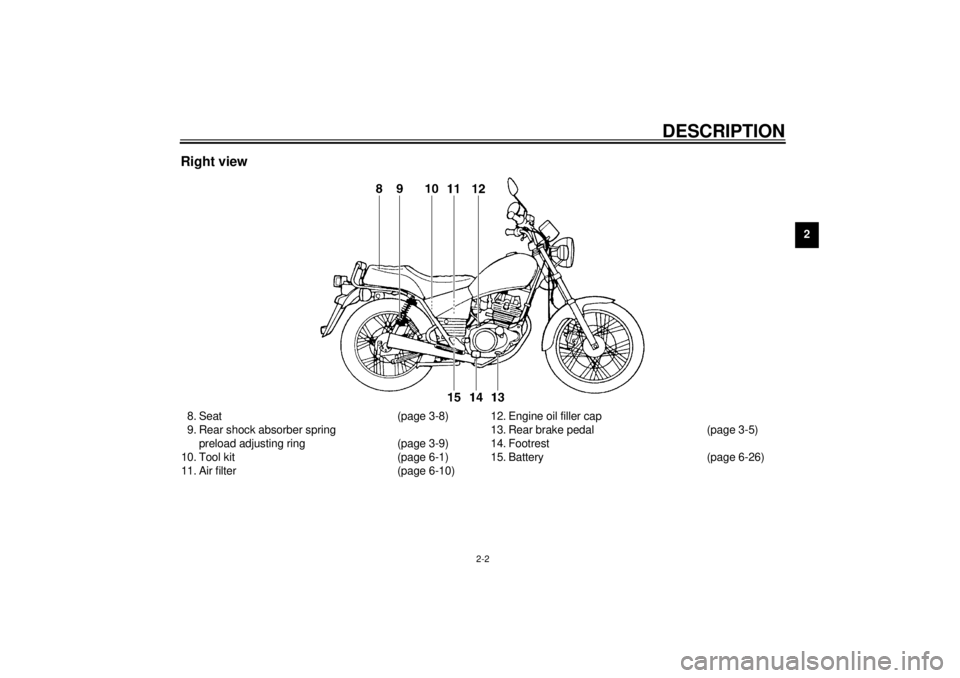
Right view...........................................................2-2
Controls/Instruments ..........................................2-3
INSTRUMENT AND CONTROL FUNCTIONS ....3-1
Main switch/steering lock ................................... 3-1
Indicator lights ....................................................3-2
Speedometer......................................................3-2
Handlebar switches ............................................3-2
Clutch lever ........................................................3-4
Shift pedal ..........................................................3-4
Front brake lever ................................................ 3-4
Rear brake pedal................................................ 3-5
Fuel tank cap......................................................3-5
Fuel ....................................................................3-6
Fuel cock ............................................................3-6
Starter (choke) knob...........................................3-7
Seat ....................................................................3-8
Helmet holder .....................................................3-8
Rear shock absorber adjustment .......................3-9
Sidestand ...........................................................3-9
Sidestand/clutch switch operation check ......... 3-10PRE-OPERATION CHECKS ...............................4-1
Pre-operation check list......................................4-1
OPERATION AND IMPORTANT RIDING
POINTS................................................................5-1
Starting the engine .............................................5-1
Starting a warm engine ......................................5-3
Shifting ...............................................................5-4
Recommended shift points
(for Switzerland only) ......................................5-4
Tips for reducing fuel consumption ....................5-5
Engine break-in ..................................................5-5
Parking ...............................................................5-6
PERIODIC MAINTENANCE AND MINOR
REPAIR................................................................6-1
Tool kit................................................................6-1
Periodic maintenance and lubrication chart .......6-2
Panel removal and installation ...........................6-5
Panels A and B ..................................................6-5
Spark plug ..........................................................6-6
Engine oil ...........................................................6-8
Air filter .............................................................6-10
Carburetor adjustment .....................................6-11
Idle speed adjustment ......................................6-11
123
456
E_3mw.book Page 1 Monday, February 5, 2001 9:54 AM
Page 11 of 78

DESCRIPTION
2-2
2
Right view8. Seat (page 3-8)
9. Rear shock absorber spring
preload adjusting ring (page 3-9)
10. Tool kit (page 6-1)
11. Air filter (page 6-10)12. Engine oil filler cap
13. Rear brake pedal (page 3-5)
14. Footrest
15. Battery (page 6-26)
E_3mw.book Page 2 Monday, February 5, 2001 9:54 AM
Page 33 of 78

PERIODIC MAINTENANCE AND MINOR REPAIR
6-3
6
10
*Wheels• Check runout, spoke tightness and for damage.
• Tighten spokes if necessary.ÖÖÖÖ
11*Tires• Check tread depth and for damage.
• Replace if necessary.
• Check air pressure.
• Correct if necessary.ÖÖÖÖ
12*Wheel bearings• Check bearing for looseness or damage.ÖÖÖÖ
13*Swingarm• Check operation and for excessive play.ÖÖÖÖ
14 Drive chain• Check chain slack.
• Make sure that the rear wheel is properly aligned.
• Clean and lubricate.Every 1,000 km and after washing
the motorcycle or riding in the rain.
15*Steering bearings• Check bearing play and steering for roughness.ÖÖÖÖÖ
• Lubricate with lithium-soap-based grease. Every 24,000 km
16*Chassis fasteners• Make sure that all nuts, bolts and screws are properly tightened.ÖÖÖÖ Ö
17 Sidestand, centerstand• Check operation.
• Lubricate.ÖÖÖÖ Ö
18*Sidestand switch• Check operation.ÖÖÖÖÖ Ö
19*Front fork• Check operation and for oil leakage.ÖÖÖÖ
20*Shock absorber
assemblies• Check operation and shock absorbers for oil leakage.ÖÖÖÖ
21*Carburetor• Check starter (choke) operation.
• Adjust engine idling speed.ÖÖÖÖÖ Ö
22 Engine oil• Change.ÖÖÖÖÖ Ö
23 Engine oil filter element•Clean.ÖÖÖ
24*Front and rear brake
switches• Check operation.ÖÖÖÖÖ Ö
25 Moving parts and cables• Lubricate.ÖÖÖÖ Ö NO. ITEM CHECK OR MAINTENANCE JOBODOMETER READING (´1,000 km)
ANNUAL
CHECK
1 6 12 18 24
E_3mw.book Page 3 Monday, February 5, 2001 9:54 AM
Page 38 of 78

PERIODIC MAINTENANCE AND MINOR REPAIR
6-8
6
EAU01093*
Engine oilOil level inspection
1. Place the motorcycle on the cen-
terstand. Warm up the engine for
several minutes.NOTE:@ Be sure the motorcycle is positioned
straight up when checking the oil level.
A slight tilt toward the side can result in
false readings. @
2. With the engine stopped, check
the oil level through the level win-
dow located at the lower part of
the right side crankcase cover.NOTE:@ Wait a few minutes until the oil level
settles before checking. @3. The oil level should be between
the maximum level and minimum
level marks. If the level is low, fill
the engine with sufficient oil to
raise it to the specified level.Engine oil replacement and oil filter
element cleaning
1. Warm up the engine for a few min-
utes.
2. Stop the engine. Place an oil pan
under the engine and remove the
oil filler cap.
3. Remove the drain bolt and drain
the oil.
EC000070*
CAUTION:@ When removing the oil drain bolt,
the O-ring, compression spring, and
oil strainer will fall out. Take care not
to lose these parts. @
1. Oil level window
2. Maximum level mark
3. Minimum level mark
1. Engine oil drain bolt A
E_3mw.book Page 8 Monday, February 5, 2001 9:54 AM
Page 39 of 78

PERIODIC MAINTENANCE AND MINOR REPAIR
6-9
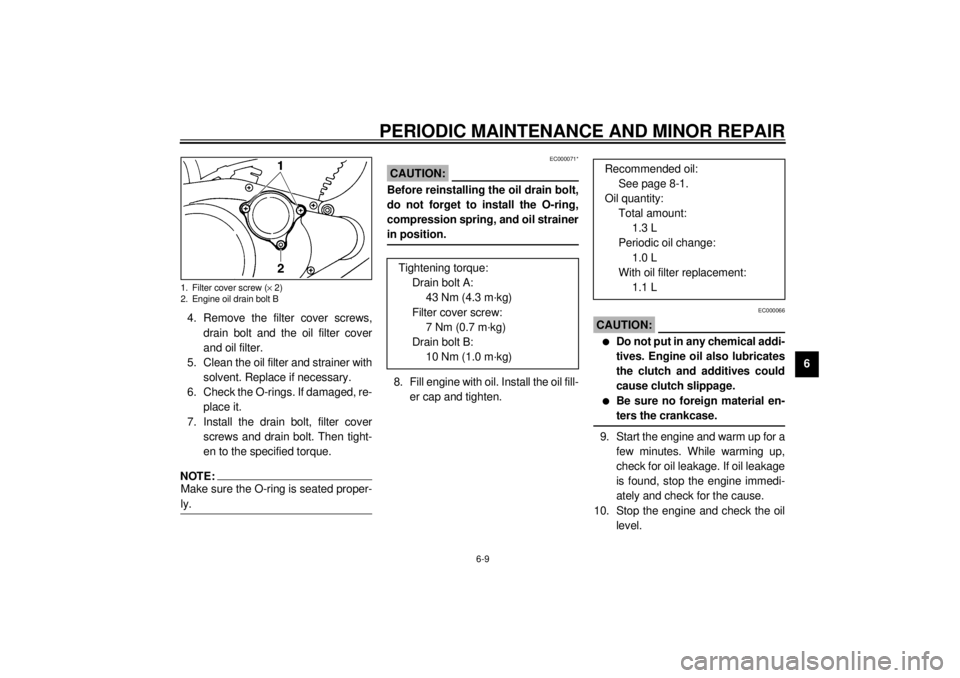
6 4. Remove the filter cover screws,
drain bolt and the oil filter cover
and oil filter.
5. Clean the oil filter and strainer with
solvent. Replace if necessary.
6. Check the O-rings. If damaged, re-
place it.
7. Install the drain bolt, filter cover
screws and drain bolt. Then tight-
en to the specified torque.
NOTE:@ Make sure the O-ring is seated proper-
ly. @
EC000071*
CAUTION:@ Before reinstalling the oil drain bolt,
do not forget to install the O-ring,
compression spring, and oil strainer
in position. @8. Fill engine with oil. Install the oil fill-
er cap and tighten.
EC000066
CAUTION:@ l
Do not put in any chemical addi-
tives. Engine oil also lubricates
the clutch and additives could
cause clutch slippage.
l
Be sure no foreign material en-
ters the crankcase.
@9. Start the engine and warm up for a
few minutes. While warming up,
check for oil leakage. If oil leakage
is found, stop the engine immedi-
ately and check for the cause.
10. Stop the engine and check the oil
level.
1. Filter cover screw (´ 2)
2. Engine oil drain bolt B
Tightening torque:
Drain bolt A:
43 Nm (4.3 m·kg)
Filter cover screw:
7 Nm (0.7 m·kg)
Drain bolt B:
10 Nm (1.0 m·kg)
Recommended oil:
See page 8-1.
Oil quantity:
Total amount:
1.3 L
Periodic oil change:
1.0 L
With oil filter replacement:
1.1 L
E_3mw.book Page 9 Monday, February 5, 2001 9:54 AM
Page 40 of 78

PERIODIC MAINTENANCE AND MINOR REPAIR
6-10
6
EAU01094
Air filterThe air filter should be cleaned at the
specified intervals. It should be cleaned
more frequently if you are riding in un-
usually wet or dusty areas.
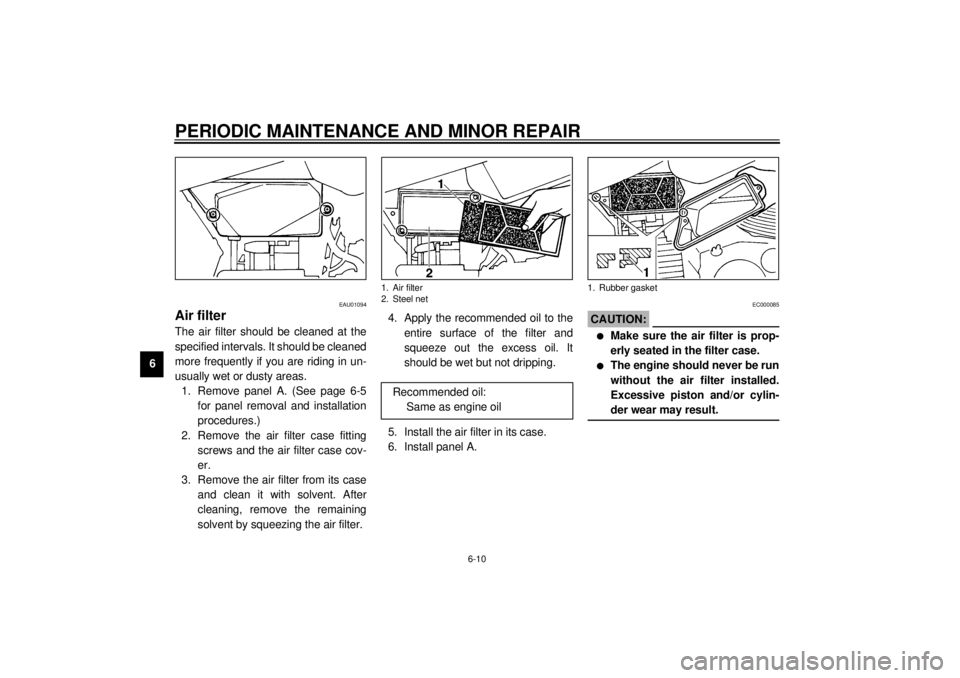
1. Remove panel A. (See page 6-5
for panel removal and installation
procedures.)
2. Remove the air filter case fitting
screws and the air filter case cov-
er.
3. Remove the air filter from its case
and clean it with solvent. After
cleaning, remove the remaining
solvent by squeezing the air filter.4. Apply the recommended oil to the
entire surface of the filter and
squeeze out the excess oil. It
should be wet but not dripping.
5. Install the air filter in its case.
6. Install panel A.
EC000085
CAUTION:@ l
Make sure the air filter is prop-
erly seated in the filter case.
l
The engine should never be run
without the air filter installed.
Excessive piston and/or cylin-
der wear may result.
@
1. Air filter
2. Steel net
Recommended oil:
Same as engine oil
1. Rubber gasket
E_3mw.book Page 10 Monday, February 5, 2001 9:54 AM
Page 70 of 78

8-1
8
EAU01038
8-SPECIFICATIONSSpecifications
Model SR125
Dimensions
Overall length 2,020 mm
Overall width 775 mm
Overall height 1,100 mm
Seat height 745 mm
Wheelbase 1,285 mm
Ground clearance 155 mm
Minimum turning radius 2,100 mm
Basic weight (with oil and full
fuel tank)
113 kg
Engine
Engine type Air-cooled 4-stroke, SOHC
Cylinder arrangement Forward-inclined single cylinder
Displacement 124 cm
3
Bore ´ Stroke 57.0 ´ 48.8 mm
Compression ratio 10:1
Starting system Electric starter
Lubrication system Wet sumpEngine oil
Ty p e
Recommended engine oil
classification API Service SE, SF, SG type or
higher
Quantity
Periodic oil change 1.0 L
With oil filter replacement 1.1 L
Total amount 1.3 L
Air filterWet type element
-20˚ -10˚ 0˚
10˚20˚ 30˚
40˚50˚C
SAE 10W/30
SAE 15W/40SAE 20W/40SAE 20W/50
SAE 10W/40
CAUTION:Be sure to use motor oils that do not contain anti-friction
modifiers. Passenger car motor oils (often labeled
“Energy Conserving”) contain anti-friction additives which
will cause clutch and/or starter clutch slippage, resulting in
reduced component life and poor engine performance.
E_3mw.book Page 1 Monday, February 5, 2001 9:54 AM