display Acura TSX 2013 Navigation Manual
[x] Cancel search | Manufacturer: ACURA, Model Year: 2013, Model line: TSX, Model: Acura TSX 2013Pages: 252, PDF Size: 9.44 MB
Page 49 of 252
48System Setup
Routing & GuidanceHINFO/PHONE button
Setup
Other
Routing & Guidance
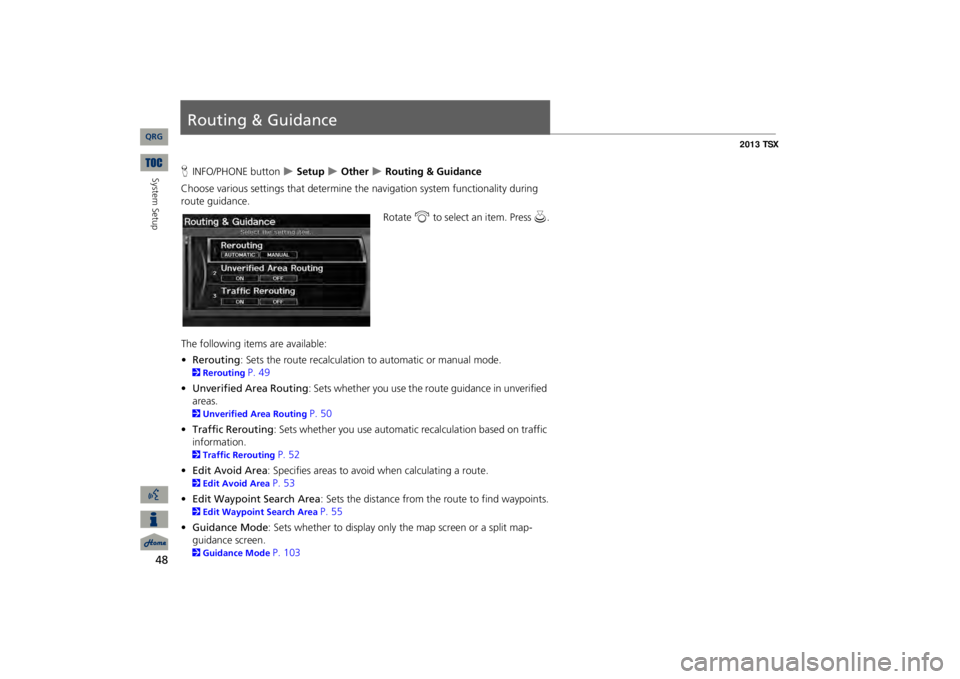
Choose various settings that determine th
e navigation system functionality during
route guidance.
Rotate
i
to select an item. Press
u
.
The following item
s are available:
•Rerouting
: Sets the route recalculation to automatic or manual mode.
2Rerouting
P. 49
•Unverified Area Routing
: Sets whether you use the ro
ute guidance in unverified
areas.2Unverified Area Routing
P. 50
•Traffic Rerouting
: Sets whether you use automatic recalculation based on traffic
information.2Traffic Rerouting
P. 52
•Edit Avoid Area
: Specifies areas to avoid
when calculating a route.
2Edit Avoid Area
P. 53
•Edit Waypoint Search Area
: Sets the distance from the route to find waypoints.
2Edit Waypoint Search Area
P. 55
•Guidance Mode
: Sets whether to display only the map screen or a split map-
guidance screen.2Guidance Mode
P. 103
QRG
Page 50 of 252
49
Routing & Guidance
Rerouting
•Street Name Guidance
: Sets whether to read out the street names during
voice guidance.
2Street Name Guidance
P. 56
•Guidance Screen
Interruption
: Sets whether the guidanc
e screen interrupts the
audio screen display. 2Guidance Screen Interruption
P. 57
ReroutingHINFO/PHONE button
Setup
Other
Routing & Guidance
Rerouting
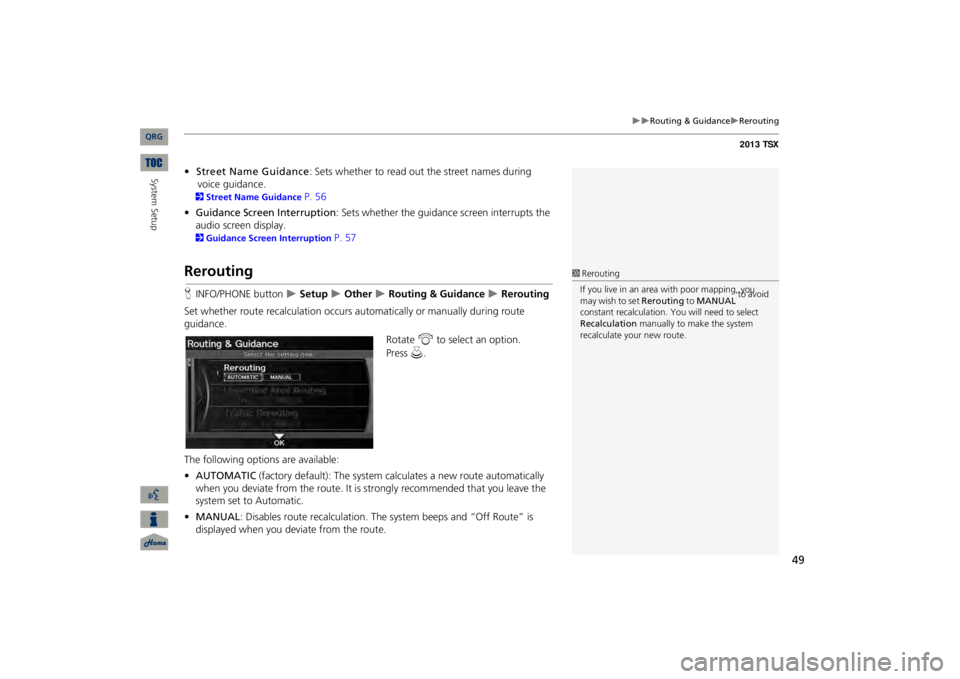
Set whether route recalculat
ion occurs automatically or manually during route
guidance.
Rotate
i
to select an option.
The following options are available: •AUTOMATIC
(factory default): The system ca
lculates a new route automatically
when you deviate from the route. It is
strongly recommended that you leave the
system set to Automatic.•MANUAL
: Disables route recalculation. Th
e system beeps and “Off Route” is
displayed when you deviate from the route.
1ReroutingIf you live in an area with poor mapping, you may wish to set
Rerouting
to
MANUAL
to avoid
constant recalcul
ation. You will need to select
Recalculation
manually to make the system
recalculate your new route.
QRG
System Setup
Press
u
.
Page 51 of 252
50
Routing & Guidance
Unverified Area Routing
System Setup
Unverified Area RoutingHINFO/PHONE button
Setup
Other
Routing & Guidance
Unverified
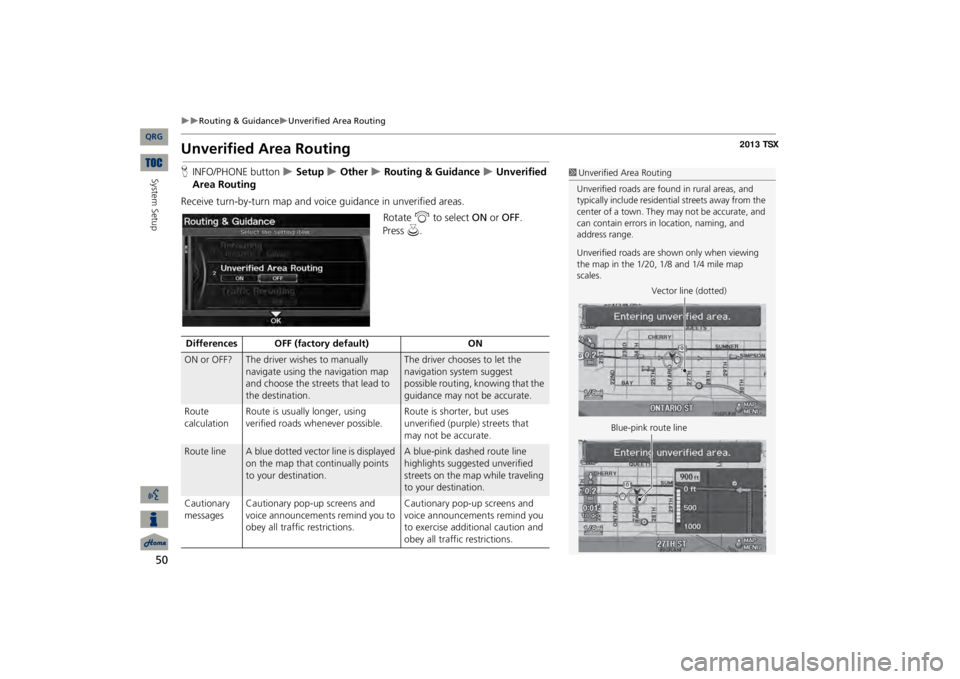
Area RoutingReceive turn-by-turn map and voic
e guidance in unverified areas.
Rotate
i
to select
ON
or
OFF
.
1Unverified Area RoutingUnverified roads are found in rural areas, and typically include
residential streets away from the
center of a town. They may not be accurate, and can contain errors in
location, naming, and
address range. Unverified roads are s
hown only when viewing
the map in the 1/20, 1/8 and 1/4 mile map scales.
Vector line (dotted)
Blue-pink route line
Differences OFF (factory default)
ON
ON or OFF?
The driver wishes to manually navigate using the navigation map and choose the streets that lead to the destination.
The driver chooses to let the navigation system suggest possible routing, knowing that the guidance may not be accurate.
Route calculation
Route is usually longer, using verified roads whenever possible.
Route is shorter, but uses unverified (purple) streets that may not be accurate.
Route line
A blue dotted vector line is displayed on the map that continually points to your destination.
A blue-pink dashed route line highlights suggested unverified streets on the map while traveling to your destination.
Cautionary messages
Cautionary pop-up screens and voice announcements remind you to obey all traffic restrictions.
Cautionary pop-up screens and voice announcements remind you to exercise additional caution and obey all traffic restrictions.
QRG
Press
u
.
Page 54 of 252
53
Routing & Guidance
Edit Avoid Area
Edit Avoid AreaHINFO/PHONE button
Setup
Other
Routing & Guidance
Edit Avoid
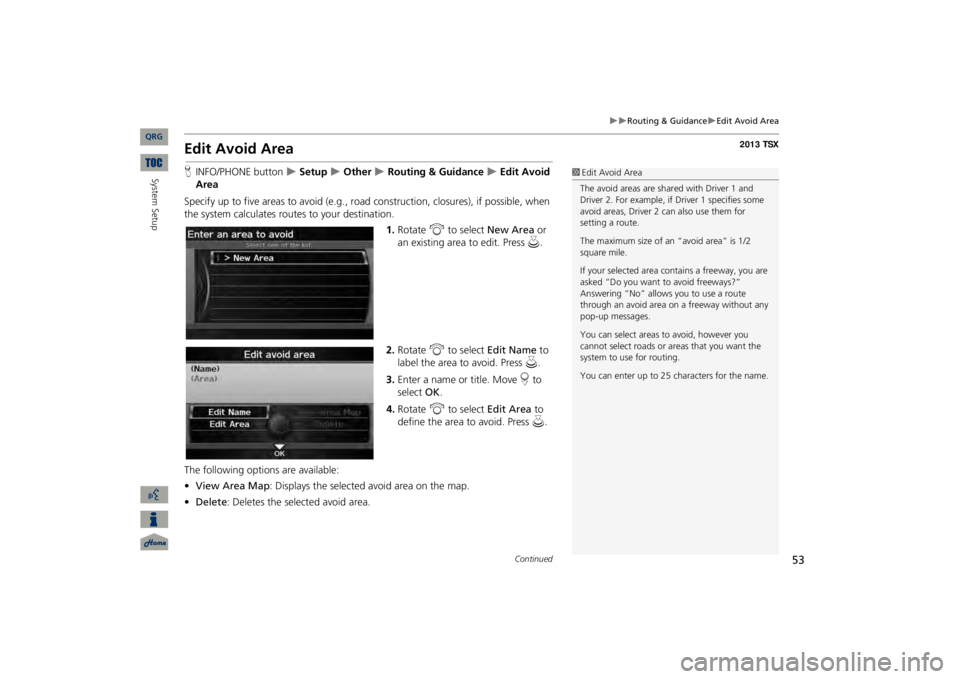
AreaSpecify up to five areas to avoid (e.g., road
construction, closures), if possible, when
the system calculates routes to your destination.
1.Rotate
i
to select
New Area
or
an existing area to edit. Press
u
.
2.Rotate
i
to select
Edit Name
to
label the area to avoid. Press
u
.
3.Enter a name or title. Move
r to
select
OK
.
4.Rotate
i
to select
Edit Area
to
define the area to avoid. Press
u
.
The following options are available: •View Area Map
: Displays the selected avoid area on the map.
•Delete
: Deletes the selected avoid area.
1Edit Avoid AreaThe avoid areas are shared with Driver 1 and Driver 2. For example, if Driver 1 specifies some avoid areas, Driver 2 can also use them for setting a route. The maximum size of an “avoid area” is 1/2 square mile. If your selected area contains a freeway, you are asked “Do you want to avoid freeways?” Answering “No” allows you to use a route through an avoid area on
a freeway without any
pop-up messages. You can select areas to
avoid, however you
cannot select roads or areas that you want the system to use for routing. You can enter up to 25 ch
aracters for the name.
Continued
QRG
System Setup
Page 55 of 252
54
Routing & Guidance
Edit Avoid Area
System Setup
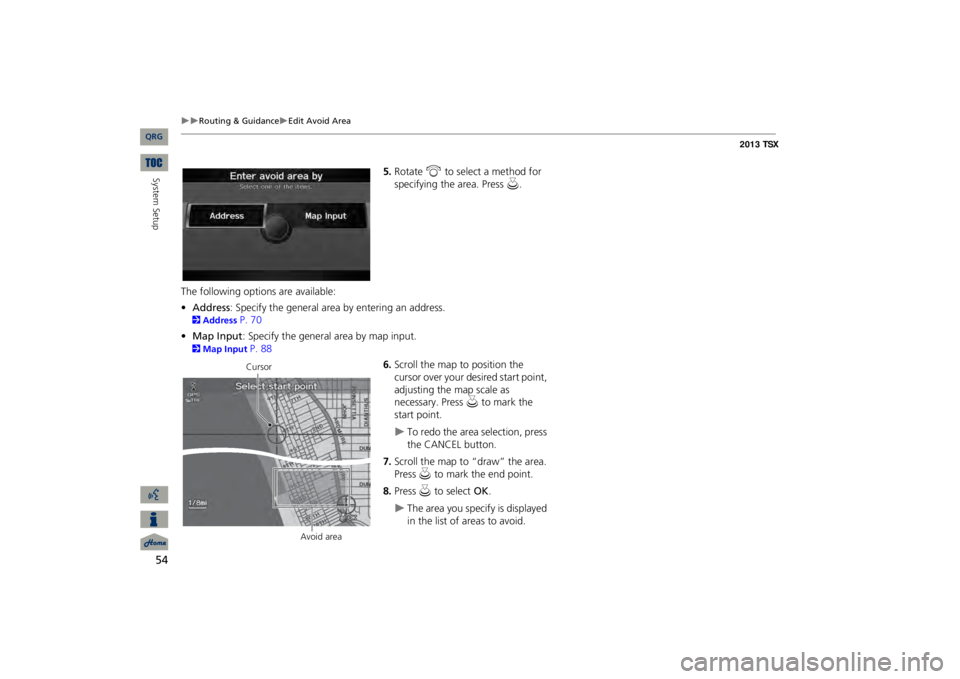
5.Rotate
i
to select a method for
specifying the area. Press
u
.
The following options are available: •Address
: Specify the general area by entering an address.
2Address
P. 70
•Map Input
: Specify the general area by map input.
2Map Input
P. 88
6.Scroll the map to position the cursor over your desired start point, adjusting the map scale as necessary. Press
u
to mark the
start point.
To redo the area selection, press the CANCEL button.
7.Scroll the map to “draw” the area. Press
u
to mark the end point.
8.Press
u
to select
OK
.
The area you specify is displayed in the list of areas to avoid.
Cursor
Avoid area
QRG
Page 59 of 252
58System Setup
Clock AdjustmentHINFO/PHONE button
Setup
Other
Clock Adjustment
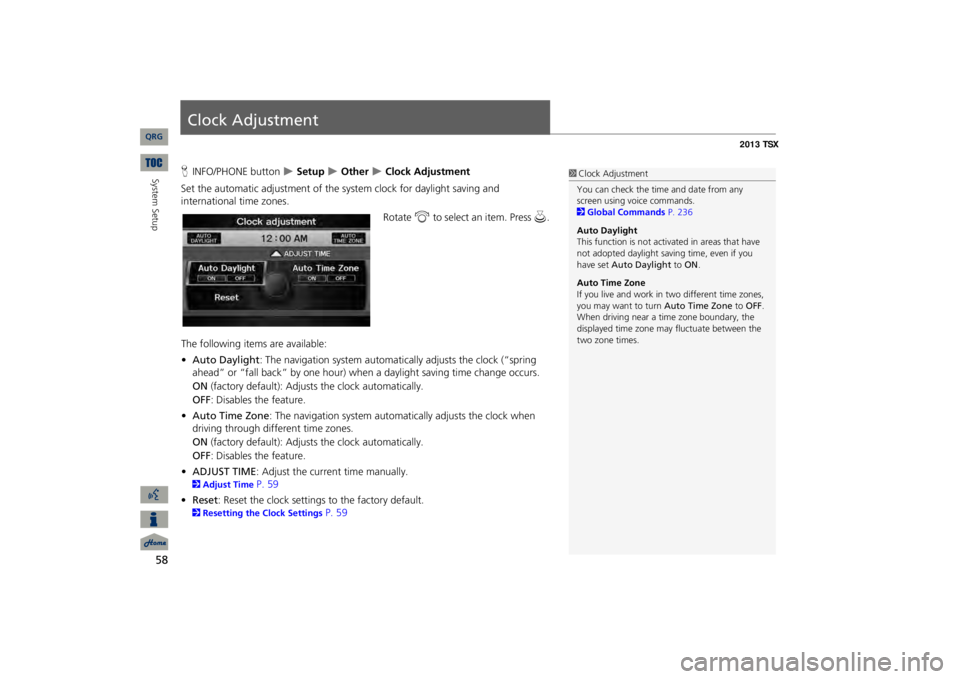
Set the automatic adjustment of the
system clock for daylight saving and
international time zones.
Rotate
i
to select an item. Press
u
.
The following item
s are available:
•Auto Daylight
: The navigation system automati
cally adjusts the clock (“spring
ahead” or “fall back” by one hour) when a daylight saving time change occurs. ON
(factory default): Adjust
s the clock automatically.
OFF
: Disables the feature.
•Auto Time Zone
: The navigation system automati
cally adjusts the clock when
driving through different time zones.ON
(factory default): Adjust
s the clock automatically.
OFF
: Disables the feature.
•ADJUST TIME
: Adjust the current time manually.
2Adjust Time
P. 59
•Reset
: Reset the clock settings to the factory default.
2Resetting the Clock Settings
P. 59
1Clock AdjustmentYou can check the time and date from any screen using voice commands. 2Global Commands
P. 236
Auto Daylight This function is not activated in areas that have not adopted daylight savi
ng time, even if you
have set
Auto Daylight
to
ON
.
Auto Time ZoneIf you live and work in
two different time zones,
you may want to turn
Auto Time Zone
to
OFF
.
When driving near a time zone boundary, the displayed time zone ma
y fluctuate between the
two zone times.
QRG
Page 61 of 252
60System Setup
VehicleHINFO/PHONE button
Setup
Other
Vehicle
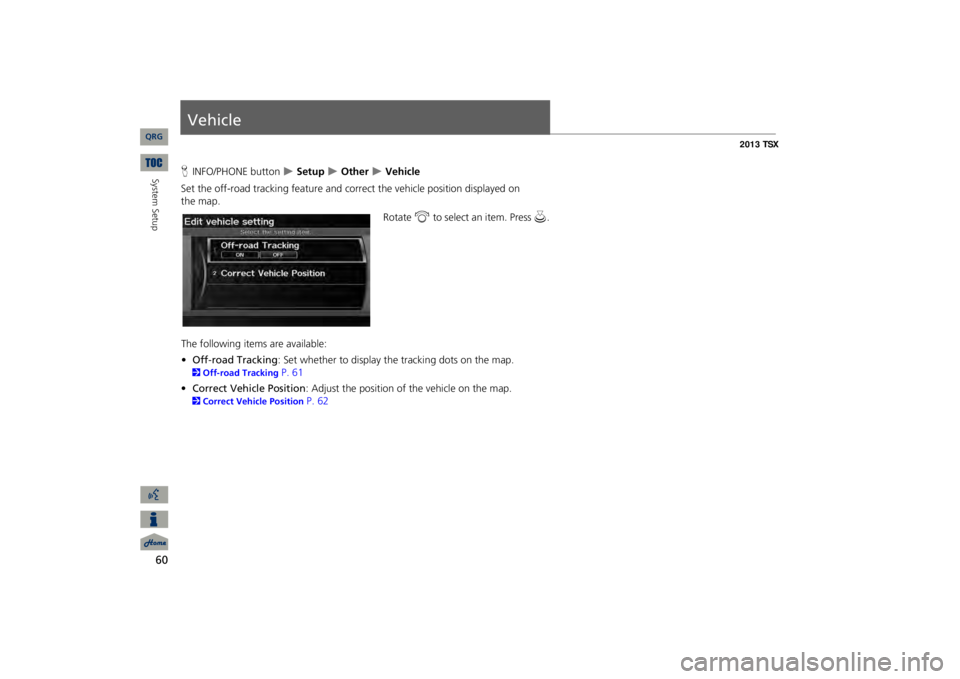
Set the off-road tracking feature and correct the vehicle position displayed on
the
map.
Rotate
i
to select an item. Press
u
.
The following item
s are available:
•Off-road Tracking
: Set whether to display th
e tracking dots on the map.
2Off-road Tracking
P. 61
•Correct Vehicle Position
: Adjust the position of the vehicle on the map.
2Correct Vehicle Position
P. 62
QRG
Page 62 of 252
61
Vehicle
Off-road Tracking
Off-road TrackingHINFO/PHONE button
Setup
Other
Vehicle
Off-road Tracking
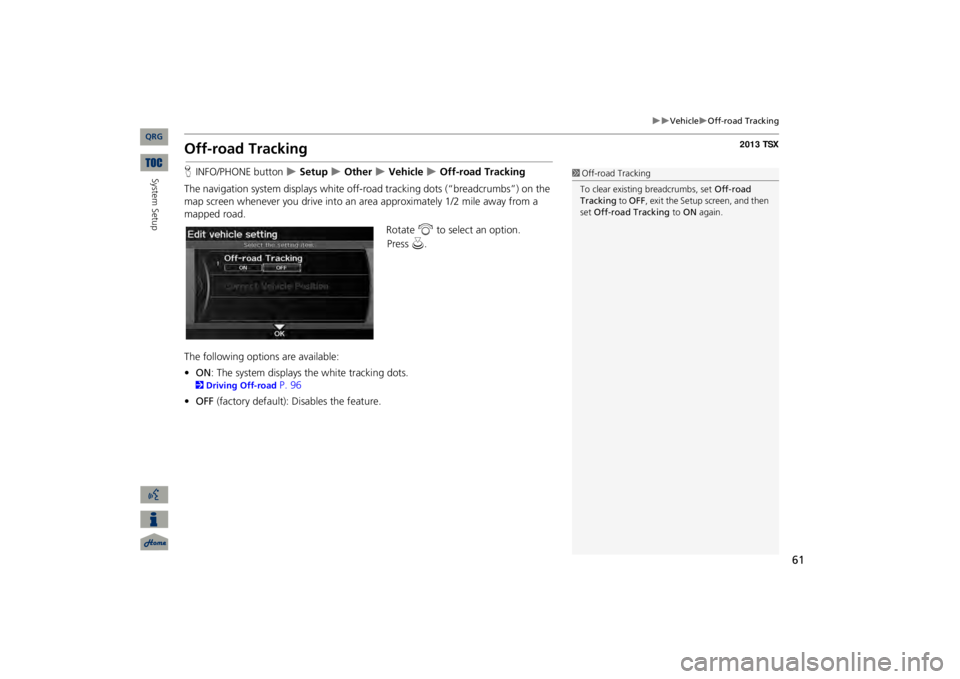
The navigation system displays white off-ro
ad tracking dots (“br
eadcrumbs”) on the
map screen whenever you drive into an
area approximately 1/2 mile away from a
mapped road.
Rotate
i
to select an option.
The following options are available: •ON
: The system displays
the white tracking dots.
2Driving Off-road
P. 96
•OFF
(factory default): Disables the feature.
1Off-road TrackingTo clear existing breadcrumbs, set
Off-road
Tracking
to
OFF
, exit the Setup screen, and then
set
Off-road Tracking
to
ON
again.
QRG
System Setup
Press
u
.
Page 63 of 252
62
Vehicle
Correct Vehicle Position
Correct Vehicle PositionHINFO/PHONE button
Setup
Other
Vehicle
Correct Vehicle Position
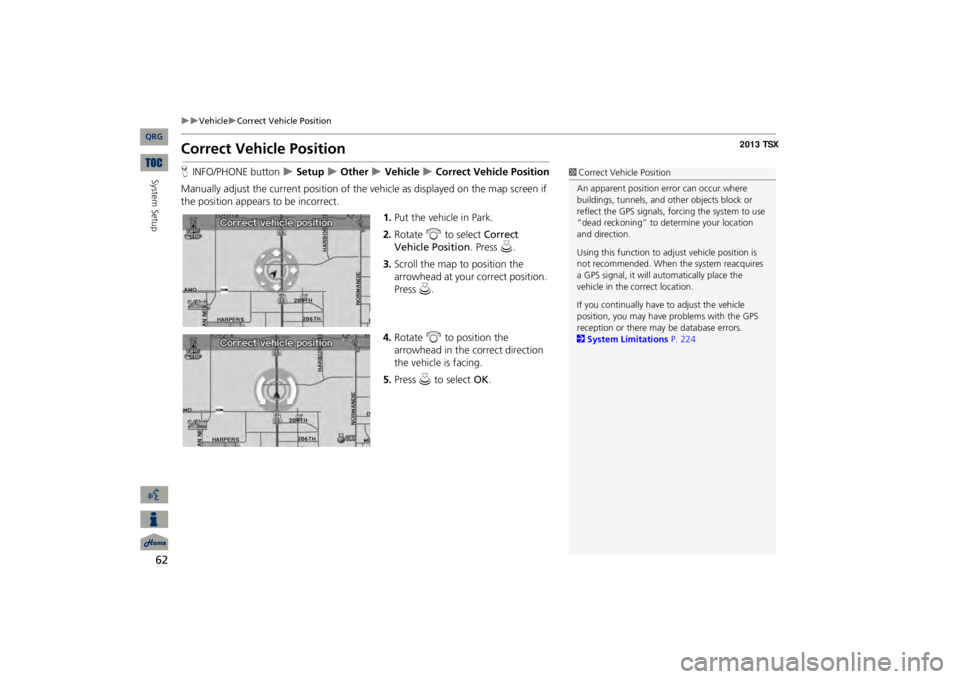
Manually adjust the current position of the vehicle as displayed on the map screen if the position appear
s to be incorrect.
1.Put the vehicle in Park.2.Rotate
i
to select
Correct
Vehicle
Position
. Press
u
.
3.Scroll the map to position the arrowhead at your correct position. Press
u
.
4.Rotate
i
to position the
arrowhead in the correct direction the vehicle is facing.5.Press
u
to select
OK
.
1Correct Vehicle PositionAn apparent position error can occur where buildings, tunnels, and ot
her objects block or
reflect the GPS signals, forcing the system to use “dead reckoning” to determine your location and direction. Using this function to ad
just vehicle position is
not recommended. When the system reacquires a GPS signal, it will automatically place the vehicle in the correct location. If you continually have
to adjust the vehicle
position, you may have
problems with the GPS
reception or there may
be database errors.
2System Limitations
P. 224
QRG
System Setup
Page 65 of 252
64
Traffic and Weather StatusHINFO/PHONE button
Setup
Other
Traffic & Weather Status
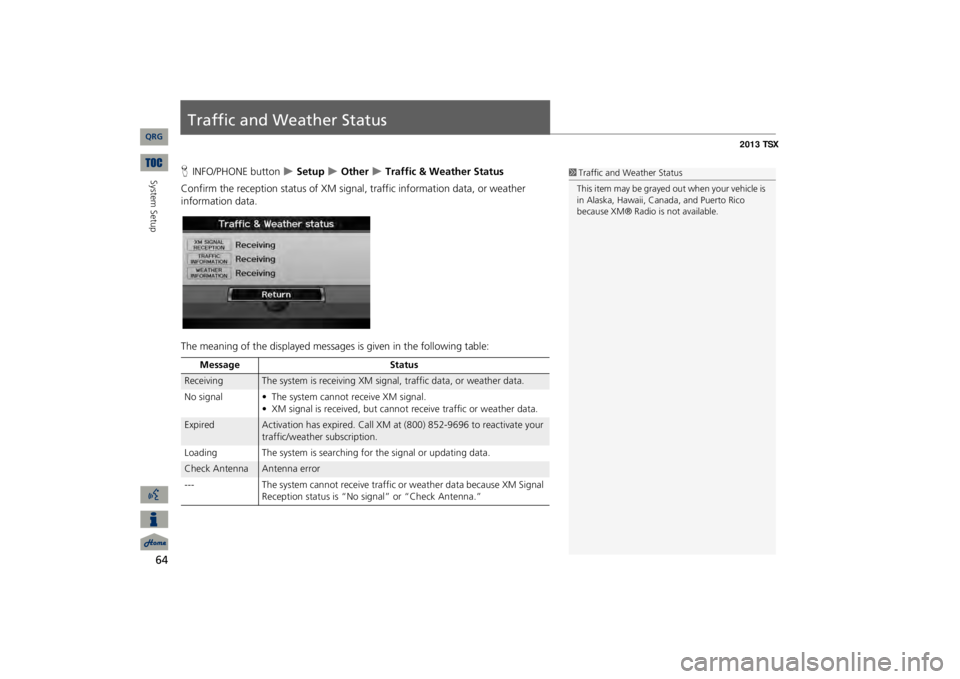
Confirm the reception status of XM signa
l, traffic information data, or weather
information data. The meaning of the displayed messages
is given in the following table:
1Traffic and Weather StatusThis item may be grayed out when your vehicle is in Alaska, Hawaii, Cana
da, and Puerto Rico
because XM® Radio
is not available.
Message
Status
Receiving
The system is receiving XM signal, traffic data, or weather data.
No signal • The system ca
nnot receive XM signal.
• XM signal is received, but cannot
receive traffic or weather data.
Expired
Activation has expired. Call XM at (800) 852-9696 to reactivate your traffic/weather subscription.
Loading The system is searching for the signal or updating data.Check Antenna
Antenna error
---
The system cannot receive traffic
or weather data because XM Signal
Reception status is “No signal” or “Check Antenna.”
QRG
System Setup