change time Alfa Romeo Giulia 2017 Owner's Manual
[x] Cancel search | Manufacturer: ALFA ROMEO, Model Year: 2017, Model line: Giulia, Model: Alfa Romeo Giulia 2017Pages: 268, PDF Size: 18.64 MB
Page 7 of 268
HOW TO USE THIS MANUAL
Operating Instructions
Each time an instruction is given that concerns direction (left/right or forward/backward), the instruction must be understood as
regarding an occupant in the driver's seat. Special cases not complying with this rule will be specified in the text as appropriate.
The figures in the manual are of example only: this might imply that some details of the image do not correspond to the actual
arrangement of your vehicle.
To identify the chapter with the information necessary, you can consult the index at the end of this manual.
Chapters can be rapidly identified with dedicated graphic tabs, located at the side of each odd page. There is also a key for
getting to know the chapter order and the relevant symbols in the tabs. Additionally, there is a textual indication of each current
chapter at the side of each even page.
Warnings And Cautions
There are alsoWARNINGSthat must be carefully followed to prevent incorrect use of the components of the vehicle, which
could cause accidents or injuries.
While reading this Owner’s Manual you will find a series of CAUTIONSto prevent procedures that could damage your vehicle.
Therefore all WARNINGS andCAUTIONS must always be carefully followed.
WARNINGS andCAUTIONS are recalled in the text with the following symbols:
Personal Safety:
Vehicle Safety:
Note:
This Owner’s Manual describes the Quadrifoglio model. Optional contents, including equipment meant for specific
Markets or particular models, are not identified as such in the text: you need to consider only the information
related to the model you own. Any content introduced throughout the production of the model, outside of the
specific request of options at the time of purchase, will be identified with the wording (if-equipped).
All data contained in this publication is intended to help you use your vehicle in the best possible way. FCA US LLC
aims at a constant improvement of the vehicles produced. For this reason, it reserves the right to make changes to
the model described for technical and/or commercial reasons.
For further information, contact your authorized dealer.
Page 27 of 268
General Information
The following regulatory statement
applies to all radio frequency (RF)
devices equipped in this vehicle:
This device complies with Part 15 of the
FCC Rules and with Industry Canada
licence-exempt RSS standard(s).
Operation is subject to the following
two conditions:
1. This device may not cause harmful
interference, and
2. This device must accept any
interference received, including
interference that may cause undesired
operation.
Note:
Changes or modifications not expressly
approved by the party responsible for
compliance could void the user’s
authority to operate the equipment.
Power Lock — If
Equipped
The Power Lock is a safety device that
prevents the operation of the interior
door handles and the door locking and
unlocking buttons. The Power Lock
also prevent opening of the doors from
inside the passenger compartment.
It is recommended to lock the vehicle
doors each time the vehicle is parked.Activating The Power Lock
The Power Lock is enabled on all the
doors by quickly pushing the lock
button on the key fob twice.
The turn signals will flash to let you
know that the Power Lock is active.
If one or more of the doors are not
closed correctly, the Power Lock will
not activate, preventing a person from
getting stuck inside the passenger
compartment by entering the vehicle,
and then closing, the open door.
Deactivating The Power Lock
The Power Lock disengages
automatically:
When the doors are unlocked,
pushing the unlock button on the key
fob.
When the keyless ignition is placed in
the ON position.
Child Safety Locks
To provide a safer environment for small
children riding in the rear seats, the rear
doors are equipped with
Child-Protection Door Lock system.
This device can be engaged only with
the doors open.
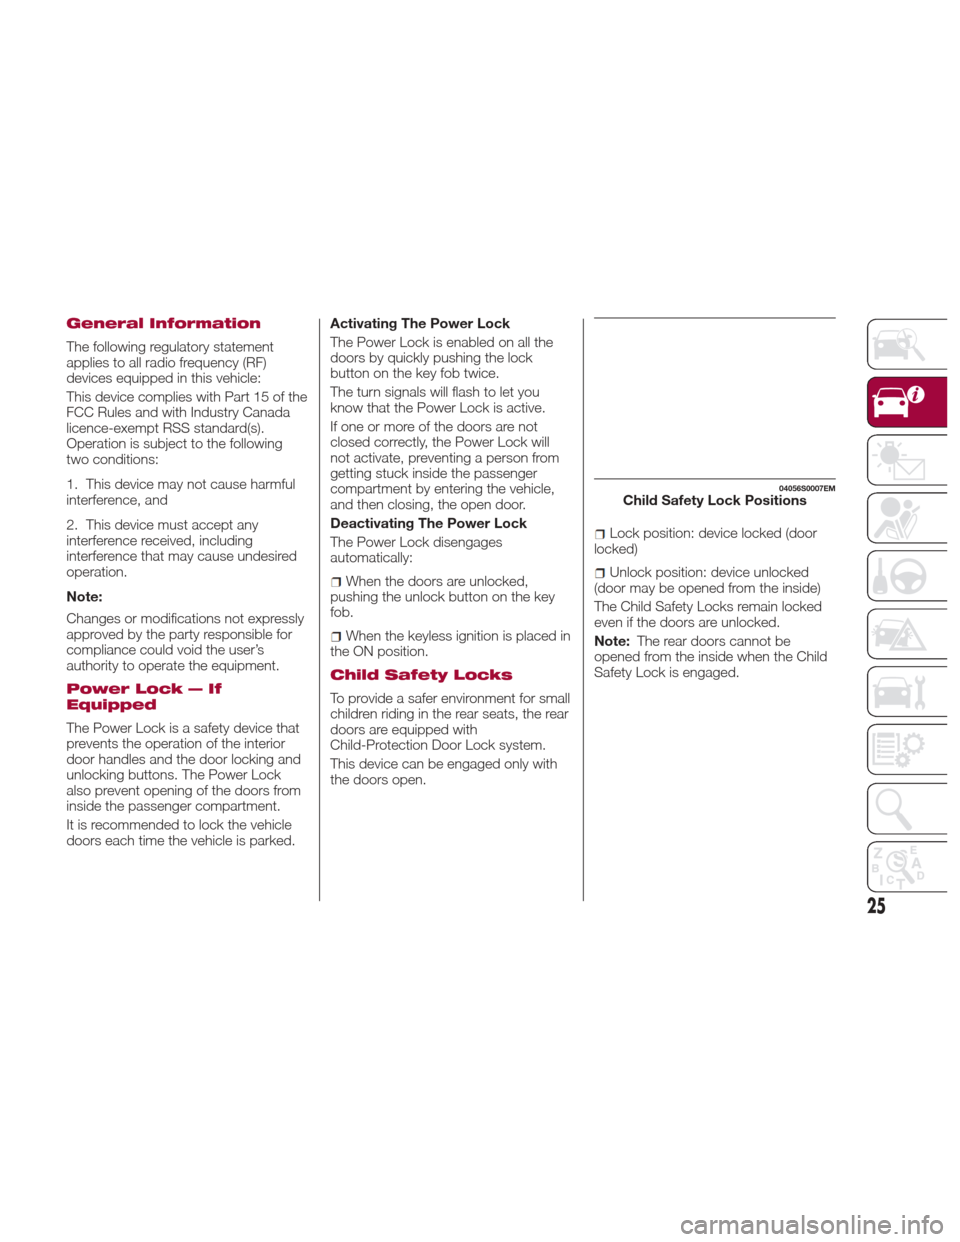
Lock position: device locked (door
locked)
Unlock position: device unlocked
(door may be opened from the inside)
The Child Safety Locks remain locked
even if the doors are unlocked.
Note: The rear doors cannot be
opened from the inside when the Child
Safety Lock is engaged.
04056S0007EMChild Safety Lock Positions
25
Page 38 of 268
The high beam headlights are turned off
by pushing the left stalk toward the
instrument panel again. The warning
light/icon
will switch off in the
instrument panel when the headlights
are successfully turned off.
Flashing The Headlights
Pulling the left stalk toward the steering
wheel will activate the high beam
headlights manually. The lights will
remain on as long as the stalk is pulled
back; once the stalk is released, the
lights will switch off again.
Automatic High Beam Headlights —
If Equipped
The Automatic High Beam Headlights
system provides increased forward
lighting at night by automating high
beam control through the use of a
digital camera mounted on the
windshield. This camera detects vehicle
specific light and automatically switches
from high beams to low beams until the
approaching vehicle is out of view.
This function is enabled with the
Connect system, and can only be
activated with the light switch turned to
(AUTO).
If the high beam headlights are on, the
blue icon/warning light
will illuminate
in the instrument panel.
When the speed is higher than 37 mph
(60 km/h) and the function is active, the
lights will switch off if the left stalk is
pushed again. When the speed is lower than 15 mph
(25 km/h) and the function is active, the
function switches the high beam
headlights off.
If the high beam headlights are
operated quickly again (pushing the left
stalk towards the instrument panel), the
warning light/icon
will switch on in
the instrument panel and the main
beam headlights will be switched on
constantly until the speed exceeds
37 mph (60 km/h).
When the speed of 37 mph (60 km/h) is
exceeded again, the automatic
functioning is reactivated.
If the left stalk is pushed again with the
Automatic High Beam Headlights
activated, the Automatic High Beam
Headlights function deactivates.
To deactivate the automatic headlight
function, rotate the headlight switch to
the
position.
Note: If the system recognizes inner
city travel, the automatic functions
remain disabled independently of the
vehicle’s speed.
Turn Signals
To activate the turn signals function,
move the left lever up or down until it
reaches the detent. Moving the lever
upward flashes the right turn signal and
moving the lever downward will flash
the left turn signal. The
orturn signal will blink on the
instrument panel.
The turn signals turn off automatically
when the vehicle is brought back onto a
straight course.
“Lane Change” Function
Tap the lever up or down once, without
moving beyond the detent, and the turn
signal (right or left) will flash five times.
Then, the turn signal (right or left) will
automatically turn off.
To turn off the flashing before the end of
the cycle, move the lever in the
opposite direction until the first click
(about half way).
Static Bending Light
Function (SBL) — If
Equipped
The SBL function utilizes Light Emitting
Diodes (LEDs) in order to better
illuminate the street and increase the
light angle while turning. This function is
enabled by rotating the light switch to
position
or(AUTO). The SBL
LEDs activate when the speed is below
25 mph (40 km/h).
This function can be activated/
deactivated on the Connect system by
selecting the following functions in
sequence on the main menu:
“Settings”, “Lights” and “Cornering
Lights”.
36
GETTING TO KNOW YOUR VEHICLE
Page 46 of 268
Caution!
The system uses R1234yf refrigerant,
which does not pollute the environment in
the event of accidental leakage. Under no
circumstances, use R134a and R12 fluids,
which are incompatible with the
components of this system.
Description
The Automatic Dual Zone Climate
Control System adjusts the temperature
and air distribution independently
between the driver and passenger.
The system maintains the set
temperature inside the passenger
compartment and compensates for
outside temperature change.
The automatic setting will adjust the
following to maintain comfort within the
passenger compartment:
Air temperature from the driver/front
passenger side vents
Air distribution from the driver/front
passenger side vents
Fan speed (continuous variation of
the air flow)
Compressor variations (for
cooling/dehumidifying the air)
Air recirculation The Climate Control System can also
be operated manually by using the
buttons and knobs on the faceplate.
Manual selections will override the
automatic settings, which are stored
until the AUTO button is pushed. If the
system intervenes for safety reasons,
the automatic setting will take control of
the system.
The below operations will not
deactivate the automatic (AUTO)
function:
Air Recirculation activation/
deactivation
A/C activation/deactivation
SYNC function activation
Rear Window Defrost activation/
deactivation
When in AUTO mode, the vehicle’s
internal temperature is controlled
according to the set temperature.
The following can be manually set or
adjusted:
Driver/passenger air temperature
Blower speed (continuous variation)
Air distribution (seven positions for
driver and passenger)
A/C activation
Front Defroster
Air recirculation
Rear Defroster
System deactivation
Operating Mode
The Climate Control system can be
activated in different ways. It is
recommended to use the automatic
function. Push the AUTO button and
set the desired temperatures.
The automatic system adjusts the
temperature, quantity, and distribution
of air introduced into the passenger
compartment. It also controls air
recirculation and the activation of the air
conditioner.
At any time during automatic operation,
you can change the temperature,
activate or deactivate the Rear
Defroster, activate SYNC, activate or
deactivate the air conditioner, and
activate or deactivate air recirculation.
The system will automatically adjust to
the new settings.
44
GETTING TO KNOW YOUR VEHICLE
Page 47 of 268
Climate Control Display
Settings
The Climate Control settings are visible
on the Connect radio screen.
The display on the Connect system is a
pop up window (1), which is activated
by pushing the buttons or turning the
knobs on the Climate Control system.
The indicator lights located on the a
number of the buttons and knobs
indicate that the selected feature is
on/off. If no operation is performed for a
predetermined time, the pop-up will
close on the display.
Air Temperature
Adjustment
Rotate the driver or passenger
Temperature Adjustment Knob to the
right for warmer temperatures or to the
left for cooler temperatures. The set
temperatures are shown on the
Connect system.
Push the SYNC button to sync the
driver and passenger air temperatures.
Rotate the passenger Temperature
Adjustment Knob to cancel the SYNC
function. This will set a new passenger
side temperature.
Rotate the Temperature Adjustment
Knob fully right to engage the HI
(maximum heating) setting or fully left to
engage the LO (maximum cooling)
setting. To deactivate these functions,
rotate the Temperature Adjustment
Knob to the desired temperature.
Air Distribution
Selection
Push the Air Distribution Selection
button on the faceplate to change the
mode of air distribution.
Air flow to the windshield and front
side window vents to
demist/defrost them.
Air flow at the central and side
dashboard vents to ventilate the
chest and the face.
Air flow to the front and rear floor
vents. This setting heats the
passenger compartment the
quickest.
Air flow distributed between the
floor vents (hotter air) and the
central and side dashboard vents
(cooler air). This air distribution
setting is useful on sunny days
during spring and autumn.
Air flow distributed between the
floor vents, windshield, and front
side window defrosting/demisting
vents. This distribution setting
warms the passenger
compartment while preventing the
windows from fogging up.
Air flow distribution between the
windshield demisting/defrosting
vents, and side/central dashboard
vents. This distribution setting
sends air to the windshield in
sunny conditions.
Air flow distribution to all vents on
the vehicle.
In AUTO mode, the Climate Controls
automatically manage the air
distribution. When set manually, the
respective symbols on the Connect
system indicate the air distribution
setting.
04156S0006EM1 — Climate Control Pop-up Display
45
Page 48 of 268
Fan Speed Adjustment
Turn the Blower Speed Knob to
increase or decrease the blower speed.
The speed is displayed with lighted
indicators in the Connect system
display.
Maximum fan speed = all indicators
illuminated
Minimum fan speed = one indicator
illuminated
The fan can be turned off by rotating
the Blower Speed Knob to position O
(all segments on the Connect system
display are turned off).
Note:
To restore automatic control of the fan
speed, push the AUTO button.
AUTO Button
When the AUTO button is pushed
(indicator illuminated), the Climate
Control system automatically adjusts
the following settings:
Quantity and distribution of air flow in
the passenger compartment
The air conditioner
Air recirculation
Cancels any manual settings
Selecting the AUTO function illuminates
the indicator on the A/C button
.
If air distribution or the fan speed is
manual adjusted, the AUTO button
indicator will turn off to indicate that the
Climate Control system is no longer in
AUTO mode. After a manual adjustment, push the
AUTO button to resume the automatic
system.
SYNC Button
Push the SYNC button (indicator
illuminated) to sync the passenger side
air temperature with the driver side air
temperature.
This function makes temperature
regulation easier when the driver is
traveling alone.
Turn the passenger Temperature
Adjustment Knob or push the
passenger side Air Distribution
Selection Button to change the
passenger side air temperature and
return to separate air temperature
management.
Air Recirculation And Air
Quality System (AQS)
Air Recirculation is managed according
to the following operating mode:
Automatic engagement: indicator is
illuminated above the “A” on the Air
Recirculation Button
Forced activation (air circulation
always activated): indicator illuminated
above the
iconontheAir
Recirculation Button
Forced deactivation (air recirculation
always off with intake of outside air):
both indicators illuminated on the Air
Recirculation Button The three operating conditions are
obtained by pushing the Air
Recirculation Button
in sequence.
Enabling The Air Quality System
(AQS) Function — If Equipped
When the automatic recirculation
function is selected, the AQS function
automatically activates internal air
recirculation when the outside air is
polluted (e.g. in heavy traffic and
tunnels).
At low external temperatures or in high
humidity, the automatic function turns
off to avoid fogging up the windows.
The user can select the function again
by pushing the Air Recirculation Button.
In automatic operation, air recirculation
will be controlled by the system
according to outside environmental
conditions.
Note:
With the AQS function active and
after the internal air recirculation
system has been functioning for a set
amount of time, the Climate Control
System enables air intake to cycle the
air in the passenger compartment for a
set time. The AQS function is disabled
during the air changes.
46
GETTING TO KNOW YOUR VEHICLE
Page 71 of 268
Language: change the language of
the system
Restore Settings: restores the factory
settings
To access and the change the setting,
turn and push the Rotary Pad.
Clock & Date
The following settings can be modified
under the “Clock & Date” menu:
Sync With GPS Time: activates or
deactivates the clock synchronization
through the GPS. If the function is
deactivated, the options Set Time and
Set Date are enabled.
Set Time: set the time manually
Time Format: set the time format to
either a 12-hour and a 24-hour clock
Set Date: set the date manually
Restore Settings: restores the factory
settings
To access and the change the setting,
turn and push the Rotary Pad.
Cluster The following settings can be modified
under the “Cluster” menu:
Warning buzzer volume: set the
volume of the warning buzzer.
Trip B: activate or deactivate the Trip
function
Phone repeat: activate or deactivate
repeating the Phone function screens
on the instrument cluster display.
Restore Settings: restores the factory
settings.
To access and the change the setting,
turn and push the Rotary Pad.
GUID-05036S0017EMClock & Date Menu Option
GUID-05036S0018EMInstrument Cluster Display Menu Option
69
Page 89 of 268
SymbolWhat It Means What To Do
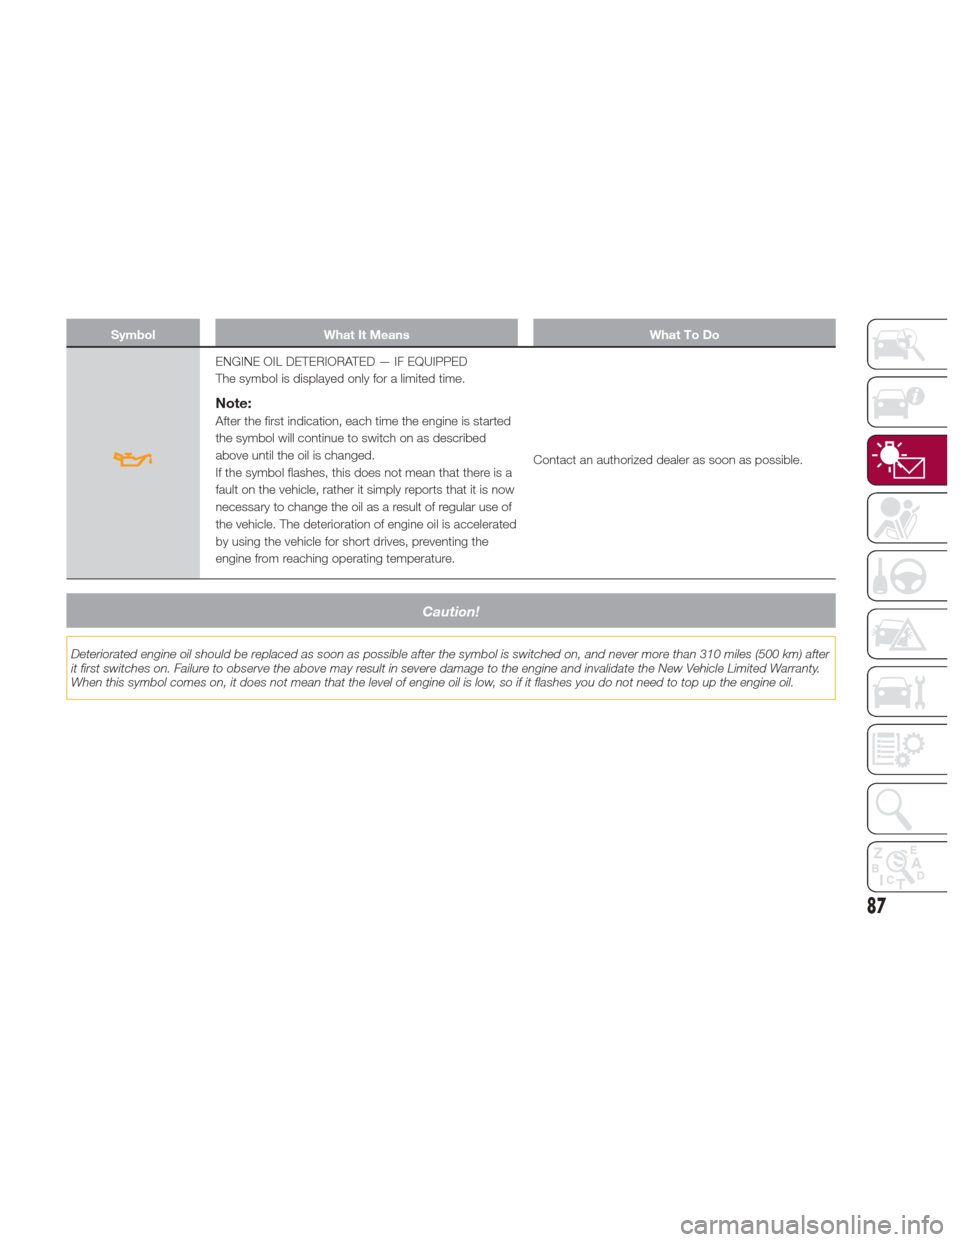
ENGINE OIL DETERIORATED — IF EQUIPPED
The symbol is displayed only for a limited time.
Note:
After the first indication, each time the engine is started
the symbol will continue to switch on as described
above until the oil is changed.
If the symbol flashes, this does not mean that there is a
fault on the vehicle, rather it simply reports that it is now
necessary to change the oil as a result of regular use of
the vehicle. The deterioration of engine oil is accelerated
by using the vehicle for short drives, preventing the
engine from reaching operating temperature.Contact an authorized dealer as soon as possible.
Caution!
Deteriorated engine oil should be replaced as soon as possible after the symbol is switched on, and never more than 310 miles (500 km) after
it first switches on. Failure to observe the above may result in severe damage to the engine and invalidate the New Vehicle Limited Warranty.
When this symbol comes on, it does not mean that the level of engine oil is low, so if it flashes you do not need to top up the engine oil.
87
Page 103 of 268
Rear View
The system detects vehicles coming
from the rear part of your vehicle on
both sides and entering the rear
detection area with a difference in
speed of less than 31 mph (50 km/h)
with relation to your vehicle.
Overtaking Vehicles
If another vehicle is overtaken slowly,
with a difference in speed of less than
approximately 15 mph (25 km/h) and
the vehicle stays in the blind spot for
approximately 1.5 seconds, the
warning light on the door mirror of the
corresponding side lights up.
If the difference in speed between the
two vehicles is greater than
approximately 15 mph (25 km/h), the
warning light does not light up.
Rear Cross Path Detection (RCP)
System
This system helps the driver during
reverse maneuvers in the case of
reduced visibility.
The RCP system monitors the rear
detection areas on both sides of the
vehicle to detect objects moving
towards the sides of the vehicle, with a
minimum speed between approximately
1 mph (1 km/h) and 2 mph (3 km/h)
and objects moving at a maximum
speed of 21 mph (35 km/h), in areas
such as parking lots.
The system activation is signaled to the
driver by a visual and acoustic warning.Note:
If the sensors are covered by
objects or vehicles, the system will not
warn the driver.
Warning!
Rear Cross Path Detection (RCP) is not a
back up aid system. It is intended to be
used to help a driver detect an oncoming
vehicle in a parking lot situation. Drivers
must be careful when backing up, even
when using RCP. Always check carefully
behind your vehicle, look behind you, and
be sure to check for pedestrians, animals,
other vehicles, obstructions, and blind
spots before backing up. Failure to do so
can result in serious injury or death.
Operating Mode
The system may be activated/
deactivated via the Connect system. To
access the function, select the following
items on the main menu in sequence:
"Settings", "Safety" and "Blind Spot
Alert".
"Blind Spot Alert", "Visual" Mode
When the system is enabled, a visual
warning is sent to the door mirror on
the side of the detected object.
The visual warning on the mirror will
blink if the driver switches on the
direction indicators, thus indicating the
intention to change lane.
The warning will be fixed if the driver
stays in the same lane. "Blind Spot Alert" Function
Deactivation
When the system is deactivated ("Blind
Spot Alert" mode off), the BSM or RCP
systems will not emit either acoustic or
visual warnings.
The BSM system will store the
operating mode running when the
engine was stopped. Each time the
engine is started, the operating mode
stored previously will be recalled and
used.
General Information
This vehicle has systems that operate
on radio frequency that comply with
Part 15 of the Federal Communications
Commission (FCC) rules and with
Industry Canada Standards RSS-
GEN/210/220/310.
Operation is subject to the following
two conditions:
1. The device may not cause harmful
interference.
2. The device must accept any
interference received, including
interference that may cause undesired
operation of the device.
Changes or modifications to any of
these systems by other than an
authorized service facility could void
authorization to use this equipment.
101
Page 105 of 268
Only Warning: the system, if active,
does not provide limited braking, but
guarantees automatic braking or
additional assistance in braking stage,
where the driver does not brake at all or
not sufficiently in the event of a potential
frontal impact. The visual and audible
warnings are deactivated, and will not
be provided.
Disable: the system does not
provide visual and audible warnings,
limited braking, automatic braking or
additional assistance in braking stage.
The system will therefore provide no
indication of a possible accident.
Activation/Deactivation
The Forward Collision Warning system
is activated whenever the engine is
started regardless of what is shown on
the Connect system.
Following a deactivation, the system will
not warn the driver about the possible
collision with the preceding vehicle,
regardless of the setting selected with
the Connect system.
Note: Each time the engine is started,
the system is activated regardless of
what setting was selected when it was
previously switched off.
This function is not active at a speed
lower than 4 mph (7 km/h) or higher
than 124 mph (200 km/h). The system is active when:
The engine is started.
Is active (on) in the Connect system.
The ignition is in the ON position.
The vehicle speed is between 4 mph
(7 km/h) and 124 mph (200 km/h).
The front seat belts are fastened.
The "Alfa DNA Pro" selector is not in
RACE position (where present).
Changing The System Sensitivity
The sensitivity of the system can be
changed through the Connect system
menu, choosing from one of the
following three options: "Near", "Med"
or "Far". Refer to the description in the
“Connect System Supplement” for how
to change the settings.
The pre-set option is "Med". With this
setting, the system warns the driver of a
possible collision with the vehicle in
front when that vehicle is at a standard
distance, between that of the other two
settings.
With the system sensitivity set to "Far",
the system will warn the driver of a
possible collision with the vehicle in
front when that vehicle is at a greater
distance, thus providing the possibility
of acting on the brakes more lightly and
gradually. This setting provides the
drivers with the maximum possible
reaction time to prevent a potential
accident. With the option set to "Near", the
system will alert the driver of a possible
collision with the vehicle in front when
that vehicle is close. This setting offers
the driver a lower reaction time
compared to the "Med" and "Far"
settings, in the event of a potential
collision, but permits more dynamic
driving of the vehicle.
The system sensitivity setting is kept in
the memory when the engine is
switched off.
System Limited Operation Signal
If the dedicated message is displayed,
a condition limiting the system
operation may have occurred. The
possible reasons of this limitation are
something blocking the camera view or
a fault.
If an obstruction is signaled, clean the
area of the windshield indicated in.
Although the vehicle can still be driven
in normal conditions, the system may
be not completely available.
When the conditions limiting the system
functions end, this will go back to
normal and complete operation. Should
the fault persist, contact an authorized
dealer.
System Failure Signaling
If the system switches off and a
dedicated message is shown on the
display, it means that there is a fault on
the system.
103