ESP AUDI A8 2017 Manual Online
[x] Cancel search | Manufacturer: AUDI, Model Year: 2017, Model line: A8, Model: AUDI A8 2017Pages: 354, PDF Size: 88.68 MB
Page 259 of 354
0 co .... N ,..... N .... 0 0 :c '
18 kg) are best protected in chi ld safety seats de
signed for their age and we ight . Experts say that
the skeletal structure, particularly the pelvis, of
these children is not fully developed, and they
must not use the vehicle safety belts without a
suitable child restraint .
It is usually best to put these children in appro priate booster seats. Be sure the booster seat
meets all applicable safety standards .
Booster seats ra ise the seat ing pos ition of the
child and repos ition both the lap and shoulder
parts of the safety belt so that they pass across
the child 's body in the right places. The routing of
the belt over the child's body is very important
for the child's protection, whether or not a boos
ter seat is used. Chi ldren age 12 and unde r must
a lways ride in the rear seat.
Ch ildren who are at least 4 ft . 9 in . (57 inches/
1.45 meters) tall can genera lly use the veh icle's
three po int lap and shoulder be lts. Never use the
lap belt po rtion of the vehicle 's safety belt alone
to restrain any child, regardless of how big the
child is. A lways remember that children do not
have the pronounced pelvic structure required for
the proper function of lap belt portion of the ve hicle 's three point lap and shoulder belts. The
child's safety absolutely requires that a lap bel t
portion of the safety belt be fastened snugly and
as low as possible around the pelvis. Never let
the lap belt portion of the safety belt pass over
the child's stomach or abdomen.
In a crash, airbags must inflate within a blink of
an eye and with considerable force . In order to do
its job, the airbag needs room to inflate so that it
will be there to p rotect the occupant as the occu
pant moves forward into the a irbag.
A vehicle occupant who is out of position and too
close to the airbag gets in the way of an inflating
a ir bag. When an occupant is too close, he o r she
will be st ruck v iolently and will receive ser ious o r
possib ly even fatal injury.
In order for the airbag to offer p rotection, it is
i mportant that all vehicle occupants, espec ia lly
any chi ldren, who must be in the front seat be
cause of exceptional circumstances, be p roperly
Ch ild safety
restrained and as far away from the airbag as
possible . By keeping room between the chi ld's
body and the front of the passenger compart
ment, the airbag can inflate completely and pro
vide supplementa l protection in certain frontal
collisions .
A WARNING
-Not using a booster seat, using the booster
seat imp roperly, incorrect ly installing a boos
ter seat o r us ing the vehicle safety belt im
p roperly increases the r is k of serious personal
injury and death in a collision or other emer
gency situation. To help reduce the risk of se
rious personal injury and/or death:
- The shou lder belt m ust lie as close to the
center of the chi ld's collar bone as possible
and must lie flat and snug on the upper
body. It must never lie across the throat or
neck . The lap belt must lie across the pelvis
and never across the stomach or abdomen. Make sure that the belt lies flat and snug .
Pull on the belt to tighten if necessary.
- Fa ilure to properly route safety belts over a
child's body w ill cause severe injuries in an
accident o r othe r emergency situation
¢ page 218.
-The rear side of the ch ild safety seat should
be positioned as close as possible to the
b ackrest on the veh icle seat. Adjust the rear
seat head restrain t if it is diffi cult to install
the child seat with the head restraint in p lace ¢
page 210. Driving with head re
straints that are not properly adjusted in
creases the risk of serious or fatal neck in
jury dramat ically .
- Chi ldren on the front seat of any car, even
with Advanced Airbags, can be seriously in
jured or even k illed when an airbag inflates.
- Never let a chi ld put the shoulder belt under
the arm or behind the back, because it could
cause severe injuries in a crash.
- Never let a child stand or kneel on any seat,
for example the front seat.
- Never let a child r ide in the cargo area of
your veh icle .
- Always remember that a chi ld leaning for
ward, sitt ing sideways or out of position in
257
Page 260 of 354
Child safety
any way during an accident can be struck by
a deploying airbag. This will result in serious
personal injury or death.
- If you must install a booster seat on the
front passenger seat because of exceptional
circumstances the
PASSENGER AIR BAG
OFF
light must come on and stay on, when
ever the ignition is switched on .
- If the
PASSENGER AIR BAG OFF light does
not come on and stay on, perform the
checks described ¢
page 236, Monitoring
the Advanced Airbag System.
- Take the child restraint off the front passen
ger seat and install it properly at one of the
rear seat positions if the
PASSENGER AIR
BAG OFF
light does not stay on whenever
the ignition is switched on.
- Always read and heed all WARNINGS when
ever using a child restrained in a vehicle is
being used ¢
page 218, Safety belts,
¢ page 226, Airbag system and
¢ page 248, Important information.
Securing child seats
Securing a child safety seat using a safety
belt
Safety belts for the rear seats and the front pas
senger can be locked with the convertible locking
retractor to properly secure child safety seats .
The safety belts emergency locking retractors for
the rear seats safety belts and for the front pas
senger's seat safety belt have a convertible lock
ing retractor for child restraints. The safety belt
must be locked so that belt webbing cannot un
reel. The retractor can be activated to lock the
safety belt and prevent the saf ety belt webbing
from loosening up during normal driving. A child
safety seat can only be properly installed when
the safety belt is locked so that the child and
child safety seat will stay in place .
Always remember: Even though your vehicle is
equipped with an Advan ced Airbag system, all
children, especially those 12 years and younger,
should always ride in the back seat properly re
strained for their age and size.
258
A WARNING
Improperly installed child safety seats in-
crease the risk of serious personal injury and
death in a collision .
-
-Always make sure that the safety belt re
tractor is locked when installing a child
safety seat . An unlocked safety belt retrac
tor cannot hold the child safety seat in place
during normal driving or in a crash.
-Always buckle the child safety seat firmly in
place even if a child is not sitting in it. A
loose child safety seat can fly around during
a sudden stop or in a collision.
- Always make sure that the rear seat back
rest to which the center rear safety belt is
attached is securely latched whenever the
rear center safety belt is being used to se
cure a child restraint.
- If the backrest is not securely latched, the child and the child restraint will be thrown
forward together with the backrest and will strike parts of the vehicle interior. The child
can be seriously injured or killed .
- Never install rear-facing child safety seats
or infant carriers on the front passenger
seat . A child will be seriously injured and
can be killed when the passenger airbag in
flates .
- The inflating airbag will hit the child safety
seat or infant carrier with great force and
will smash the child safety seat and child
against the backrest, center armrest, door
or roof.
- Always install rear-facing child safety seats
or infant carriers on the rear seat.
- Forward-facing child safety seats or infant
carriers installed on the front passenger's
seat may interfere with the deployment of
the airbag and cause serious injury to the
child.
- It is safer to install a forward-facing child
safety seat on the rear seat.
- Always read and heed all WARNINGS when
ever using a child restrained in a vehicle is
being used ¢
page 248. Special precautions
apply when installing a child safety seat on
the front passenger seat ¢
page 22 7, Child .,.
Page 261 of 354
0 co .... N ,..... N .... 0 0 :c '
tant things to know .
A WARNING
Always take special precautions if you must
install a forward or rearward-facing child re
straint on the front passenger's seat in excep
tional situations:
- Whenever a forward or rearward-facing
child restraint is installed on the front pas
senger seat, the
PASSENGER AIR BAG OFF
light must come on and stay on whenever
the ignition is switched on .
- If the
PASSENGER AIR BAG OFF light does
not come on and stay on, perform the
checks described~
page 236, Monitoring
the Advanced Airbag System.
- T ake the ch ild restraint off the front passen
ger seat and install it p roperly at one of the
rear seat positions if the
PAS SEN GER AIR
BAG OFF
light does not stay on whenever
the ignition is switched on .
- Improper installation of chi ld restraints can
reduce their effectiveness or even prevent
them from providing any protection.
- An improper ly installed chi ld restraint can
interfere with the airbag as it deploys and
seriously injure or even kill the child .
- Always carefu lly follow the manufacturer 's
instructions provided with the child safety
seat or carrier.
- Never place additional items on the seat
that can increase the total weight registered
by the weight-sensing mat and can cause in
jury in a crash .
A WARNING
Forward-facing child restraints :
-Always make sure the forward-facing seat has been designed and certified by its man
ufacturer for use on a front seat with a pas
senger front and s ide a irbag .
- Never put the forward-facing child restraint
up, against or very near the instrument pan
el.
-Always move the front passenger seat to
the highest position in the up and down ad-
Ch ild safety
justment range and move it back to the
rearmost posit ion in the seat's fore and aft
adjustment range, as far away from the air bag as possible , before installing the for
ward-facing child restraint.
- Always make sure that the safety belt upper
anchorage is behind the ch ild restraint and
not next to or in front of the child restraint
so that the safety be lt will be properly posi
tioned.
- Make sure that the
PASSENGER AIR B AG
OFF
li ght comes on and stays on a ll the time
wheneve r the ignit ion is switched on.
A WARNING
Rearward-facing ch ild restraints:
- A child in a rearward-fac ing ch ild safety sea t
installed on the front passenger seat will be
serio usly injured and can be killed if the
front airbag inflates -even with an Ad
vanced Airbag System.
- The inflating airbag will h it the ch ild safety
seat or infant carrier with great force and
will smash the child safety seat and child
aga inst the backrest, center armrest, door
or roof.
- Always be especially carefu l if you must in
stall a rearward facing child safety seat on
the front passenger seat in except iona l cir
cumstances.
- A t ight tether strap on a rearward-facing
child restraint attached to the front passen
ger seat can put too much pressure on the
weight-mat in the seat and reg ister a heav i
er weight in the Advanced Airbag System .
The heavier weight reg istered can make the
system work as though an ad ult we re on the
seat and deploy the Advanced A irbag when
it must be suppressed causing serious or
even fata l injury to the child.
- Make sure that the
PASSENGER AIR BAG
OFF
li ght comes on and stays on all the time
whenever the ignition is switched on .
- If the
PASSENGER AIR BAG OFF li ght does
not come on and stay on, immediately in
stall the rear-facing child safety seat in a rear seating posit ion and have the airbag
system inspected by your Audi dealer.
259
Page 265 of 354
C) C0 ....
"' " "' .... 0 0 :r
cated on the rear seats between the seatback and
the seat cushion. Special guidance fixtures in
crease the convenience of the lower anchorages
and help protect the seat material from possible
damage when installing child restraints .
In stall ing th e guidanc e fixtu re s
.,. Push down on the seat cushion so that the low
er anchorages are visible.
.,. Hold the guidance fixture with the part number
facing downward and push it in the direction of
the arrow onto the anchorage
c> fig. 249 .
.,. Make sure that each of the two guidance f ix
tures per seat snaps into place.
R emo ving the gu idanc e fixtu re s
.,. Remove the child restraint according the child
restraint manufacturer's instructions.
.,. Push down on the seat cushion so that the low
er anchorages are visible .
.,. Pull off the guidance fixtures from the lower
anchorages.
.,. Always remove the guidance fix tures and keep
them in a safe p lace when not in use.
You may find it easier to install ch ild restraints
eq uipped w ith hooks attached to st raps without
the guidance f ixt ures in place. If th is is t he case,
remove the guidance fixtures by pu lling them off
the anchorages . However, the guidance fixtures
can help you to locate the
LATCH anchorages.
A WARNING
Improper use of tether anchorages or lower
anchorages can cause serious persona l injury
in a crash .
- Always carefully follow the child restra int
manufacturer's instruct ions for proper in
stallation and use of child restra int systems .
- Never use the
LATCH or tether anchorages
to attach safety belts or other kinds of occu
pant restra ints.
- Child restra int tether attachments and low
er attachments are only designed to secure
a ch ild restraint that has been equipped to
use these anchorages .
-
Child sa fety
- Tether anchorages and lower anchorages
are designed to withstand only those loads
imposed by correctly fitted child restraints.
Under no circumstances can they be used
safely for adu lt or ch ild safety belts or har
nesses.
- Never mount more than one child restraint to a sing le tether or to a lower anchorage
point. Attaching two child restra ints to a
sing le anchorage point can cause the an
chorage to fail and cause serious personal
i n ju ry in a crash.
(D Note
- Remove the guidance f ixt ures before fo ld
ing the rear seatback to preven t damag ing
the seat cushion .
- T o attach the c hild rest raint securely, the
sea t must be moved to the farthest rear po
sition, the seat heigh t set to the lowest po
sition and the head restraint must be ad
justed to the vertical position.
- If you leave the guidance fixtures i nstalled
for several days, they cou ld leave a mark on
the upholstery on the seat cushion and backrest in the area that the guidance fix
tures were installed. The upholstery would
also be permanently stretched around the
guidance fixtures. Th is applies especially to
leather seats.
Installing a child restraint with LATCH
lower anchorages
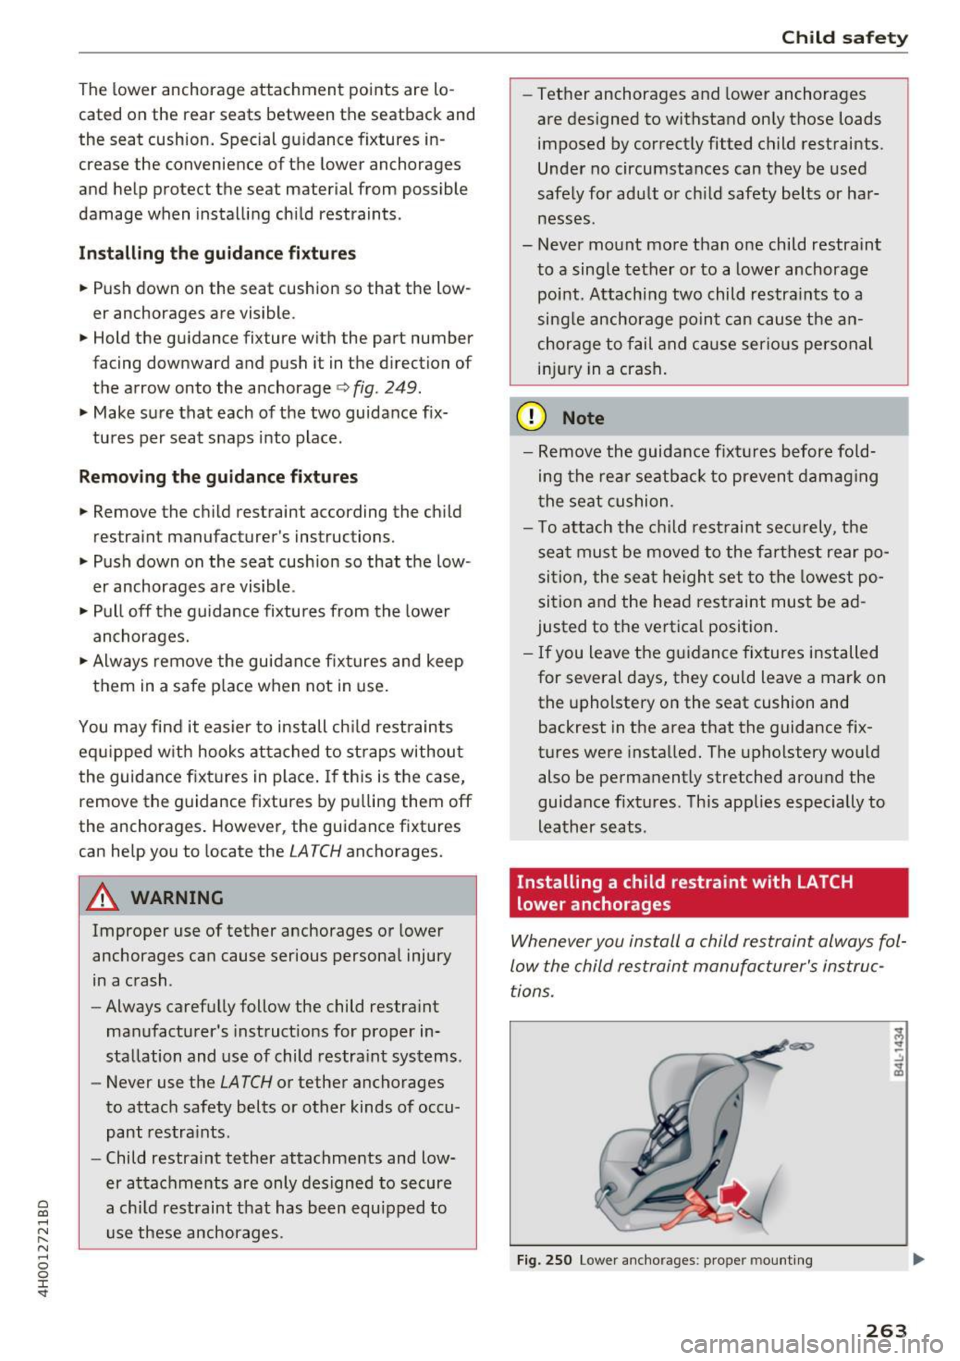
Whenever you install a child restraint always fol
low the child restraint manufacturer's instruc
tions.
F ig. 250 Lower ancho rages: proper mounting
263
Page 268 of 354

Child safet y
CJ) Note
If you leave the chi ld restraint with the tether
strap firmly installed for several days, this
could leave a mark on the upholstery on the
seat cush ion and backrest in the area where
the tether strap was installed. The upholstery
would also be permanently stretched around the tethe r strap . This applies especially to
lea ther seats .
Using tether straps on rearward-facing
child restraints
Curre ntly, few rear -facing chi ld restraint systems
come w ith a tether . P lease read and heed the
child restra int system manufact urer 's instruc
t ions carefully to determine how to properly in
stall the tether .
A WARNING
A child in a rearwa rd-faci ng chi ld safety seat
installed o n the front passenge r seat w ill be
ser iously injured and c an be killed if the fron t
airb ag infla tes -even w ith an Adv ance d Airbag
System.
- T he infl ati ng air bag w ill hit the child sa fety
seat or infant carrier wi th great force and
will smash t he chi ld safety seat and child
against the bac krest, center armrest, o r
doo r.
- A tight tether or other strap on a rearward
facing child restraint attached to the front
passenger seat can put too m uch pressure
on the we ight-mat in the seat and register a
heavie r weig ht in the Advanced Airbag Sys
tem . The heav ier weight registered can
make the system wo rk as though an adult
were on the sea t and deploy the Advanced
Air bag whe n it must be supp res sed ca using
serious o r even fa tal i njur y to the ch ild.
- If you mus t install a rearward fac ing ch ild
sa fe ty seat on the front passenger sea t be
ca use of exceptiona l circumstances and the
PASSENGER AIR BAG OFF light does not
come on and stay o n, immed iate ly install
the rear-fac ing ch ild safety seat in a rear
seat ing pos ition and have the airbag system
inspected by your Audi dealer.
266
Additional information
· Sources of information about child
restraints and their use
There are a n umber of sources of addi tional in
formation about ch ild rest raint se lection, instal
l ation and use :
N HT SA advises t hat the bes t chi ld safety seat is
the one tha t fits yo ur child and fits in yo ur vehi
cle, and that you will use correct ly and consis
te ntly.
Try befo re yo u buy!
U.S National Highway Traffic Safety Administra
tion
Tel.: 1 -888 -3 27- 42 36 ( TTY: 1-800- 424 -9153)
htt p://www.nh tsa.gov
http:/ /www .sa ferca r.gov
National SAFE KIDS Campaign
Tel.: ( 202) 662-0600
htt p://www.safekids .org
Safety BeltSafe U.S .A
T el.: (800) 745-SA FE (E nglish)
Tel.: (8 00) 747-SA NO (Spanish)
htt p://www.ca rseat.o rg
Transport Canada Information Centre
Tel.: 1-800-333-0371 o r ca ll 1 -613-998-86 16 if
yo u are in the Ottawa area
h ttp://www.tc.gc.ca/ eng/ roadsafety/menu. htm
Audi Customer Re lat ions
Tel.: (800) 82 2-2834
Page 270 of 354

Checking and Filling
fill up at busy gas stations where the seasonal
adjustment is more likely to be mad e in time.
0 Note
- Methanol fuels which do not meet these re
quirements may cause corrosion and dam
age to plastic and rubber components in the
fuel system.
- Do not use fuels that fail to meet the speci
fied criteria in this chapter .
- If you are unable to determine whether or
not a particular fuel blend meets the speci
fications, ask your service station or its fuel
supplier.
- Do not use fuel for which the contents can
not be identified.
- Fuel system damage and performance prob
lems resulting from the use of fuels differ
ent from those specified are not the respon
sibility of Audi and are not covered under
the New Vehicle or the Emission Control
System Warranties.
- If you experience a loss of fuel economy or
driveability and performance problems due
to the use of one of these fuel blends, we
recommend that you switch to unblended
fuel.
Gasoline additives
A pp lies to: ve hicles w ith gasoline engine
A major concern among many auto manufactur
ers is carbon deposit build-up caused by the type
of gasoline you use .
Although gasoline grades differ from one manu
facturer to another, they have certain things in
common. All gasoline grades contain substances
that can cause deposits to collect on vital engine
parts, such as fuel injectors and intake valves. Al
though most gasoline brands include additives to keep engine and fuel systems clean, they are not
equally effective .
Audi recommends using TOP TIER Detergent Gas
oline. For more information on TOP TIER Deter
gent Gasoline, please go to the official website (www.toptiergas .com) .
268
After an extended period of using inadequate
fuels, carbon deposit build-ups can rob your en
gine of peak performance.
([) Note
Damage or malfunction due to poor fuel qual
ity is not covered by the Audi New Vehicle
Limited Warranty.
Refueling
· Fuel filler neck
The fuel filler neck is located on the right rear
side panel behind the fuel filler flap .
If the power locking system should fail, you can
still open the flap manually -for detailed instruc
tions see
~ page 2 70.
You can find the fuel tank capacity of your vehicle
in
~ page 334 .
The label on the inside of the fuel filler flap tells
you the correct fuel for your vehicle. For more in
formation about fuel specifications, see
~ page 267.
Your vehicle fuel tank has an on board refuelling
vapor recovery system. This feature helps to pre
vent fuel vapors from escaping from the tank and
polluting the environment while you refuel your
vehicle . In order to fill the tank properly while
protecting the environment, please follow this
refueling procedure carefully.
& WARNING
-Under normal operating conditions, never car
ry additional fuel containers in your car. Gas
canisters and other containers used to trans
port fuel can be dangerous. Such containers,
full or empty, may leak and could cause a fire
in a collision. If you must transport fuel to
use for your lawn mower, snow blower, etc .,
be very careful and always observe local and
state laws regarding the use, transportation
and storage of such fuel containers. Make cer
tain the container meets industry standards
(ANSI/AS TM F8S2 -86).
Page 280 of 354
Checking and Filling
Coolant addit iv e
The coolant additive is made of anti-freezing and
corrosion protection agents. Only use the fo llow
ing coolant additives .
Coolant additive Sp ecification
G13 TL 774)
G12++ TL 774 G
These additives may be mixed with each other.
The amount of coolant additive that needs to be
mixed w ith water depends on the climate where
the vehicle will be operated . If the coolant addi
tive percentage is too low, the coo lant can freeze
and damage the engine.
Coolant addi- Freeze protec-
tive tion
Warm regions min
. 40%,
min. -13 °F
max. 45% (-25 °C)
Cold regions min . 50%, max. -40 °F
max. 55% (-40
°C)
(D Note
-Before the start of winter, have your author
ized Audi dealer or authorized Audi Service
F ac ility check if the coolant additive in you r
vehicle matc hes the percentage appropriate
fo r the clim ate. This is espe cially important
when driving in colder climates .
-If the appropriate coolant addi tive is not
available in an emergency, do not add any
other additive for risk of damaging the en
gine. If this happens, only use water and re
store the correct mixture ratio with the
specified coolant additive as soon as possi
ble.
- Only refill with new coo lant.
- Radiator sealant must not be mixed with
the coo lant.
278
Adding coolant
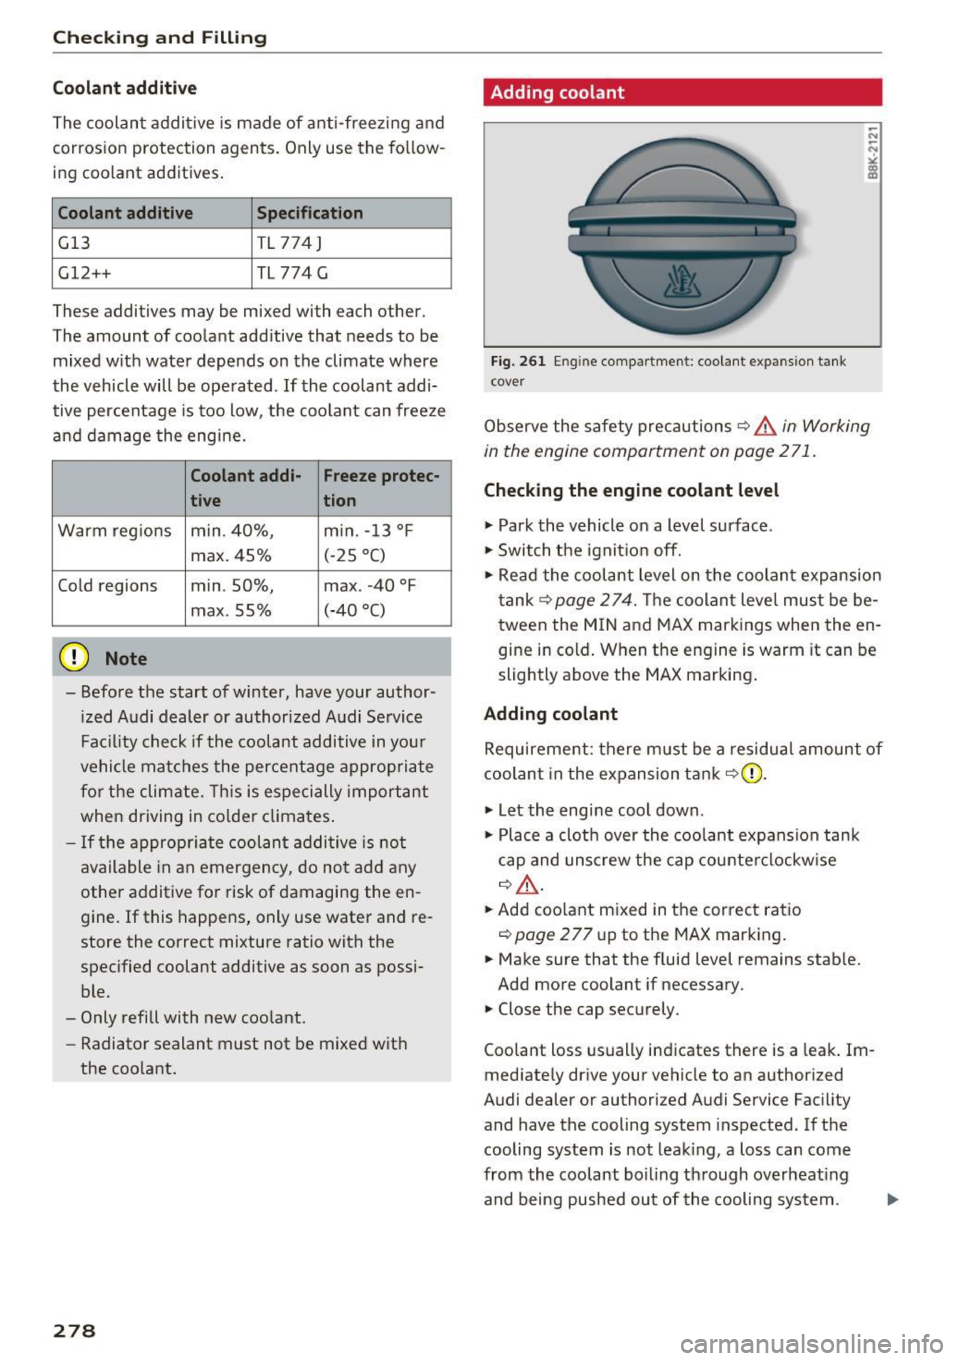
Fig. 261 E n g in e compartment: coolant expansion tank
cover
Observe the safety precautions ¢ .&. in Working
in the engine compartment on page 2 71.
Check ing the engine coolant level
.,. Park the vehicle on a level surface.
.,. Switch the ignit ion off.
.,. Read the coolant level on the coolan t expansion
tank
¢page 274. The coolant leve l must be be
tween the M IN and MAX markings when the en
gine in cold . When the engine is warm it can be
slightly above the MAX marking .
Adding coolant
Requirement: there m ust be a residua l amount of
coolant in the expansion t ank
~ CD.
.,. Let the engine cool down .
.,. Place a cloth
over the coolant expansion tank
cap and unsc rew the cap cou nte rclockw ise
~ .&. -
.. Add coolant mixed in the correc t ratio
~ page 277 up to the MAX marking.
.,. Make sure that the fluid level remains stable.
Add more coolant if necessary .
.,. Close the cap securely .
Coo lant loss usually indicates there is a leak . Im
med iate ly drive your vehicle to an authorized
Audi dealer or authorized Audi Service Facility
and have the cooling system inspected.
If the
cooling system is not leak ing, a loss can come
from the coolant boiling through overheat ing
and being pushed ou t of the cooling system .
Page 283 of 354
0 co .... N ,..... N .... 0 0 :c '
start pins according to the instructions. (pin un
der the cover= "pos it ive", pin with hexagonal
head
= "negative").
~ Insert the power cable for the charging device
into the socket and switch the device on .
~ At the end of the charging process, switch the
charger off and pull the power cab le out of the
socket.
~ Now remove the charg ing device terminal
clamps.
~ Close the cover @on the positive terminal and
re-install the cover
(D.
~ Close the hood c:> page 2 73.
A drained battery can freeze at temperatures
around 322F (OQC). A frozen or thawed out bat
tery must no longer be used. The battery housing
could be cracked by the formation of ice, which
could cause battery acid to leak out
c:> A .
Charg ing the b att ery
On ly use chargers with a ma ximum cha rg ing
voltage of 14.8 V. The battery connecting cables
do not need to be disconnected. Do not open the
battery when charg ing .
Read a ll of the manufact urer 's instructions for
the charger before charging the battery.
A WARNING
- A highly exp losive mixture of gases can form
when charging batter ies. Only charge the
vehicle battery in well-vent ilated areas.
- A drained battery can freeze at tempera
tures around 32 °F (0 °C). A frozen or
thawed ve hicle battery must not be charged
and must not be used anymore. The battery
housing can crack and battery acid can leak
o ut if ice fo rms, wh ic h in creases the r is k of
an exp losion and chemica l burns. Conta ct an
au thori zed Aud i dealer o r autho rized Aud i
Service Facility fo r mo re information.
- Do not connect o r disconnect the charg ing
cable while charg ing because th is increases
the risk of an exp losion.
Ch eck ing and Filling
{!) Tips
-Only charge the vehicle battery through the
connect ions in the engine compartment.
- Read all of the manufacturer's instructions
for the charger before charging the vehicle battery.
Windshield washer system
F ig . 2 64 Engine compartmen t: was her fluid reservo ir cap
M N ~ N
"' co m
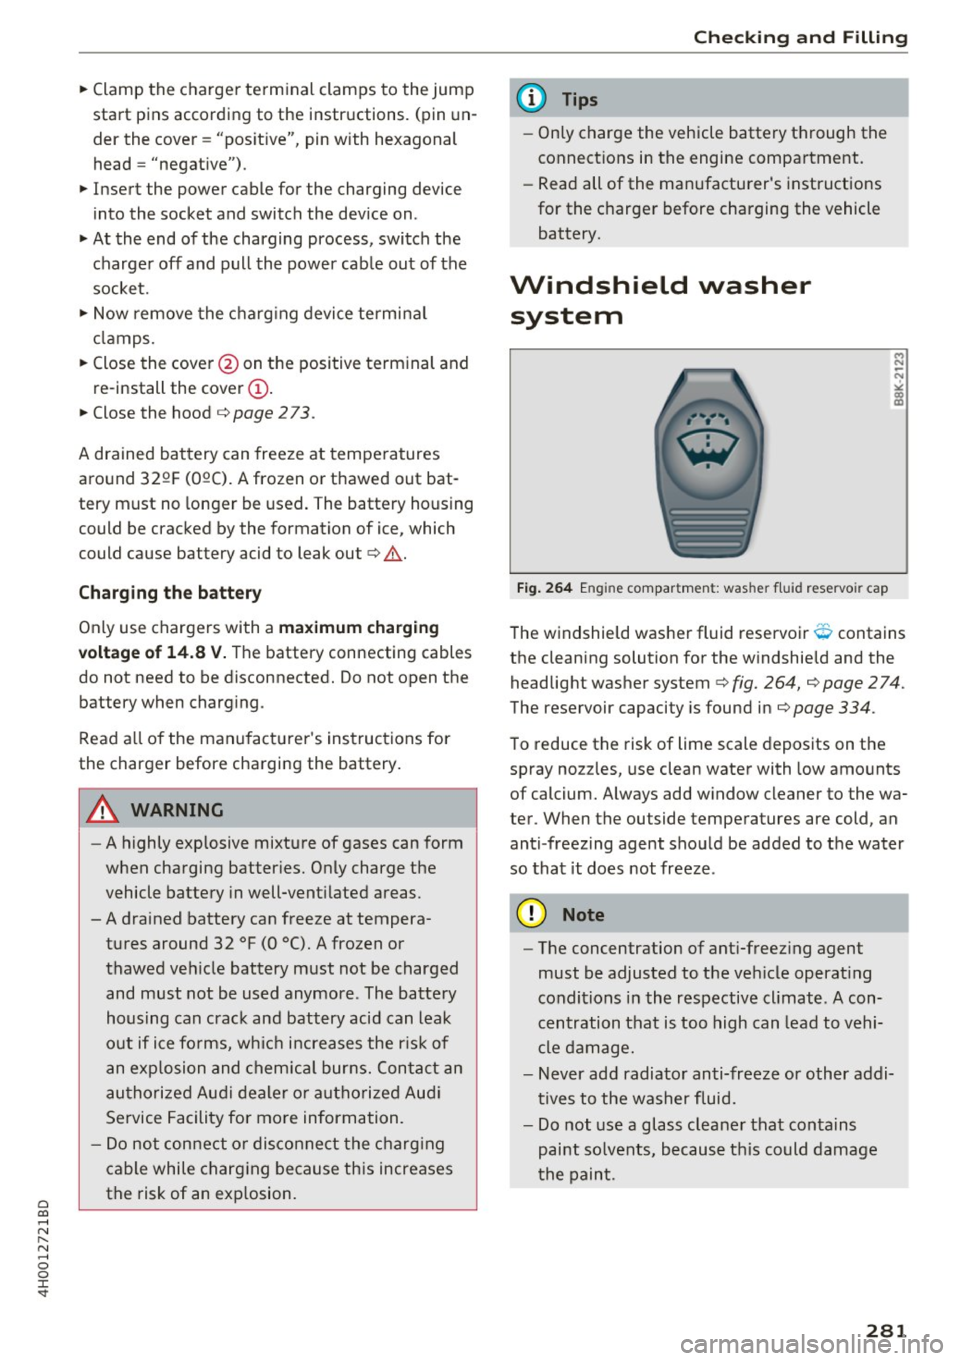
The windshield washer fluid reservoir O contains
the cleaning solution for the w indshield and the
headlight washer system¢
fig. 264, ¢ page 2 74.
The reservoir capacity is found in c:> page 334 .
To reduce the risk of lime scale deposits on the
spray nozzles, use clean water with low amo unts
of calcium. Always add window cleaner to the wa
ter. When the outside temperatures are cold, an
anti-freezing agent should be added to the water
so that it does not freeze .
(D Note
-The concentration of ant i-freez ing agent
must be adjusted to the veh icle operat ing
conditions in the respective climate . A con
centration that is too high can lead to vehi
cle damage.
- Never add radiator anti-free ze or other addi
tives to the washer fluid.
- Do not use a glass cleaner that con ta ins
pai nt so lvents, because t his could damage
t he paint.
281
Page 284 of 354

Checking and Filling
Service interval display
The service interval display detects when your ve
hicle is due for service.
The service interval display works in two stages:
-Inspection or oil change reminder: after a cer-
tain distance driven, a message appears in the
instrument cluster display each time the igni
tion is switched on or off . The remaining dis
tance or time is displayed briefly.
- Inspection or oil change due: if yo ur vehicle
has reached an inspection or oi l change interval
or both intervals at the same time, the mes
sage
Inspection due! or Oil change due! or Oil
change and inspection due!
appears briefly af
ter switching the ignition on/off .
Checking service intervals
You can check the remaining distance or time un
til the next oil change or next inspection in the
Car menu. To do this, select : the
ICARI function
but ton
> Car systems control button > Servicing
& checks > Service intervals .
Resetting the indicator
Your authorized Audi dealer or authorized Audi
Serv ice Facility will reset the serv ice interval dis
p lay after performing serv ice.
If you have changed the oil yourself, you must re
set the oil change interva l.
To reset the indicator, select : the
ICARI function
button
> Car systems contro l button > Servicing
& checks > Service intervals. Turn the control
knob downward to
Reset oil change interval and
press the control knob.
([) Note
-Only reset the oil change indicator if the oil
was changed .
- Following the service intervals is critical to
maintain ing the service life and va lue of
your vehicle, especially the engine. Even if
the m ileage on the vehicle is low, do not ex
ceed the time for the next service.
282
Page 287 of 354

able to provide you with more in
formation .
® Mud and snow capability
"M/5" or "M+S" indicates the tire
has properties making it suitable
to drive in mud or snow .
& indi
cates a winter tire .
@Composition of the tire cord
and materials
The number of plies indicates the
number of rubberized fabric lay
ers in the tire. In general: the
more layers, the more weight a
tire can carry . Tire manufacturers
must also specify the materials
used in the tire. These inc lude
steel, nylon, polyester and other
materials.
@ Maximum permitted load
This number indicates the max i
mum load in kilograms and
pounds that the tire can carry.
@ Uniform tire quality grade
standards for treadwear,
traction and temperature resistance
Tread wear, traction and temper
ature ranges ¢
page 300.
0 @ Running direction
"' -~ The arrows indicate the running
-~ direction of unidirectional tires . ...
Wheels
You must always follow the speci
fied runn ing d irect ion
¢ page 319 .
@ Maximum permitted
inflation pressure
This number indicates the maxi
mum pressure to which a tire can
be inflated unde r normal operat
ing condit ions.
Glossary of tire and loading
terminology
Accessory weight
means the comb ined weigh t (in
excess of those standard items
which may be replaced) of auto
matic transm ission, power steer
ing , power brakes, power win
dows, power seats, radio, and
heater, to the extent that these
items are available as facto ry-in
stalled equipment (whether in
stalled or not) .
Aspect ratio
means the ratio of the heigh t to
the width of the tire in percent .
Numbers of 55 or lowe r indicate a
low sidewa ll for improved steer
ing response and better overall
handling on dry pavement. .,.
285