jump start BMW MOTORRAD K 1200 R 2004 Rider's Manual (in English)
[x] Cancel search | Manufacturer: BMW MOTORRAD, Model Year: 2004, Model line: K 1200 R, Model: BMW MOTORRAD K 1200 R 2004Pages: 168, PDF Size: 2.02 MB
Page 5 of 168
i3Introduction
6 Maintenance ............. 87
Toolkit .......................... 89
Engine oil ..................... 89
Coolant ........................ 92
Brakes .......................... 93
Clutch .......................... 96
Wheels ......................... 98
Front-wheel stand ...... 107
Rear wheel stand ....... 108
Bulbs .......................... 109
Jump starting ............. 115
Battery ....................... 116
Spray guard ................ 120
7 Care ......................... 121
Cleaning and care ...... 122
Laying up ................... 124
Restoring to use ......... 125
8 Technical data ........ 127
Threaded fasteners .... 128
Tyre pressures ........... 130
Engine ........................ 131
Power transmission .... 132
Frame and suspension 133
Wheels and tyres ........ 135Fuel and lubricants ..... 136
Electrical system ......... 138
Dimensions and
weights ....................... 140
Riding specifications .. 141
9 Service ..................... 143
BMW Motorrad
service ........................ 144
Confirmation of
maintenance work ...... 147
Confirmation of
service ........................ 151
i Index ......................... 155
Page 63 of 168
461Riding
• Switch on the ignition.
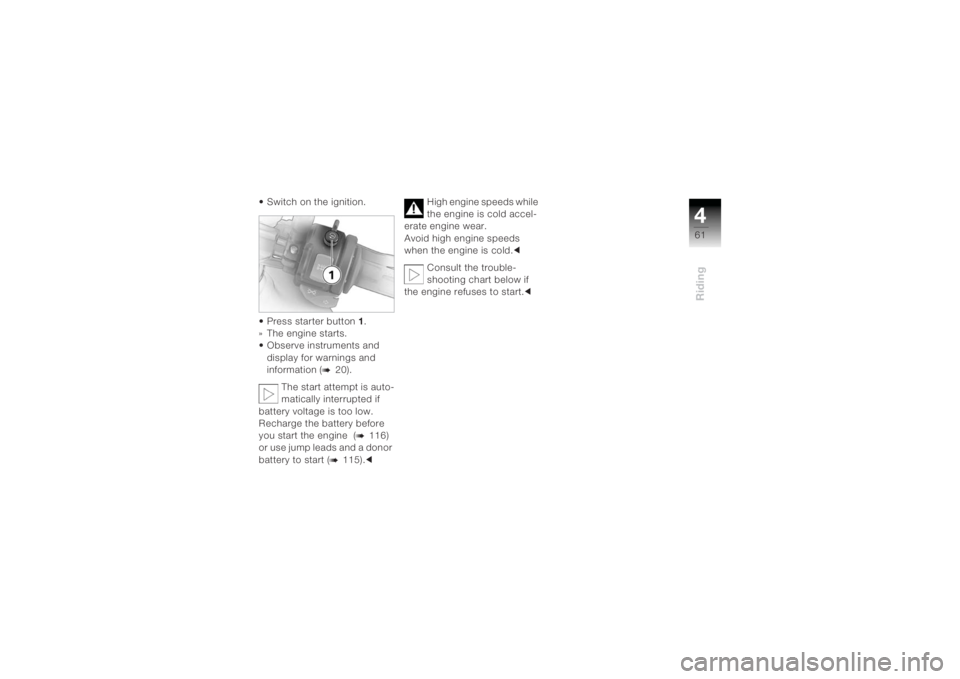
• Press starter button1.
» The engine starts.
• Observe instruments and display for warnings and
information (
b
20).
The start attempt is auto-
matically interrupted if
battery voltage is too low.
Recharge the battery before
you start the engine (
b
116)
or use jump leads and a donor
battery to start (
b
115). c High engine speeds while
the engine is cold accel-
erate engine wear.
Avoid high engine speeds
when the engine is cold. c
Consult the trouble-
shooting chart below if
the engine refuses to start. c
Page 89 of 168
687Maintenance
Toolkit ............................................ 89
Engine oil ...................................... 89
Coolant .......................................... 92
Brakes ........................................... 93
Clutch ............................................ 96
Wheels ........................................... 98
Front-wheel stand ...................... 107
Rear wheel stand ....................... 108
Bulbs ............................................ 109
Jump starting .............................. 115
Battery ......................................... 116
Spray guard ................................ 120Maintenance
Page 117 of 168
6115
Maintenance
Jump starting
The wires leading to the
power socket do not
have a load-capacity rating
adequate for jump-starting the
engine. Excessively high
current can lead to a cable fire
or damage to the vehicle elec-
tronics.
Do not use the on-board sock-
et to jump-start the engine. c
Do not use proprietary
start-assist sprays or
other products to start the
engine. c
Inadvertent contact be-
tween the terminal clips
of the jump leads and the vehi-
cle can lead to short circuits.
Use only jump leads fitted with
fully insulated crocodile clips
at both ends. c Jump-starting with a
voltage greater than 12 V
can damage the vehicle
electronics.
Make sure that the battery of
the donor vehicle has a
voltage rating of 12 V. c
• When jump-starting the engine, do not disconnect
the battery from the on-
board electrical system.
• Remove the cover of the bat- tery compartment (
b
118).
• Start the engine of the donor vehicle and allow it to run for
the duration of the jump-
start procedure.
• Begin by connecting one
end of the red jump lead to
the positive terminal of the
discharged battery and the
other end to the positive ter-
minal of the donor battery. • Then connect one end of the
black jump lead to the nega-
tive terminal of the donor
battery, and the other end to
the negative terminal of the
discharged battery.
• Start the engine of the vehi-
cle with the discharged bat-
tery in the usual way; if the
engine does not start, wait a
few minutes before repeat-
ing the attempt in order to
protect the starter and the
donor battery.
• Allow both engines to idle for a few minutes before discon-
necting the jump leads.
• Disconnect the jump lead from the negative terminals
first, then disconnect the
second lead from the posi-
tive terminals.
• Screw down the cover of the battery compartment.
Page 159 of 168
i157
Index
Calling up settings, 49
Explanations, 49
Operation, 14FFront-wheel stand, 107
FuelFuel gauge, 20
Grade, 73
Quality, 137
Refuelling, 74
Reserve warning, 24
Fuel tank capacity, 74
Fuses, 138GGear indicator, 20
Gearbox Gear shifts, 64
Position on starting, 57
Technical data, 132
General view
Right side, 11 General view,
left side, 9
Grip heating, 15, 39
HHandlebar fitting Left, 14
Right, 15
Hazard warning flashers, 14, 36, 37
Headlight Adjustment for right-hand/left-
hand traffic, 42
Overview, 17
Headlight flasher, 14, 42
Helmet holder, 45
High-beam headlight
Bulb, 17
Replacing the bulb, 111
Switching on, 14, 42
Telltale light, 20
Horn, 14
IIgnition
Switching off, 34
Switching on, 34, 57
Inflation pressures, 130
Instrument cluster, 16JJump starting, 115KKeys Ignition keys, 34
Replacement keys, 35
Kill switch, 15, 38LLaying up, 124
Locking the handlebars, 35
Low-beam headlight
Bulb, 17
Replacing bulb, 110
Switching on, 41