BMW X5 4.4I 2000 Owners Manual
Manufacturer: BMW, Model Year: 2000, Model line: X5 4.4I, Model: BMW X5 4.4I 2000Pages: 201, PDF Size: 1.93 MB
Page 101 of 201
IndexDataTechnologyRepairsCar careControlsOverview
101n
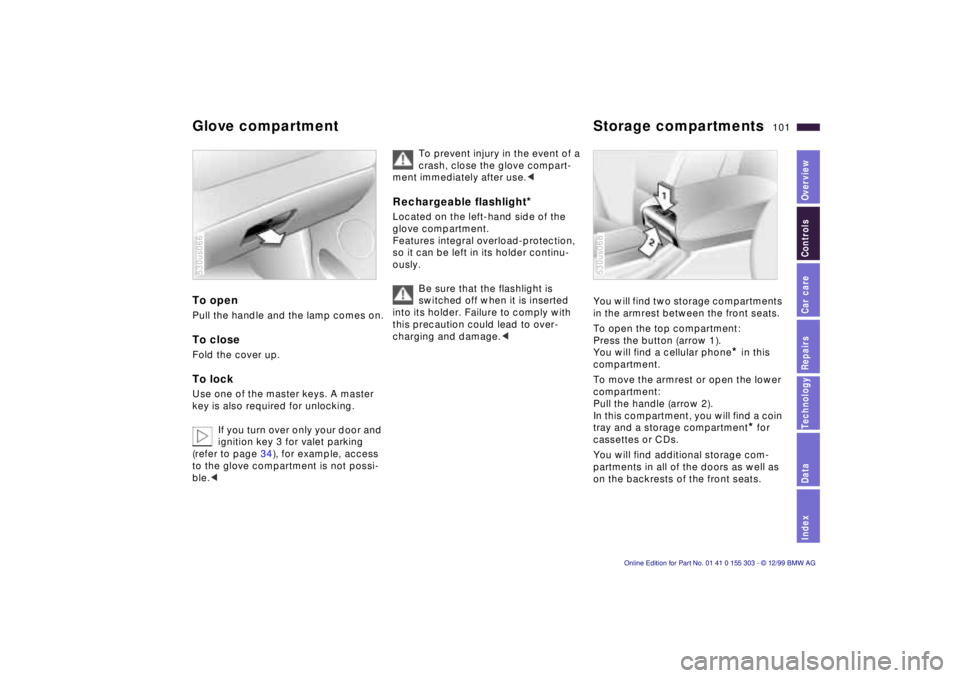
Glove compartment Storage compartments To open Pull the handle and the lamp comes on.To close Fold the cover up. To lock Use one of the master keys. A master
key is also required for unlocking.
If you turn over only your door and
ignition key 3 for valet parking
(refer to page 34), for example, access
to the glove compartment is not possi-
ble.< 530us066
To prevent injury in the event of a
crash, close the glove compart-
ment immediately after use.<
Rechargeable flashlight
*
Located on the left-hand side of the
glove compartment.
Features integral overload-protection,
so it can be left in its holder continu-
ously.
Be sure that the flashlight is
switched off when it is inserted
into its holder. Failure to comply with
this precaution could lead to over-
charging and damage.<
You will find two storage compartments
in the armrest between the front seats.
To open the top compartment:
Press the button (arrow 1).
You will find a cellular phone
* in this
compartment.
To move the armrest or open the lower
compartment:
Pull the handle (arrow 2).
In this compartment, you will find a coin
tray and a storage compartment* for
cassettes or CDs.
You will find additional storage com-
partments in all of the doors as well as
on the backrests of the front seats.
530us068
Page 102 of 201
102n
Cellular phone
*
Cup holders Glasses compartment
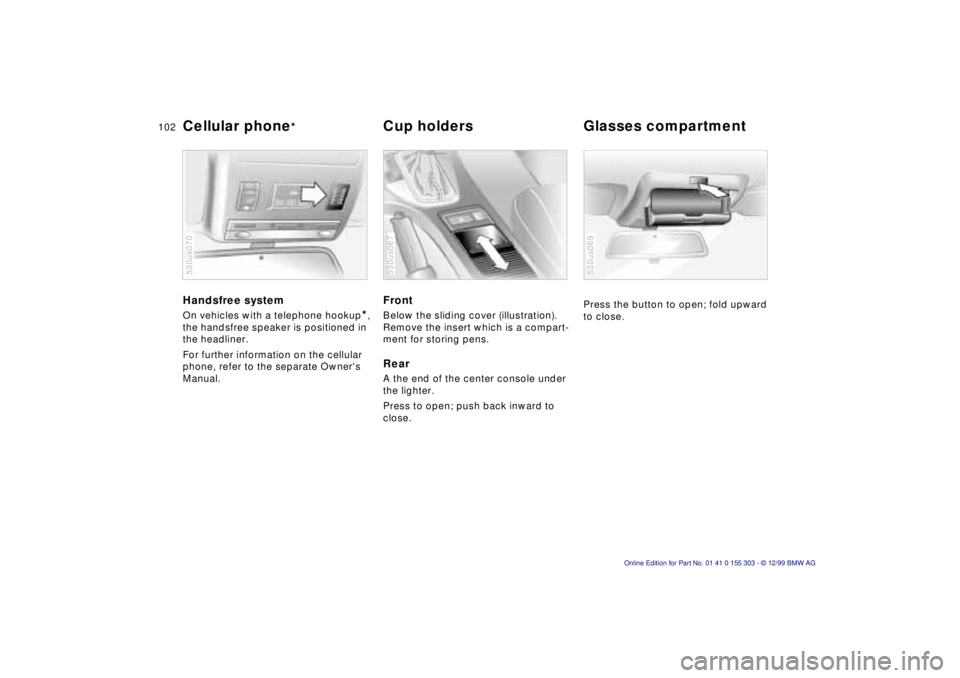
Handsfree system On vehicles with a telephone hookup
*,
the handsfree speaker is positioned in
the headliner.
For further information on the cellular
phone, refer to the separate Owner's
Manual.
530us070
Front Below the sliding cover (illustration).
Remove the insert which is a compart-
ment for storing pens.Rear A the end of the center console under
the lighter.
Press to open; push back inward to
close. 530us067
Press the button to open; fold upward
to close. 530us069
Page 103 of 201
IndexDataTechnologyRepairsCar careControlsOverview
103n
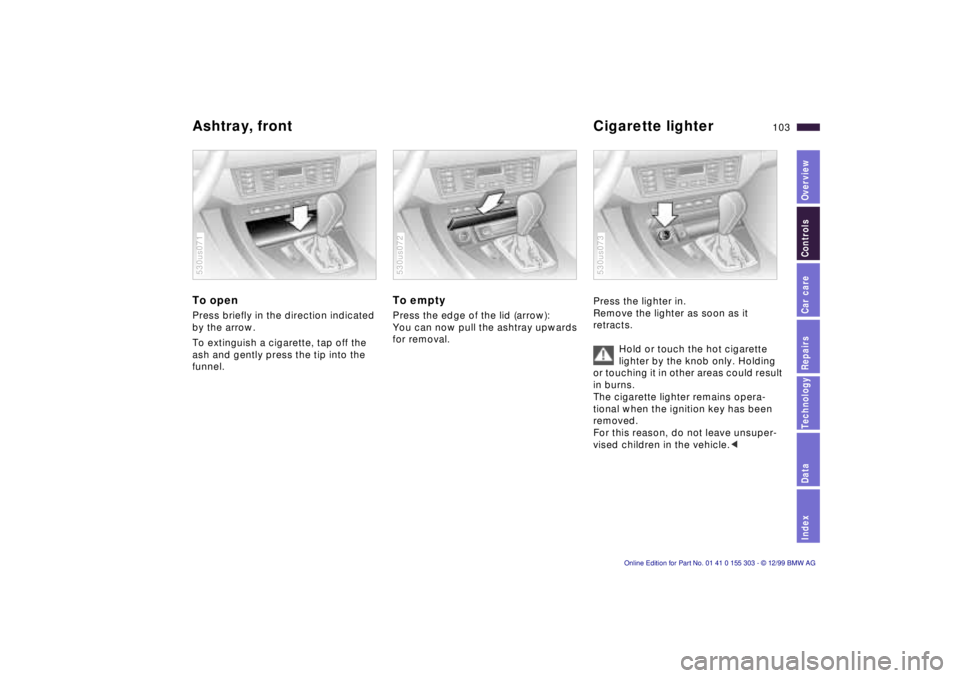
Ashtray, front Cigarette lighter To open Press briefly in the direction indicated
by the arrow.
To extinguish a cigarette, tap off the
ash and gently press the tip into the
funnel. 530us071
To empty Press the edge of the lid (arrow):
You can now pull the ashtray upwards
for removal. 530us072
Press the lighter in.
Remove the lighter as soon as it
retracts.
Hold or touch the hot cigarette
lighter by the knob only. Holding
or touching it in other areas could result
in burns.
The cigarette lighter remains opera-
tional when the ignition key has been
removed.
For this reason, do not leave unsuper-
vised children in the vehicle.< 530us073
Page 104 of 201
104n
Cigarette lighter Ashtray, rear Lighter, rear Cigarette lighter socket This socket is suitable for attaching
power supplies for flashlights, car vac-
uum cleaners and other appliances up
to a rating of approx. 200 watts at
12 volts. Avoid damage to the socket
caused by inserting plugs of a different
shape or size.
You will find additional power outlets in
the cargo area. Refer to page 110.
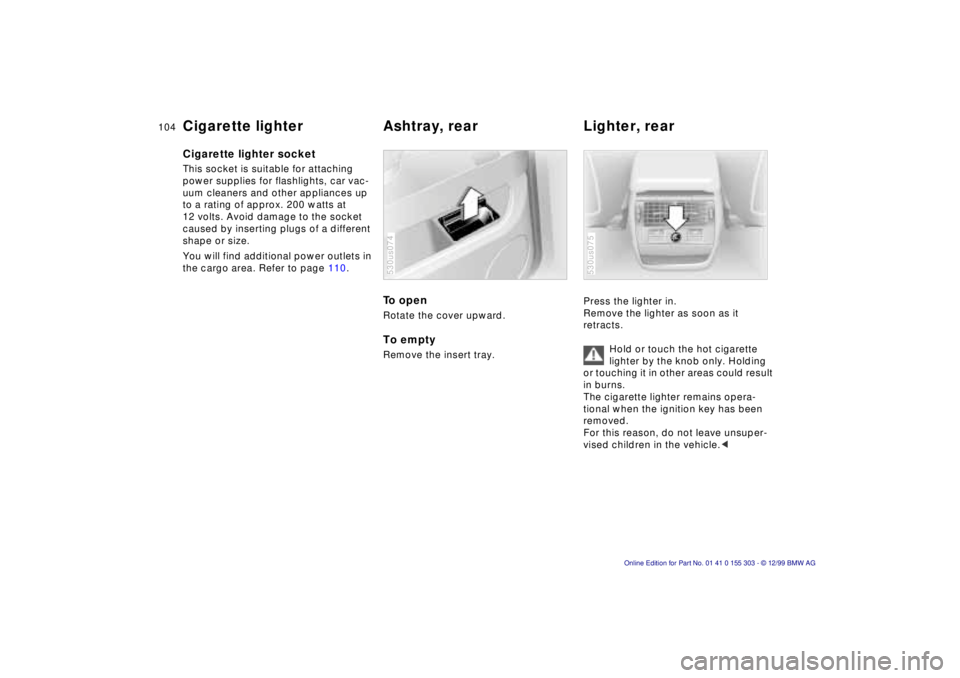
To open Rotate the cover upward. To empty Remove the insert tray. 530us074
Press the lighter in.
Remove the lighter as soon as it
retracts.
Hold or touch the hot cigarette
lighter by the knob only. Holding
or touching it in other areas could result
in burns.
The cigarette lighter remains opera-
tional when the ignition key has been
removed.
For this reason, do not leave unsuper-
vised children in the vehicle.< 530us075
Page 105 of 201
IndexDataTechnologyRepairsCar careControlsOverview
105n
Ski bag
*
Designed for safe, convenient transport
of 3 to 4 pairs of skis or two snow-
boards.
With the length of the ski bag and the
additional space in the cargo area, you
can store skis with a length of up to
6.8 feet (2.10 meters). Because of the
tapered shape of the bag, the ski bag
can only accommodate two pairs of
skis with a length of 6.8 feet (2.10
meters).
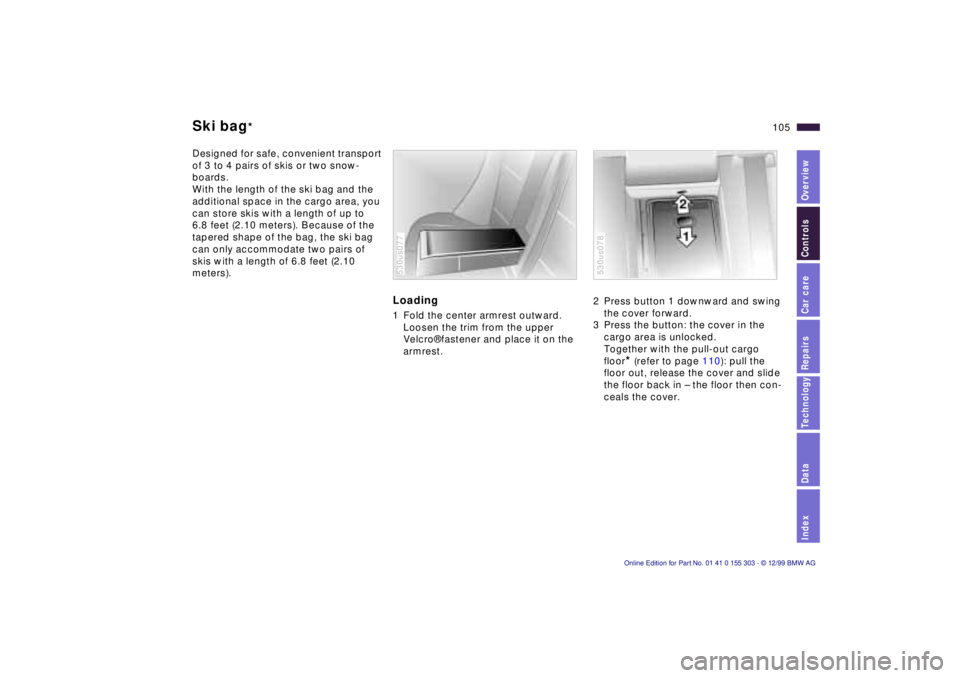
Loading 1 Fold the center armrest outward.
Loosen the trim from the upper
Velcro¨ fastener and place it on the
armrest. 530us077
2 Press button 1 downward and swing
the cover forward.
3 Press the button: the cover in the
cargo area is unlocked.
Together with the pull-out cargo
floor
* (refer to page 110): pull the
floor out, release the cover and slide
the floor back in Ð the floor then con-
ceals the cover.
530us078
Page 106 of 201
106n
Ski bag
*
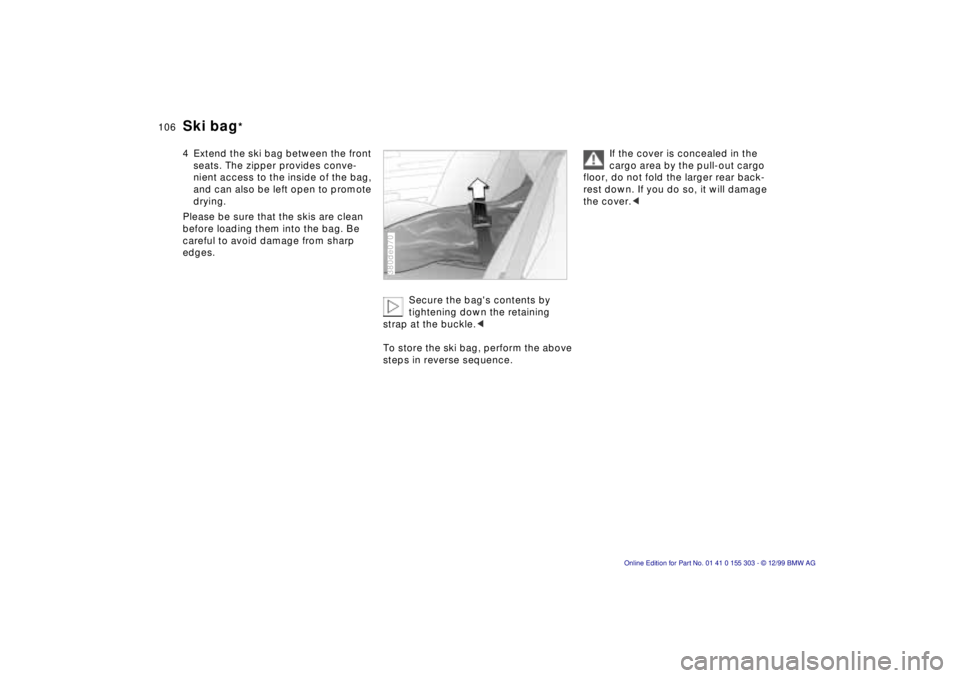
4 Extend the ski bag between the front
seats. The zipper provides conve-
nient access to the inside of the bag,
and can also be left open to promote
drying.
Please be sure that the skis are clean
before loading them into the bag. Be
careful to avoid damage from sharp
edges.
Secure the bag's contents by
tightening down the retaining
strap at the buckle.<
To store the ski bag, perform the above
steps in reverse sequence.
380de070
If the cover is concealed in the
cargo area by the pull-out cargo
floor, do not fold the larger rear back-
rest down. If you do so, it will damage
the cover.<
Page 107 of 201
IndexDataTechnologyRepairsCar careControlsOverview
107n
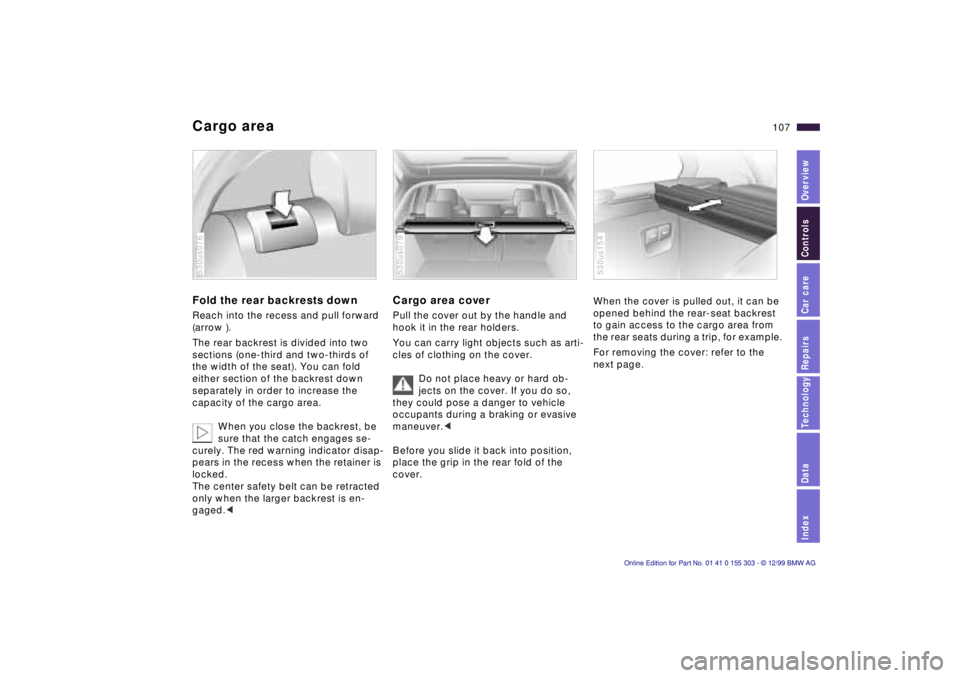
Cargo area Fold the rear backrests down Reach into the recess and pull forward
(arrow ).
The rear backrest is divided into two
sections (one-third and two-thirds of
the width of the seat). You can fold
either section of the backrest down
separately in order to increase the
capacity of the cargo area.
When you close the backrest, be
sure that the catch engages se-
curely. The red warning indicator disap-
pears in the recess when the retainer is
locked.
The center safety belt can be retracted
only when the larger backrest is en-
gaged.< 530us076
Cargo area cover Pull the cover out by the handle and
hook it in the rear holders.
You can carry light objects such as arti-
cles of clothing on the cover.
Do not place heavy or hard ob-
jects on the cover. If you do so,
they could pose a danger to vehicle
occupants during a braking or evasive
maneuver.<
Before you slide it back into position,
place the grip in the rear fold of the
cover. 530us079
When the cover is pulled out, it can be
opened behind the rear-seat backrest
to gain access to the cargo area from
the rear seats during a trip, for example.
For removing the cover: refer to the
next page. 530us154
Page 108 of 201
108n
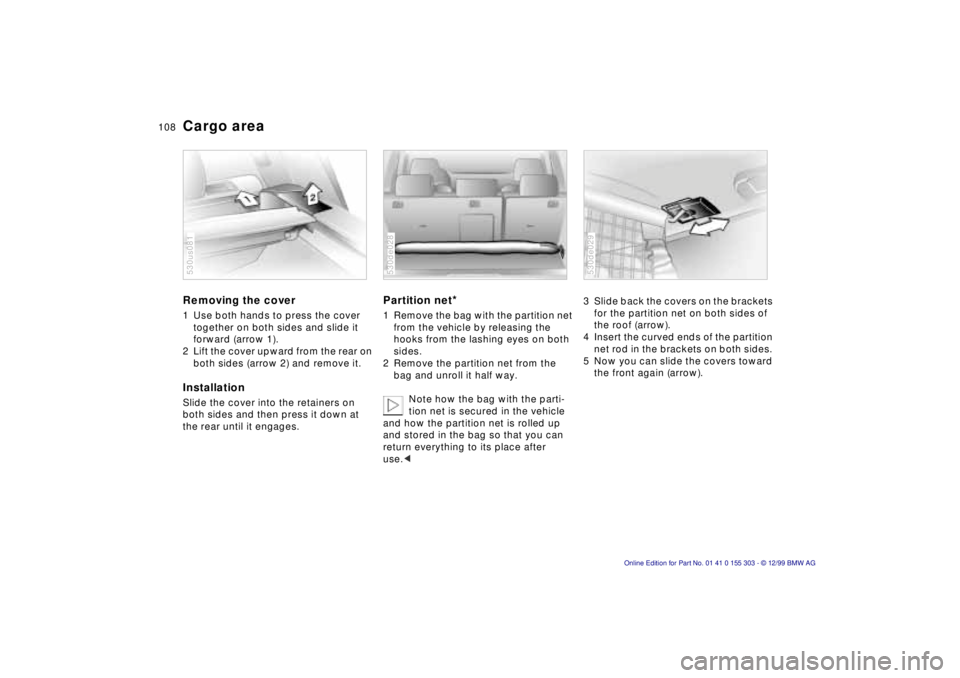
Cargo area Removing the cover 1 Use both hands to press the cover
together on both sides and slide it
forward (arrow 1).
2 Lift the cover upward from the rear on
both sides (arrow 2) and remove it.InstallationSlide the cover into the retainers on
both sides and then press it down at
the rear until it engages.530us081
Partition net
*
1 Remove the bag with the partition net
from the vehicle by releasing the
hooks from the lashing eyes on both
sides.
2 Remove the partition net from the
bag and unroll it half way.
Note how the bag with the parti-
tion net is secured in the vehicle
and how the partition net is rolled up
and stored in the bag so that you can
return everything to its place after
use.< 530de028
3 Slide back the covers on the brackets
for the partition net on both sides of
the roof (arrow).
4 Insert the curved ends of the partition
net rod in the brackets on both sides.
5 Now you can slide the covers toward
the front again (arrow). 530de029
Page 109 of 201
IndexDataTechnologyRepairsCar careControlsOverview
109n
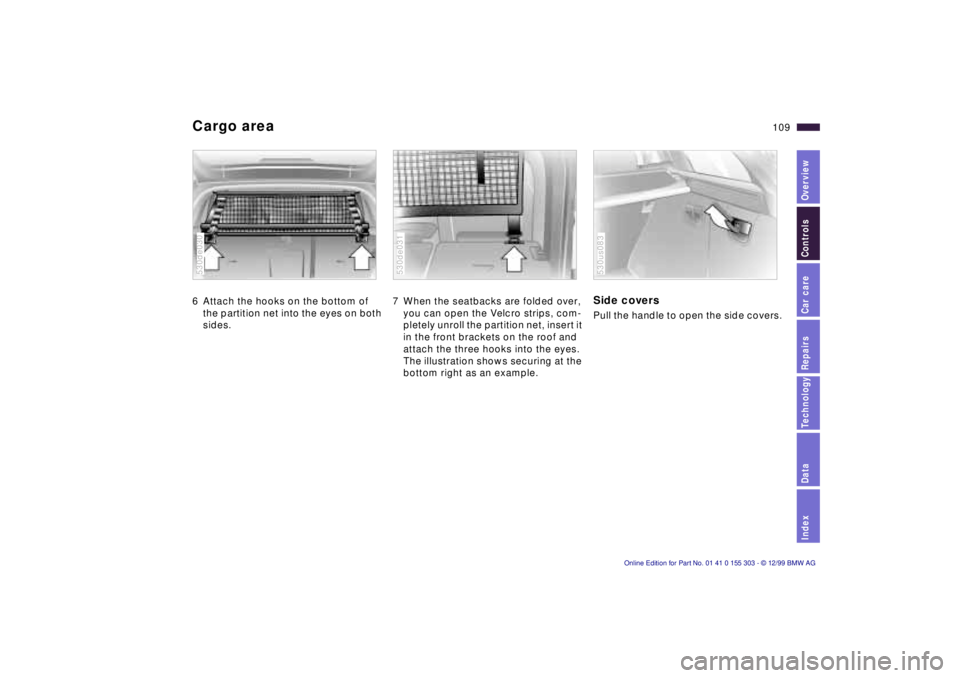
Cargo area 6 Attach the hooks on the bottom of
the partition net into the eyes on both
sides. 530de030
7 When the seatbacks are folded over,
you can open the Velcro strips, com-
pletely unroll the partition net, insert it
in the front brackets on the roof and
attach the three hooks into the eyes.
The illustration shows securing at the
bottom right as an example. 530de031
Side covers Pull the handle to open the side covers. 530us083
Page 110 of 201
110n
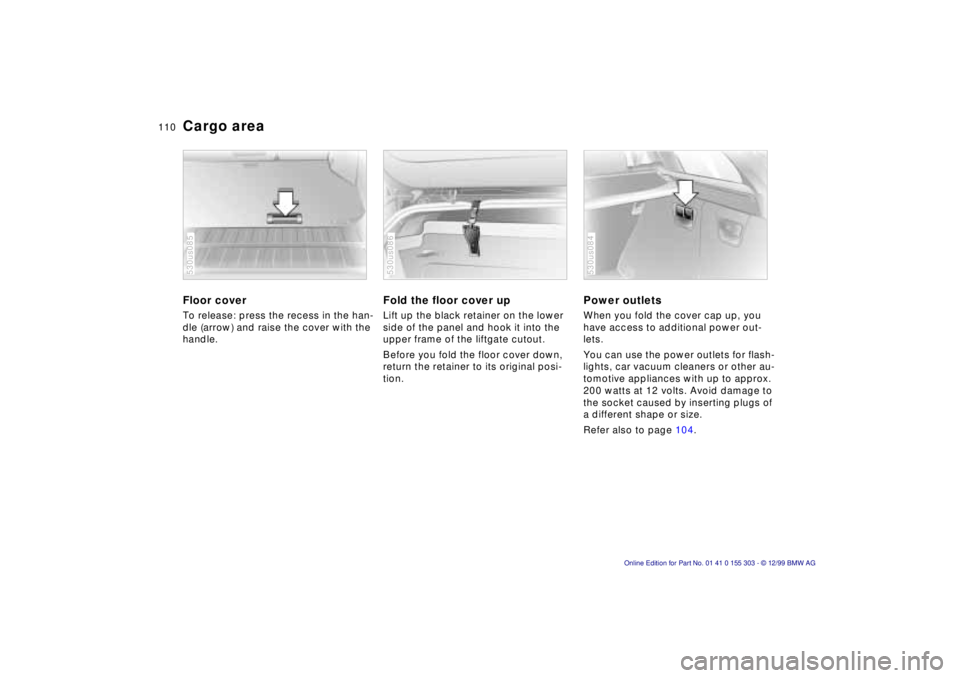
Cargo area Floor cover To release: press the recess in the han-
dle (arrow) and raise the cover with the
handle. 530us085
Fold the floor cover up Lift up the black retainer on the lower
side of the panel and hook it into the
upper frame of the liftgate cutout.
Before you fold the floor cover down,
return the retainer to its original posi-
tion. 530us086
Power outlets When you fold the cover cap up, you
have access to additional power out-
lets.
You can use the power outlets for flash-
lights, car vacuum cleaners or other au-
tomotive appliances with up to approx.
200 watts at 12 volts. Avoid damage to
the socket caused by inserting plugs of
a different shape or size.
Refer also to page 104. 530us084