BUICK PARK AVENUE 2003 Owner's Manual
Manufacturer: BUICK, Model Year: 2003, Model line: PARK AVENUE, Model: BUICK PARK AVENUE 2003Pages: 372, PDF Size: 2.8 MB
Page 121 of 372
{CAUTION:
In freezing weather, do not use your washer
until the windshield is warmed. Otherwise the
washer ¯uid can form ice on the windshield,
blocking your vision.
If your vehicle is equipped with a DIC, a WINDSHIELD
WASHER FLUID LOW message will appear on the
instrument panel cluster when the vehicle is low
on washer ¯uid.
Cruise Control
With cruise control, you can maintain a speed of about
25 mph (40 km/h) or more without keeping your foot
on the accelerator. This can really help on long trips.
Cruise control does not work at speeds below about
25 mph (40 km/h).
When you apply your brakes, the cruise control
shuts off.
{CAUTION:
·Cruise control can be dangerous where
you can not drive safely at a steady speed.
So, do not use your cruise control on
winding roads or in heavy traffic.
·Cruise control can be dangerous on
slippery roads. On such roads, fast
changes in tire traction can cause
needless wheel spinning, and you could
lose control. Do not use cruise control on
slippery roads.
If your vehicle is in cruise control when the optional
traction control system begins to limit wheel spin, the
cruise control will automatically disengage. See
Traction
Control System (TCS) on page 4-8. When road
conditions allow you to safely use it again, you may turn
the cruise control back on.
3-9
Page 122 of 372
Setting Cruise Control
{CAUTION:
If you leave your cruise control on when you
are not using cruise, you might hit a button
and go into cruise when you do not want to.
You could be startled and even lose control.
Keep the cruise control switch off until you
want to use cruise control.
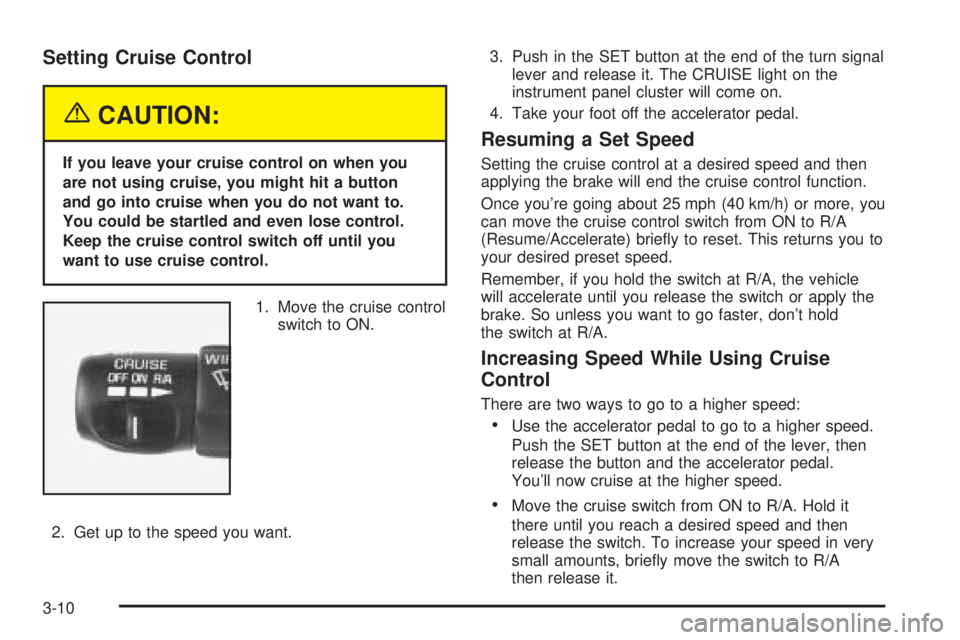
1. Move the cruise control
switch to ON.
2. Get up to the speed you want.3. Push in the SET button at the end of the turn signal
lever and release it. The CRUISE light on the
instrument panel cluster will come on.
4. Take your foot off the accelerator pedal.
Resuming a Set Speed
Setting the cruise control at a desired speed and then
applying the brake will end the cruise control function.
Once you're going about 25 mph (40 km/h) or more, you
can move the cruise control switch from ON to R/A
(Resume/Accelerate) brie¯y to reset. This returns you to
your desired preset speed.
Remember, if you hold the switch at R/A, the vehicle
will accelerate until you release the switch or apply the
brake. So unless you want to go faster, don't hold
the switch at R/A.
Increasing Speed While Using Cruise
Control
There are two ways to go to a higher speed:
·Use the accelerator pedal to go to a higher speed.
Push the SET button at the end of the lever, then
release the button and the accelerator pedal.
You'll now cruise at the higher speed.
·Move the cruise switch from ON to R/A. Hold it
there until you reach a desired speed and then
release the switch. To increase your speed in very
small amounts, brie¯y move the switch to R/A
then release it.
3-10
Page 123 of 372
Each time you do this, your vehicle will go about 1 mph
(1.6 km/h) faster.
The accelerate feature will only work after you have set
the cruise control speed by pushing the SET button.
Reducing Speed While Using Cruise
Control
There are two ways to reduce your speed while using
cruise control:
·Push in the SET button at the end of the lever until
you reach a desired lower speed, then release it.
·To slow down in very small amounts, push
the button brie¯y. Each time you do this, you'll go
about 1 mph (1 6 km/h) slower.
Passing Another Vehicle While Using
Cruise Control
Use the accelerator pedal to increase your speed.
When you take your foot off the pedal, your vehicle will
slow down to the cruise control speed you set earlier.
Using Cruise Control on Hills
How well your cruise control will work on hills depends
upon your speed, load and the steepness of the
hills. When going up steep hills, you may have to step
on the accelerator pedal to maintain your speed.
When going downhill, you may have to brake or shift to
a lower gear to keep your speed down. Of course,
applying the brake takes you out of cruise control. Many
drivers ®nd this to be too much trouble and don't use
cruise control on steep hills.
Ending Cruise Control
There are two ways to turn off the cruise control:
·Step lightly on the brake pedal, or
·move the cruise switch to OFF. The CRUISE light
will also go out.
Erasing Speed Memory
When you turn off the cruise control or the ignition, your
cruise control set speed memory is erased.
3-11
Page 124 of 372
Exterior Lamps
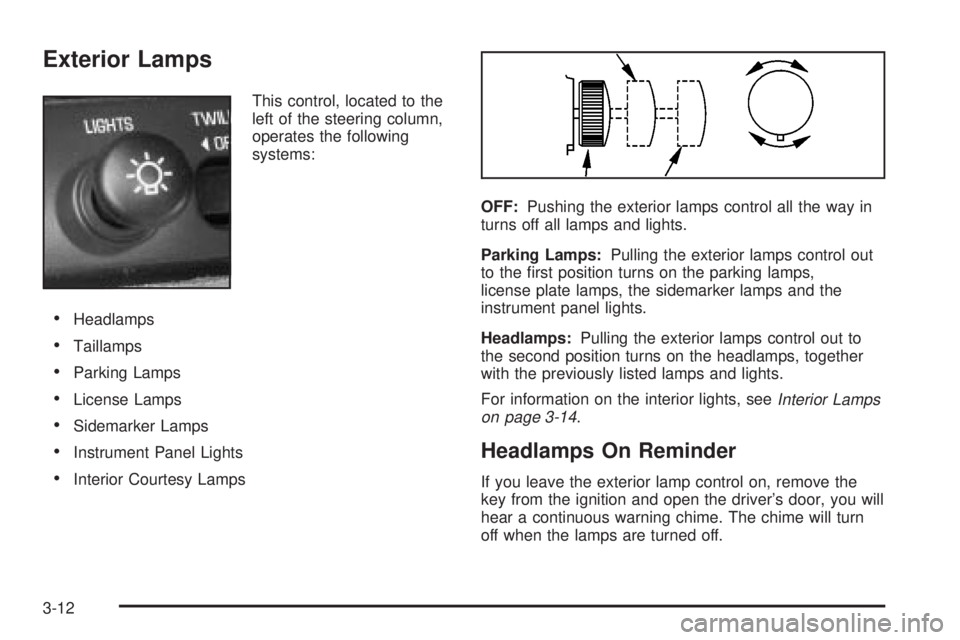
This control, located to the
left of the steering column,
operates the following
systems:
·Headlamps
·Taillamps
·Parking Lamps
·License Lamps
·Sidemarker Lamps
·Instrument Panel Lights
·Interior Courtesy LampsOFF:Pushing the exterior lamps control all the way in
turns off all lamps and lights.
Parking Lamps:Pulling the exterior lamps control out
to the ®rst position turns on the parking lamps,
license plate lamps, the sidemarker lamps and the
instrument panel lights.
Headlamps:Pulling the exterior lamps control out to
the second position turns on the headlamps, together
with the previously listed lamps and lights.
For information on the interior lights, see
Interior Lamps
on page 3-14.
Headlamps On Reminder
If you leave the exterior lamp control on, remove the
key from the ignition and open the driver's door, you will
hear a continuous warning chime. The chime will turn
off when the lamps are turned off.
3-12
Page 125 of 372
Daytime Running Lamps
Daytime Running Lamps (DRL) can make it easier for
others to see the front of your vehicle during the
day. DRL can be helpful in many different driving
conditions, but they can be especially helpful in the short
periods after dawn and before sunset. Fully functional
daytime running lamps are required on all vehicles
®rst sold in Canada.
A light sensor on top of the instrument panel monitors
the exterior light level for the operation of DRL and
Twilight Sentinel
ž, so be sure it isn't covered.
The DRL system will make your high-beam headlamps
come on at reduced brightness in daylight when the
following conditions are met:
·The ignition is on,
·the exterior lamps control is off, and
·the transaxle is not in PARK (P).
When DRL are on, only your high-beam headlamps will
be on. The parking lamps, taillamps, sidemarker and
other lamps won't be on. Your instrument panel won't be
lit up either.When it's dark enough outside, your high-beam
headlamps will change to low-beam headlamps at full
brightness. The other lamps that turn on with your
headlamps will also turn on. When it's bright enough
outside, the regular lamps will turn off, and your
high-beam headlamps change to the reduced brightness
of DRL.
To idle your vehicle with the DRL off, shift the transaxle
into PARK (P). The DRL will stay off until you shift
out of PARK (P).
To turn off all exterior lighting at night when you are
parked, turn off the exterior lamp control and slide the
Twilight Sentinel
žcontrol all the way to the left.
When released, the control will return to the Twilight
Sentinel
žminimum delay position and the lights will
turn off.
As with any vehicle, you should turn on the regular
headlamp system when you need it.
Cornering Lamps
The cornering lamps come on when the headlamps or
parking lamps are on and you signal a turn with the
multifunction lever. They provide more light for
cornering.
3-13
Page 126 of 372
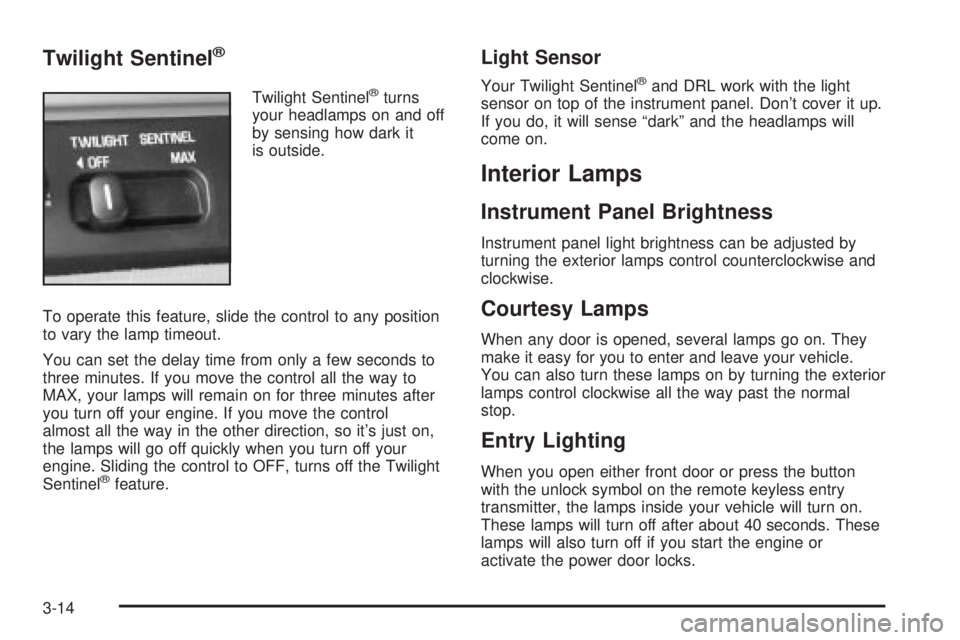
Twilight Sentinelž
Twilight Sentinelžturns
your headlamps on and off
by sensing how dark it
is outside.
To operate this feature, slide the control to any position
to vary the lamp timeout.
You can set the delay time from only a few seconds to
three minutes. If you move the control all the way to
MAX, your lamps will remain on for three minutes after
you turn off your engine. If you move the control
almost all the way in the other direction, so it's just on,
the lamps will go off quickly when you turn off your
engine. Sliding the control to OFF, turns off the Twilight
Sentinel
žfeature.
Light Sensor
Your Twilight Sentinelžand DRL work with the light
sensor on top of the instrument panel. Don't cover it up.
If you do, it will sense ªdarkº and the headlamps will
come on.
Interior Lamps
Instrument Panel Brightness
Instrument panel light brightness can be adjusted by
turning the exterior lamps control counterclockwise and
clockwise.
Courtesy Lamps
When any door is opened, several lamps go on. They
make it easy for you to enter and leave your vehicle.
You can also turn these lamps on by turning the exterior
lamps control clockwise all the way past the normal
stop.
Entry Lighting
When you open either front door or press the button
with the unlock symbol on the remote keyless entry
transmitter, the lamps inside your vehicle will turn on.
These lamps will turn off after about 40 seconds. These
lamps will also turn off if you start the engine or
activate the power door locks.
3-14
Page 127 of 372
Delayed Entry Lighting
When you open the door, the interior lamps will come on.
When you close the door with the ignition off, the interior
lamps will stay on for 25 seconds or until the ignition is
turned to an on position. Locking the doors with the power
door lock switch will override the delayed entry lighting
feature and the lamps will turn off right away.
Using the remote keyless entry transmitter to lock the
door will not cancel delayed lighting.
Theater Dimming
This feature allows for a three to ®ve-second fade out of
the courtesy lamps instead of immediate turn off.
Delayed Exit Lighting
With this feature, the interior lamps will come on for
25 seconds after you remove the key from the ignition.
This will give you time to ®nd the door handle or
lock switches.
Parade Dimming
This feature prohibits the dimming of your instrument
panel displays during daylight while your headlamps are
on. This feature operates with the light sensor for the
Twilight Sentinel
žand is fully automatic. When the light
sensor reads darkness outside, you will be able to
dim your instrument panel displays once again.
Perimeter Lighting
When the button with the unlock symbol on the remote
keyless entry transmitter is pressed, the DRL, parking
lamps and back-up lamps will come on if it is dark
enough outside.
This feature will only be activated when the security
feedback feature is programmed to be in Modes 1, 3
or 5 on the transmitter. Modes 0, 2 and 4 do not respond
with exterior lights ¯ashing when unlocking the vehicle
so perimeter lighting will not be active.
This feature can be programmed on or off for each
transmitter.
To turn the feature off do the following:
1. Press and hold LOCK on the driver's door
lock switch throughout this procedure. All doors will
lock.
2. Press the remote alarm button on the transmitter to
enter the programming mode. Perimeter lighting
remains on at this time and the horn will chirp two
times.
3. Press the remote alarm button on the transmitter
again. Perimeter lighting is disabled and the horn
will chirp one time.
4. Release the door lock switch. The perimeter lighting
feature is now off.
3-15
Page 128 of 372
To turn the feature on do the following:
1. Press and hold LOCK on the driver's door lock
switch throughout this procedure. All doors will
lock.
2. Press the remote alarm button on the transmitter to
enter the programming mode. Perimeter lighting
remains off at this time and the horn will chirp
one time.
3. Press the remote alarm button on the transmitter
again. Perimeter lighting is now enabled and the
horn will chirp two times.
4. Release the door lock switch. The perimeter lighting
feature is now on.
Perimeter lighting can also be activated through the
DIC. See
DIC Vehicle Personalization on page 3-46orDriver Information Center (DIC) on page 3-43.
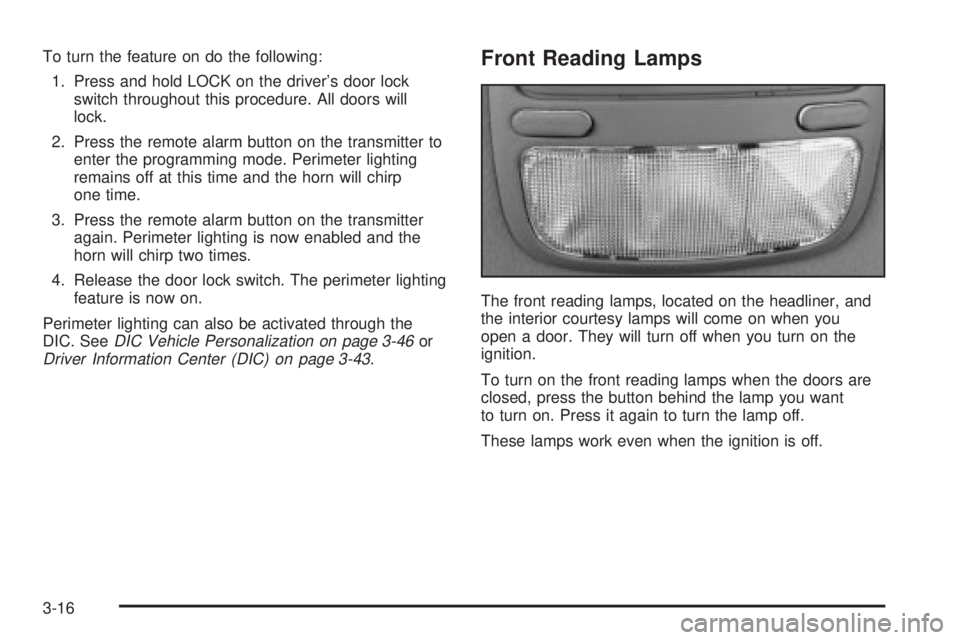
Front Reading Lamps
The front reading lamps, located on the headliner, and
the interior courtesy lamps will come on when you
open a door. They will turn off when you turn on the
ignition.
To turn on the front reading lamps when the doors are
closed, press the button behind the lamp you want
to turn on. Press it again to turn the lamp off.
These lamps work even when the ignition is off.
3-16
Page 129 of 372
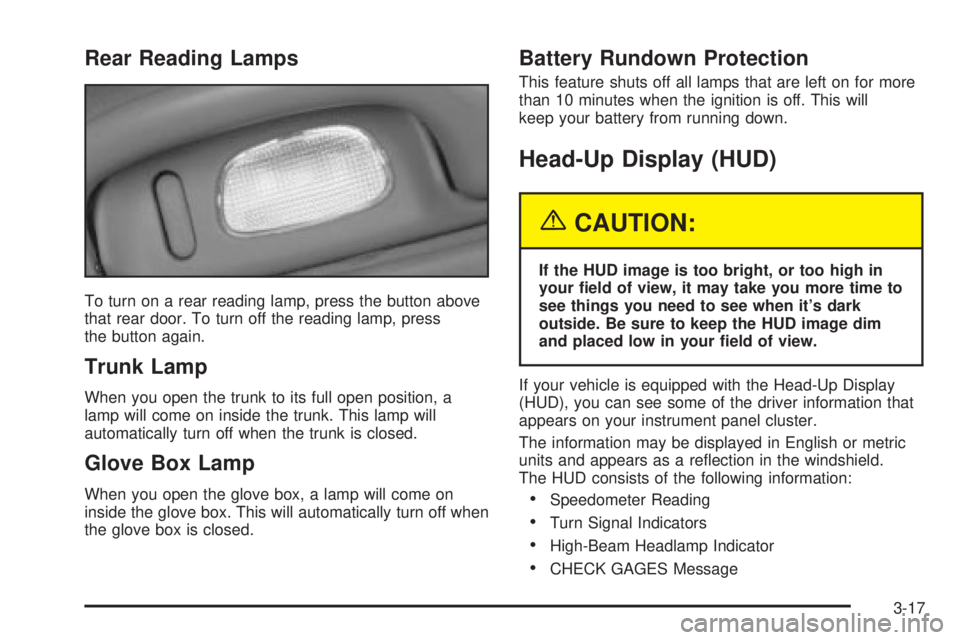
Rear Reading Lamps
To turn on a rear reading lamp, press the button above
that rear door. To turn off the reading lamp, press
the button again.
Trunk Lamp
When you open the trunk to its full open position, a
lamp will come on inside the trunk. This lamp will
automatically turn off when the trunk is closed.
Glove Box Lamp
When you open the glove box, a lamp will come on
inside the glove box. This will automatically turn off when
the glove box is closed.
Battery Rundown Protection
This feature shuts off all lamps that are left on for more
than 10 minutes when the ignition is off. This will
keep your battery from running down.
Head-Up Display (HUD)
{CAUTION:
If the HUD image is too bright, or too high in
your ®eld of view, it may take you more time to
see things you need to see when it's dark
outside. Be sure to keep the HUD image dim
and placed low in your ®eld of view.
If your vehicle is equipped with the Head-Up Display
(HUD), you can see some of the driver information that
appears on your instrument panel cluster.
The information may be displayed in English or metric
units and appears as a re¯ection in the windshield.
The HUD consists of the following information:
·Speedometer Reading
·Turn Signal Indicators
·High-Beam Headlamp Indicator
·CHECK GAGES Message
3-17
Page 130 of 372
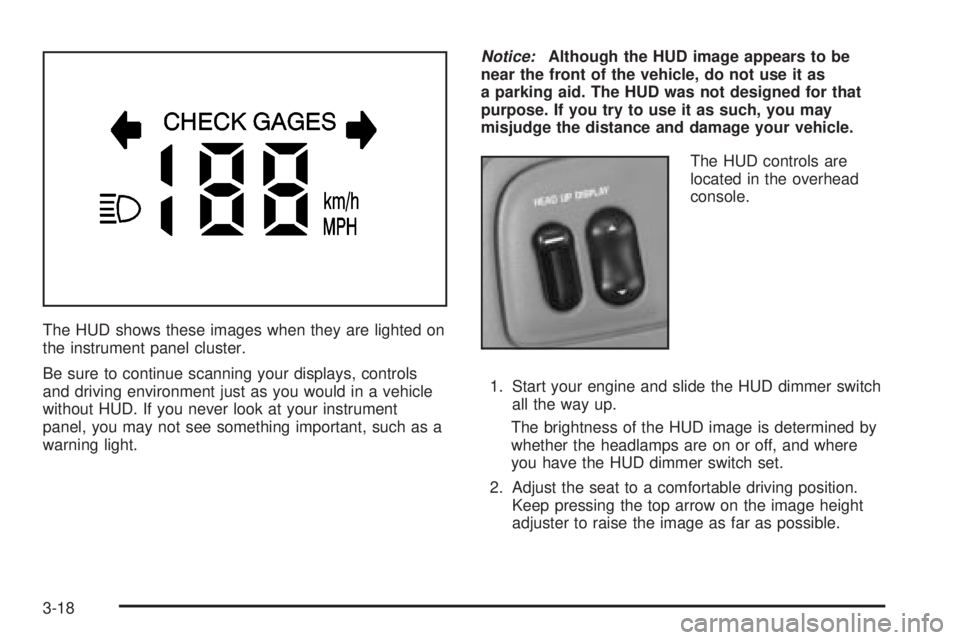
The HUD shows these images when they are lighted on
the instrument panel cluster.
Be sure to continue scanning your displays, controls
and driving environment just as you would in a vehicle
without HUD. If you never look at your instrument
panel, you may not see something important, such as a
warning light.
Notice:Although the HUD image appears to be
near the front of the vehicle, do not use it as
a parking aid. The HUD was not designed for that
purpose. If you try to use it as such, you may
misjudge the distance and damage your vehicle.
The HUD controls are
located in the overhead
console.
1. Start your engine and slide the HUD dimmer switch
all the way up.
The brightness of the HUD image is determined by
whether the headlamps are on or off, and where
you have the HUD dimmer switch set.
2. Adjust the seat to a comfortable driving position.
Keep pressing the top arrow on the image height
adjuster to raise the image as far as possible.
3-18