BUICK REGAL 1996 Owners Manual
Manufacturer: BUICK, Model Year: 1996, Model line: REGAL, Model: BUICK REGAL 1996Pages: 356, PDF Size: 17.97 MB
Page 121 of 356
Sometimes when the engine is idling at a stop, the
light may blink on and off. This is normal.
Don’t keep driving if the oil pressure is low. If
you do, your engine can become so hot that it
catches fire. You or others could be burned.
Check your oil as soon as possible and have your
vehicle serviced.
NOTICE:
Damage to your engine from neglected oil
problems can be costly and is not covered by
your warranty.
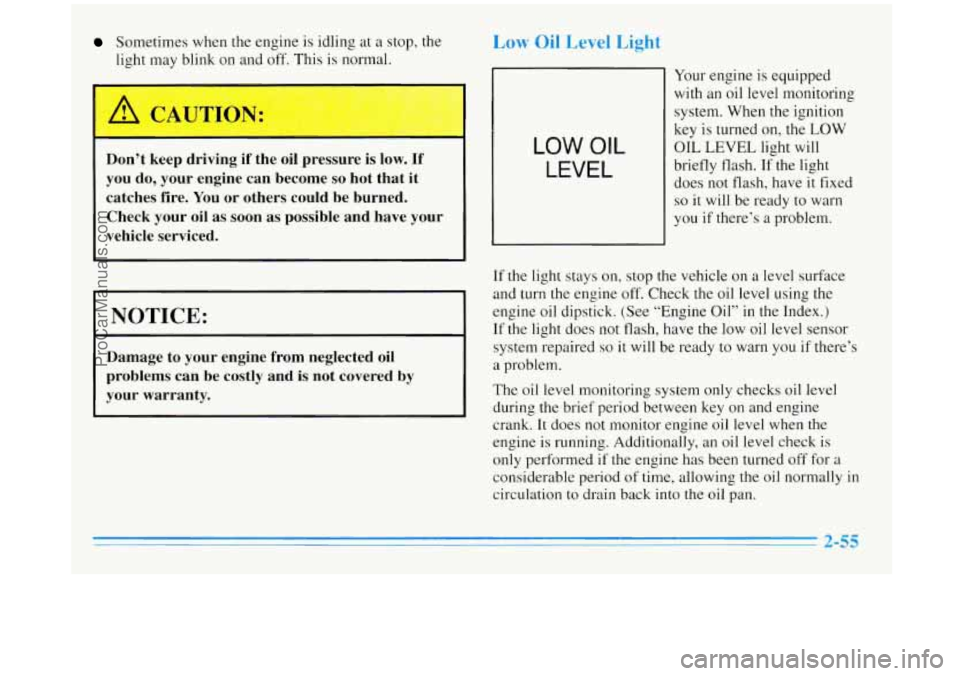
Low Oil Level Light
LOW OIL
LEVEL
Your engine is equipped
with
an oil level monitoring
system. When the ignition
key is turned on, the LOW
OIL LEVEL light will
briefly flash. If the light
does not flash, have
it fixed
so it will be ready to warn
you
if there’s a problem.
If
the light stays on, stop the vehicle on a level surface
and turn
the engine off. Check the oil level using the
engine oil dipstick. (See “Engine Oil” in the Index.)
If the light does
not flash, have the low oil level sensor
system repaired
so it will be ready to warn you if there’s
a problem.
The oil level monitoring system only checks oil level
during the brief period between key on and engine
crank. It does not monitor engine oil level when the
engine is running. Additionally, an oil level check is
only performed
if the engine has been turned off for a
considerable period
of time, allowing the oil normally in
circulation to drain back into the oil pan.
2-55
ProCarManuals.com
Page 122 of 356
Security Light
SECURITY
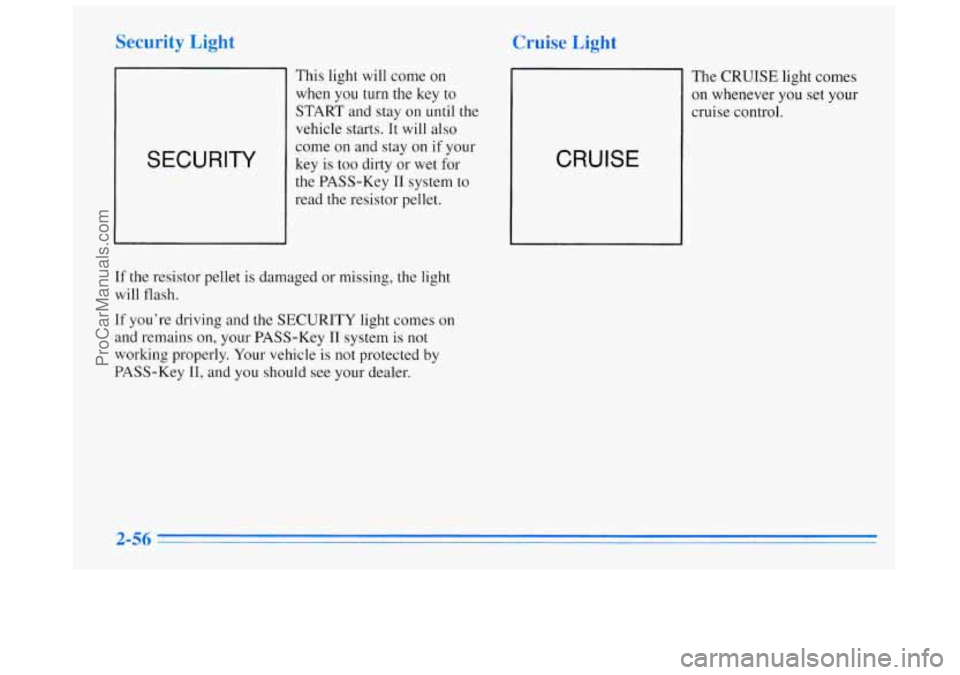
This light will come on
when you turn the key to
START and stay on until the
vehicle starts. It will also
come on and stay on if your
key is too dirty or wet for
the PASS-Key
IT system to
read the resistor pellet.
If the resistor pellet is damaged or missing, the light
will flash.
If you’re driving and the SECURITY light comes on
and remains
on, your PASS-Key TI system is not
working properly. Your vehicle is not protected by
PASS-Key
11, and you should see your dealer.
Cruise Light
The CRUISE light comes
on whenever you set your
cruise control.
CRUISE
2-56
ProCarManuals.com
Page 123 of 356
Fuel Gage
F
L
UNLEADED FUEL ONL’
1
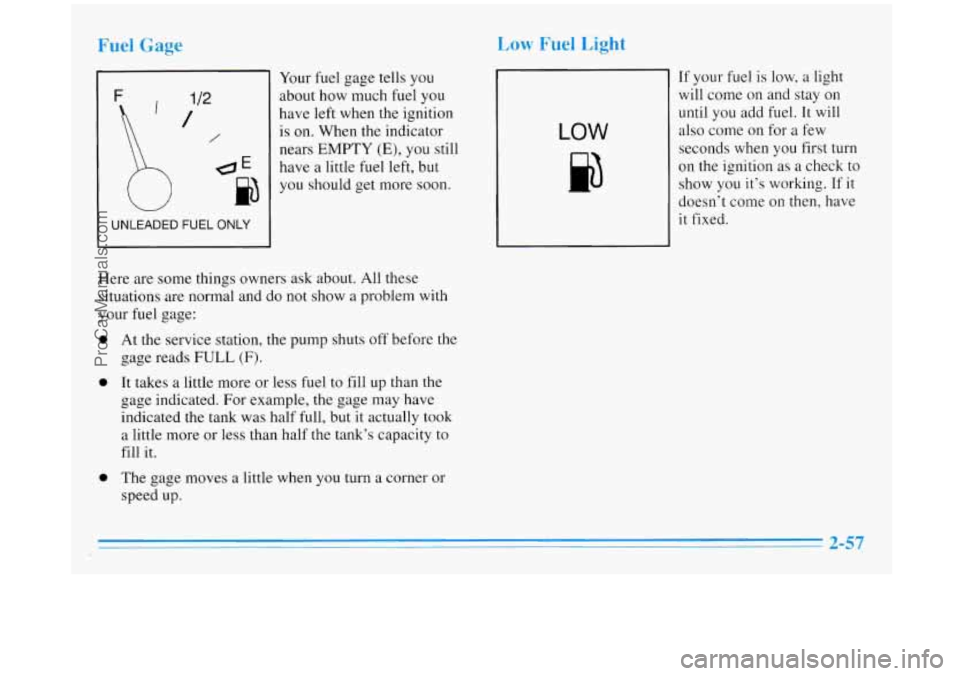
Your fuel gage tells you
about how much fuel you
have
left when the ignition
is on. When the indicator
- nears EMPTY (E), you still
1 have a little fuel left, but
b
you should get more soon.
Here are some things owners ask about. All these
situations are normal and do not show a problem with
your
fuel gage:
0
0
0
At the service station, the pump shuts off before the
gage reads
FULL (F).
It takes a little more or less fuel to fill up than the
gage indicated. For example, the gage may have
indicated the tank was half full, but it actually took
a little more or less than half the tank’s capacity to
fill it.
The gage moves a little when
you turn a corner or
speed up.
Low Fuel Light
LOW
If your fuel is low, a light
will come on and stay on
until you add fuel. It will
also come on for
a few
seconds when
you first turn
on the ignition as a check to
show you it’s working. If it
doesn’t come on then, have
it fixed.
ProCarManuals.com
Page 124 of 356

NOTES
2-58
ProCarManuals.com
Page 125 of 356
Section 3 Comfort Controls and Audio Systems
In this section you’ll find out how to operate the comfort
control and audio systems offered with your Buick. Be
sure to read about the particular systems supplied with
your vehicle.
Comfort Controls
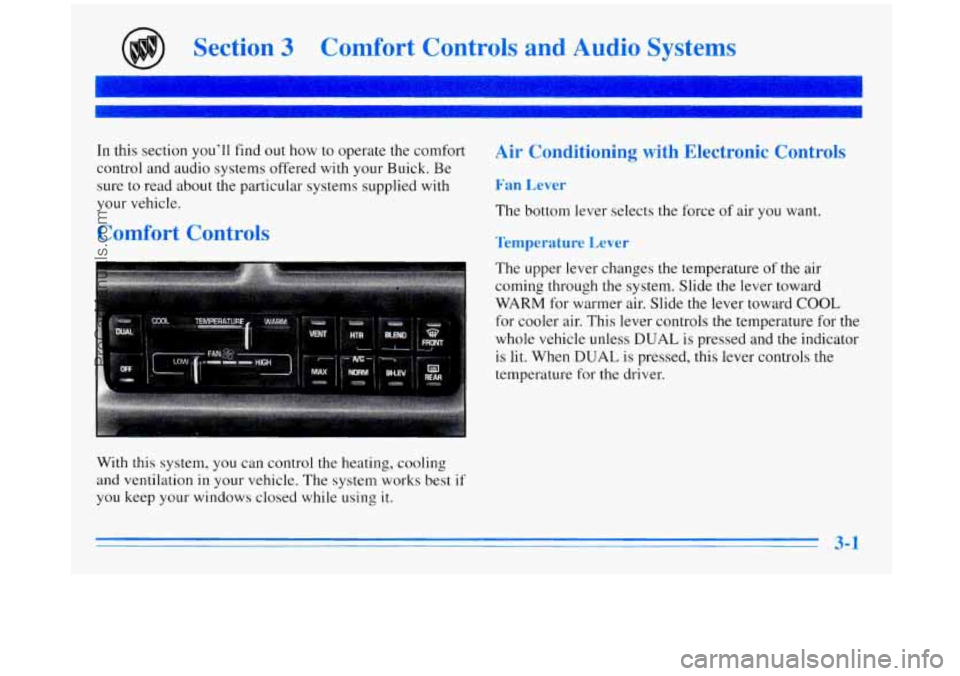
With this system, you can control the heating, cooling
and ventilation in your vehicle. The system works best
if
you keep your windows closed while using it.
Air Conditioning with Electronic Controls
Fan Lever
The bottom lever selects the force of air you want.
Temperature Lever
The upper lever changes the temperature of the air
coming through the system. Slide the lever toward
WARM for warmer air. Slide the lever toward COOL
for cooler air. This lever controls the temperature for the
whole vehicle unless
DUAL is pressed and the indicator
is lit. When
DUAL is pressed, this lever controls the
temperature for the driver.
ProCarManuals.com
Page 126 of 356
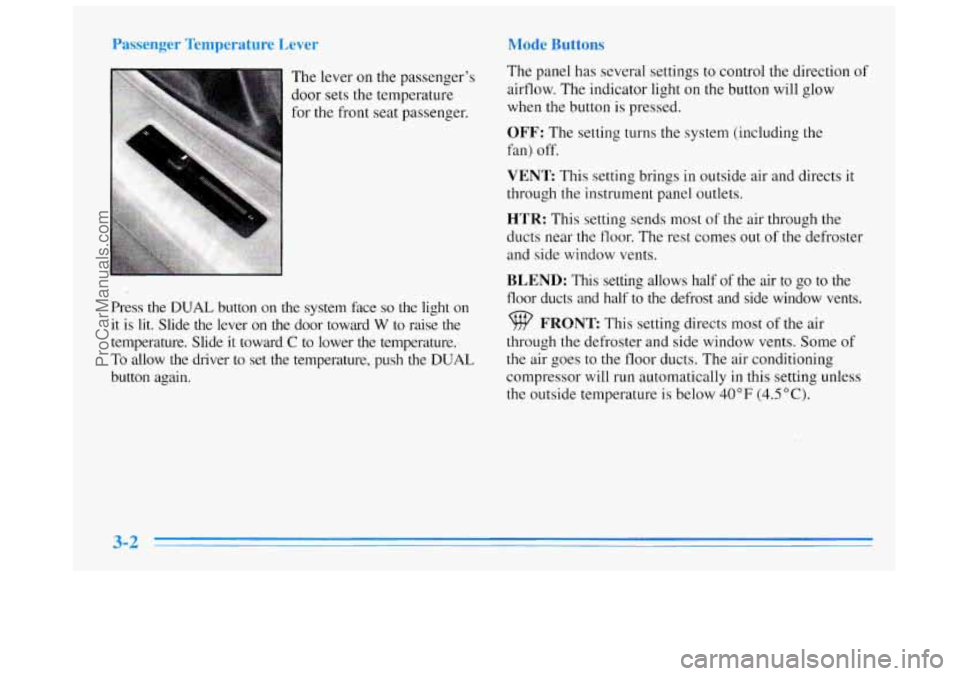
The lever on the passenger's
door sets the temperature
for the front seat passenger.
Press the
DUAL button on the system face so the light on
it is lit. Slide the lever on the door toward
W to raise the
temperature. Slide it toward
C to lower the temperature.
To allow the driver to set
the temperature, push the DUAL
button again. The
panel has several settings to control the direction
of
airflow. The indicator light on the button will glow
when
the button is pressed.
OFF: The setting turns the system (including the
fan) off.
VENT This setting brings in outside air and directs it
through the instrument panel outlets.
HTR: This setting sends most of the air through the
ducts near the
floor. The rest comes out of the defroster
and side window vents.
BLEND: This setting allows half of the air to go to the
floor ducts and half to the defrost and side window vents.
FRONT This setting directs most of the air
through the defroster and side window vents. Some
of
the air goes to the floor ducts. The air conditioning
compressor will run automatically
in this setting unless
the outside temperature is below
40°F (4.5"C).
ProCarManuals.com
Page 127 of 356
MAX: This setting recirculates much of the air inside
your vehicle and sends it through
the instrument panel
outlets. The air conditioning compressor will run
automatically
in this setting unless the outside
temperature is below 40°F (4.5"C).
NORM: This setting brings in outside air and sends
it through the instrument panel outlets. The air
conditioning compressor will run automatically
in this
setting unless the outside temperature is below 40°F
(4.5 " C).
BI-LEV: This setting brings in the outside air and
directs
it two ways. Half of the air is directed through
the instrument panel outlets. Most
of the remaining air is
directed through the floor ducts and
a little to the defrost
and side window vents. The air conditioning compressor
will run automatically in this setting unless the outside
temperature
is below 40°F (4.5"C).
Air Conditioning
On very hot days, open the windows long enough to let
hot, inside air escape. This reduces the time the
compressor has to
run, which should help fuel economy.
For quick cool-down on very hot days, use
MAX with
the temperature lever all the way to COOL.
If this
setting is used for long periods of time,
the air in your
vehicle may become too dry.
For normal cooling on hot days, use
NORM with the
temperature lever all the way to COOL. The system will
bring
in outside air and cool it.
On cool but sunny days, the sun may warm your upper
body, but your lower body may not be warm enough.
You can use BI-LEV with the temperature knob in the
middle. The system will bring
in outside air and direct it
to your upper body, while sending slightly warmed air to
your lower body. You may notice this temperature
difference more at some times than others.
3-3
ProCarManuals.com
Page 128 of 356
Heating
On cold days, use HTR with the temperature lever all
the way to
WARM. The system will bring in outside air,
heat it and send it
to the floor ducts.
If your vehicle has an engine coolant heater, you can use
it to help your system provide warm air faster when it’s
cold outside
(0°F (-18°C) or lower). An engine coolant
heater warms the coolant your engine and heating
system use to provide heat. See “Engine Coolant
Heater” in the Index.
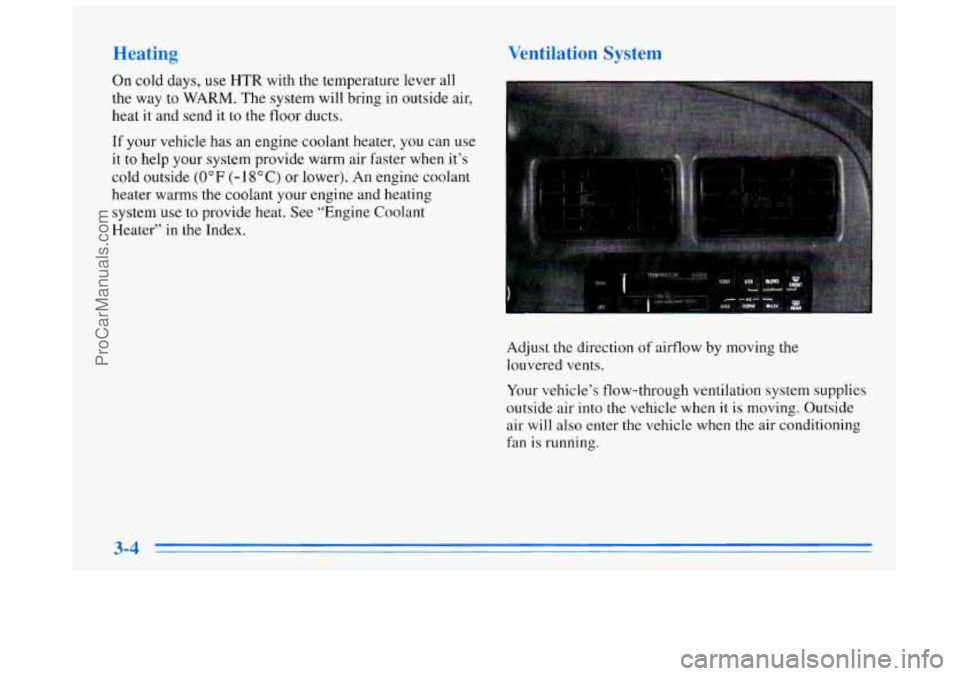
Ventilation System
Adjust the direction of airflow by moving the
louvered vents.
Your vehicle’s flow-through ventilation system supplies
outside air into the vehicle when
it is moving. Outside
air will also enter the vehicle when the air conditioning
fan
is running.
ProCarManuals.com
Page 129 of 356
Ventilation Tips
0
0
0
0
For mild outside temperatures when little heating or
cooling is needed, use VENT to direct outside air
through your vehicle.
Keep the hood and front air inlet free of ice, snow or
any other obstruction, such
as leaves. The heater and
defroster will work far better, reducing the chance of
fogging the inside of your windows.
When you enter
a vehicle in cold weather, adjust the
mode to HTR and the fan to the highest speed for a
few moments before driving off. This helps clear the
intake ducts
of snow and moisture and reduces the
chance
of fogging the inside of your windows.
Keep the air path under the front seats clear of
objects. This helps air to circulate throughout
your vehicle.
Defogging and Defrosting
Your system has two settings for clearing the front and
side windows.
To defrost the windows quickly, use
FRONT with the temperature lever all the way to
WARM.
To warm passengers while keeping the
windows clean, use BLEND.
For maximum defrost performance, both the driver’s
and passenger’s temperature controls should be
in the
full warm position. To do this, push the DUAL button so
that the light goes out. The driver can then control both
sides with the main temperature control. Slide the lever
all the way toward WARM.
ProCarManuals.com
Page 130 of 356
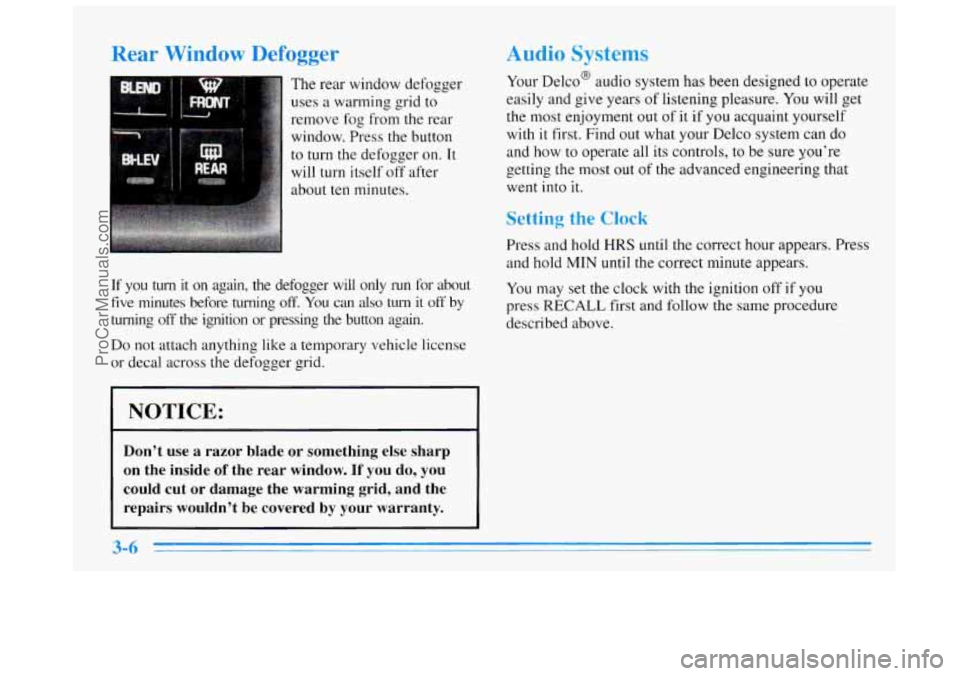
Rear Window Defogger
The rear window defogger
uses
a warming grid to
remove
fog from the rear
window. Press the button
to turn the defogger on. It
will turn itself off after
about
ten minutes.
If you turn it on again, the defogger will only run for about
five minutes before turning off. You can also turn it off by
turning off the ignition or pressing the button again.
Do not attach anything like a temporary vehicle license
or decal across
the defogger grid.
I NOTICE:
Don’t use a razor blade or something else sharp
on the inside
of the rear window. If you do, you
could cut or damage the warming grid, and the
repairs wouldn’t be covered by your warranty.
Audio Systems
Your Delco@ audio system has been designed to operate
easily and give years of listening pleasure. You will get
the most enjoyment out of
it if you acquaint yourself
with
it first. Find out what your Delco system can do
and how to operate all its controls, to be sure you’re
getting the most
out of the advanced engineering that
went into it.
Setting the Clock
Press and hold HRS until the correct hour appears. Press
and hold MIN until the correct minute appears.
You may set
the clock with the ignition off if you
press
RECALL first and follow the same procedure
described above.
ProCarManuals.com